

1⁄35Mercedes Benz G4 1939
13
Comments
Assembly
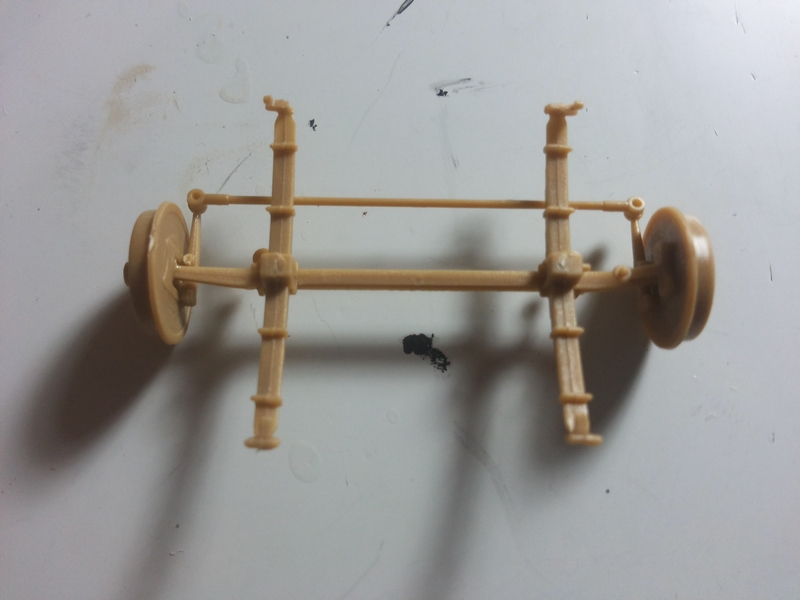
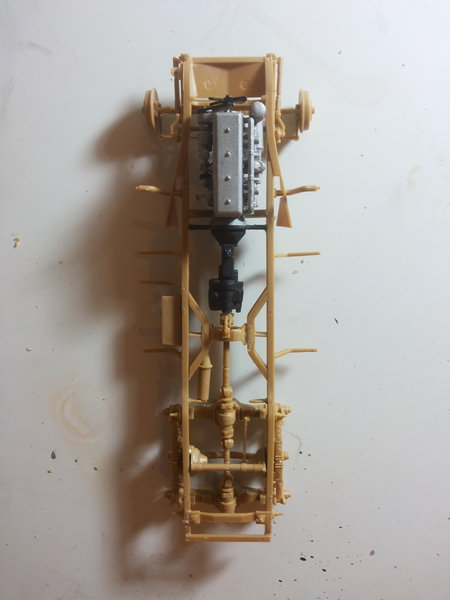
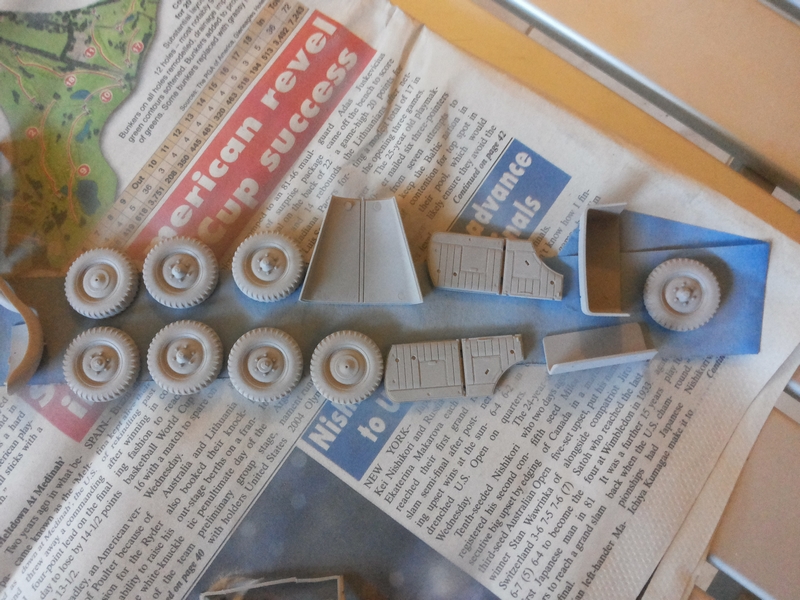
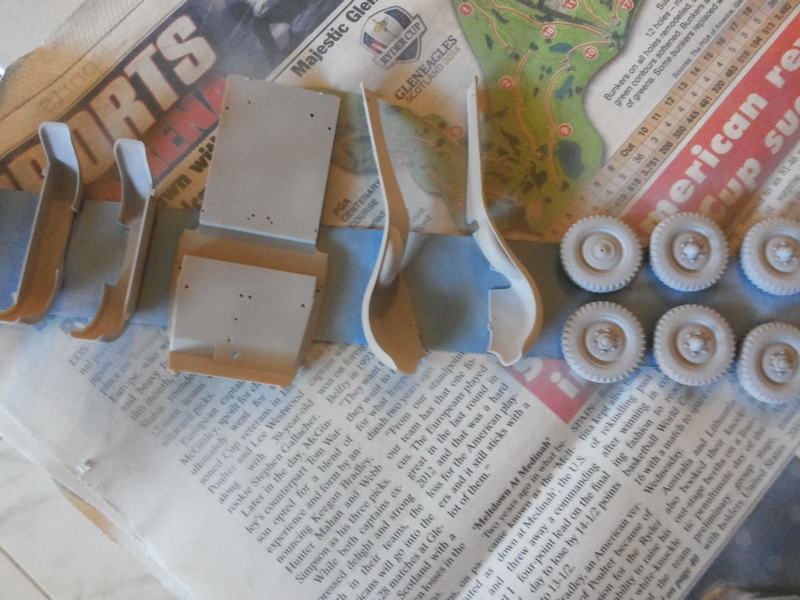
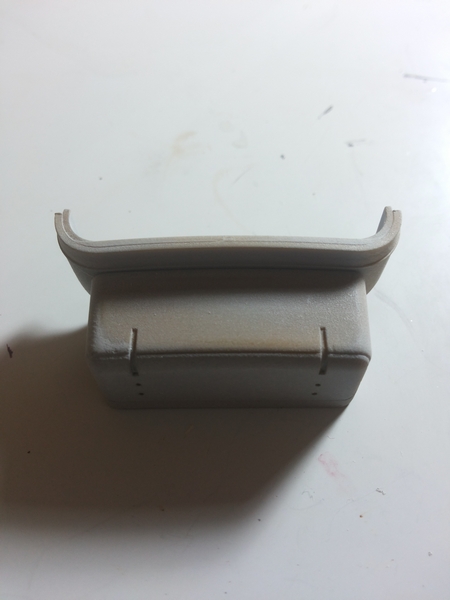
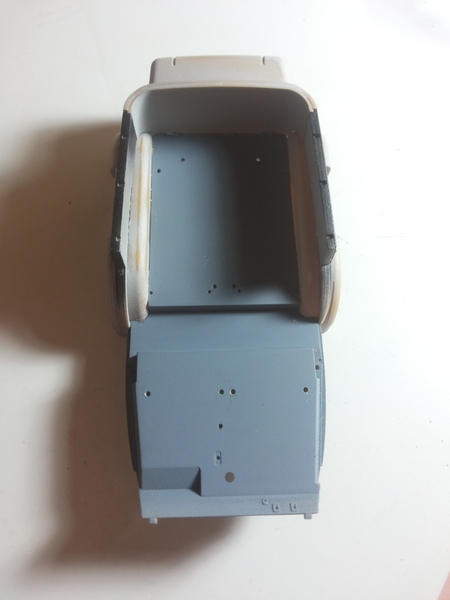
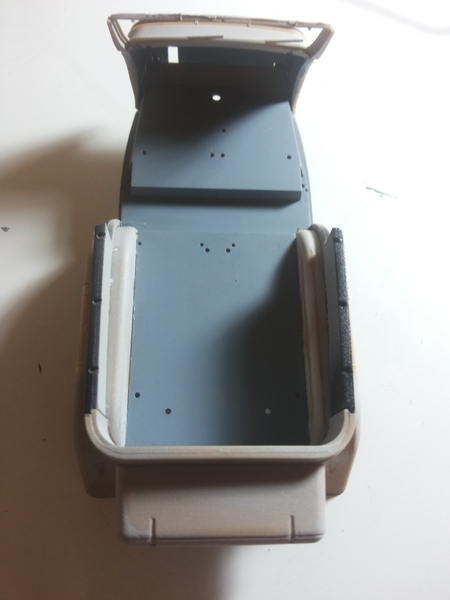
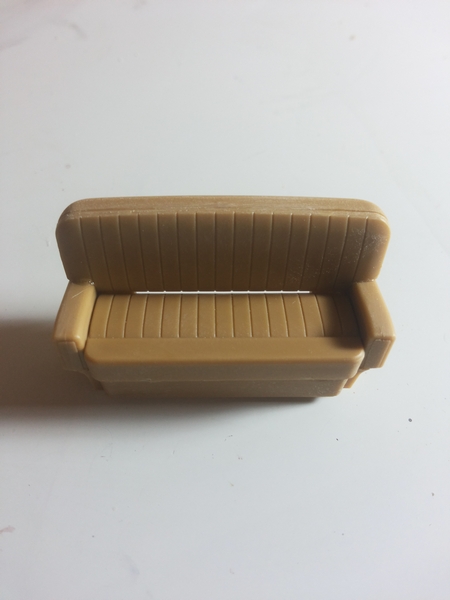
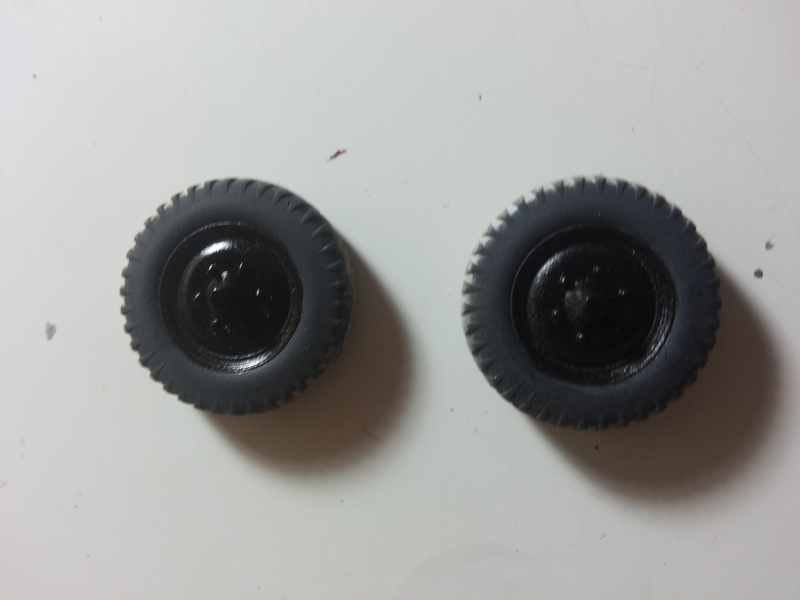
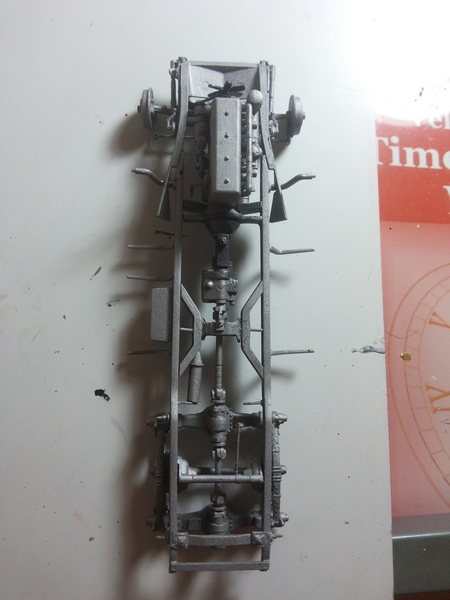
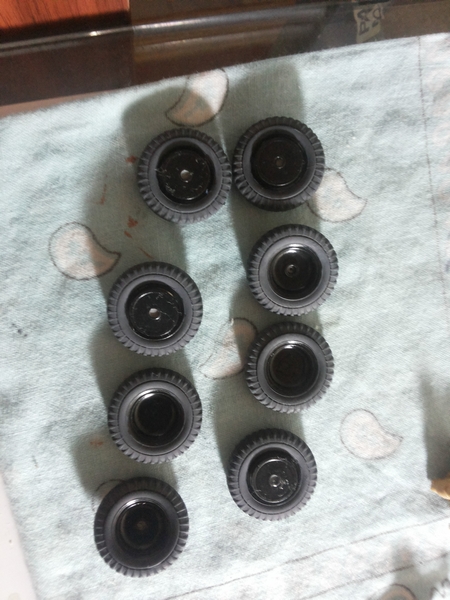
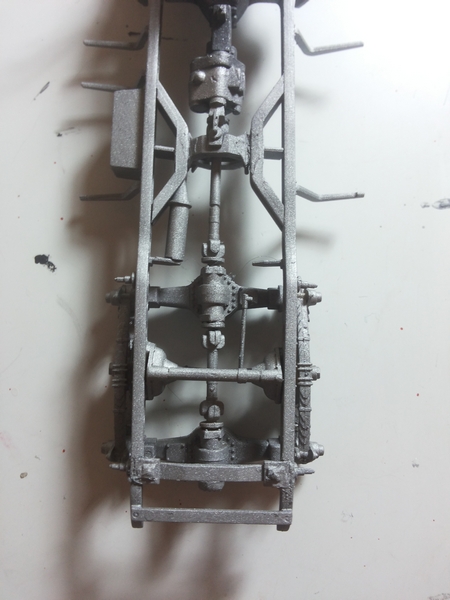
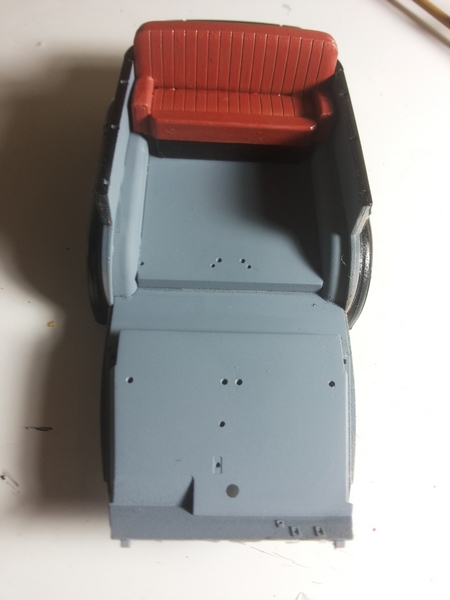
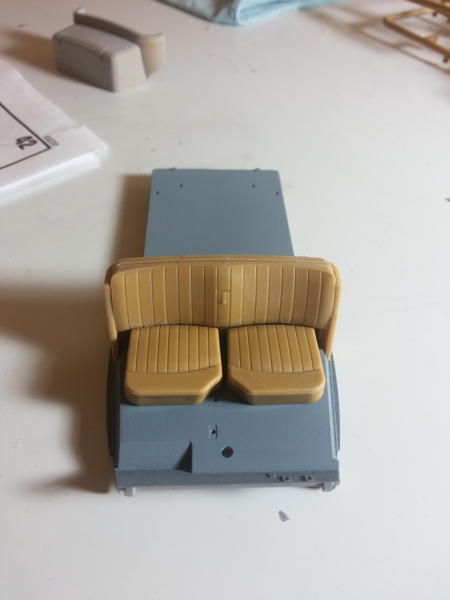
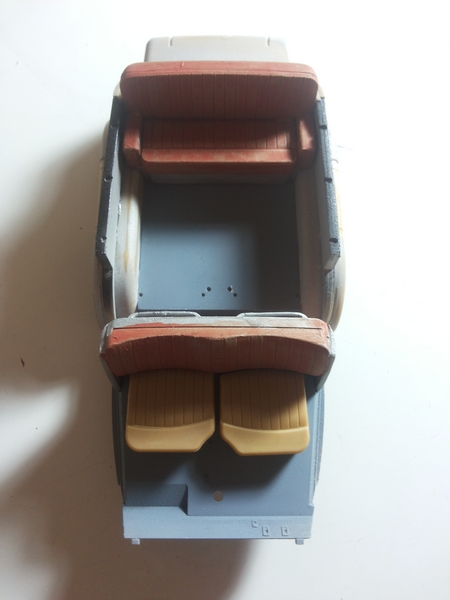
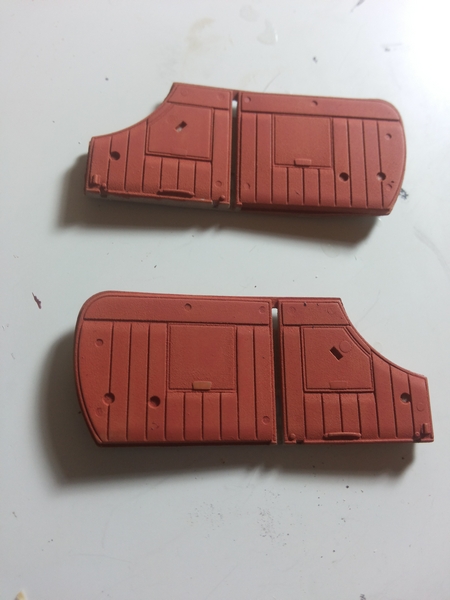
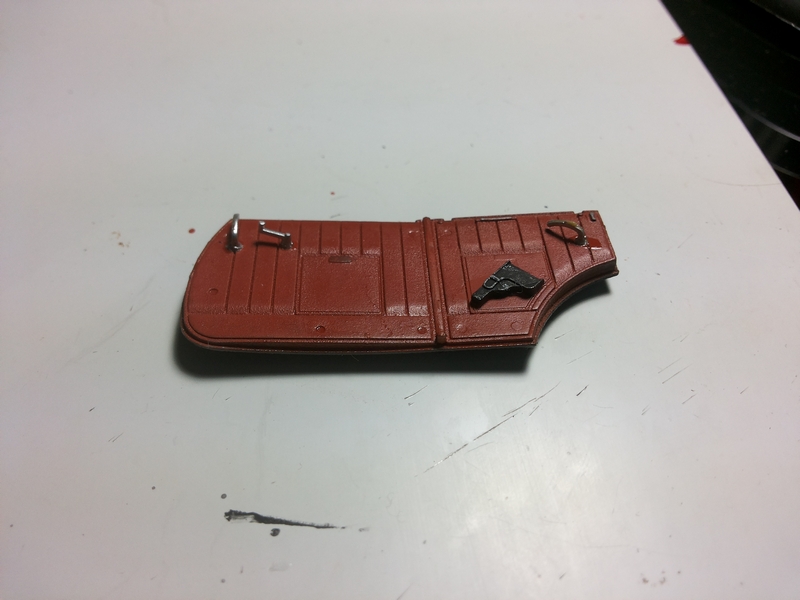
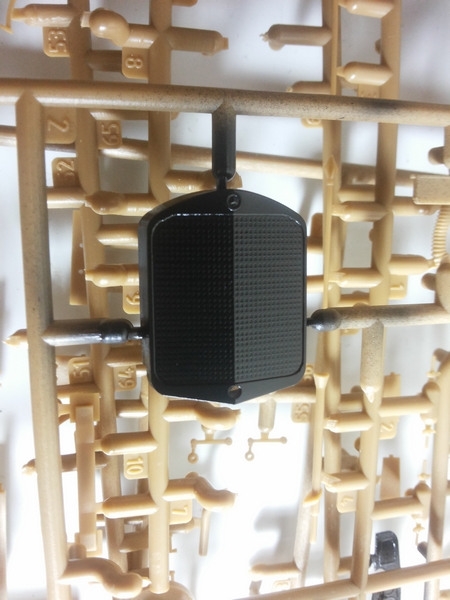
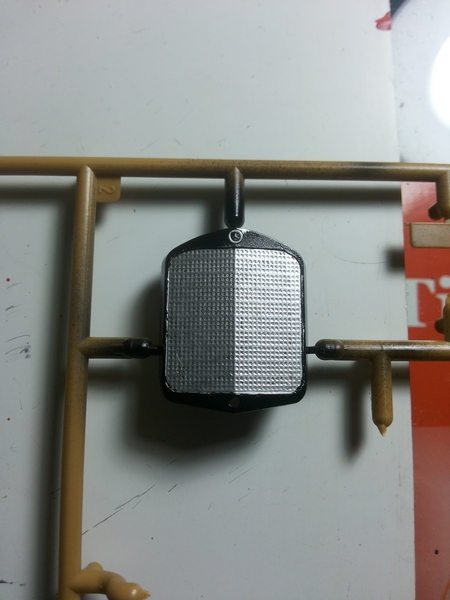
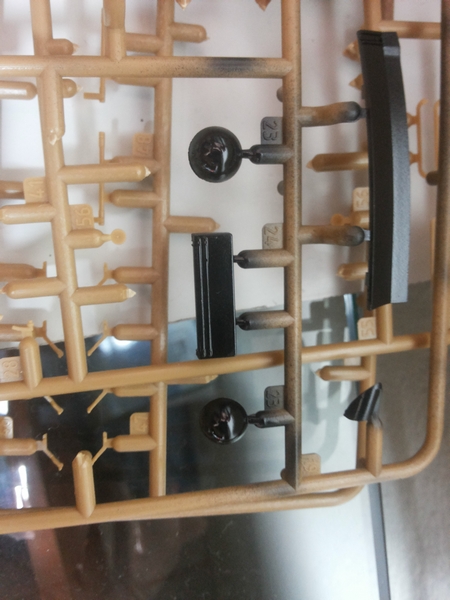
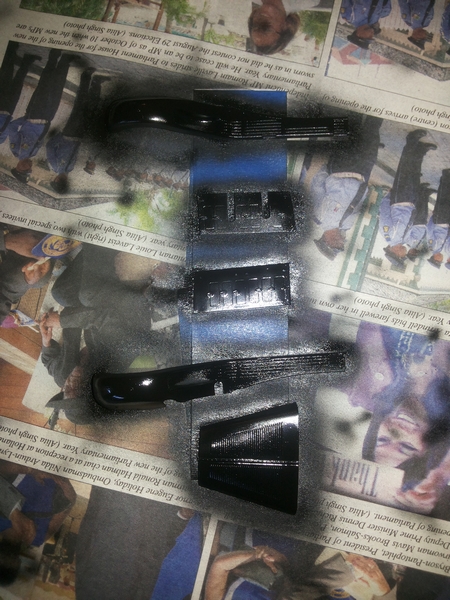
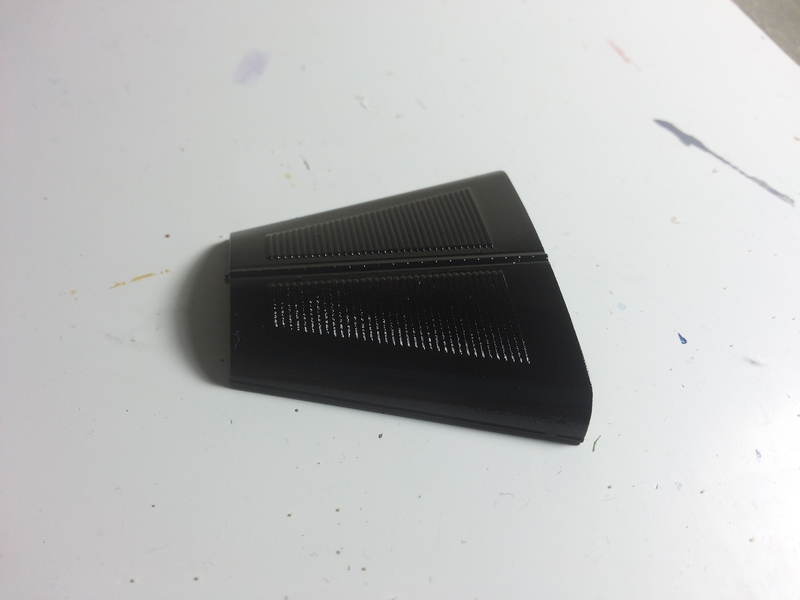
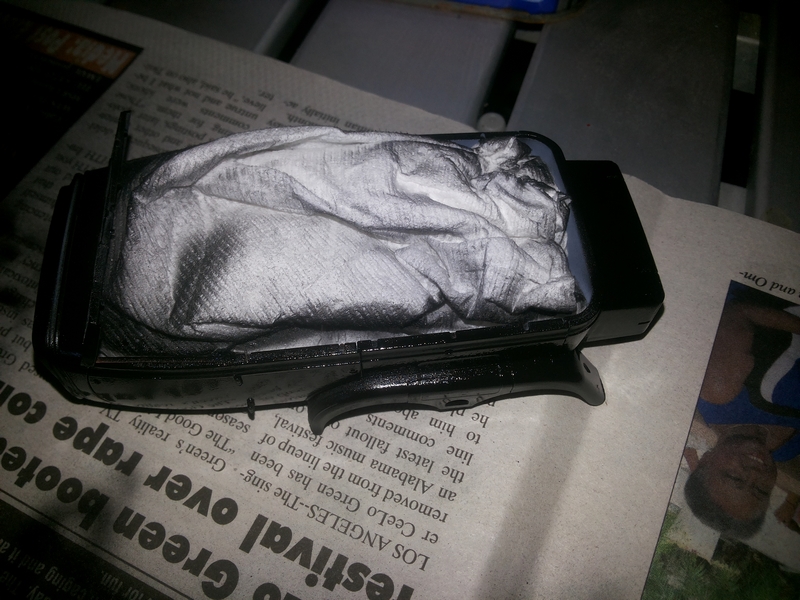
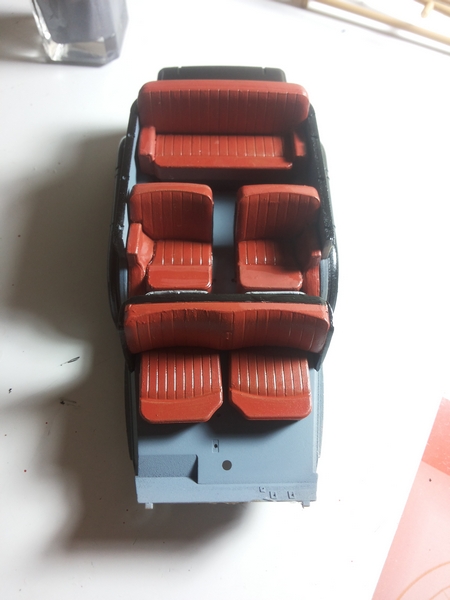
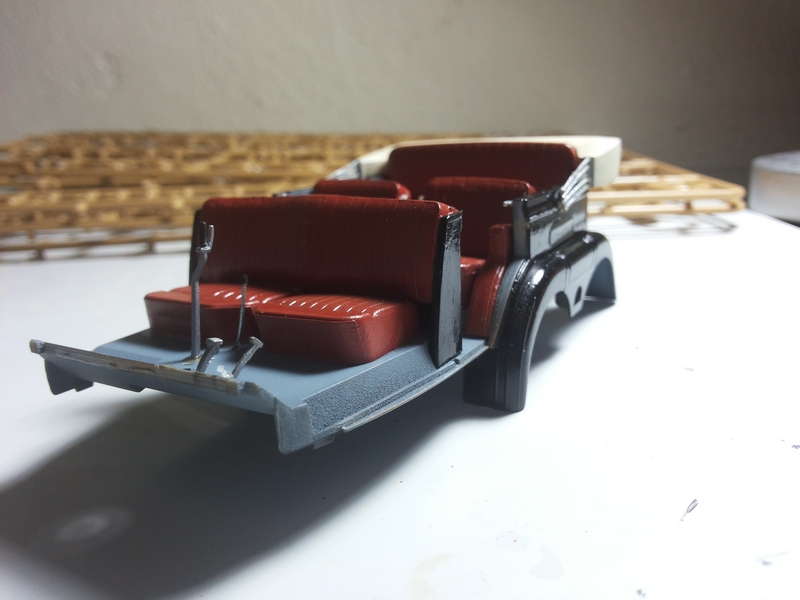
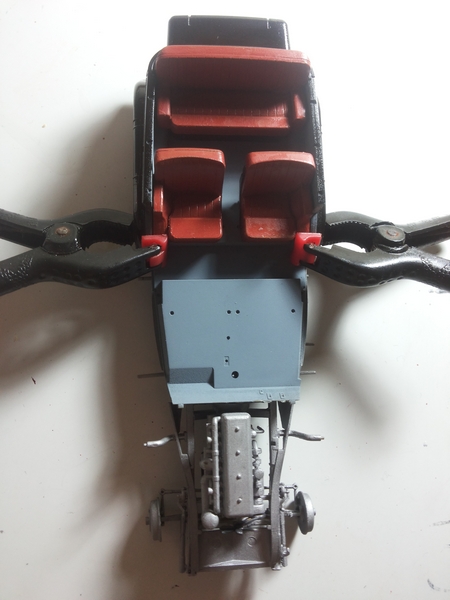
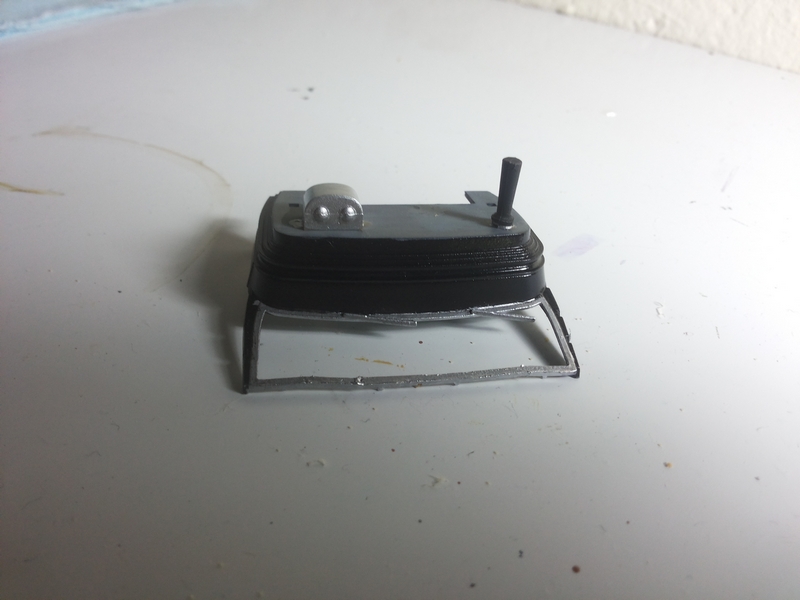
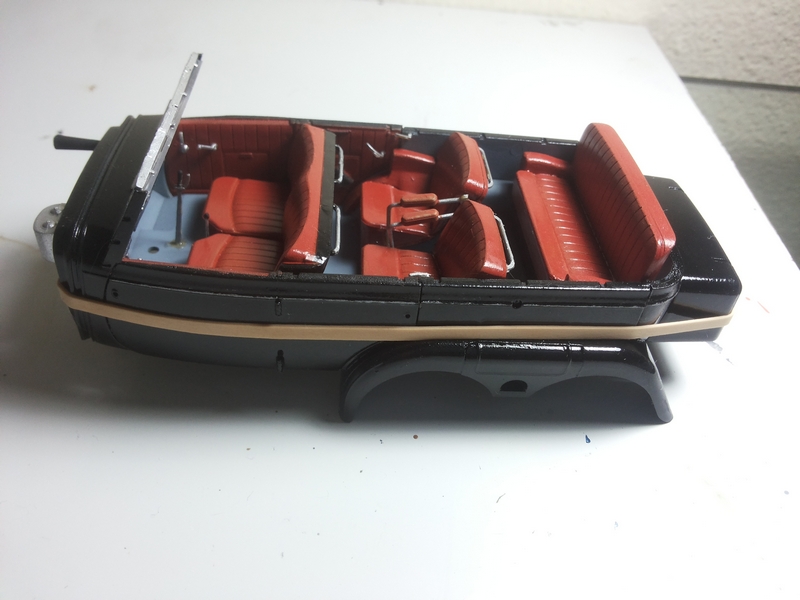
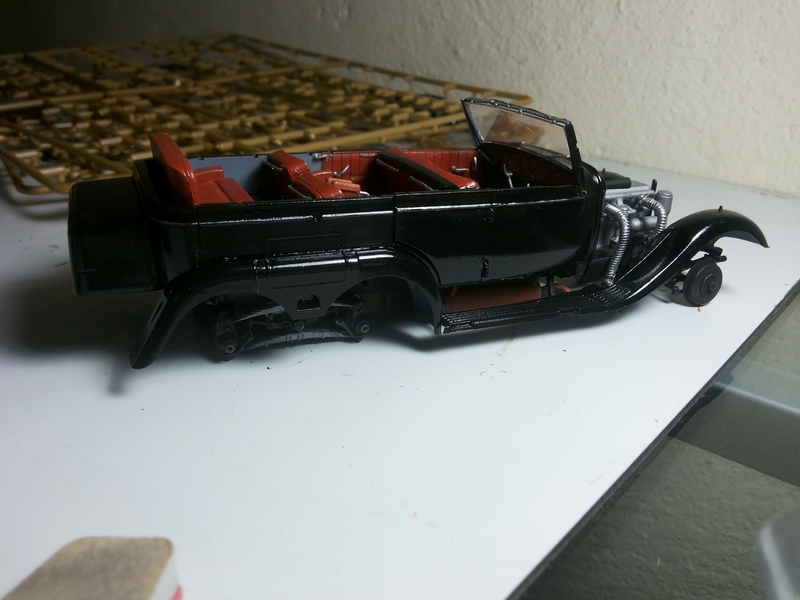
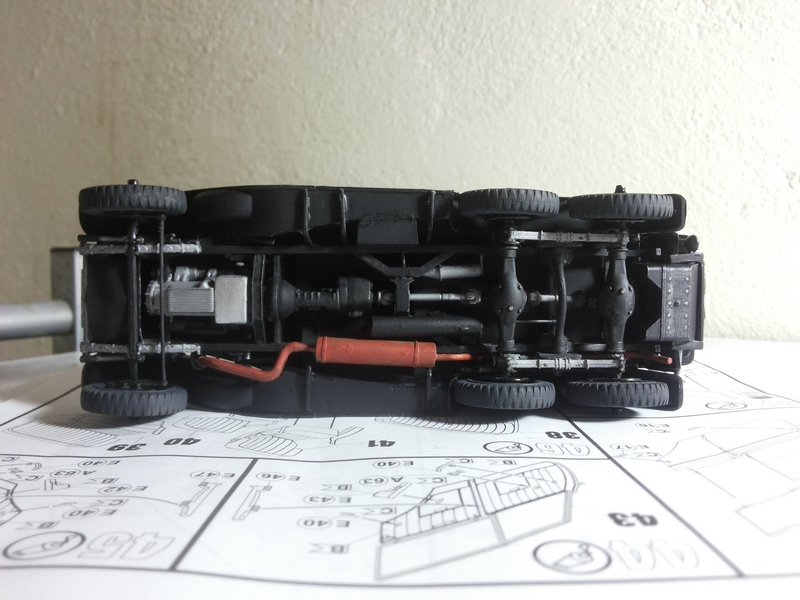
I followed my method which served me quite well during the assembly of more complicated kits: to build by sub-components, prime, paint, glue. The method is tedious, sometimes details have to be retouched, other times the paint has to be scratched off for glue application or because of tight fit or incorrect alignment. But if you like great looking details, perhaps is the only way Engine Replicated in great detail, the engine is a small model itself. Here I encountered the first problem (already!): when cut from the sprue, one radiator fan blade broke I corrected it and carried on. After this I added the transmission, I painted the engine block and sub-assemblies steel color, the fan belt matte black and the transmission and the fan semi-gloss black. I didnt detail the engine too much, as the only visible part was going to be just the oil pan from the underneath Sub-frame, steering, transmission, exhaust system Well, this is a complicated job. A few seam lines to be removed, plenty of dry fits and glue the result is a square-shaped futuristic spider (brrr!). The transmission incorporates very finely detailed parts, together with the suspension and the steering system. The exhaust system is intricate and I gave up following the instructions for it. I just kept adding parts as the build progressed the last one after the body was attached! Upon the completion of the undercarriage, I painted everything in steel enamel as primer, topped with semi-gloss black acrylic. The exhaust system was weathered with corresponding rust color, following the same method as described. Wheels This car has plenty and all of them are different! Front wheels are different from back wheels and the two spare wheels are different from the two before. This is not a complaint! According to photographic evidence, they were so! The wheels are molded one piece, with very fine engraving showing the Mercedes star. I primed them flat green, then painted over with glossy black. Finally, I painted the tires with matte acrylic, a very dark shade of gray. I focused mostly on a subtle contrast between textures: hard shiny black and soft porous black. Body and interior The rear part of the kits body is made up of three parts, to be glued on the bottom plate from the back, left and right. Those who are building a model with a body molded as a single piece are very lucky! I have primed all parts with oil based gray primer, then temporarily assembled the kit and airbrushed the exterior with gloss black enamel. After the paint dried, I dismantled the parts and painted the interior, piece by piece. I had the doors painted with brown leather from inside, followed by further detailing, adding the chrome parts and so on. The bottom plate and the rear I painted mouse gray, to replicate fabric / suede. The same color I have applied over the inside of the front, although not visible when construction complete. The seats are another ICM engineering feat! Complicated enough to assemble and with very delicate parts; especially after being painted on the sprue, the thin styrene components soften. To my luck (and my surprise!) I managed to break none. I couldnt avoid the fitting problems, though I had to clamp down the arm rests to the car body while the glue hardened. Once all seats in place, I added the handles for the handbrake, the gear shift and the pedals, all delicate parts and I prayed for another streak of good luck. Somebody didnt answer my prayers: the smaller gear shift, the one between the front seats, broke upon removal from the sprue. I handcrafted one from a stiff wire and improvised the rounded end from a blob of glue. I hope you like it. The dashboard went quite easily: I primed it with steel enamel, followed by semi-gloss black. By dry brushing with silver color I picked out the dial frames and the switches. I added the six decals and sealed everything under clear gloss coating. Finally, I was able to attach the body to the chassis or I thought so, because soon I ran into trouble. First, the assembly instructions for the steering wheel shaft are wrong. The leaf shaped part that supposed to fit into the dashboard does not go through the opening. I had to unglue the steering shaft and try to fit it from above: what a nice surprise: of course it did not fit. Curses! I had to sand down the end connecting to the steering box (less conspicuous) and do it again. This time it worked. Great relief. Well, short-lived relief. Because the skirts connecting the doors thresholds to the running boards gave me the worst of the headaches yet so far basically I had to tear apart the doors and rebuild the middle section of the body. Not to mention the additional glue marks and all kind of specks from handling. Oh, boy, the chrome dry-brushed trim along the body was completely gone! It was the first time in a very long while that I wanted to give up on a project. But a good nights rest was a good counselor and I restarted the following day with renewed patience and crossed fingers. It worked. I had to use elastic bands and clamps to make the whole model look like an actual car, but it worked. During all that battering handling, the windshield frame collapsed completely. I hesitated between scratch building another upper frame or letting the window frameless. Exhausted, I decided to go for the frameless version. It looks better actually, if anybody asks me. The folded roof (unique option for this kit) comes in only four parts (I think something went wrong at ICM with the seven folded canvas designers). I primed the whole assembly with gray primer, then I painted the chrome parts with enamel and the canvas with semi-gloss acrylic, adding some shadows using wet on wet technique. Geez, that was so easy! To my surprise, the whole front fitted almost without problem (I only needed to slightly reposition one of the exhaust tubes). I cant tell the same about the lights the front assembly is very difficult, the fit being only approximate. Finally, after three-four repositioning of the parts, I managed to get a decent look Happily enough, I added up the last few details: taillights, extra lights and the license plates. All was followed by a general cleaning of the model prior to varnishing and a deep, very deep breath!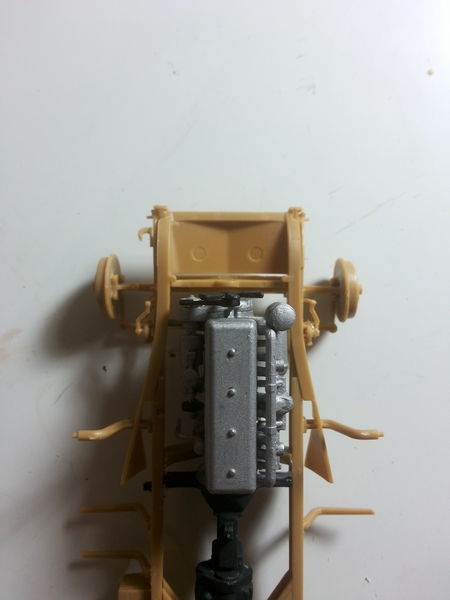

About the Author


FROM: NETHERLANDS ANTILLES
Born in Romania, from a German father. Classical studies, Latin teacher. Currently holding French residency, business owner in a Dutch island where currently spoken language is English. At home I speak Spanish, though. Interest in history and modelling: since babyhood, I grown with my father's stor...
Comments

Hi, guys
I wish a great new year to everyone. Thank you for your kind comments.
@Jake: hmmm... I had problems with the gloss acrylic more than once. Now I prefer to paint it with a soft brush; just need care to remove build-ups in the lover parts and avoid dust as much as possible;
@Johan: I envisioned a diorama for this one, but it was in front of a confiscated house transformed in HQ somewhere in Poland... I start drawing the mansion's plans already;
@Giovanni: Absolutely correct, Giovanni. The only two original examples preserved are gloss light gray with gloss black fenders. The photographic evidence shows the existence of black ones too. Beside the lack of aesthetic appeal, the lateral windows in this kit are nearly impossible to align...
Warm Regards
JAN 04, 2015 - 10:42 PM

Once again I fail to see why key parts in this 1/35th scale kit go without a chrome coat whereas the 1/24th scale offering of this same model has all required parts in a high gloss chrome coating???? Sad and unfortunate!
JAN 04, 2015 - 11:45 PM

Maybe ICM had a tight budget with the 1/35 G4..? I would also have liked to see chrome parts in this kit. However, there were a few G4s out there in overall Panzergrau, NO CHROME...
Also, ADV/AZIMUT made a 1/35 resin G4- I have one which I will probably never build, since my plastic ICM kit is so much nicer, and it will be built, painted and detailed in a FRACTION of the time and effort that I would have had to put into the ADV/AZIMUT G4...
JAN 05, 2015 - 08:58 PM
Great looking build! I am mostly into cars, not armor. However, I think this falls into cars as well! @165thspc, who makes this in 1/24?
JAN 08, 2015 - 08:10 AM
Thank you, Lee, for your kind comments. ICM Holdings make the same vehicle in 1/24 (I'n not sure, but it can be they have two versions of it). Warm Regards.
JAN 09, 2015 - 12:53 AM
1/24th scale with chrome:
 1/35th scale without chrome:
 Mike @ 165thspc
 1/35th scale without chrome:
 Mike @ 165thspc
JAN 09, 2015 - 01:20 AM
ICM produces a couple other versions of this kit in 1/35 as well... I'd like to see some US Staff Cars: Eisenhower's 1942 Packard Sedan, Patton's 1939 Cadillac Fleetwood 75, plus examples of the 1941/42 Ford Fordor, Chevrolet Standards and some Chrysler, Dodge, and Plymouth Staff Cars...
JAN 10, 2015 - 08:38 PM
I would love some more american / allied staff cars. There is a nice one (two versions) released by ICM.
 And there is a Moskvitch (Opel Kadett in other words), also by ICM
 .
Other than that...
.
Other than that...
And there is a Moskvitch (Opel Kadett in other words), also by ICM
.
Other than that...JAN 11, 2015 - 11:24 PM

As a matter of accuracy, the Japanese company that produced a motorized kit of the Mercedes Benz G4 in 1975 was not called "Tilt." The manufacturer was Tokyo Marui. A Japanese logo printed on the box bore an accidental resemblance to the English word tilt, leading to the misidentification. The kit was imported and sold in the United States by Squadron (MMD), and the company was listed correctly in their catalog.
FEB 14, 2015 - 12:47 PM
Hi, guys.
Gerald, thank you very much for clarification. It sounded unusual for me too - but it was the only reference I found online. Thanks again. Warm regards.
FEB 17, 2015 - 12:22 AM
Copyright ©2021 by Gabriel Szeitz. Images and/or videos also by copyright holder unless otherwise noted. The views and opinions expressed herein are solely the views and opinions of the authors and/or contributors to this Web site and do not necessarily represent the views and/or opinions of Armorama, KitMaker Network, or Silver Star Enterrpises. All rights reserved. Originally published on: 2015-01-03 00:00:00. Unique Reads: 21032

WEB HOSTING BY


Copyright ©2021 Armorama and Kitmaker Network, a subsidiary of Silver Star Enterprises
All Rights Reserved. Please read our Conditions of Use and Privacy Policy.
All Rights Reserved. Please read our Conditions of Use and Privacy Policy.