

1⁄35Building the Tadpole
9
Comments
The exhaust fits well and includes photo-etch for the brackets on the muffler. Then the last of the parts to hull are added, no issues. There are also no fit or installation issues for the rear mortar. Again nicely detailed.
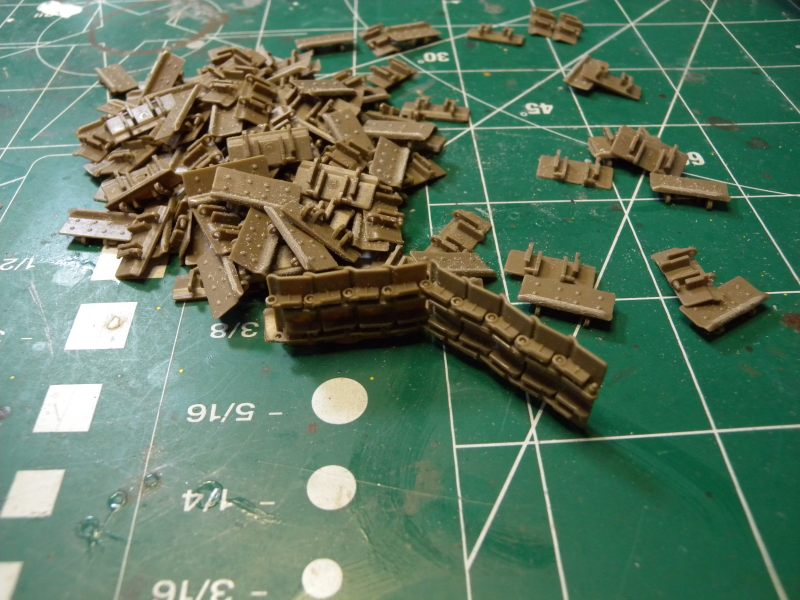
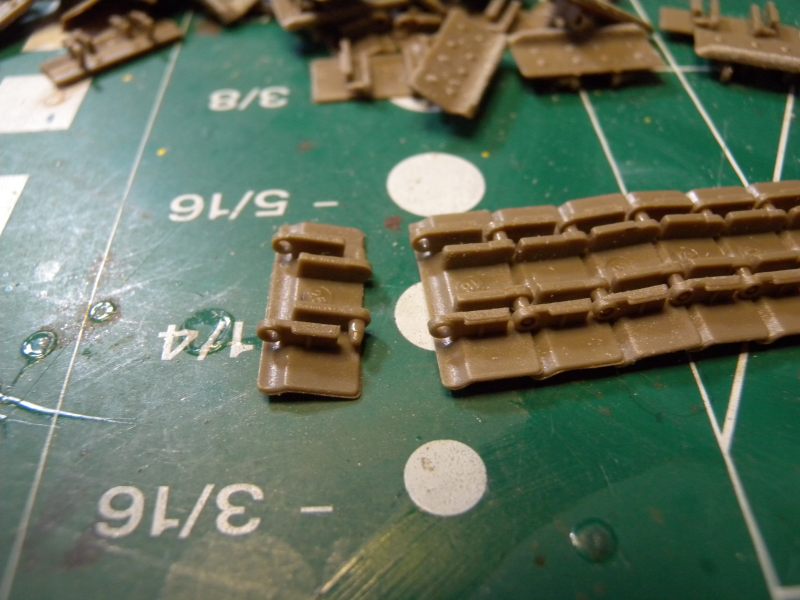
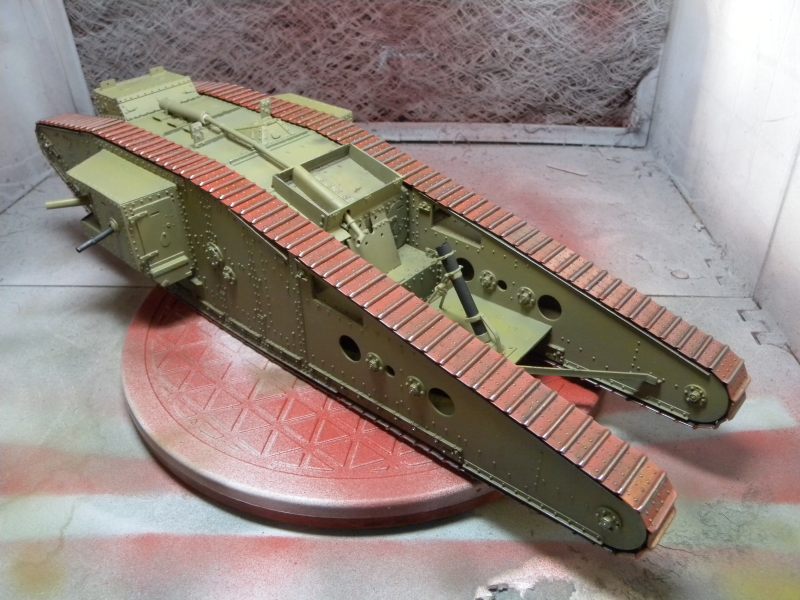
This Tadpole kit includes the new glueless workable track from Takom. And I must say, they look good and go together even better. Assembly of the track was quick, but I did find a discrepancy between the number of links shown in the instructions and the actual number. The instruction state 117, but I ended up using 128 per side, and this is ok, as there are plenty of spares.
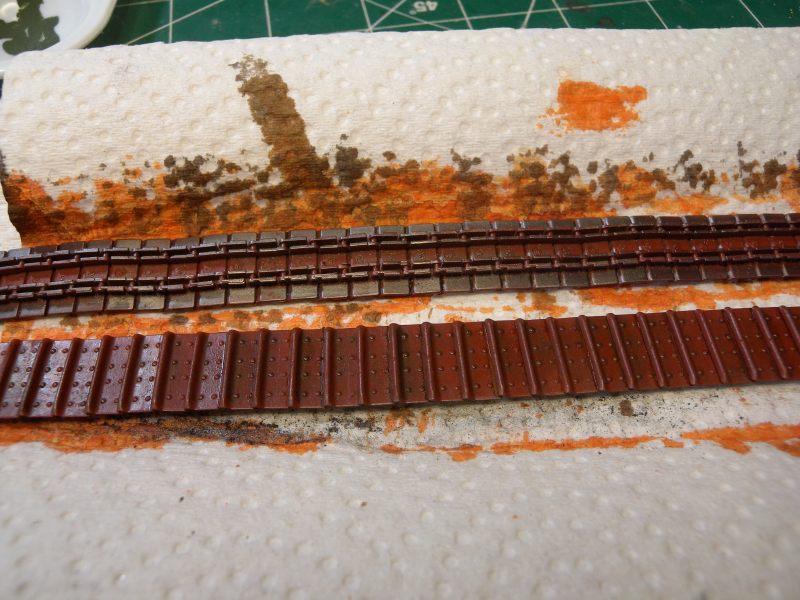
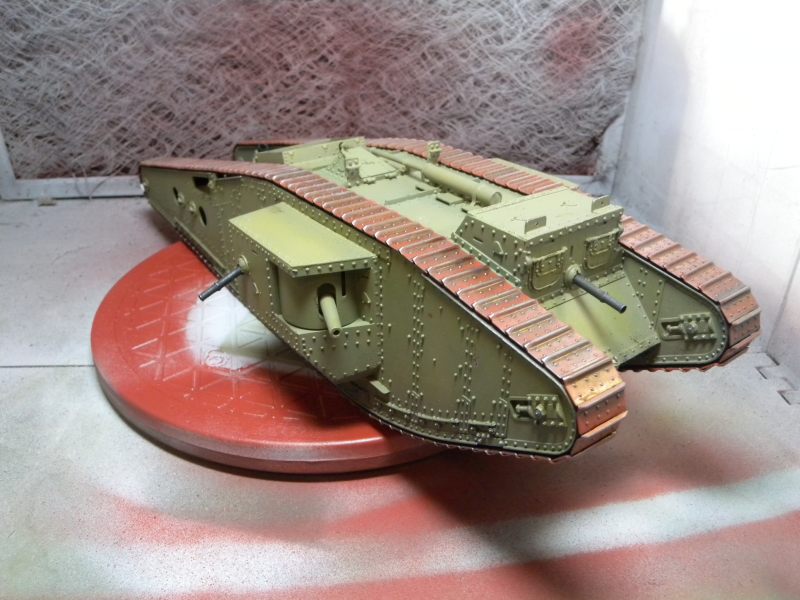
The tank and tracks were painted separately. For the tank I used a coat of Tamiya primer and then Vallejo Dark Bronze Green primer to pre-shade. The tank was then painted with several light coats of Vallejo Light Olive Grey. The tracks were given a coat of Tamiya Red Primer, then washes of various shades of rust.
Weathering was done with two light filters using Ammo from Mig products, then some pin washes of Mig Oils. I decided to go light with the dirt, as the tank was never actually used in combat, and applied some light coats of pigments.
About the Author


FROM: ONTARIO, CANADA
I am an IT Consultant and father, with a passion for plastic models. I mostly prefer 1/35 Armor and 1/48 Aircraft. My main interests are anything Canadian, as well as WW2 German and British Armor and Aircraft. I have been building models since I was a young kid, got away from it for awhile, but r...
Comments
Excellent build! Can you post a close-up of the trapezoidal roof hatch? On the earlier Mk IV kits Takom screwed up the shape and detail of the hatch - I'm wondering if they fixed it in this version.
BTW, those boxes on the sponson doors don't need cutting if you want to display them open - they are armoured chutes for the gunners to dump out used brass! Sadly, opening the door just highlights the lack of rivets and other stuff on the inside...
JAN 28, 2015 - 03:17 AM

Great build and even greater kit but why did you replace 6 pounder barrels?
JAN 28, 2015 - 05:22 PM

The Lion Marc barrels look better, and include the rifling at the barrel end.
JAN 28, 2015 - 05:39 PM
Just looked at the PMMS review, and indeed it seems the Tadpole doesn't have metal barrels - Takom gives plastic ones instead. Pity, as the "Male" kit has nice metal ones!
And I see from Terry's review they kinda fixed the roof hatch, but still got it wrong! Oh, well...
JAN 28, 2015 - 05:47 PM
The Lion Marc barrels look better, and include the rifling at the barrel end.
[/quote]
Oh, I see.
JAN 28, 2015 - 06:40 PM


What I don't get is why a company would include all that beautiful detail on the guns and then make it so difficult to open the doors to make them visible. Is there a rational explanation for this?
JAN 29, 2015 - 11:01 AM

Why would you expect ANY model company to do something rationally, when they can leave their problems for us modellers to solve..?
No, seriously- It's the current trend for some of the more progressive model manufacturers to include details that will probably never be seen unless the modeller chooses to open up EVERY window, door, hatch, gun port, etc on their model. There are quite a few modellers that like to display their models in this way. I dunno, probably because some of those guys will want to show off those details at shows or contests. I don't necessarily include myself in that group.
I build my models for my own enjoyment, so I tend to take it easy on my weathering, depicting my vehicles as new, but not "factory-fresh".
At most, I'll build a model, for instance, one of my M4A1s, with the Commander's and 2 Drivers' hatches open, occupied by the 3 corresponding crew members, so as to show off my figure-painting skills.
I also built one of my DRAGON #6511 M4 "Normandy" kits in such a way that I could "crack it open" in order to show off all the extra details that I jammed into it- In other words, fully-detailed drivers' and fighting compartments, including the turret interior, guns, turret basket, drive train details and a fully-detailed Wright R-975 Radial Engine and engine bay. I elected to assemble this particular model with all hatches open, but without any crew members being present, so as to display all of these details without them being obscured in any way. I generally don't do dioramas, except for a very few vignettes, simply because of the limited space that I have available for model display. A good number of my tanks are completely "buttoned-up", in which case I didn't bother with ANY interior details being included in the build. What would be the purpose in adding stuff that I, or anyone else for that matter, will never see? ALL of my 1/35 stuff has as much exterior detailing as possible. I LOVE PE and RESIN!!!
MAR 07, 2015 - 04:34 PM
Copyright ©2021 by Kevin Brant. Images and/or videos also by copyright holder unless otherwise noted. The views and opinions expressed herein are solely the views and opinions of the authors and/or contributors to this Web site and do not necessarily represent the views and/or opinions of Armorama, KitMaker Network, or Silver Star Enterrpises. All rights reserved. Originally published on: 2015-01-28 14:22:38. Unique Reads: 20522

WEB HOSTING BY


Copyright ©2021 Armorama and Kitmaker Network, a subsidiary of Silver Star Enterprises
All Rights Reserved. Please read our Conditions of Use and Privacy Policy.
All Rights Reserved. Please read our Conditions of Use and Privacy Policy.