1⁄35Trials & Errors
13
Comments
Trials & Errors
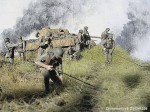
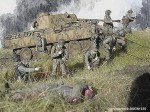
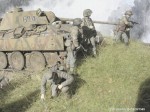
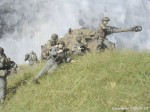
Long before blowing things up for real I was experimenting with less hazardous ways of injecting more realism into dioramas. I probably learned more from this series of photos than any other so I thought I’d share them and explain why.
During the photographic Stone Age up to around 1999 I was using an Olympus OM10 with various lenses to shoot a series of Normandy dios on print film but the results were often disappointing, mainly because that camera was too clunky and I had a lot to learn generally. After a 7 year modeling sabbatical fast-forward to 2006 and a cheap little Nikon digital camera revived my interest while Dragon’s Panther D released around the same time drew me into ever-deeper research on the Kursk campaign.
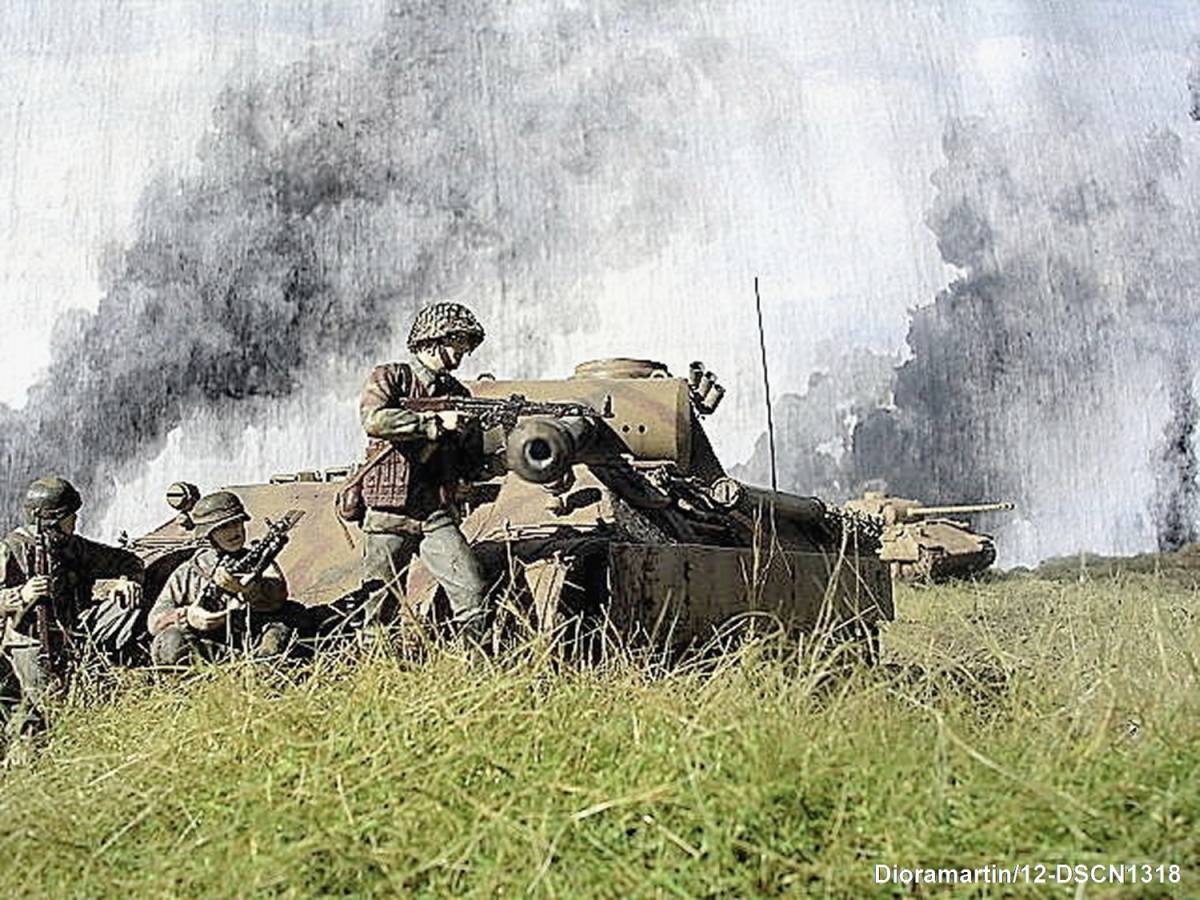
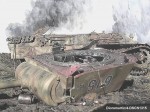
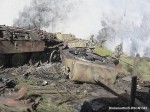
Inspiration for several dio projects resulted (mostly published on this site over the past two years) and this was the first, depicting the approaches to Cherkassy on the southern Kursk salient on the first day of the German assault in July 1943. The debut of the 10th Panzer Brigade’s brand new (and under-developed) Panthers, launched en masse across what were supposedly cleared minefields, was a disaster. Like the Light Brigade at Balaclava they blundered off-piste into un-cleared terrain where some were immobilized by mines and others broke down with engine fires, becoming sitting ducks for the massed Soviet artillery ready and waiting for them. Surviving tank crews straggling back were not exactly pleased with the sappers/mine-clearers they came across even though it wasn’t entirely their fault. I later read a more detailed first-hand account which described the white tape the sappers used to mark cleared lanes being blown away by the wind and barrages – information too late for this dio alas, so naturally my excuse is that the tape had already blown away.
With the newly-completed “D” looking for a mate I dusted off a venerable Tamiya Panther A from the/my Normandy era with the intention of converting it into a passable second D, as a total wreck to disguise its many inaccuracies. This first attempt at a destroyed tank ended up taking five times longer than expected to research & source/scratch-build components, and the only way to hide the hopelessly over-wide turret was to split it open and up-end it after taking two big slices out of the gun mantlet either side of the barrel.
The figures were mostly un-modified Dragon & I was trying out the summer reed-green couture for the crews but I think the cut’s all wrong for that. On the other hand I was content with the matt/flat look of the uniforms (with a couple of exceptions), using Tamiya X21 Flat base mixed in with the pigment. It’s hard to completely eradicate a sheen especially when photographing in strong light but I’m constantly surprised by how many figures I see on this site that verge on glossy, a pity when so much care has clearly been taken to make them realistic in every other respect.
The dio base comprised papier-mache on plywood with plaster filling, painted with powder-paint brown/sand colours and covered in long grass using the Grasmaster for the first time. The backdrop was a long roll of sized linen/canvas (with a fine weave) which was easy to paint on, useful for curving round the dio, and ideal for no-crease storage. After soaking it in water I scrubbed on some black and mid-grey artist acrylic washes with a big soft brush, which can be quite effective provided you know when to stop…maybe I pushed my luck too far trying to get the rain-shower effect. In truth my intention had been to just depict distant smoke, so while in some images it (accidentally) looks like it’s belching out of the tanks quite well, in a few others it looks intentional and less convincing.
The pocket Nikon on auto changed everything - instead of spending most of the time switching lenses and fiddling with exposure settings I could concentrate on what was in front of the camera rather than what was in it - and with instant replay came instant correction. So I spent several weeks trying out everything I could think of and comparing it to the old Normandy scenes to see what had improved and what hadn’t. The result was a checklist I still refer to:
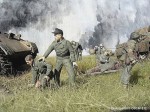
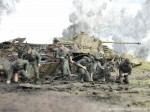
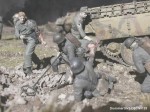
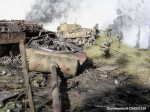
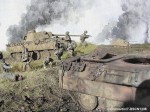
1) Figures can be bunched in similar or sequential poses, or partially obscured by others, to reduce the “tailor’s dummies” impression particularly if they’re supposed to be in dynamic poses. Placing one or two in front or behind the focus point so that they’re slightly blurred can also give the illusion of movement, as in photos 2,3,8 & 10. It doesn’t always work but having a couple half in/out of the picture (3 & 11) or facing out of it (1) can help reduce the too-carefully-posed effect by implying there’s more going on outside the frame.
2) Composition is everything so optimum camera angles ought to be part of the initial planning of any dio/vignette. Way back I meticulously constructed a Normandy street-scene only to find I couldn’t get the OM10 into the desired positions and had to demolish most of a row of lovingly recreated houses to get the lens pointing down the street at the right angles. Never again.
Various compositional devices can be used such as directional props to lead the eye around, and repeating or unbalancing elements to suggest movement. For example the successive positions of the soldiers’ guns, mine-detectors & Panther gun barrels (6,7,8,9,10 & 11) are intended to set up a rhythm which apparently pleases the visual cortex. It can be overdone like anything else but if the opportunity’s there it should be exploited. Convincing depth and recession can be hard to achieve so a road, fence, hedge or building going towards the back of the scene always helps. But in this dio I hadn’t allowed for any of those tricks so for the first time I tried forced perspective instead - the “distant” third Panther (7 & others) is 1/72nd scale and only a few inches behind the big ones, staying nicely in focus.
3) Scale-colour is to some extent in the eye of the beholder but it basically means the further away, the fainter the hue. I spend a lot of time trying to get colours right so that a 1/35th vehicle or figure is what I think the real thing would look like from the equivalent scale-distance away. It’s a complicated science with mathematical colour-charts I don’t pretend to fully comprehend, but following some practical experiments I’ve boiled it down to a simple guideline. Whatever the colour is on a full-size object with your nose pressed up against it, on a 1/35th scale model its “value” should be approximately one third along the spectrum between that colour and a neutral grey. For example to mix a 1/35th scale dunkelgelb I’d put an approximate “dark yellow” in one pot and a light grey in another, pour two measures of the former and one of the latter into a mixing container and use that. There are exceptions to that rule of thumb depending on a number of variables such as prevailing light or colour intensity. A highly saturated/intense red might only “lose” 25% of its strength, while a pale green up to 67%, but the 33% average works for most if not all elements in a military diorama - uniforms, vehicles, buildings, foliage, everything.
Consequently I’ve always mixed my own colours (artists’ acrylics in tubes) because I’m never sure whether manufacturers have scaled their colours – I assume they haven’t, and even if they have to which scale? 1/6th would be a lot stronger than 1/72nd. Even then, having captured what I think is the necessary faded look, when I take a photo in daylight it can still seem too strong as was the case in most of these photos, so the camera software came to the rescue to turn it down further. I also tried using the editing software to make some images grainy while leaving others smooth, but looking back now I think there was a happy medium somewhere between the two which I deftly missed.
4) I could write a lot about Photography itself but it all comes down to this: Get close, keep low, shoot first and ask questions later.
Just as a portrait is a likeness with something wrong with the mouth, my dioramas are scenes with something wrong with the figures. There are several other things amiss in this series too but I only really learned anything when it wasn’t right (well, sometimes), in any case I thought they were a big improvement on past efforts. There comes a point when the Perfectionist inside must be booted out to take the black dog for a long walk, which is why these images survived when the other 120 did not.
(P.S. Thanks again for the best wishes for my wife’s Achilles operation which she really appreciated. Alas things didn’t all go according to script – a couple of days after the (successful) procedure & in a cast, she fell in her hospital room while attempting a verboten solo manoeuvre and shattered her right wrist in 20+ places. Susie’s not that heavy so during i/v opioid hits we figure she must have tried a cartwheel, she’s not sure but at least it wasn’t far to Casualty. She’s now partly made of titanium but recovery/rehab time’s doubled, so we’ll be in our alternative home for longer than planned & the hobby stuff must remain packed up too, meaning this’ll be the last photo feature/project for a longer while)
Comments
Great model building and diorama building. I recommend investing in some good photo editing software. Whatever tiny goofs get past during the shoot can be fixed . And then there's multi level compositing but that opens up a whole other dimension.
But then I do web comics illustrated with photography of miniatures and digital graphics so what do I know.
FEB 21, 2018 - 01:45 PM
Beautiful composition!! I can see the story so well and you crafted this diorama beautifully. The scene itself almost outshines the individual detail and work. Well done sir.
-Conor
FEB 22, 2018 - 09:30 AM
Sturmgewer machine gun was not issued to the troops, in 1943 Battle of Kursk.
Only in 1944 became available.
FEB 22, 2018 - 03:29 PM
Geez! How'd I miss that one? You're right on the Stg44. I don't know what I was thinking at the time. Otherwise a nice picture.
FEB 23, 2018 - 03:34 AM
This is one of the MOST IMPRESSIVE dioramas I have ever seen, there is so much emotion going on and things are apparently very well done but I can't see the photos that well due to the filters used. Still, it adds to the overall situation where men in great hurt and seeking survival and dominat1ion over the enemy is coming across strongly. Thanks for sharing this, it is TOPS!
FEB 23, 2018 - 03:57 AM
Wow thanks guys for seeing the positives so…positively - it’s impossible for me see what it looks like for the first time. All I see are the screw-ups as freely admitted in the text & title so I’m happy for them to be pointed out like the Stg44 because that’s how I/we learn – I didn’t actually know THAT was wrong too until now duh the name didn’t give it away?! So I forgot the most important tip of all – Cunning and Guile e.g. did I say this was Kursk ’43? Oops sorry I meant Eastern Front mid-’44, just my bad typo…like “_secintro205” should read “A Photo Feature by…”
Hey Frank yes you’d want to run away as far/fast as possible, except shrapnel’s maybe still flying and you’re standing in a minefield - tough choices, maybe I should have shown them trying to crawl underneath their rides. Although this scene is supposed to be an hour or so after the initial advance during a lull in the barrage – my problem even then is that the wreck must have burned out in record time if you don’t buy the backdrop smoke. I didn’t, which is why later on I started to play with real fire.
Stephen – you’re right but I left the grainy pics the way the early Nikon software made them in order to make the point that indeed it can be done so much better these days, even by amateurs like me
FEB 23, 2018 - 07:02 AM
The Stg 44 was developed in 42 issued for testing in july 43 but wasn't readily supplied until late september 43 under the designation MP 43 then it was changed to MP 44 in early 44 before Hitler changed the name to Sturmgewehr hence Stg 44.
FEB 23, 2018 - 07:36 AM
Very nicely done! Very impressive! Hope everything turns out well for your wife.
FEB 24, 2018 - 10:47 PM
Thanks all round Bob, yes she was actually walking on the street with me today for the first time (with a frame) so a small/big step forward.
FEB 26, 2018 - 02:19 PM
Copyright ©2021 by Tim Martin. Images and/or videos also by copyright holder unless otherwise noted. The views and opinions expressed herein are solely the views and opinions of the authors and/or contributors to this Web site and do not necessarily represent the views and/or opinions of Armorama, KitMaker Network, or Silver Star Enterrpises. All rights reserved. Originally published on: 2018-02-21 12:01:35. Unique Reads: 16929


