

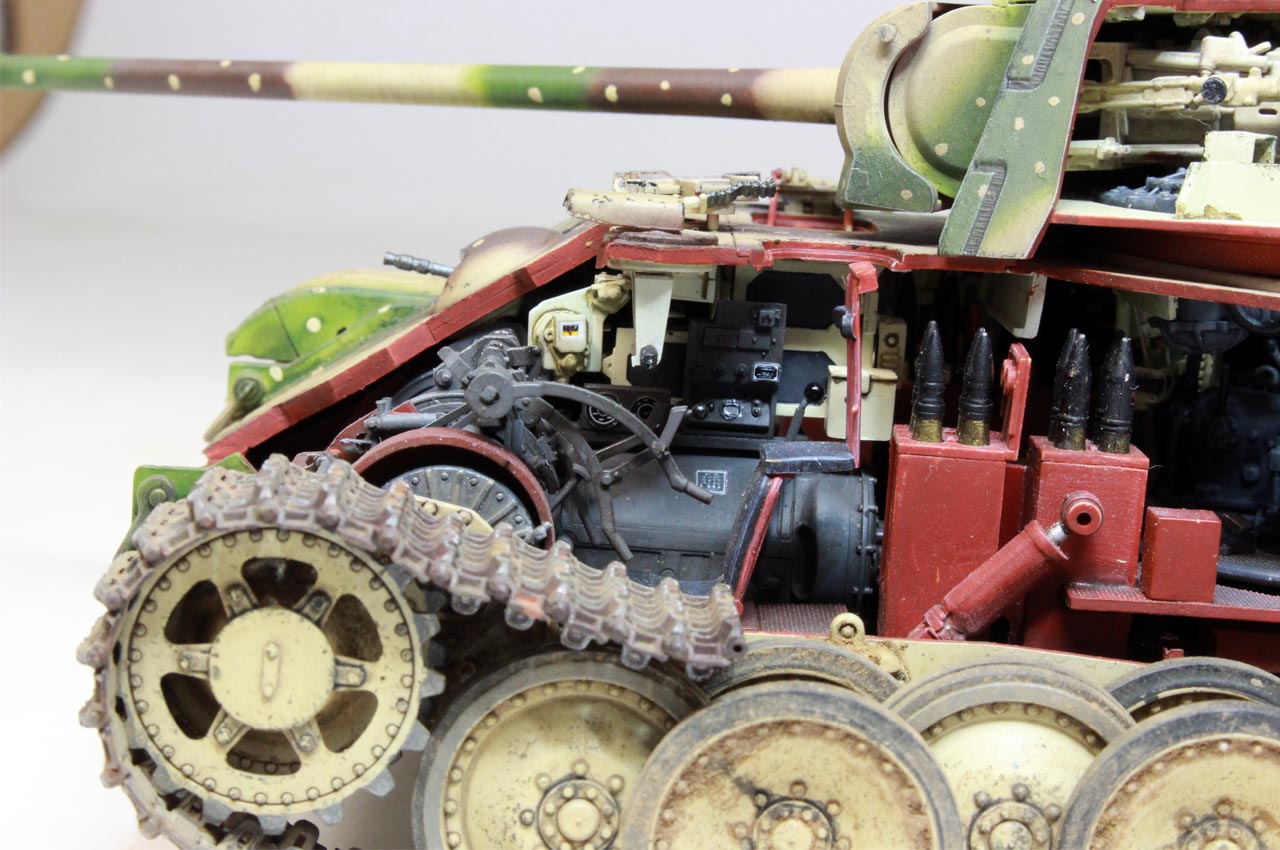
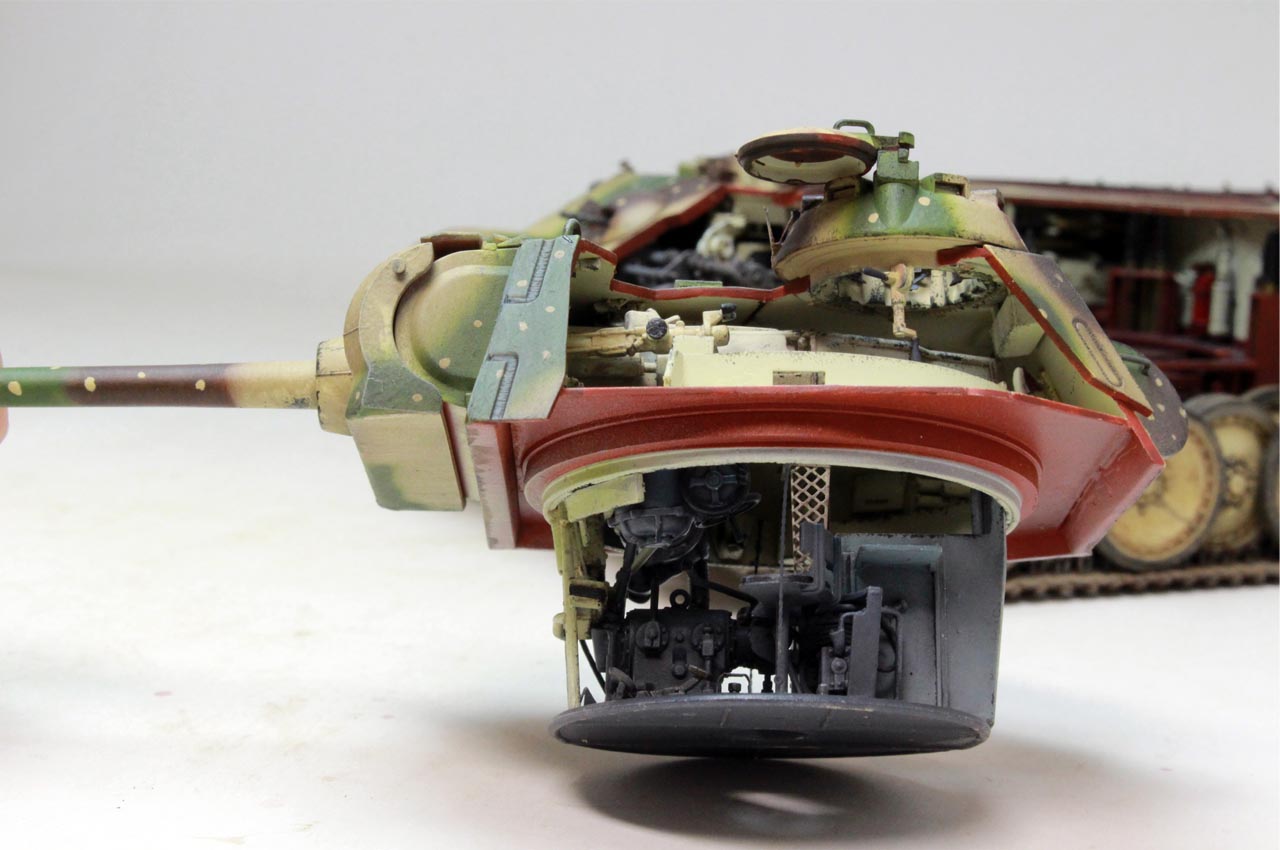
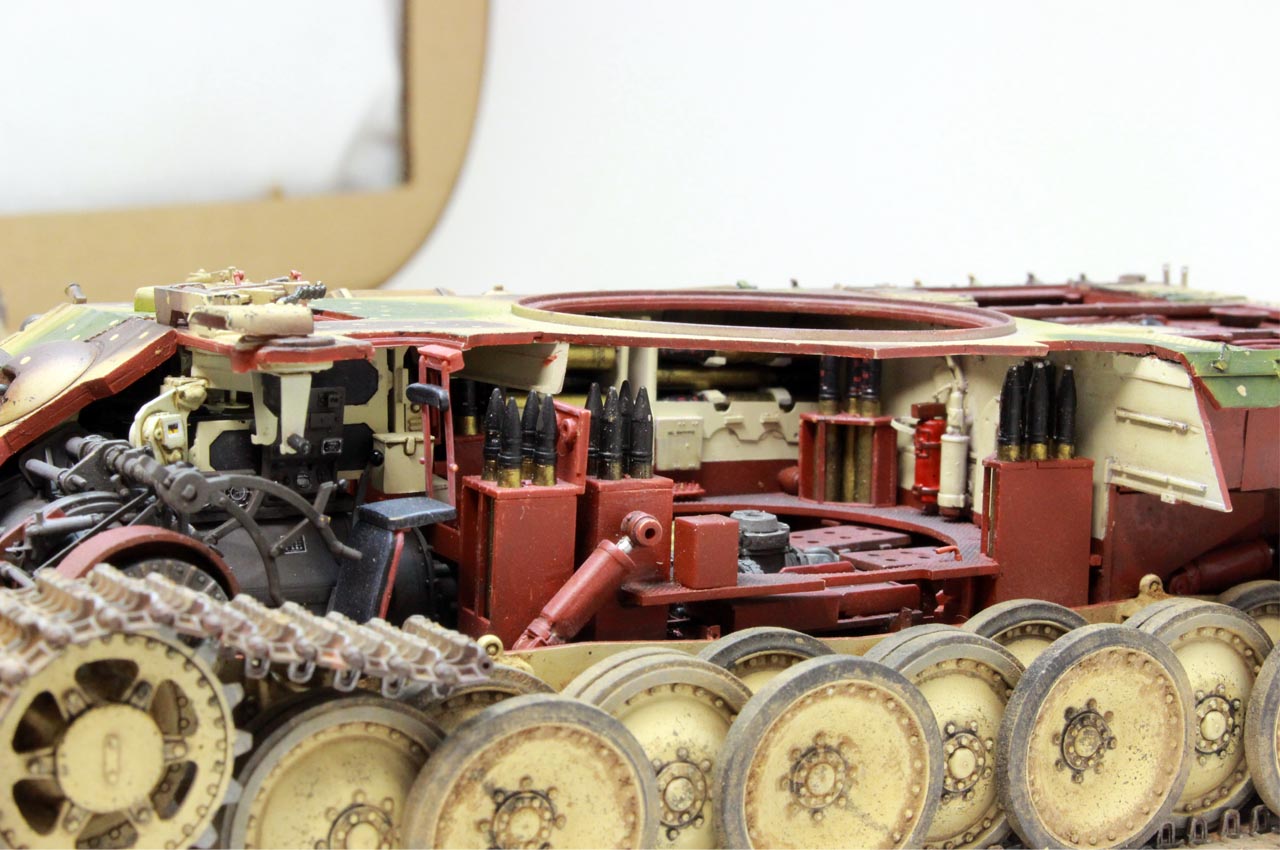
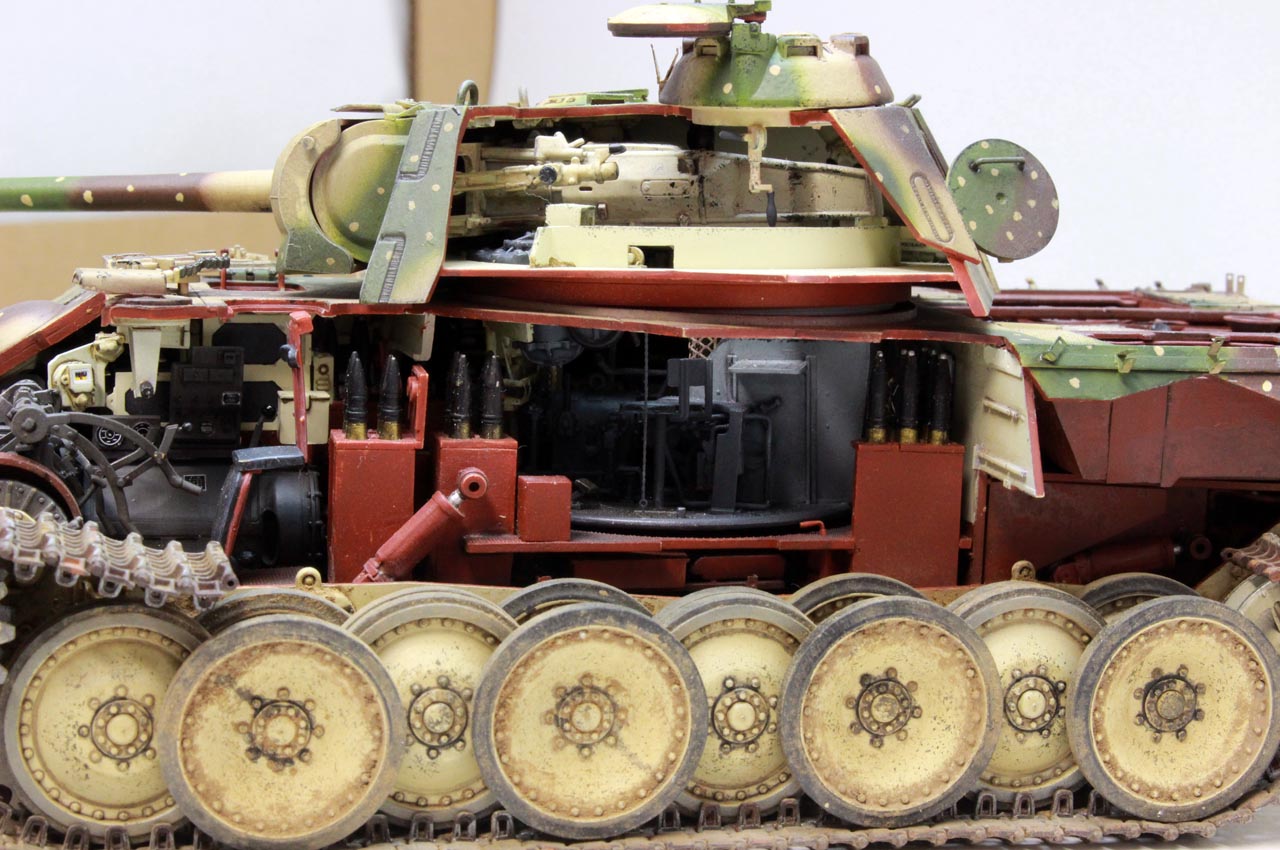
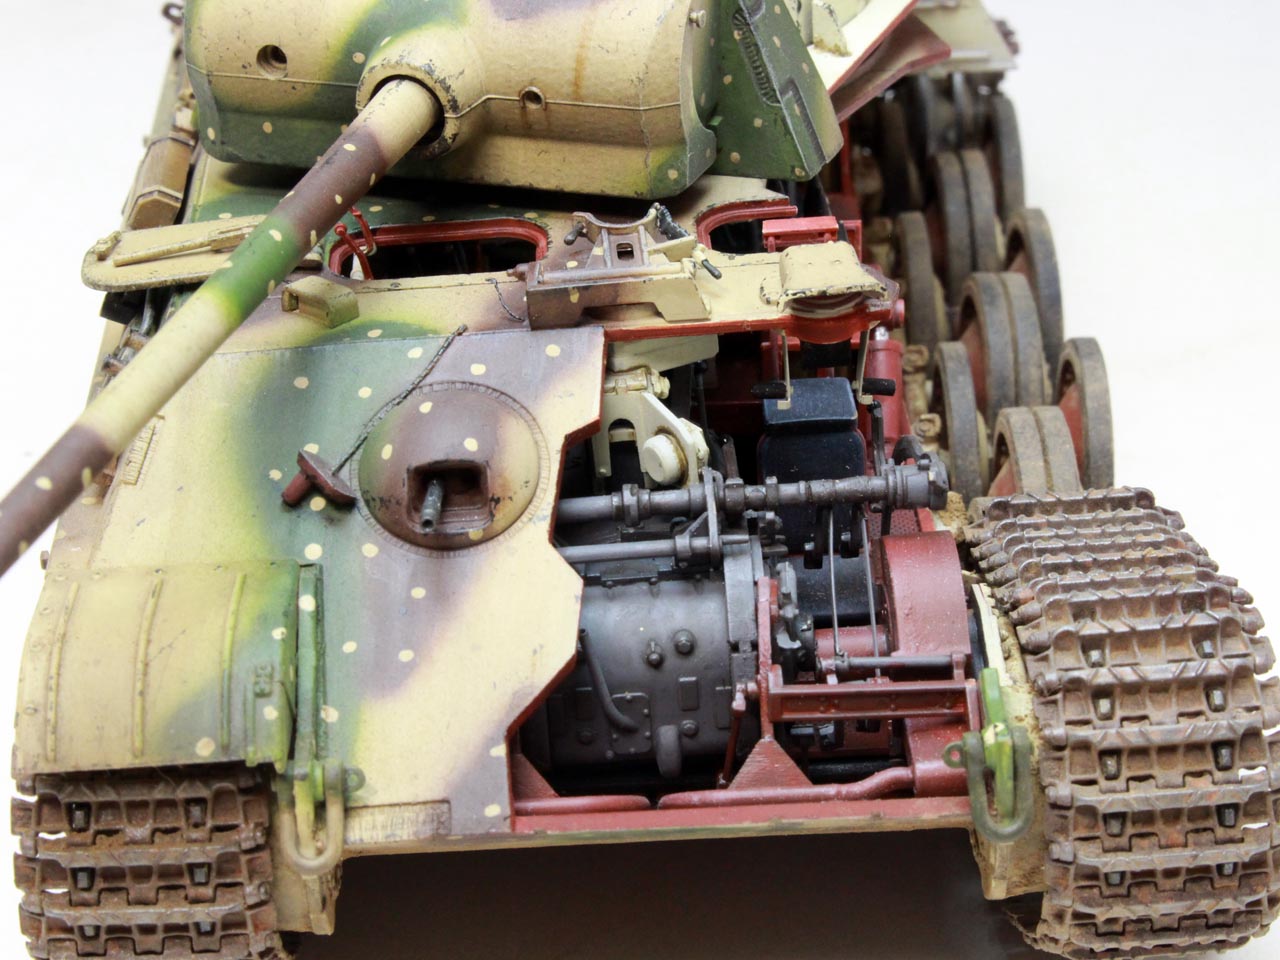
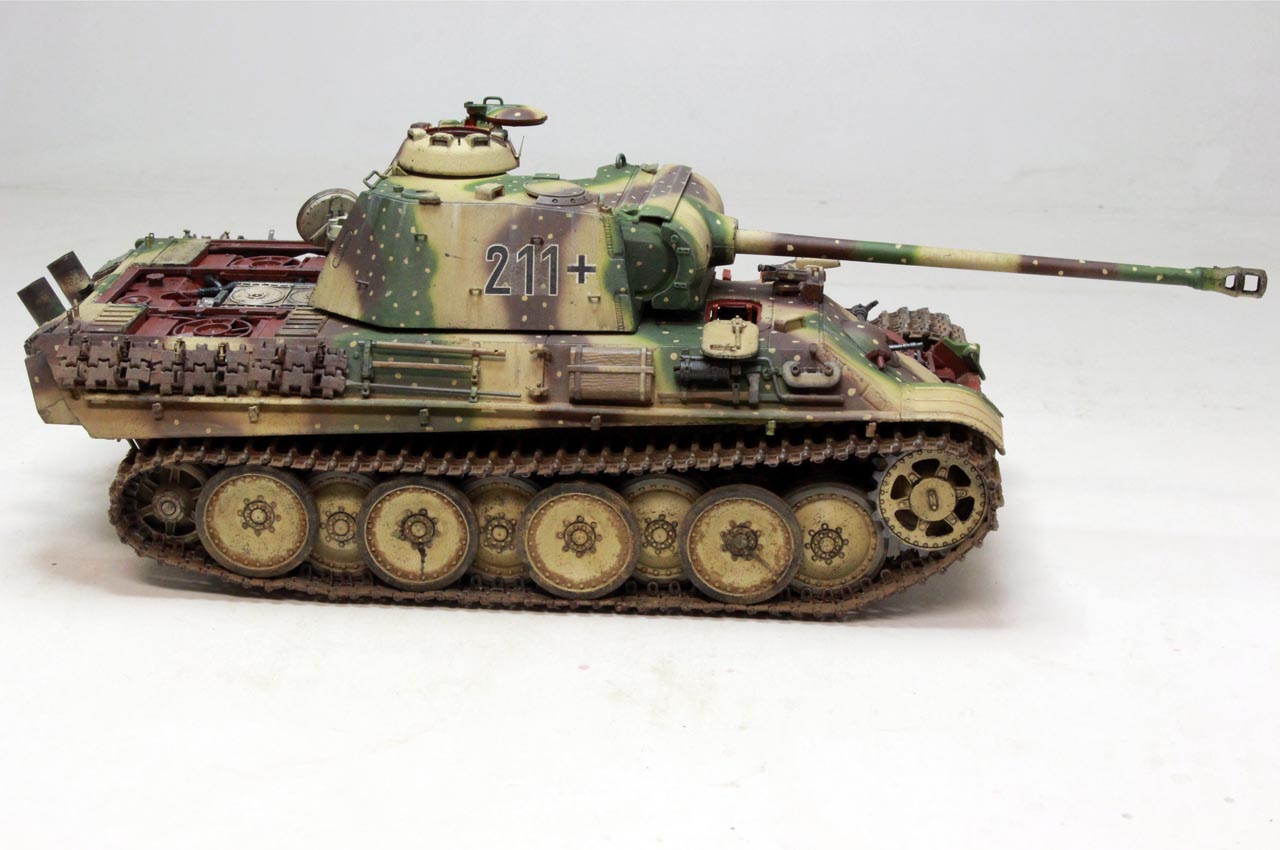
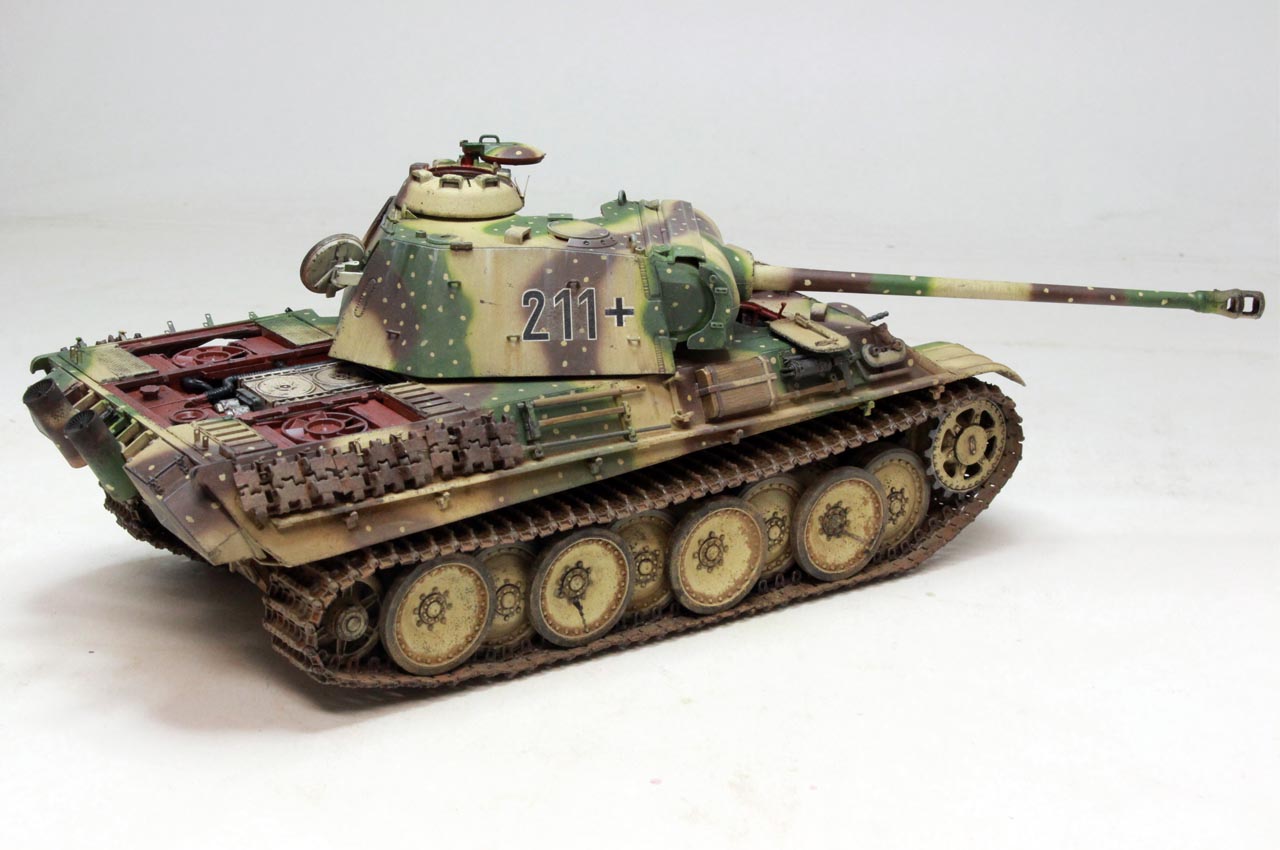
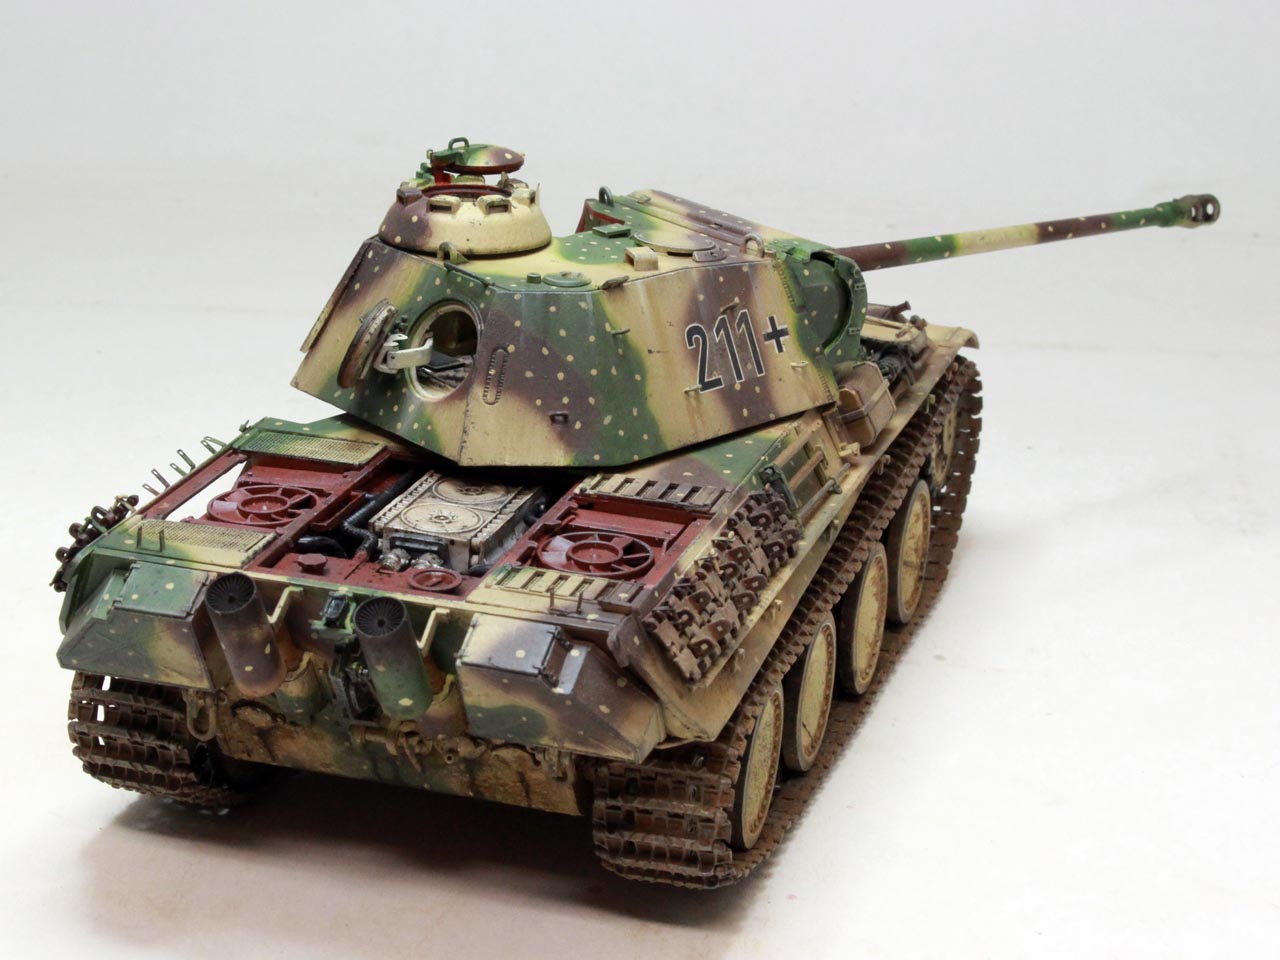
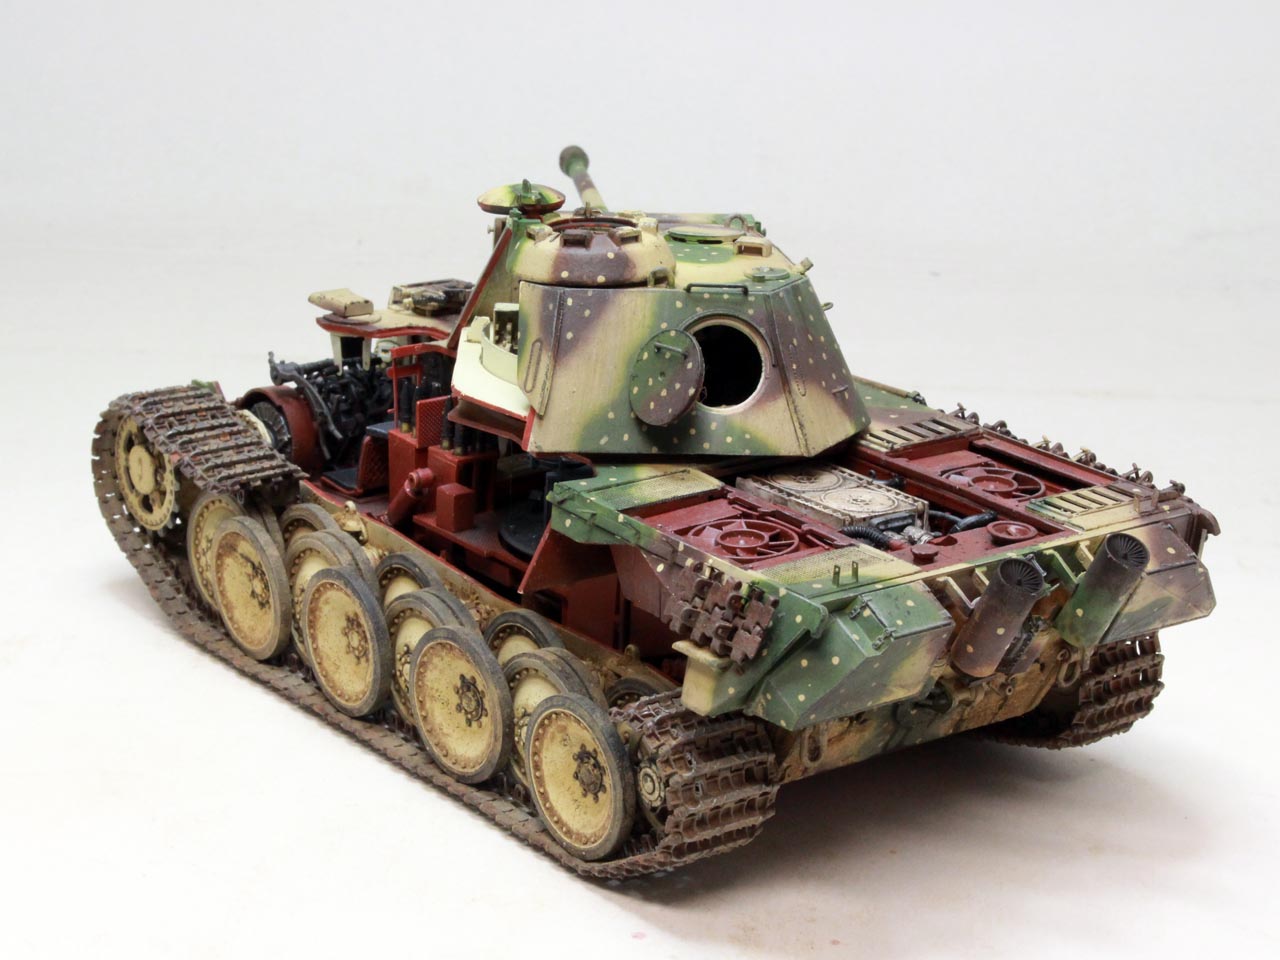
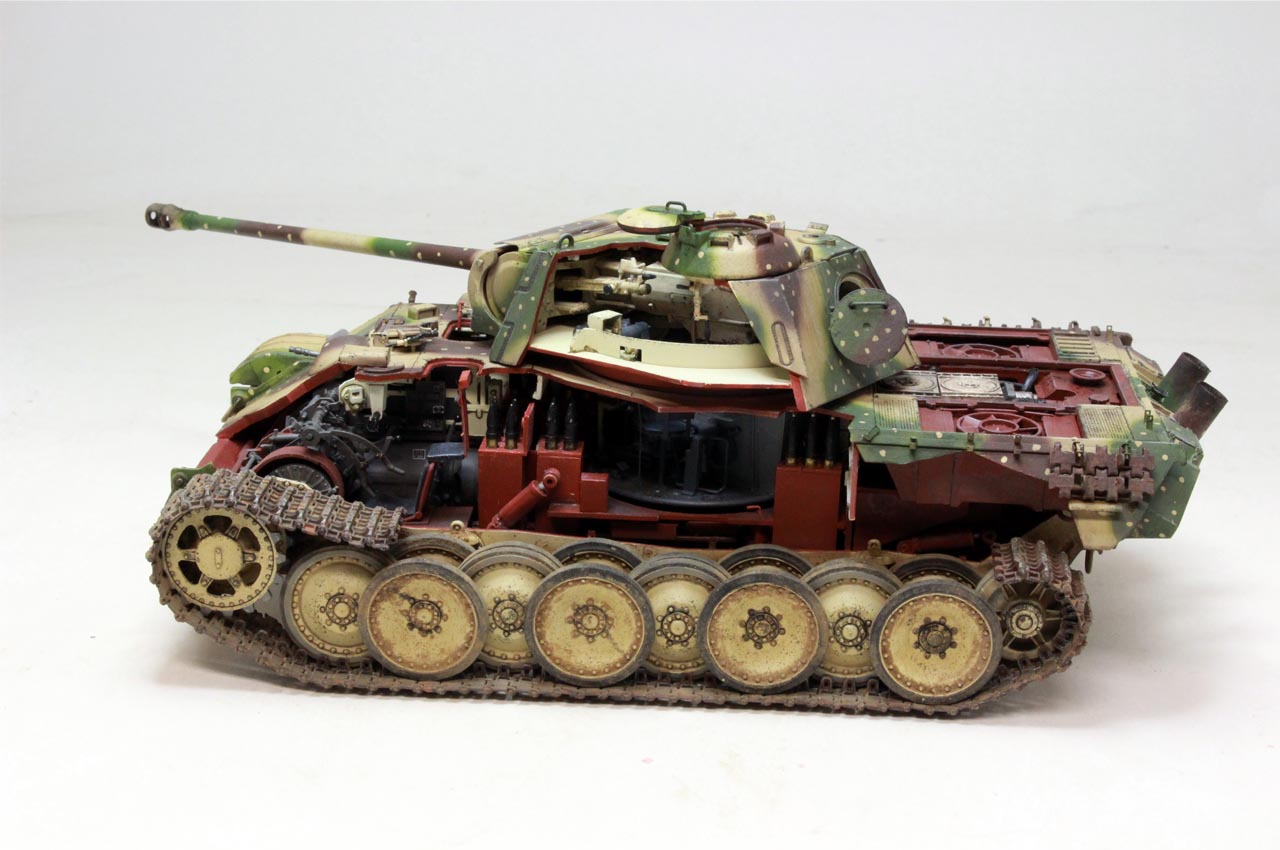
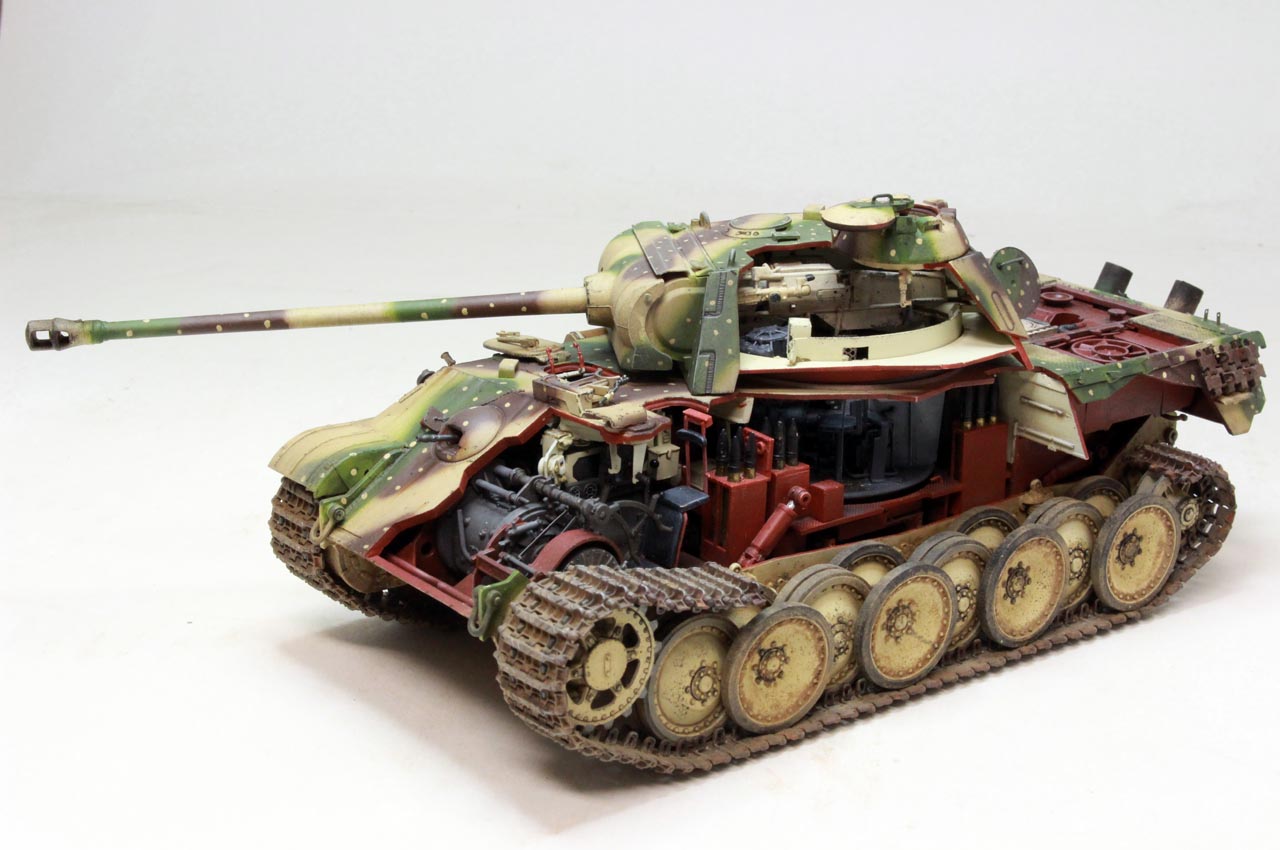
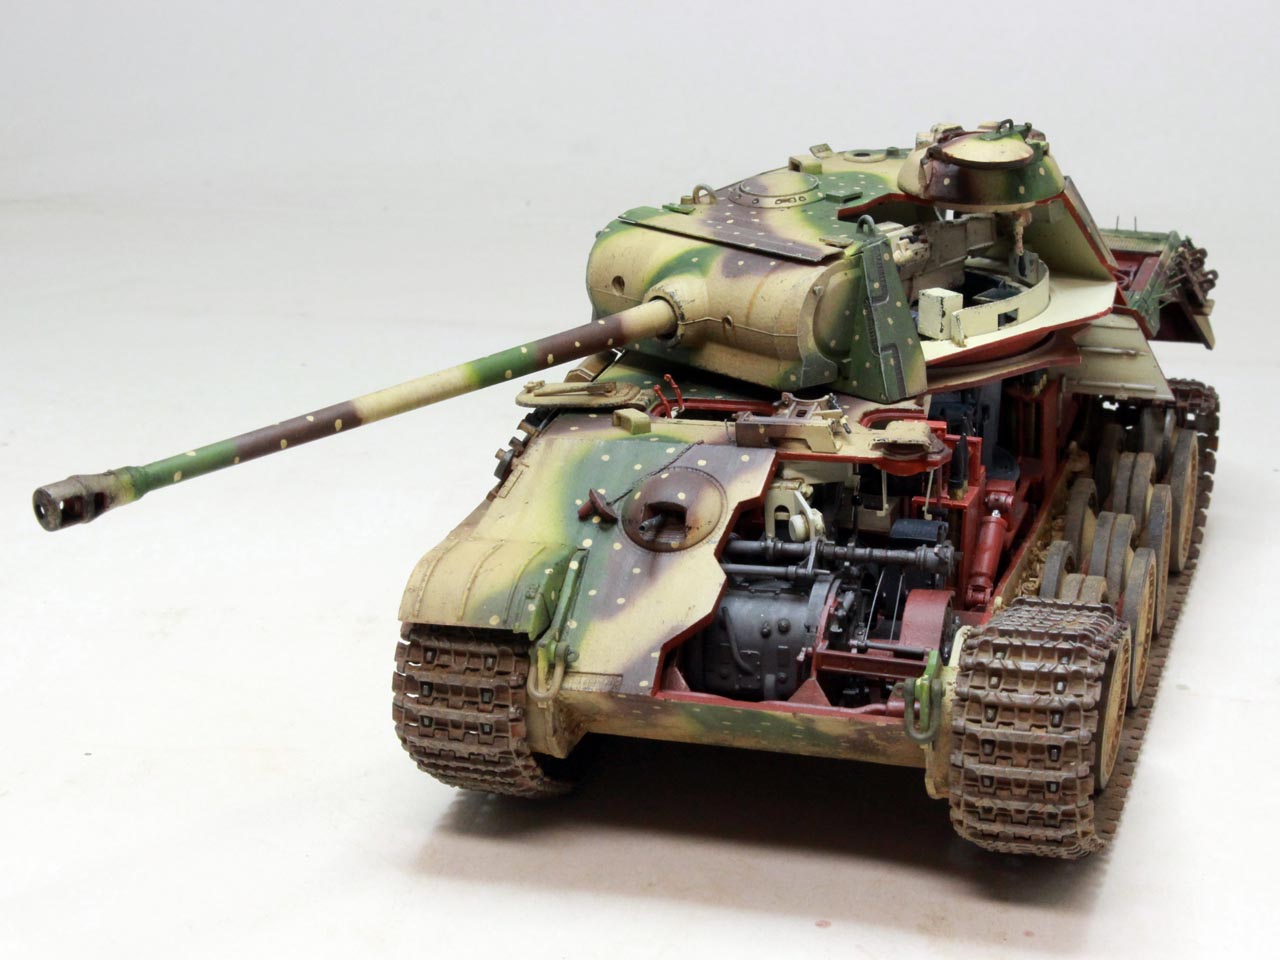
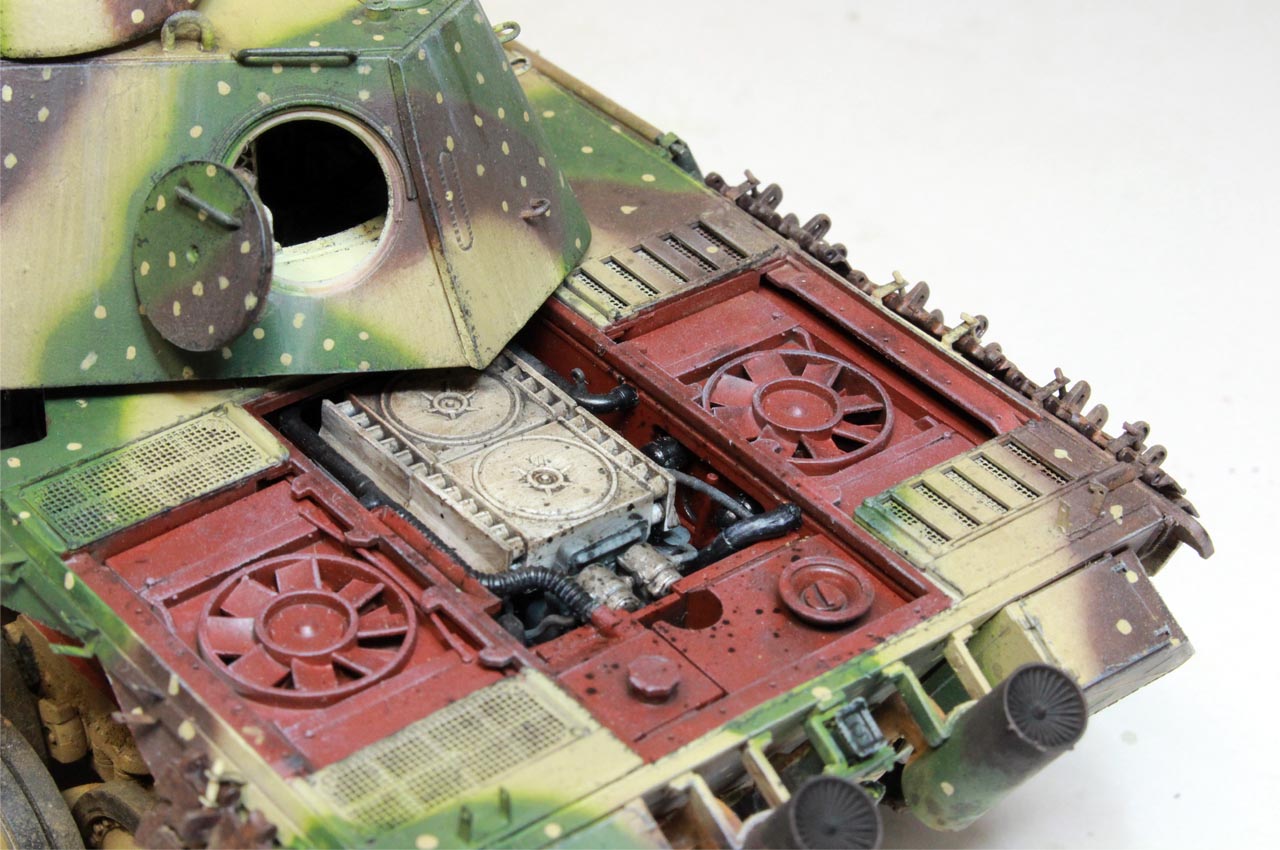
1⁄35RFM Cutaway Panther G
15
Comments
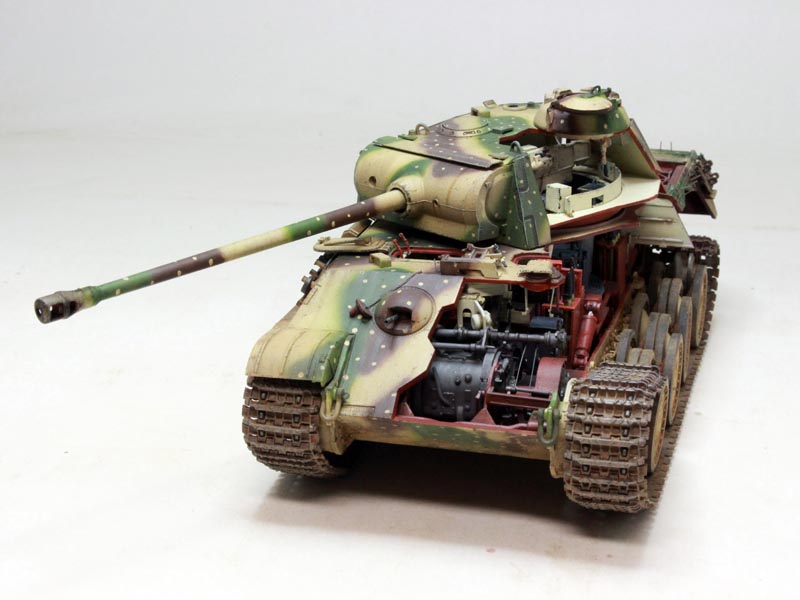
I built this completely OOB, even so the level of detail is excellent and for the most part it builds up into an excellent model. There were a few hiccups along the way and a few things I would do differently but overall RFM has done an excellent job. i used Mission Models paints throughout and weathered with acrylics, oils and pastels.

About the Author


FROM: ALBERTA, CANADA
Colin started modelling with cars and planes as a young child then moved into armour by rebuilding his older brothers motorized Tamiya Tiger II and winning a model contest with it at age 12. He continued modelling into his teens until university and other distractions got in the way, resuming the...
Comments

I love seeing the work of talented modellers. More so when I have the kit !
Cracking effort ! Inspires me to get started.
JUL 20, 2019 - 04:34 AM

Great work,thats the way to do it.Cant hide all that great interior work.
JUL 20, 2019 - 08:47 AM


Beautiful job and an inspiration to all of us. Just one question: is this the kit that was offered as a cut-away or were you busy with a Dremel? Love the exterior paint scheme.
JUL 20, 2019 - 12:24 PM

Lovely work Colin and a great looking finish that can be displayed either way around, but I would suggest a rotating glass base for it.What was your opinion of the build progress, the model generally and the instructions?
JUL 20, 2019 - 09:23 PM

Next stop Show podium, a masterpiece. As Ive just been dealing with a similar issue I particularly appreciate the nice hard edges of the primer paint on the cutaway plates. Its a caps-lock expletive to get that right no matter how good the masking tape is, do you have some secret technique? Superb job
JUL 20, 2019 - 11:23 PM

Thanks Darren, overall it was a pretty good build with a few issues as noted in my build blog. I did get a bit worn down by the high part count and had to reset for a while near the end. I think one of the biggest things is to pay attention to the sub assemblies and dry fit everything to make sure it goes together all right. Tolerances are very tight and a coat of paint on mating surfaces can cause some fit issues. The PE is a bit fiddly and fragile, plus there were some fit issues with the hull crossbraces. I found the isntructions to be quite well laid out in general, no real issues there. It was a challenging build and definitely not for a newbie.
JUL 21, 2019 - 12:33 AM
Thanks Tim, no special technique, just a fine brush, magnifying lamp and patience lol.
JUL 21, 2019 - 12:34 AM

Colin,
Wonderful work - inspiring! Man, you have sold this kit for me.
JUL 28, 2019 - 02:29 PM
Copyright ©2021 by Colin Key. Images and/or videos also by copyright holder unless otherwise noted. The views and opinions expressed herein are solely the views and opinions of the authors and/or contributors to this Web site and do not necessarily represent the views and/or opinions of Armorama, KitMaker Network, or Silver Star Enterrpises. All rights reserved. Originally published on: 2019-07-20 00:03:26. Unique Reads: 7912

WEB HOSTING BY


Copyright ©2021 Armorama and Kitmaker Network, a subsidiary of Silver Star Enterprises
All Rights Reserved. Please read our Conditions of Use and Privacy Policy.
All Rights Reserved. Please read our Conditions of Use and Privacy Policy.