

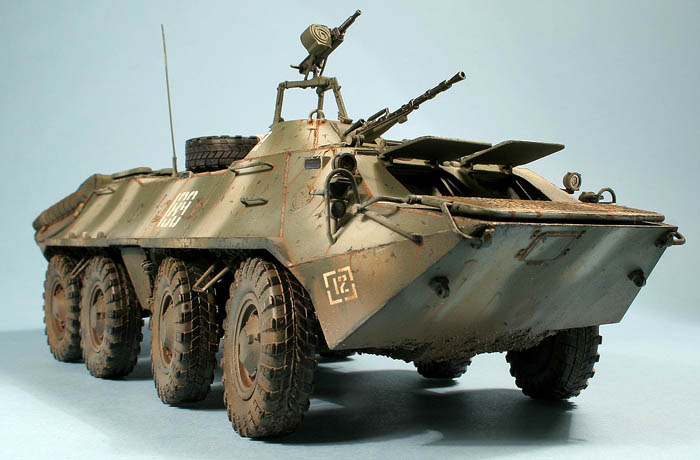
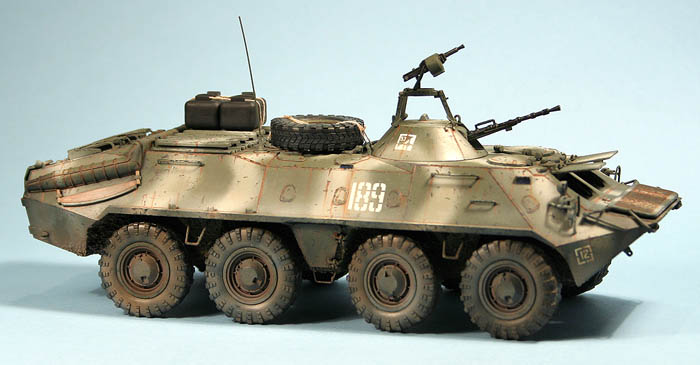
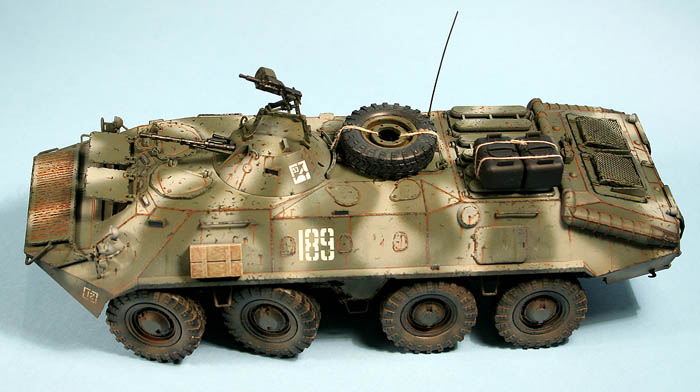
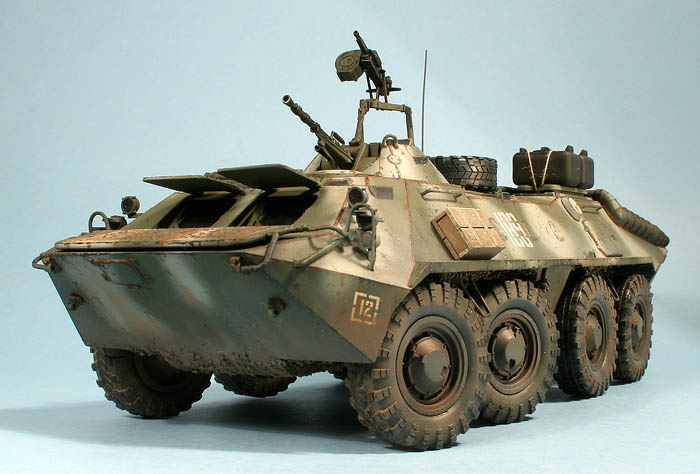
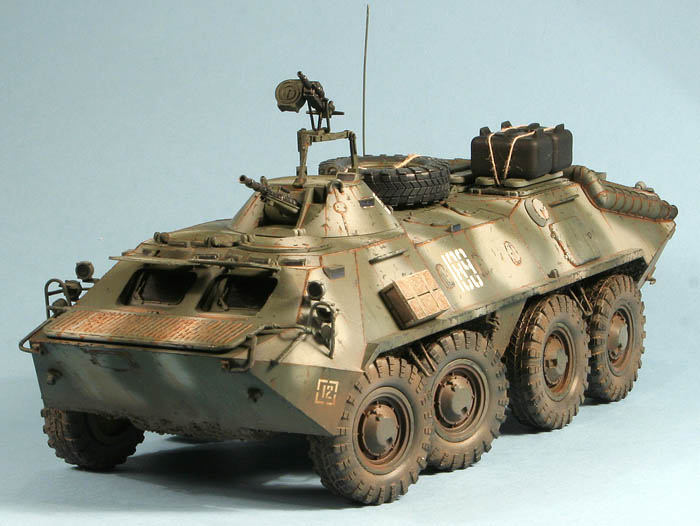
1⁄35BTR-70
8
Comments


About the Author

FROM: WOJEWODZTWO POMORSKIE, POLAND
I was born in 1982. Since then I live in my beloved city, Gdynia. I got my first model when I was six. I mostly build 1:35 aromor and softskins and 1:24/25 cars. Although thats not a rule...:) I studied Industrial Design at the Academy of Fine Arts in Gdańsk, and received a Master Degree ...
Comments

Grzegorz, any chance you could explain a bit about your technique for achieving that look on the paintwork?
Vinnie
FEB 20, 2006 - 06:10 PM
Not a problem Vinnie
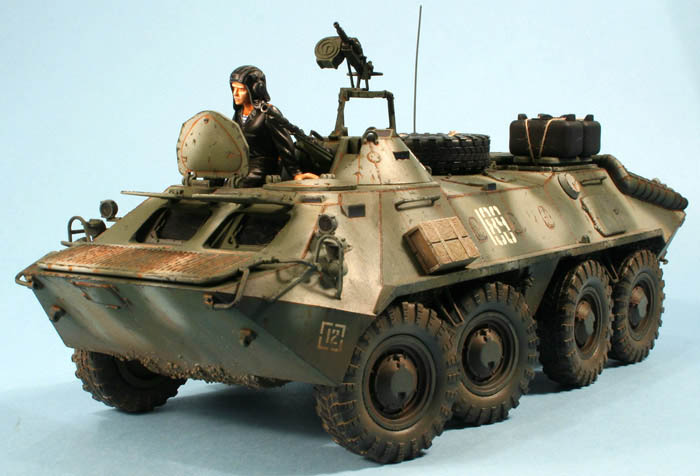
Base colour and camo were airbrushed with humbrol enamels. Then I sprayed substitute of the "Future" in the places where decals go, and placed decals using Humbrol's DeacalFix.
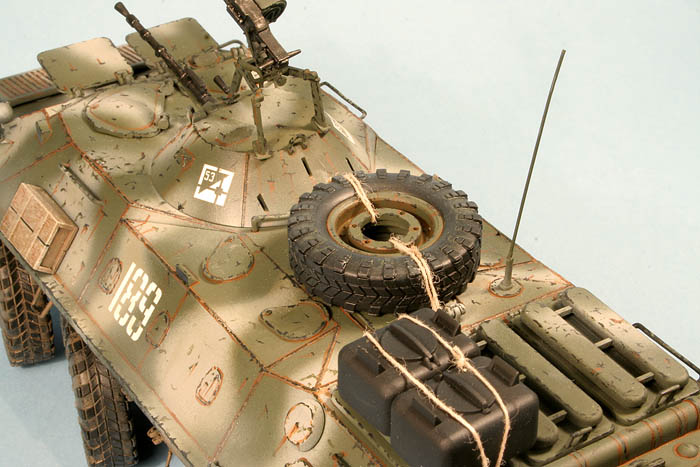
After that, was time for paint chipping. Paintchips were done with Citadel's black acrylic paint, rust streaks were done with lightly diluted bestial brown acrylic paint of the same manufacturer. Some chips of the base green were also added in the camo grey areas. All that was accomplished with a fine brush, 0 works ok for me.
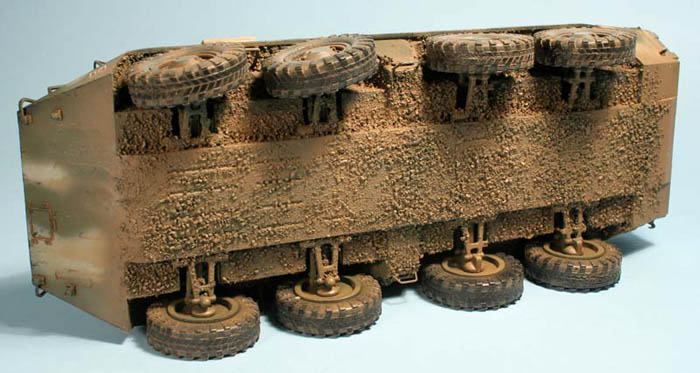
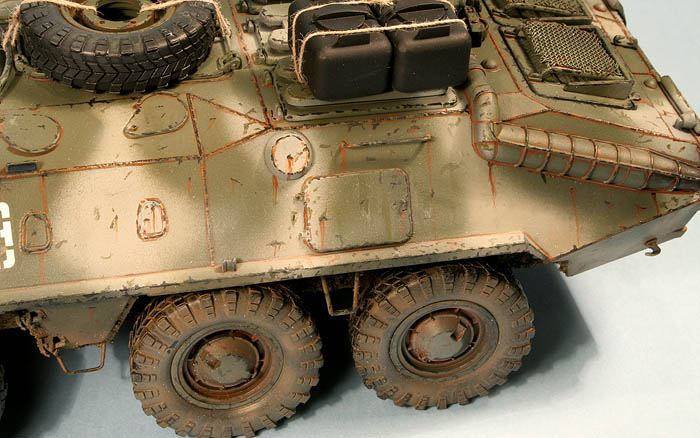
Brown 'dusting' on the lower parts of BTR was done via airbrush with Humbrol's earth (#29), which was then treated with cotton bud soaked with enamel thinner, to simulate the dirt falling off or being rubed away in some areas. Lastly I sprayed the whole model with matt cote mixed with some sand enamel. It didnt worked quite as I expected and gave me some problems as it didn't mix properly, but it dulled and blended everything quite ok.
Taillights were done with Talens' transparent red on a silver background. Cannon and grenade launcher were painted with Citadel's boltgun metal and given a black wash.
Cheers
Pedro
FEB 20, 2006 - 06:48 PM

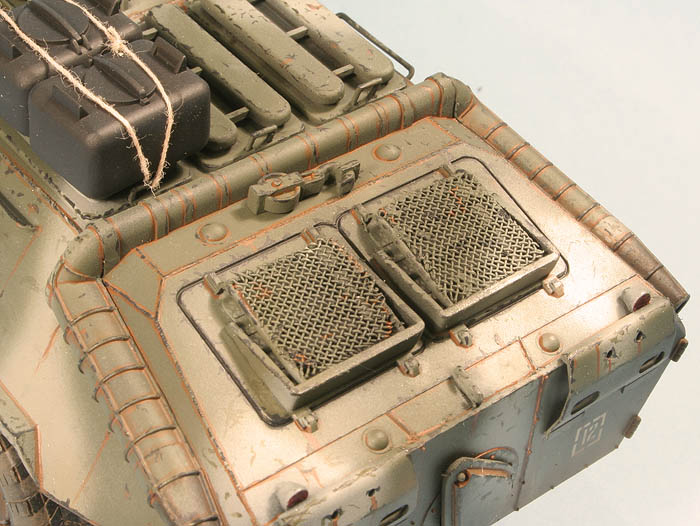
Wow! Great Job! I really like the treatment on the welds, with the different tones for old and new rust. The fact that you're studying in the university at the same time makes it all the more amazing.
FEB 22, 2006 - 12:24 AM
Thank you Sir
This one I've made during Xmass holidays, so I wasn't actually studying then
Pedro
FEB 22, 2006 - 01:09 AM
There weren't any major problems with the assembly of the kit.
Only pain were few sink marks on the upper hull, but with some putty and sandpaper it was solved really quick Oh and I had to putty some holes remaining under grab handels, but thats really all about it
Pedro
FEB 23, 2006 - 04:33 PM
Copyright ©2021 by Grzegorz Zięcina. Images and/or videos also by copyright holder unless otherwise noted. The views and opinions expressed herein are solely the views and opinions of the authors and/or contributors to this Web site and do not necessarily represent the views and/or opinions of Armorama, KitMaker Network, or Silver Star Enterrpises. All rights reserved. Originally published on: 2006-02-21 00:00:00. Unique Reads: 12524

WEB HOSTING BY


Copyright ©2021 Armorama and Kitmaker Network, a subsidiary of Silver Star Enterprises
All Rights Reserved. Please read our Conditions of Use and Privacy Policy.
All Rights Reserved. Please read our Conditions of Use and Privacy Policy.