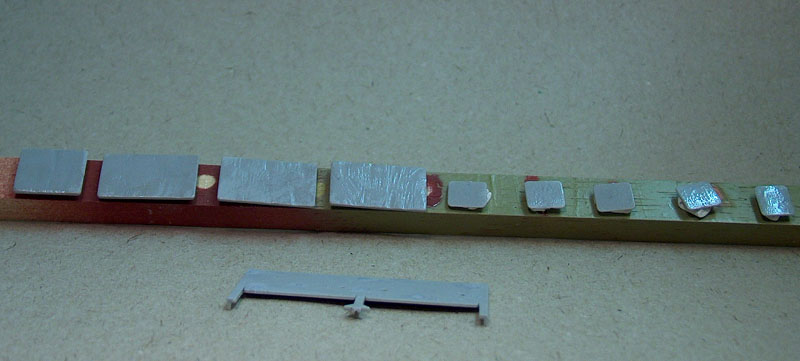
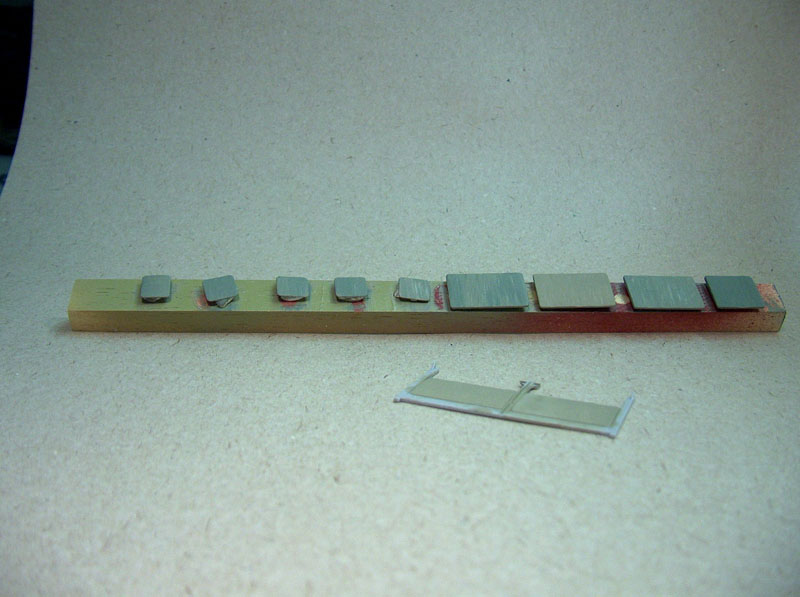
First of with the lower hull - I start with adding the front part and since there´s this nice Photo Etch supplied I´m going to use it in the went openings. According to the instructions, the meshscreens are to be added from the frunt, but theres nice indentions on the inside that is intended for the screens and besides according to my referances it looks right putting them on from the inside.
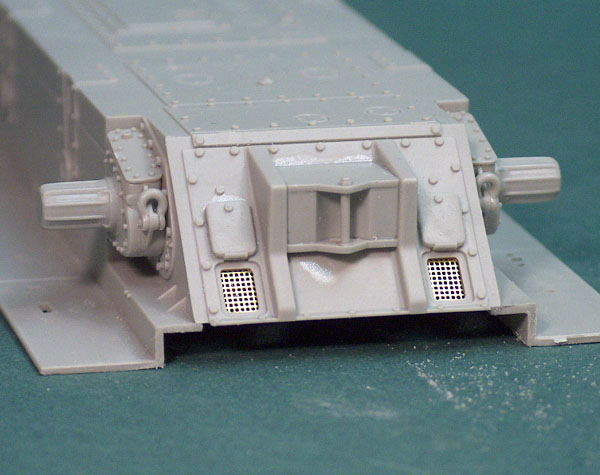
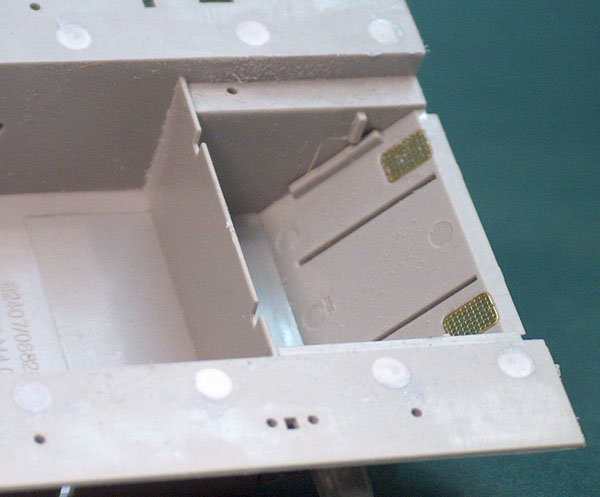
Knowing my luck, i have added small strips of styrene to secure the screens - otherwise I´ll propably knock them off during painting
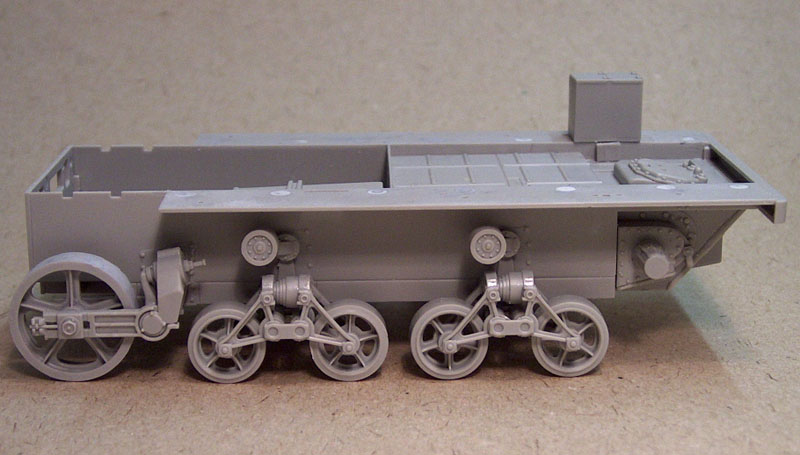
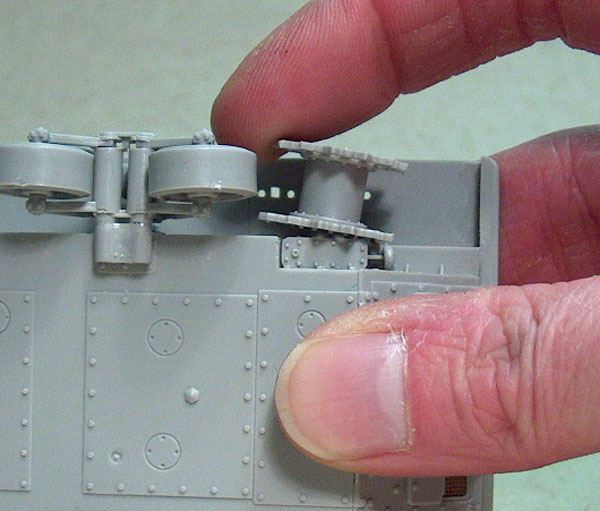
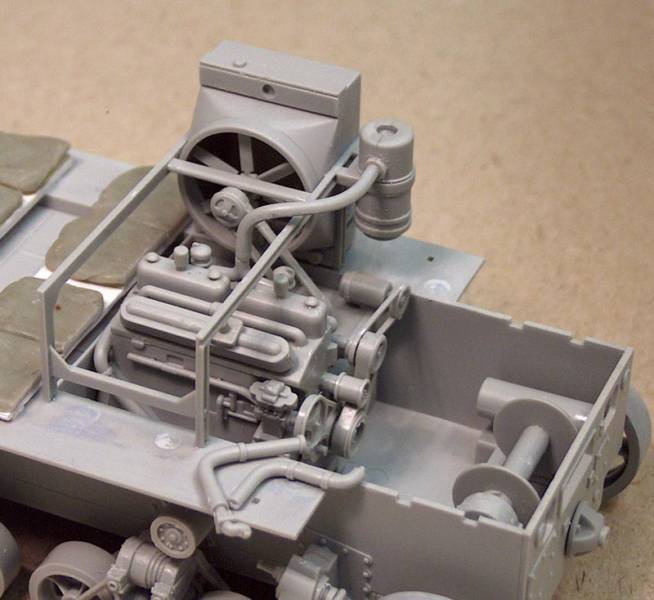
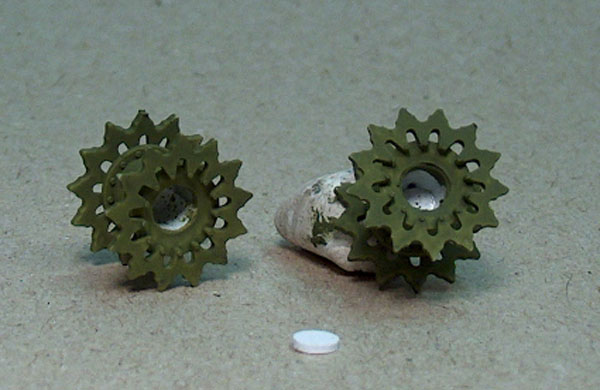
Next comes the wheels, and I quickly disovered that the sprocketwheels and the returnrollers lacks a secure and positive fit, and dryfitting them shows them to be very wobbly. Not impressive, and testfitting the tracks on the dryfittet sprocketwheel and returnrollers show, that if they are glued on uncriticaly the inside of the tracks will scrape against the hull. I think I´ll have to add some punched out discs to give a secure fit and make both sprocetwheels alinged.
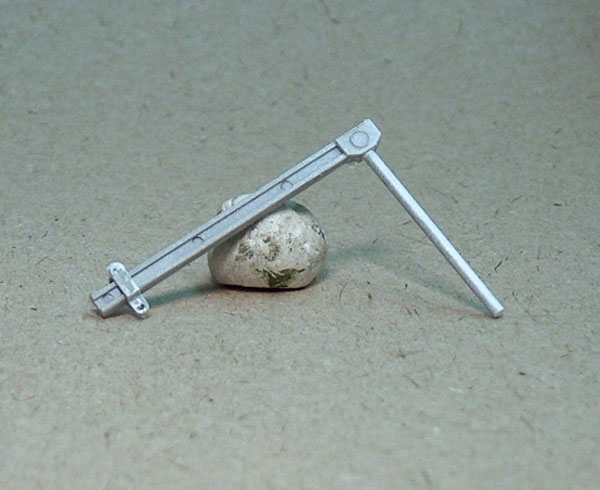
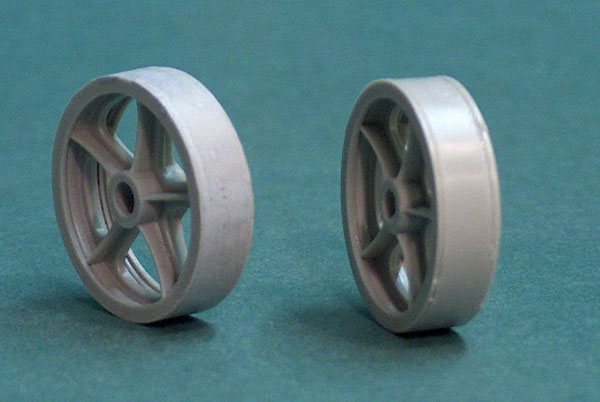
The idlerwheels comes in tree parts to enable a fine lip runnen on both sides of the wheel. The resulting imperfections from gluing the parts calls for some putty and sanding, but well within normal modelingstandard - I used pressure after gluing to minimize the need for filling by placing the idlerwheels in my clamp.
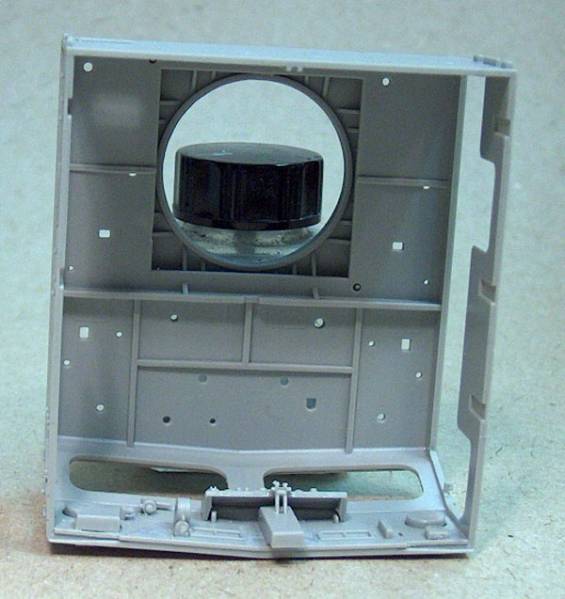
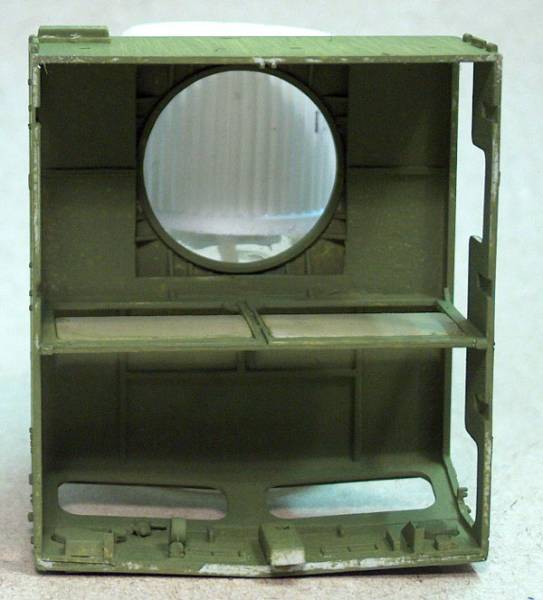
While the idlerwheels dryed I began to take a look at the cabin. The ejektorpinmarks will mostly be hidden by seats and other pieces, but i filled them with thin punched out dices and some putty newertheless. Adding the floor was easy and the parts have a very nice fit.
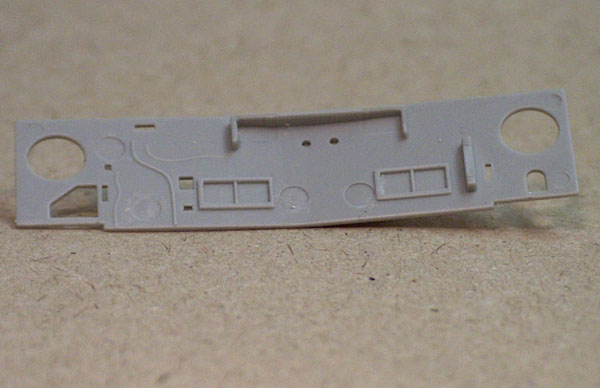
Turning my attention to the seats, let me repeat what I wrote in my rewiev - they are BORING! And besides that the are allso wrong compared with my referances that shows individual seats and not 2 by 2 seats. Master Productions has a update set ready that deals with the seat and includes seatbelts.
I decided to try my luck with some apoxie sculpt to ad some more carracter to the seats. My referances show the seats to be wery baggy and it appears that they are capable of sliding around on the bench. I began with cutting a strip of styrene using the original parts as guidelines. Added a small hunk of styrene to help secure the sculpt and added even pieces of sculp roughly shaping it and then letting it sit for 20 minutes to make it easyer to work with - its looses some of its stickyness after a little while.
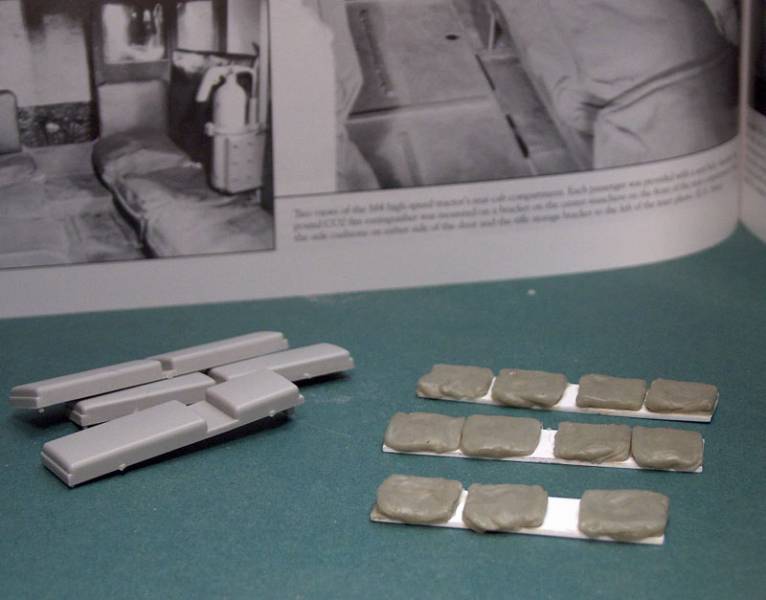
Im quite pleased with the results, it sure looks more interesting than the kit parts, and I now have to add the seatbelts. I don´t think the belts found much use by the crews, preferring to be able to leave the vehicle in a hurry should they encounter some stray German troops. So I´ll show the seatbelts in a "pushed away" position.
Thats it for today - feel free to coment and ask questions.