_GOTOBOTTOM
Armor/AFV: Allied - WWII
Armor and ground forces of the Allied forces during World War II.
Hosted by Darren Baker
Hobby Boss M4 HST
MrMox
Visit this Community
Aarhus, Denmark
Joined: July 18, 2003
KitMaker: 3,377 posts
Armorama: 1,088 posts
Posted: Tuesday, February 12, 2008 - 09:30 PM UTC
Time to get started on a dedicated build on this HST thinge - but first a word of warning - im notorious at NOT following instructions, I´m going to try, but i won´t promise anything. You can find my review Here


First of with the lower hull - I start with adding the front part and since there´s this nice Photo Etch supplied I´m going to use it in the went openings. According to the instructions, the meshscreens are to be added from the frunt, but theres nice indentions on the inside that is intended for the screens and besides according to my referances it looks right putting them on from the inside.
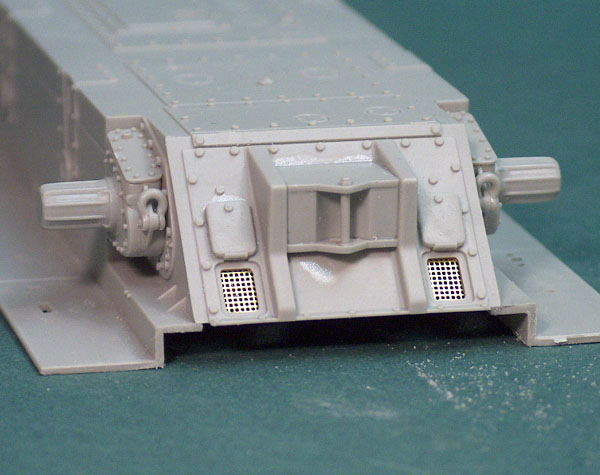
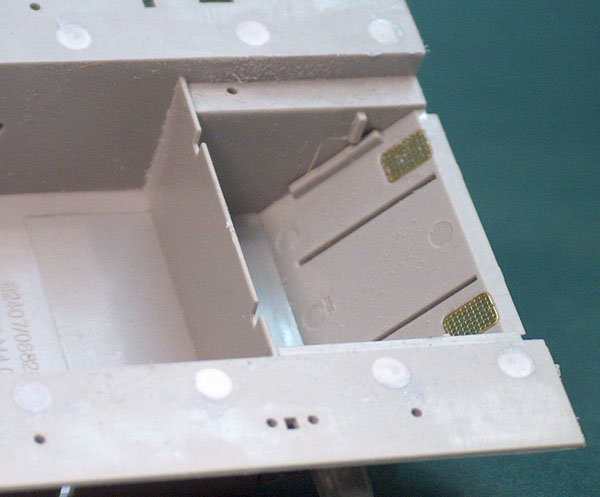


Knowing my luck, i have added small strips of styrene to secure the screens - otherwise I´ll propably knock them off during painting…

Next comes the wheels, and I quickly disovered that the sprocketwheels and the returnrollers lacks a secure and positive fit, and dryfitting them shows them to be very wobbly. Not impressive, and testfitting the tracks on the dryfittet sprocketwheel and returnrollers show, that if they are glued on uncriticaly the inside of the tracks will scrape against the hull. I think I´ll have to add some punched out discs to give a secure fit and make both sprocetwheels alinged.

The idlerwheels comes in tree parts to enable a fine lip runnen on both sides of the wheel. The resulting imperfections from gluing the parts calls for some putty and sanding, but well within normal modelingstandard - I used pressure after gluing to minimize the need for filling by placing the idlerwheels in my clamp.
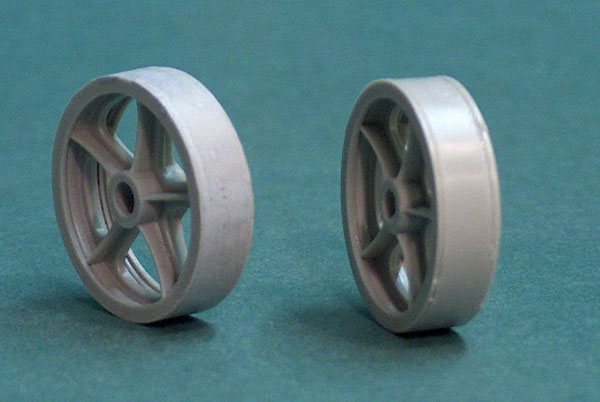


While the idlerwheels dryed I began to take a look at the cabin. The ejektorpinmarks will mostly be hidden by seats and other pieces, but i filled them with thin punched out dices and some putty newertheless. Adding the floor was easy and the parts have a very nice fit.

Turning my attention to the seats, let me repeat what I wrote in my rewiev - they are BORING! And besides that the are allso wrong compared with my referances that shows individual seats and not 2 by 2 seats. Master Productions has a update set ready that deals with the seat and includes seatbelts.

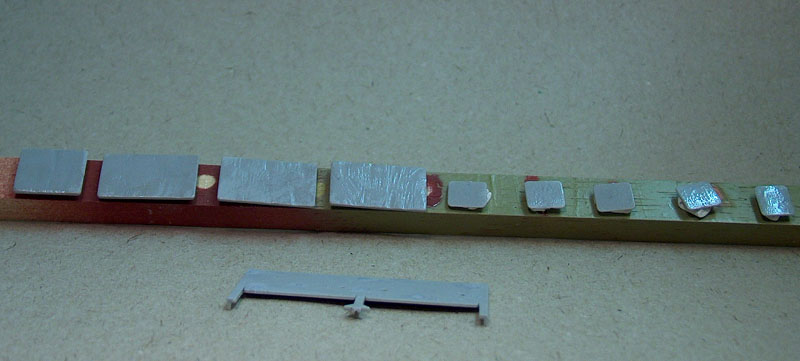
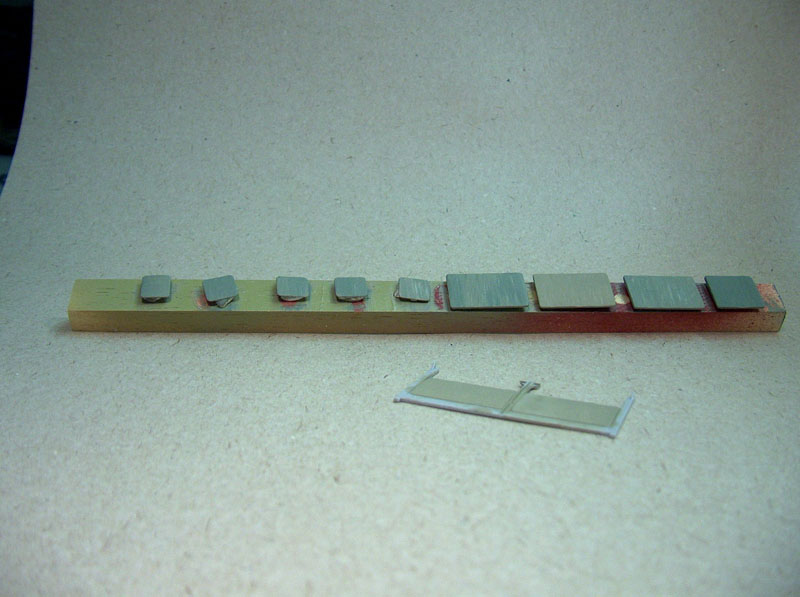
I decided to try my luck with some apoxie sculpt to ad some more carracter to the seats. My referances show the seats to be wery baggy and it appears that they are capable of sliding around on the bench. I began with cutting a strip of styrene using the original parts as guidelines. Added a small hunk of styrene to help secure the sculpt and added even pieces of sculp roughly shaping it and then letting it sit for 20 minutes to make it easyer to work with - its looses some of its stickyness after a little while.
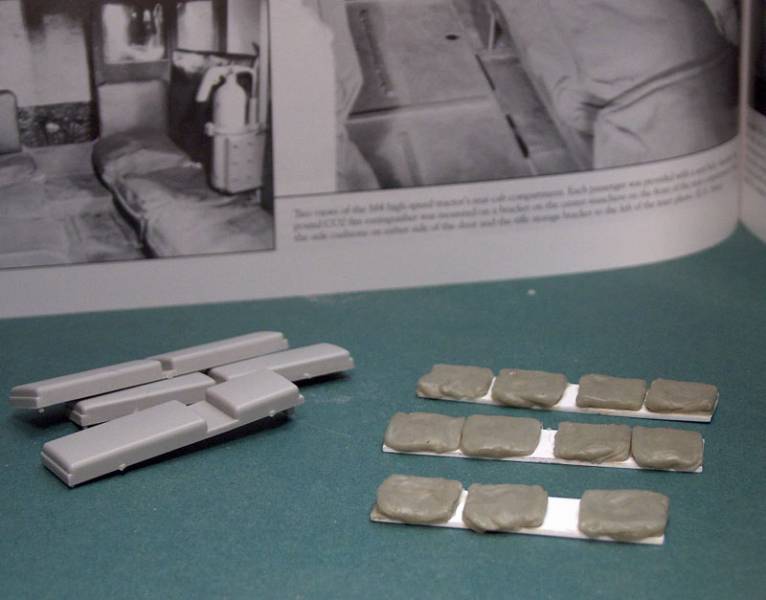


Im quite pleased with the results, it sure looks more interesting than the kit parts, and I now have to add the seatbelts. I don´t think the belts found much use by the crews, preferring to be able to leave the vehicle in a hurry should they encounter some stray German troops. So I´ll show the seatbelts in a "pushed away" position.

Thats it for today - feel free to coment and ask questions.

koenele
Visit this Community
Oost-Vlaanderen, Belgium
Joined: January 17, 2006
KitMaker: 4,194 posts
Armorama: 408 posts
Posted: Tuesday, February 12, 2008 - 09:42 PM UTC
YES

a build log for the M4!!!!

the kit on top of my wanted-list!!

following this one man!!!!

skyhawk
Visit this Community
Florida, United States
Joined: June 03, 2003
KitMaker: 1,095 posts
Armorama: 743 posts
Posted: Wednesday, February 13, 2008 - 05:05 AM UTC
I will be watching this as well....also on my "want" list, and your build log will be a great reference.

thanks for posting!
Andy
dgerber
Visit this Community
United States
Joined: February 13, 2007
KitMaker: 10 posts
Armorama: 8 posts
Posted: Wednesday, February 13, 2008 - 08:57 AM UTC
Thanks for posting your build log - looks like a good start. I just started my HST - the 90mm AA/3in AA gun version. I'm still working on the suspension - there is some room for
improvement in the bogie units (adding some nuts, drilling some holes). I'm tempted
to rebuild the bogie units to really make them accurate, but not in this build - maybe the next
one! Where did you get the pictures of the seat cushions? Your cushions look great -
even better after painting, I think!
MrMox
Visit this Community
Aarhus, Denmark
Joined: July 18, 2003
KitMaker: 3,377 posts
Armorama: 1,088 posts
Posted: Wednesday, February 13, 2008 - 12:33 PM UTC
Thanks guys - so far the build has only take basic modellers skils, except for the seats. My primary referances are the Ampersand book, its on sale at HLJ http://www.hlj.com/product/AMPHSTSP-02.

Last night I assembled the buggie units, they goes easy together, but the fit on the hull takes some care - pics later when I get home. The idlerunits are pretty easy too, and the fit un the hull much better.

Cheers/Jan


MrMox
Visit this Community
Aarhus, Denmark
Joined: July 18, 2003
KitMaker: 3,377 posts
Armorama: 1,088 posts
Posted: Thursday, February 14, 2008 - 08:08 PM UTC
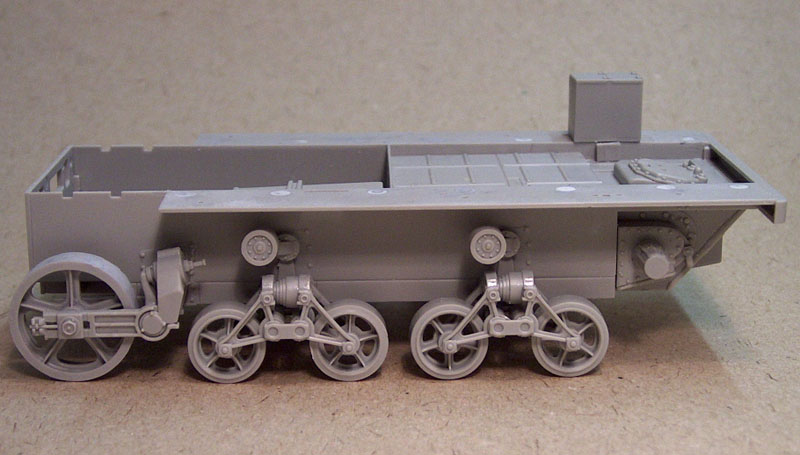
A bit of progress, added the boggies and care is needed to ensure a good and strait fit. The boggies lacks a few bolts that I plan to add later.


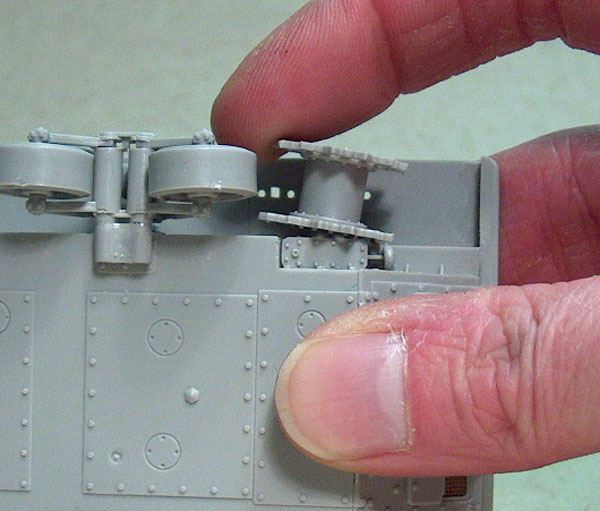
The sprocket wheels has a very loose fit, and they slide way too far in on the axels so that the tracks will rub against the hullside - not sure yet what I´m going to do about it...

Here you ca see how wobbly the fit is...

MrMox
Visit this Community
Aarhus, Denmark
Joined: July 18, 2003
KitMaker: 3,377 posts
Armorama: 1,088 posts
Posted: Friday, February 15, 2008 - 09:47 PM UTC
Giving the drivetrain a rest and moved on to the engine bay - steps 3 - 7 in the instructions.

Very much strait forward with little cleanup and a good fit. Reasonable amount of details, but room for improvement - just one little goof in the instructions.

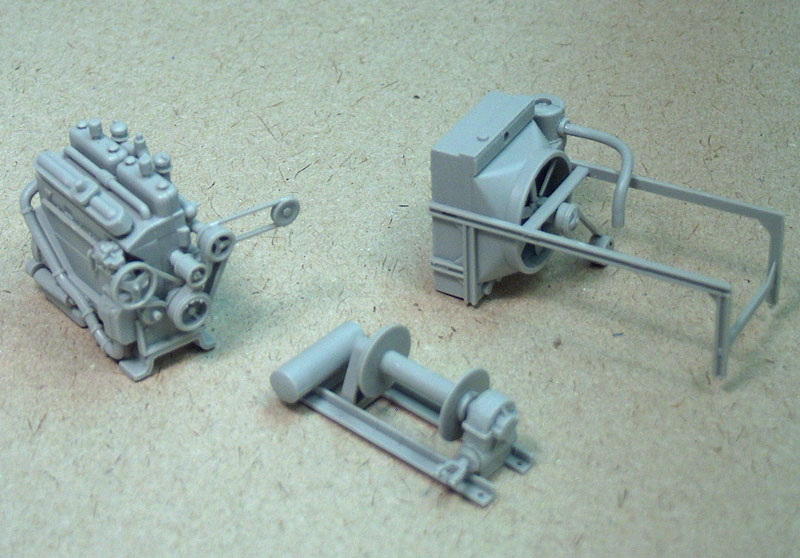
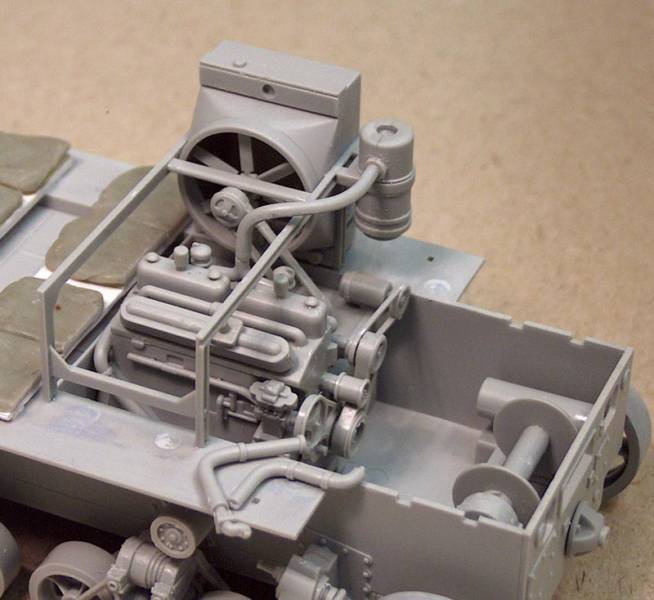
Heres the main componants in the enginebay - some of the componants are connected so dryfitting the parts in the hull is a good idea while you glue on the connecting parts


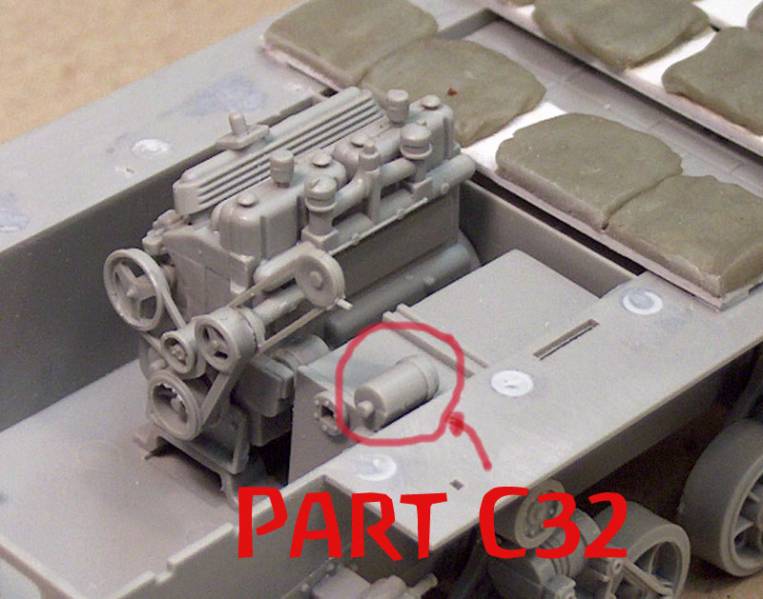
Part C 32 is not named in step 5 in the instructions, but is drawn althoug a bit wague..


Heres the compete set up - too bad most will be hard to see trough the sidedoors- and the winch will be allmost invinsible with the ammocompartment on.


Cheers/Jan
MrMox
Visit this Community
Aarhus, Denmark
Joined: July 18, 2003
KitMaker: 3,377 posts
Armorama: 1,088 posts
Posted: Sunday, February 17, 2008 - 11:33 PM UTC
Busy weekend - didn´t get much modeling done, so very little progress.
Decided to give wallmounted cusions some texture with a round file, some sandpaper and a quick pass with some glue:


and with a bit of paint - not much to see, but some washes will bring it out.


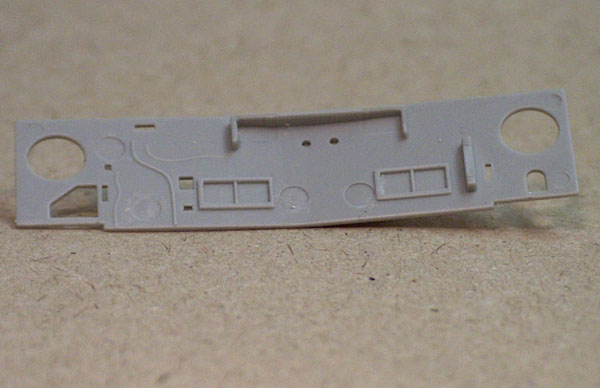
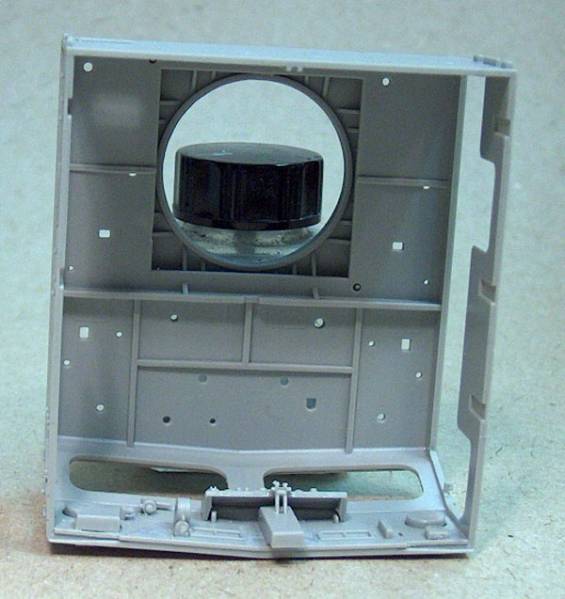
Started working on the crewcabin, the inside of the front has some quite nasty ejectormarks to deal with before adding the details.


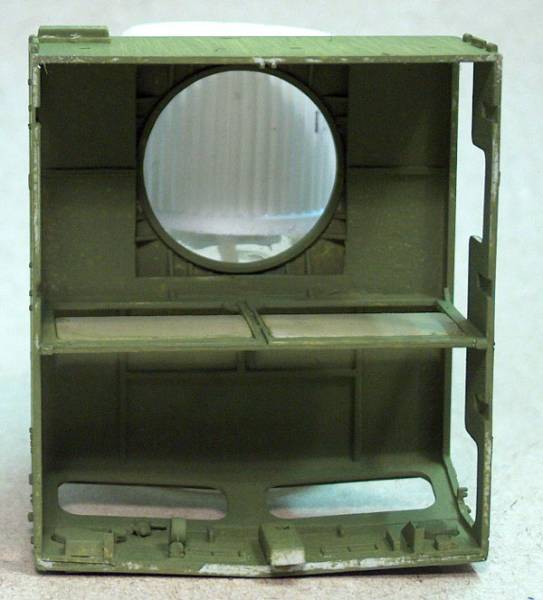
Before adding the smaller parts - and some are quite fiddely - I glued the piece on, so that I wouldn´t break some of the finer details. That done most parts were added, save the dashboard - wich is easyer to paint and detail separate. As can be seen, theres a lot of holes for putting on the tools etc. on the roof of te cabin, I decided to put them on now, so that I could deal with the holes, its one of those "nobody can see it, but i know its there " things.


And then a basecoat before cusions can be added.


Thats all folks
MrMox
Visit this Community
Aarhus, Denmark
Joined: July 18, 2003
KitMaker: 3,377 posts
Armorama: 1,088 posts
Posted: Sunday, February 24, 2008 - 08:52 AM UTC
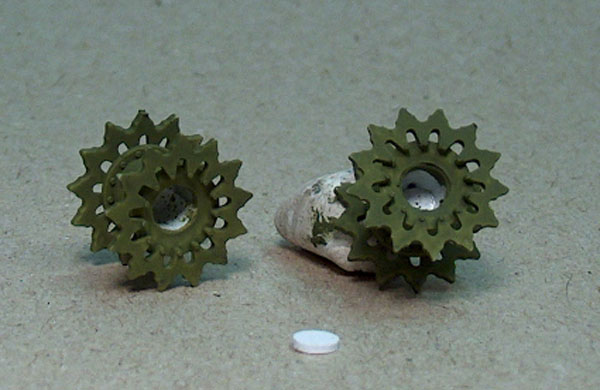
Well, it has been a busy week, but not modelingwise, anyway - have been thinking about how to fix the bad fit on the drivewheels, and choose to glue a small disk in the bottom og the wheel an glue a thin strip of plastic inside the hole - the trick is, than when the plastic becomes soft from the glue, you can squeze the wheel on and get a good solid fit.


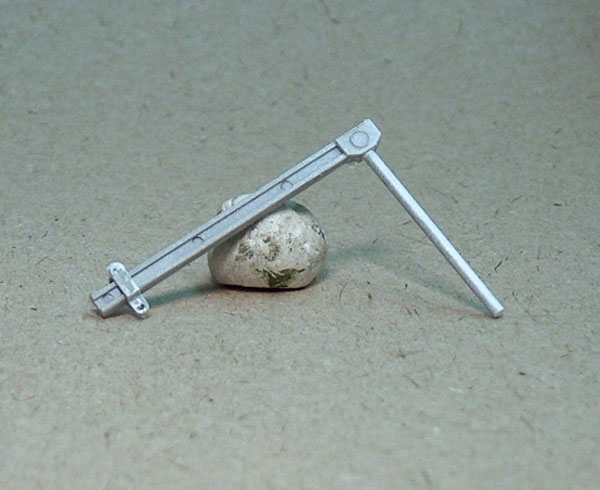
Heres the boom for the crane - some bad hole to fill.


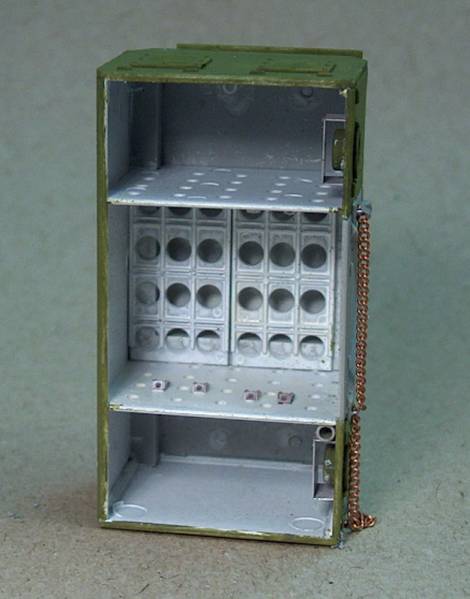
Inside of the storagecompartment, lots of filling to do if you want to show off the interior - I´m going for a tarp to cover it due to the lack of storange.


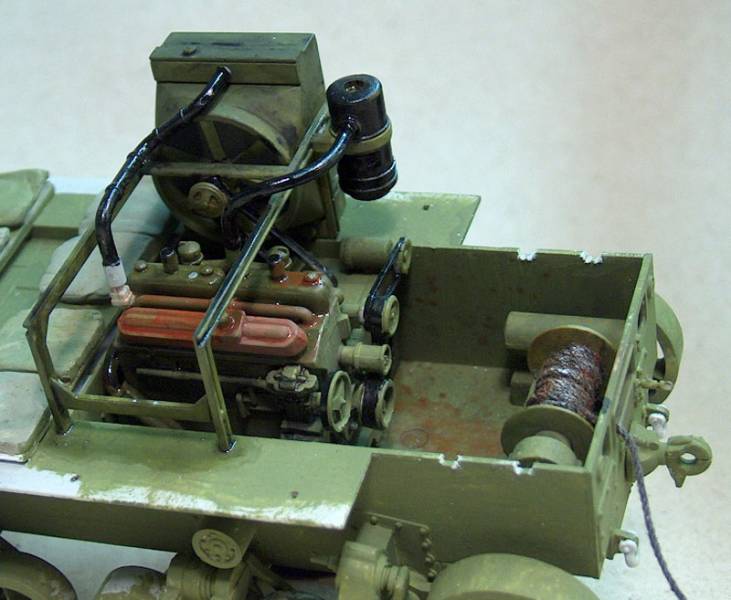
Did fit the engine and give it a first wash - still wet.


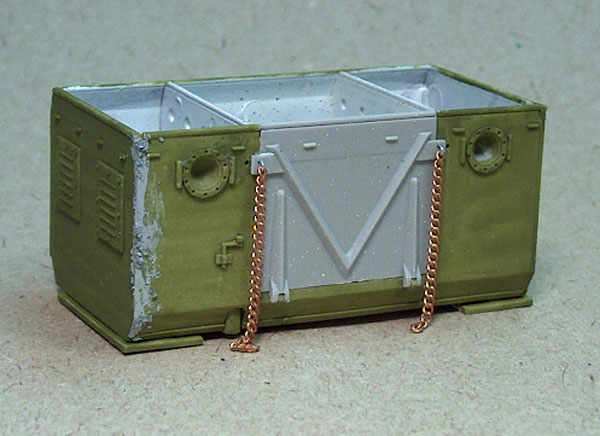
Rear of the compartment, you can see the chains fitted to the hatch, but not to the box - its a wrong type of chain but i didn´t have a suitable substitute...


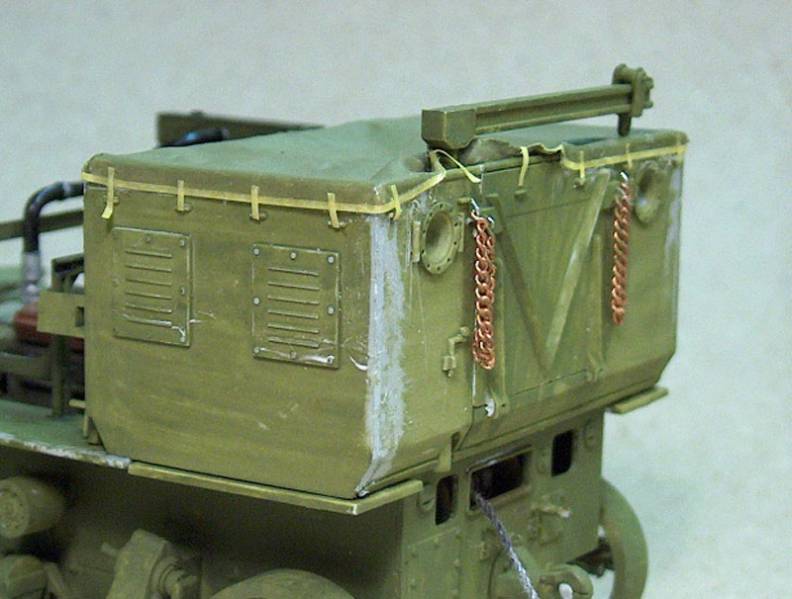
An some tarp on the compartment and in place on the lower hull. The yellow stripes is 0.7 mm masking tape secured with some thin superglue.

Tarp is made with white glue and a very thin silk scarf.


Questions and comments are wellcome..
johnlinford
Visit this Community
England - South West, United Kingdom
Joined: October 28, 2006
KitMaker: 203 posts
Armorama: 195 posts
Posted: Sunday, February 24, 2008 - 08:59 AM UTC
Are you brush painting that as you go along ?
Its very good.
MrMox
Visit this Community
Aarhus, Denmark
Joined: July 18, 2003
KitMaker: 3,377 posts
Armorama: 1,088 posts
Posted: Sunday, February 24, 2008 - 09:02 AM UTC
Its a thin basepaint of humbrol thats brushed on, it will get another layer when its all done.

Think i´ll use some lifecolor acryllic...
c5flies
Visit this Community
California, United States
Joined: October 21, 2007
KitMaker: 3,684 posts
Armorama: 2,938 posts
Posted: Sunday, February 24, 2008 - 11:55 AM UTC
Coming along nicely, Jan, interesting build. Great SBS on how you are improving this kit, I'll be looking for more updates
MrMox
Visit this Community
Aarhus, Denmark
Joined: July 18, 2003
KitMaker: 3,377 posts
Armorama: 1,088 posts
Posted: Thursday, May 08, 2008 - 08:41 AM UTC
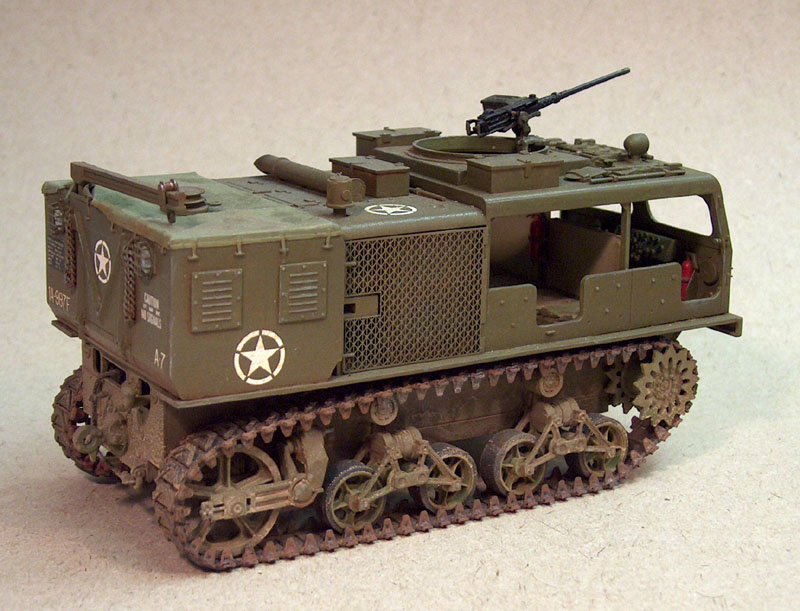
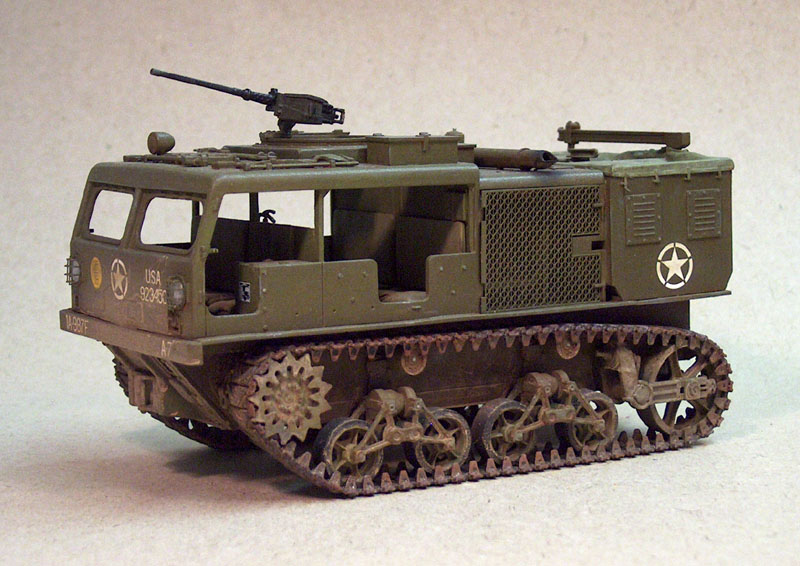
Ok, gonna admit it has been pretty quiet around here lately - allmost done, but then lost interest - heres the current standing - waiting for inspiration for a diorama:


Last steps were quite easy and straitforward, but - things to look out for:
- fit of cabin is very tight and some trimming in the front is needed
- tracks for this version is too long, I solved it byt removing one link
- Exaust - theres an "s" shaped part going from the exaust manifold to the roof mounted parts, I couldn´t get it to fit - others with the same experience?

Oh - yes, side panels arn´t glued yet.

Othervise its a nice and fun build and a good quality kit.

Cheers
Buffalo
Visit this Community
Luzon, Philippines
Joined: December 05, 2003
KitMaker: 35 posts
Armorama: 21 posts
Posted: Thursday, May 08, 2008 - 08:18 PM UTC
Nicely done kit for an OOB build with a little tweak.
 _GOTOTOP