Eventually, i'll be working this up into a full feature piece, in the meantime, I want to share some of the techniques and tools i've used and i'm developing...

I'm using air-drying modeling clay for these 'test' pieces. The particular brand i'm using, I won't bother naming, as everyone should be able to find what they need in any half-decent arts supply store.
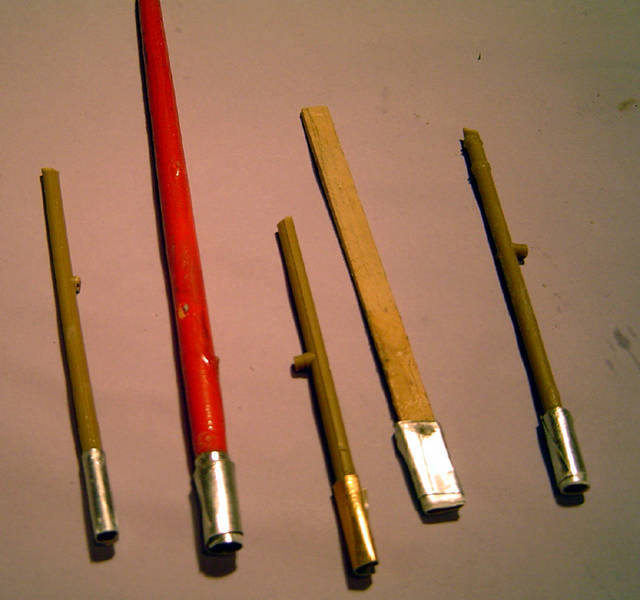
As to tools, to get a degree of uniformity, i've made a few 'stamps' using strips of metal wound round any suitable handle. The round ones are for cobblestones, the rectangular, for rectangular cobblestones or bricks:
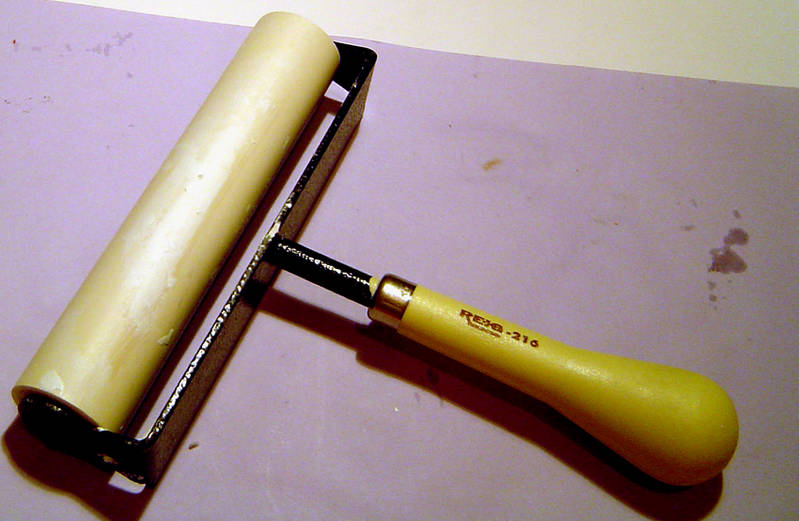
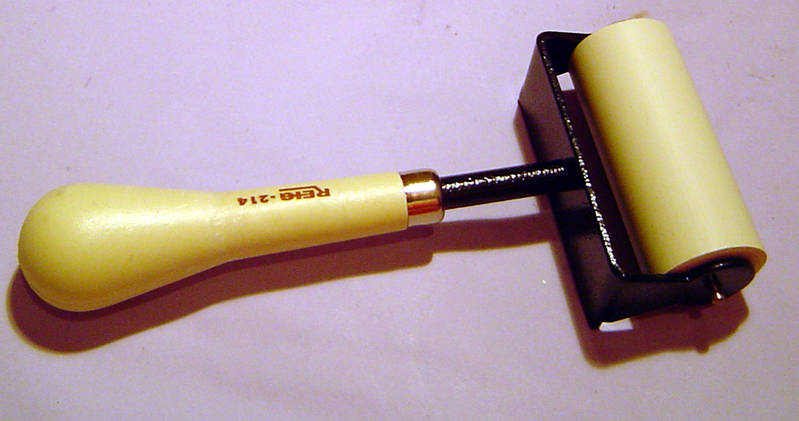
When working with clay, I find two items invaluable - rollers (normally sold for screen-printing) and a cheap (non-perfumed) talc - this stops the clay sticking to the rollers...
I begin with a ball of clay and roll it out to around 2-3mm thick. I use an old neoprene chopping board which I picked up for next to nothing but it's solid and easy to clean afterwards. If i'm working with epoxy putty, I normally use a sheet of thick glass.
When you've got the clay to the thickness required, transfer it to a sheet of cellophane (freezer bags are ideal) or even grease-proof paper. Drying will take a good 24 hours...
Work then begins on stamping the clay with your 'tools' to get the effect you want.Drying will take a good 24 hours...
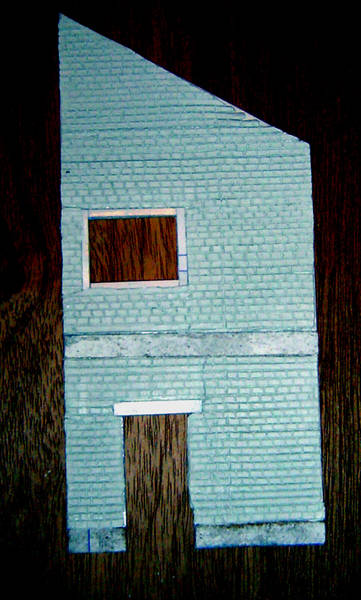
Here are some sheets i've been working on. The first two are stamped with oval bricks :

The next sheet has the usual 'round' cobblestones. The circle in the middle was cut using a compass and will eventually have a manhole cover:
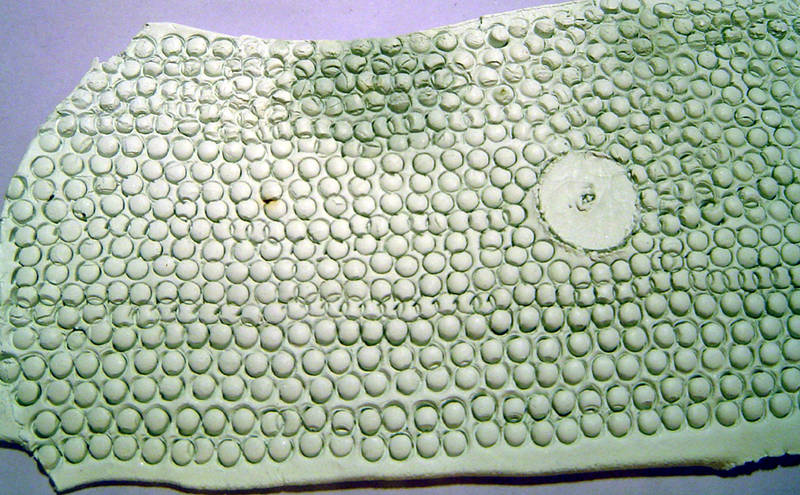
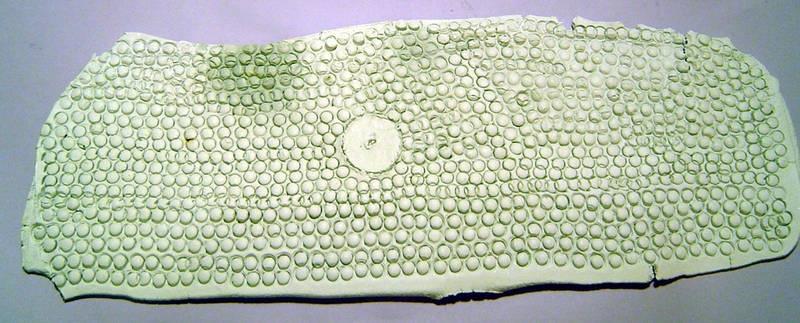
As you can see, there's a bit of overlapping with some of the cobblestones - that'll be repaired with putty or even plaster...
Questions?