_GOTOBOTTOM
Campaigns
Where Armorama group builds can be discussed, organized, and updates posted.
rammtiger wip
moose421
Visit this Community
Alabama, United States
Joined: April 19, 2008
KitMaker: 46 posts
Armorama: 36 posts
Posted: Sunday, June 08, 2008 - 03:39 PM UTC
This is my build of a rammtiger for the Breakthough Rammtiger campaign. I am adding some improvements to the build as what I think a product vehicle would have. None of my improvements are going to change the basic shape or function of the vehicle.

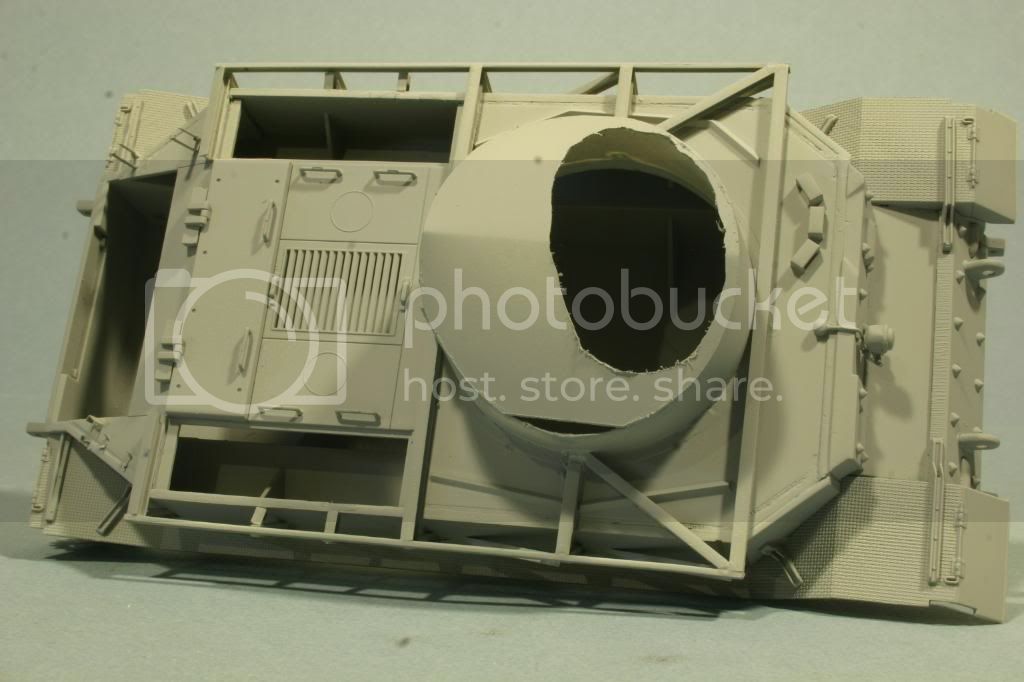
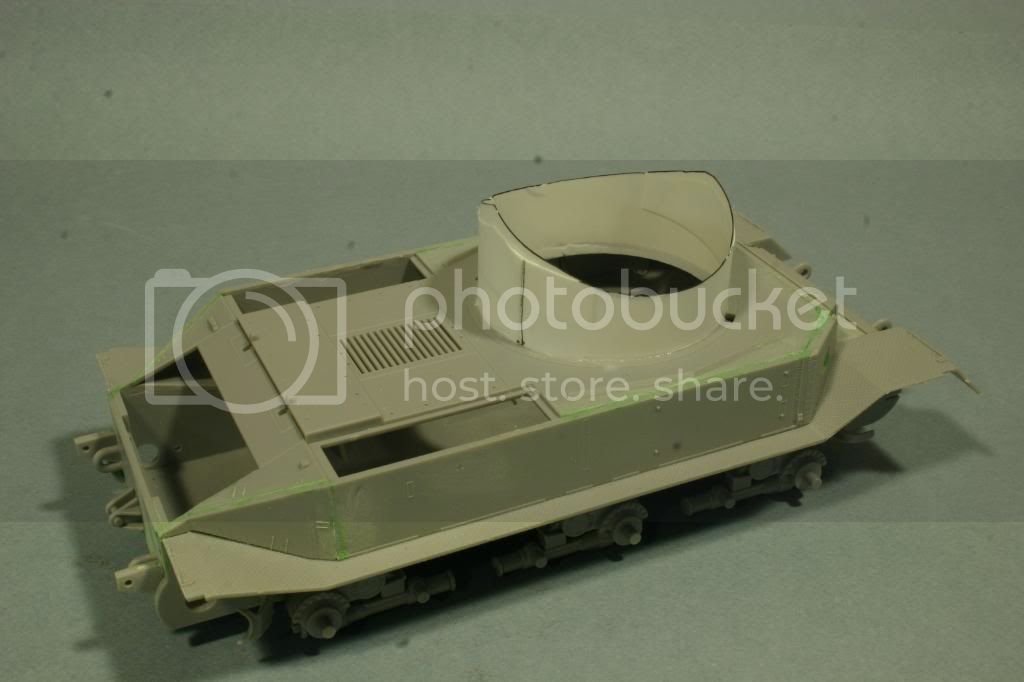
First set of pics show my rammtiger starting to take shape. The lower hull is a Dragon Tiger (P). I extended the turret ring up to the roof of the ramm hood. The way I figure is that the opening for the turret had to be covered some how. This way allows a armored coupla to be added to the roof. That and an access point to the interior of the tank.


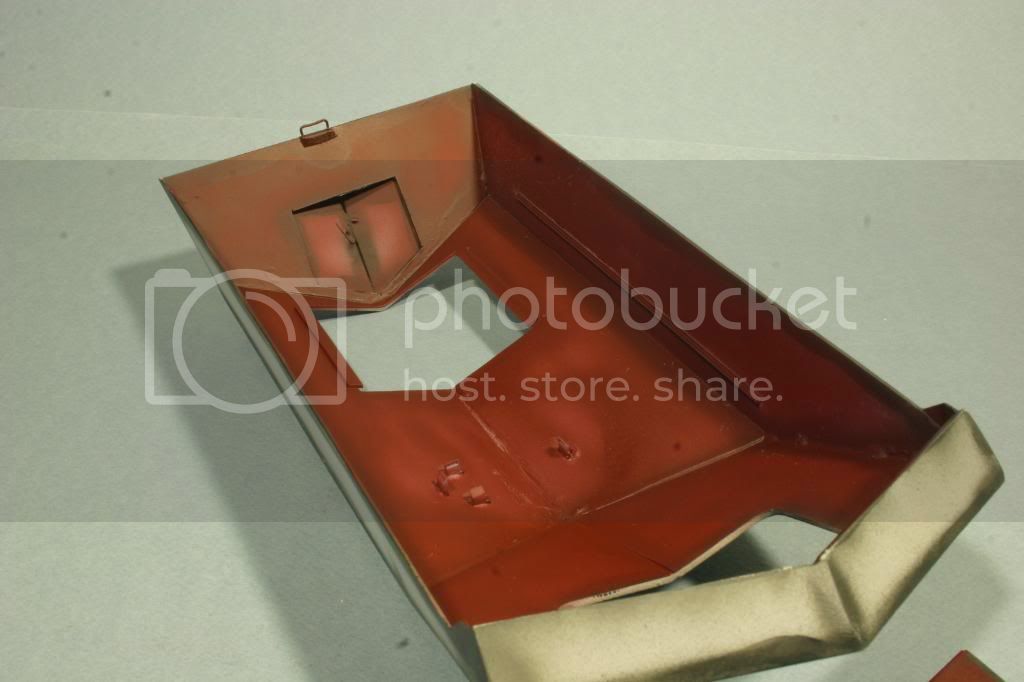
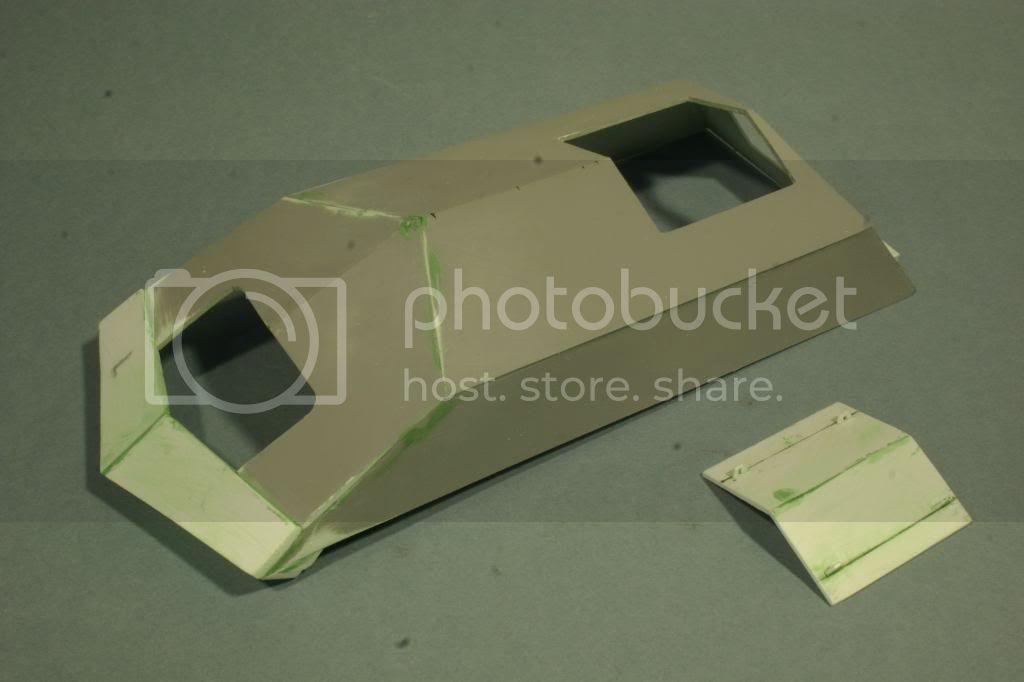
The ramm hood was constructed out of plastic card. The sizes used where 0.060, 0.040, and 0.020 My first try at building the hood ended in failure. I forgot to scale the plans up to 1/35. I didn't notice that unitl I built it and tried to fit it to the lower hull. After going back to my computer and resizing it to 1/35, the following picture is the result. The foward part of the hood is not on at this time.

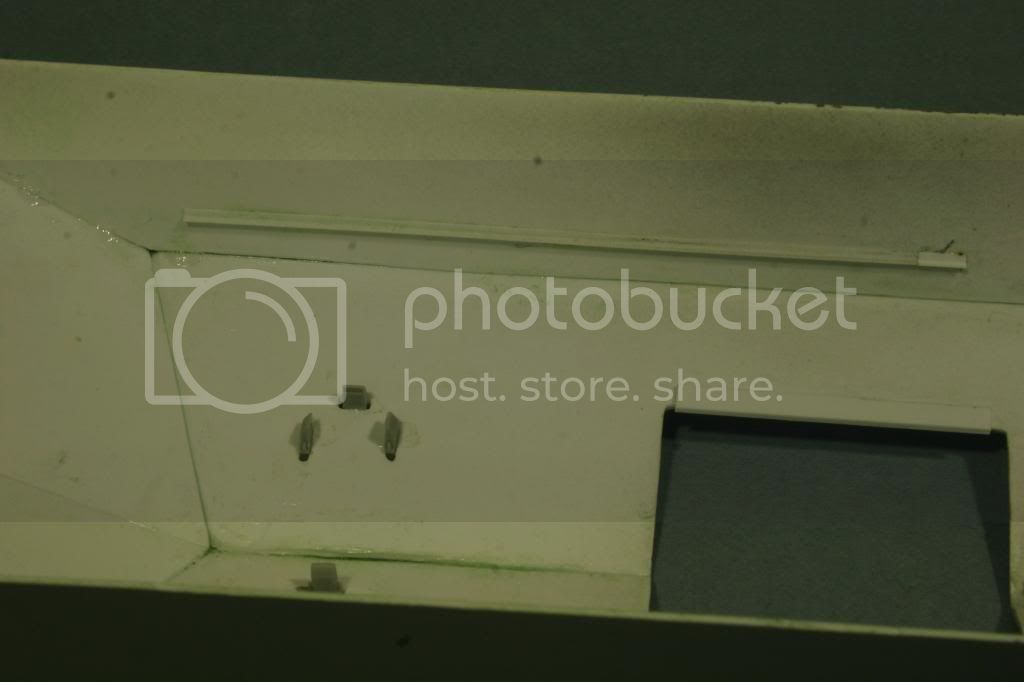
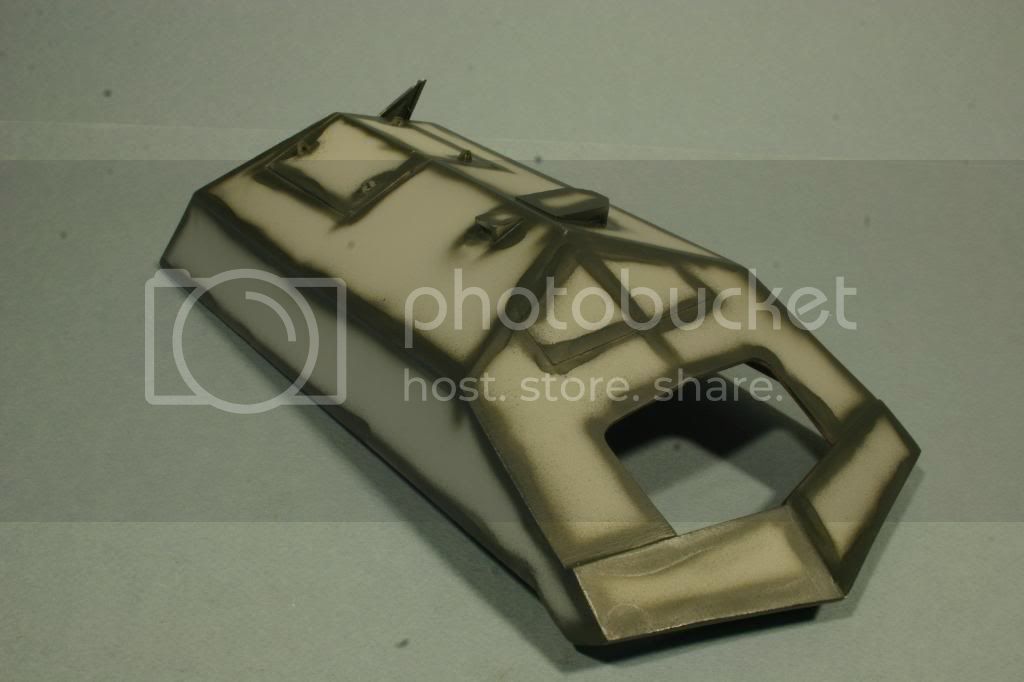
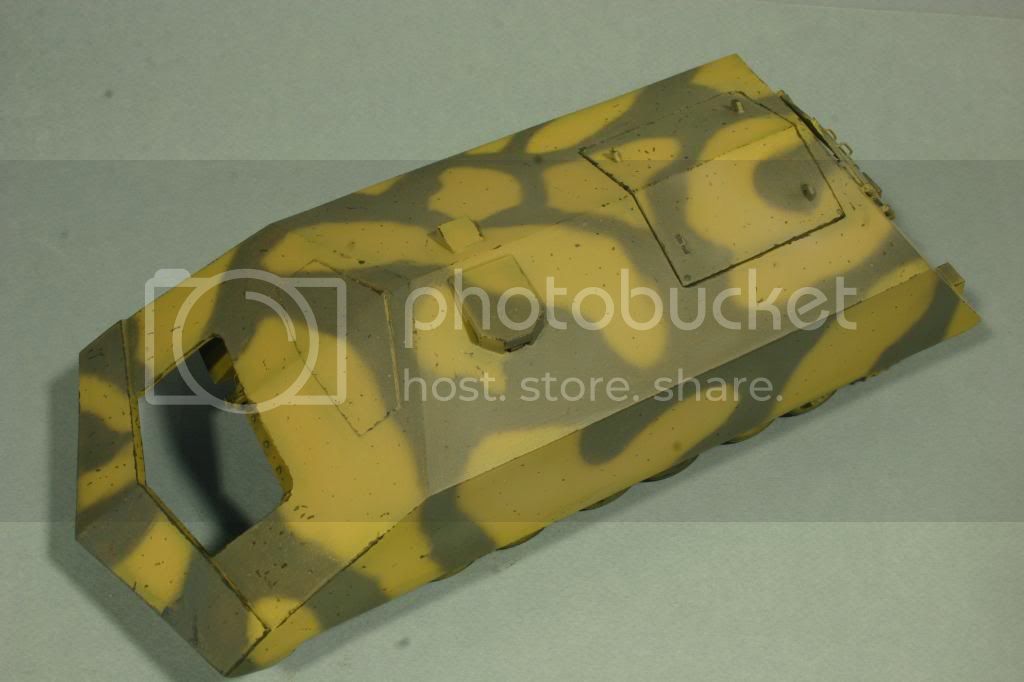
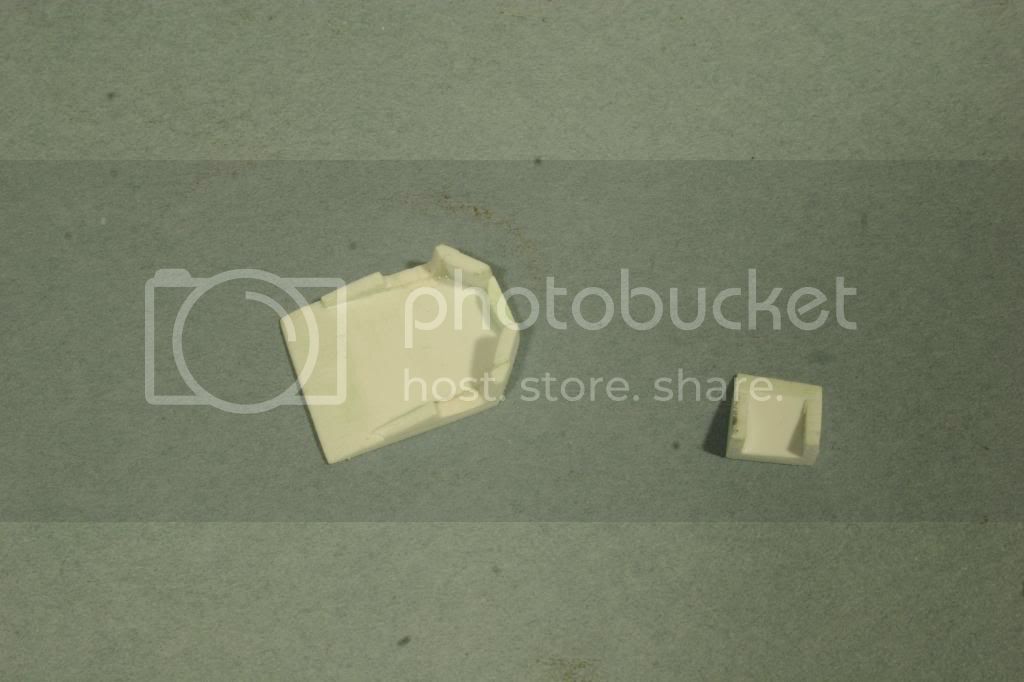
Next, I finished up the hood and added an engine access hatch. Once again, I figured that trying to lift the complete hood off would not be praticle in the field, so a hatch is needed. Also added to the hood at this time is the rear entry step and to armored cover for the rear convoy light. The front part of the hood was made by sandwitching two pieces of 0.060 card together. I did this because it allowed me to use only one sheet of the 0.060.


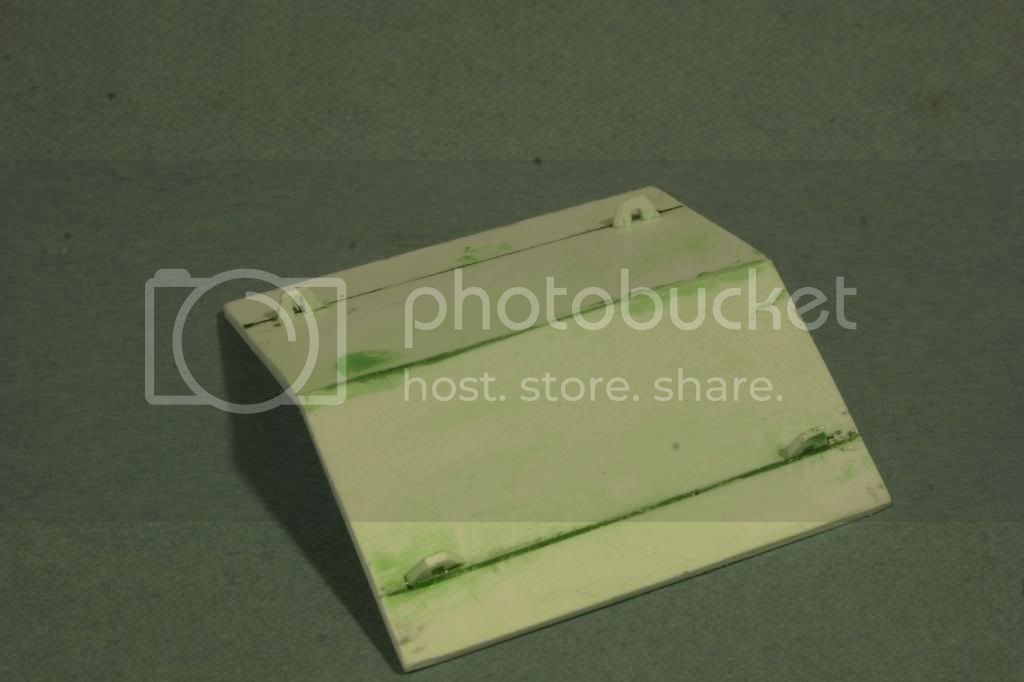
The engine access hatch.

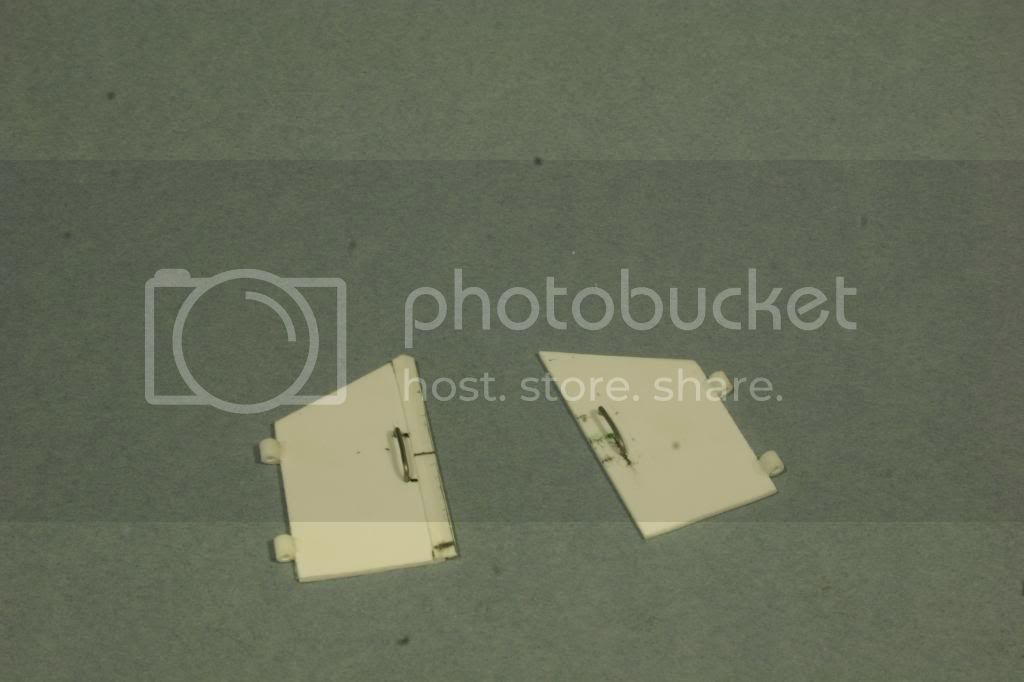
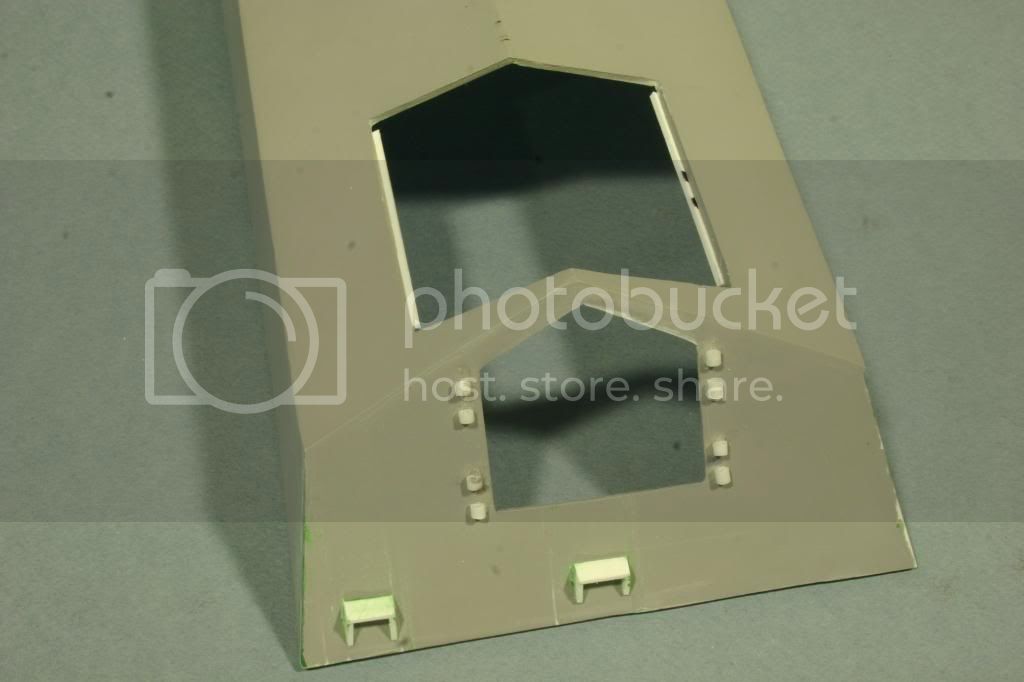
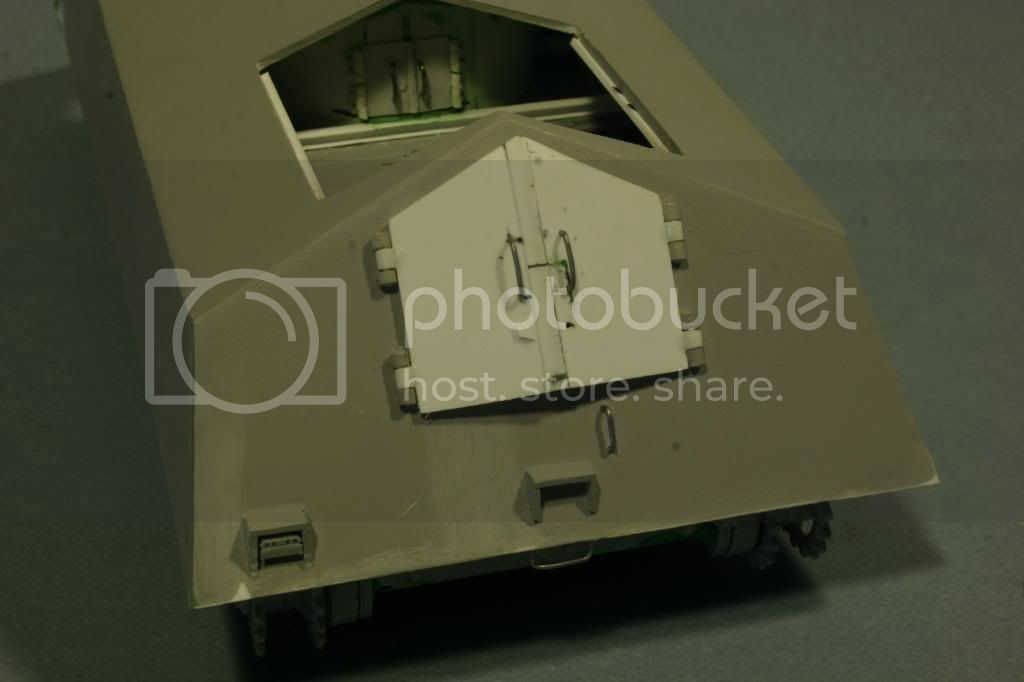
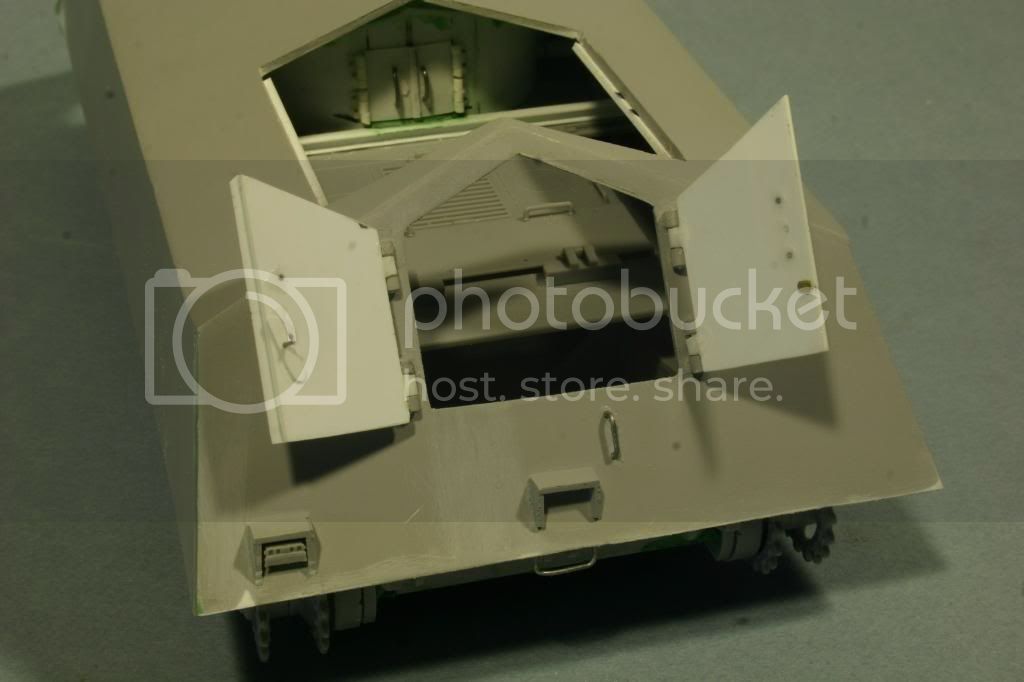
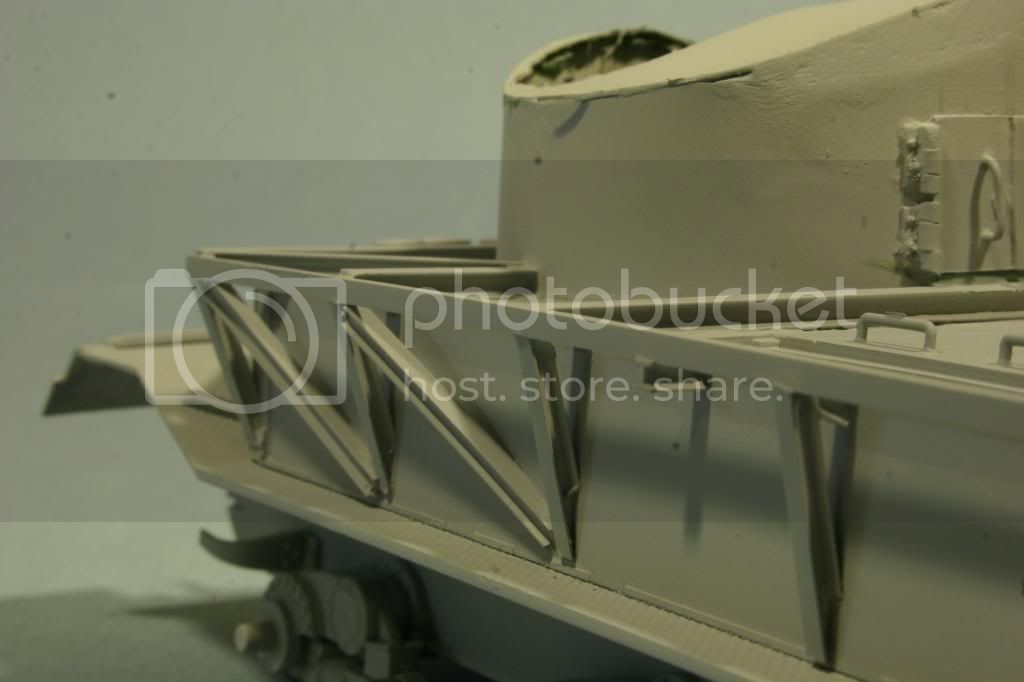
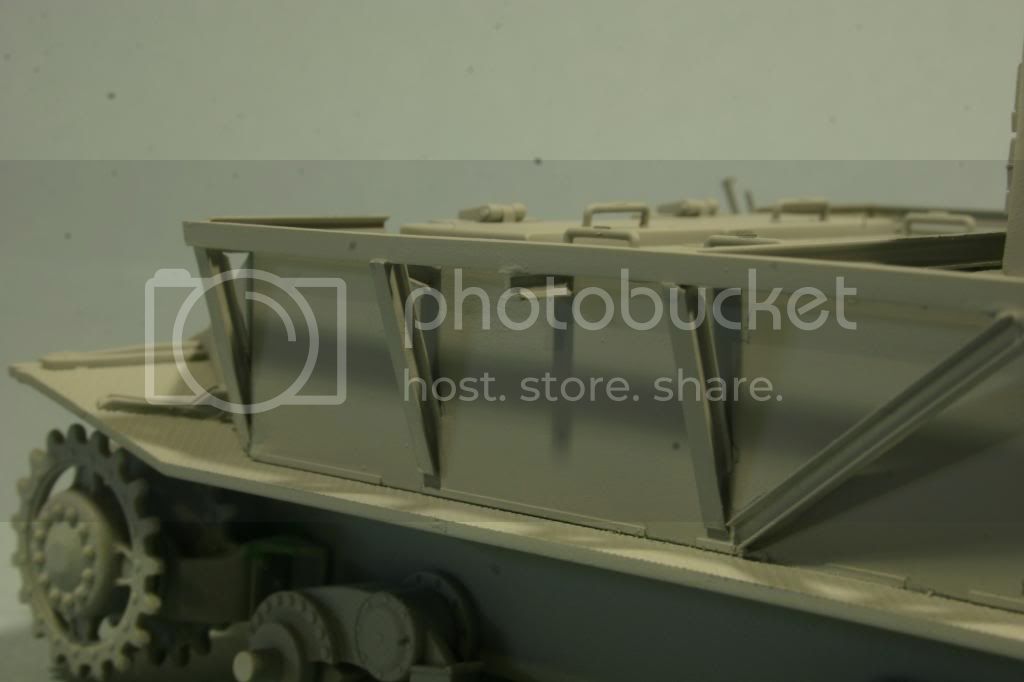
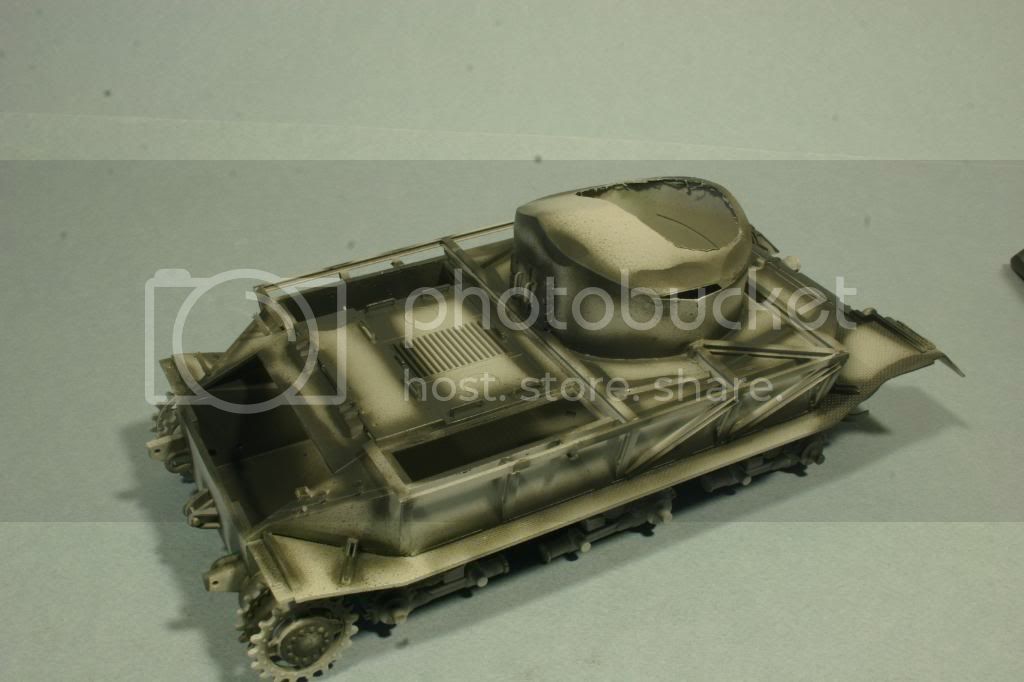
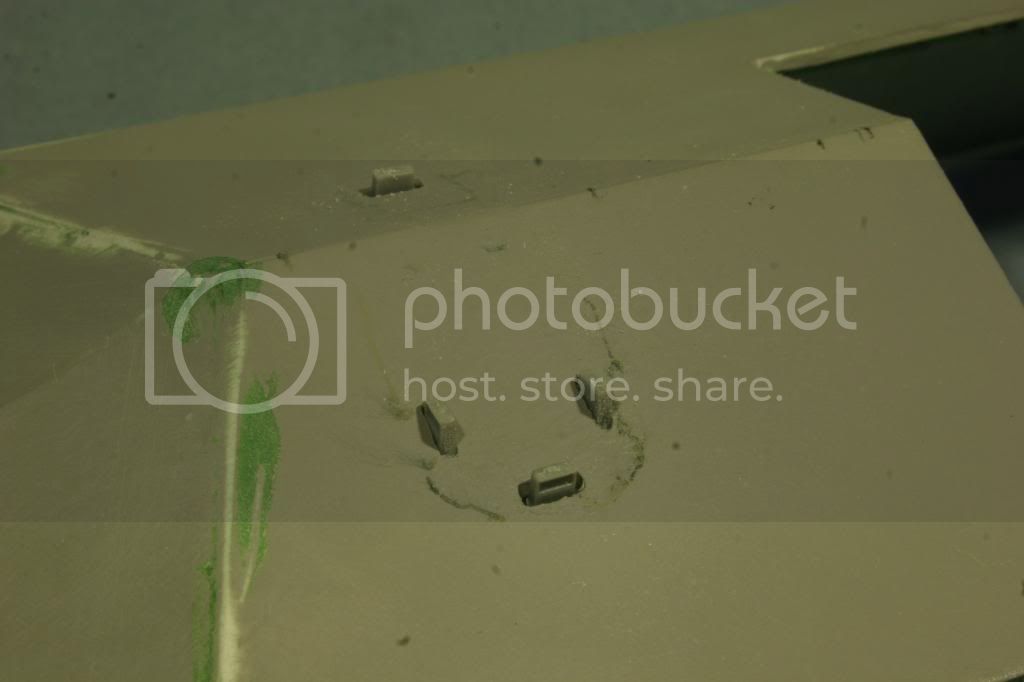
The lower hull now received some attention. I built the support structure for the hood. I figured the supports needed to be braced to withstand the ramming. Also, added to the turret ring extension is a set of access doors. These were constructed out of 0.010 plastic. I used the Mark IV as a guide. Hinges where made from platic rod that was cut to size and glued in place.


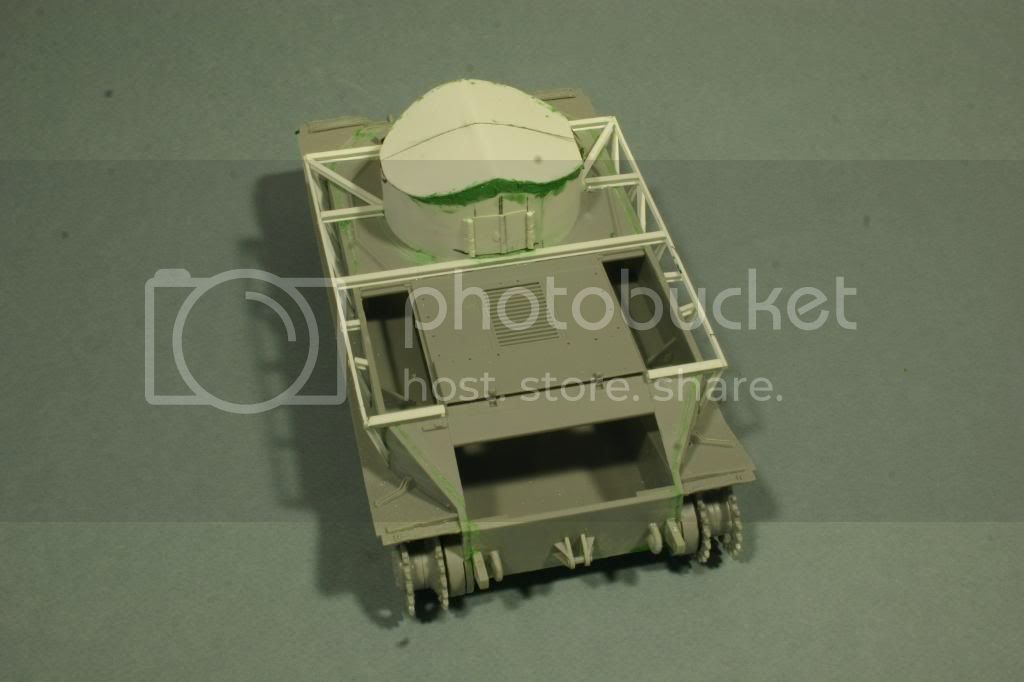
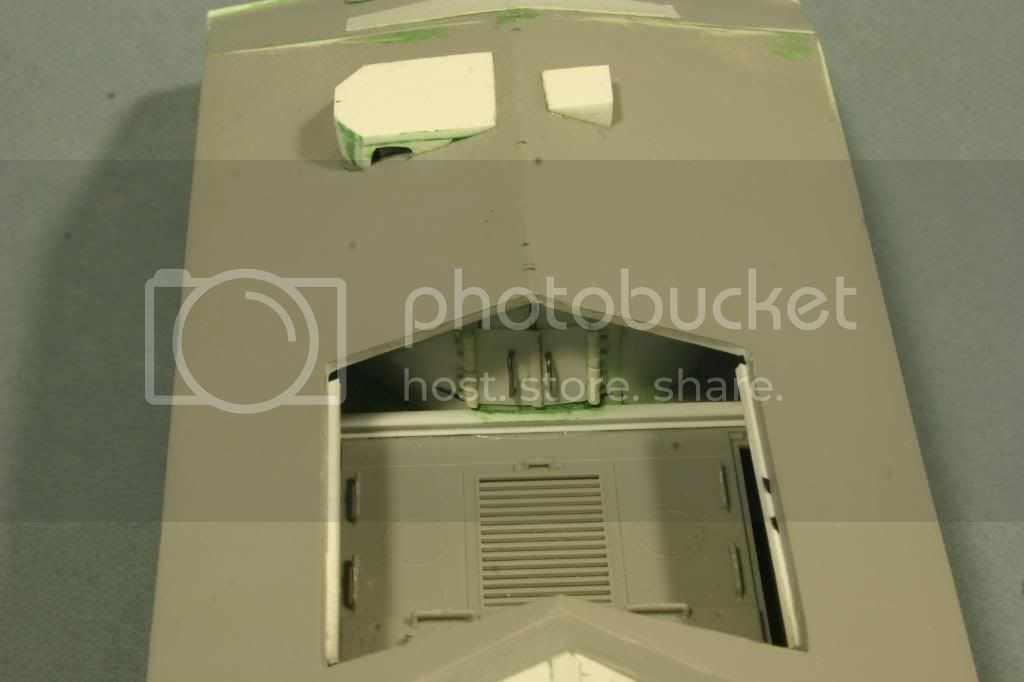
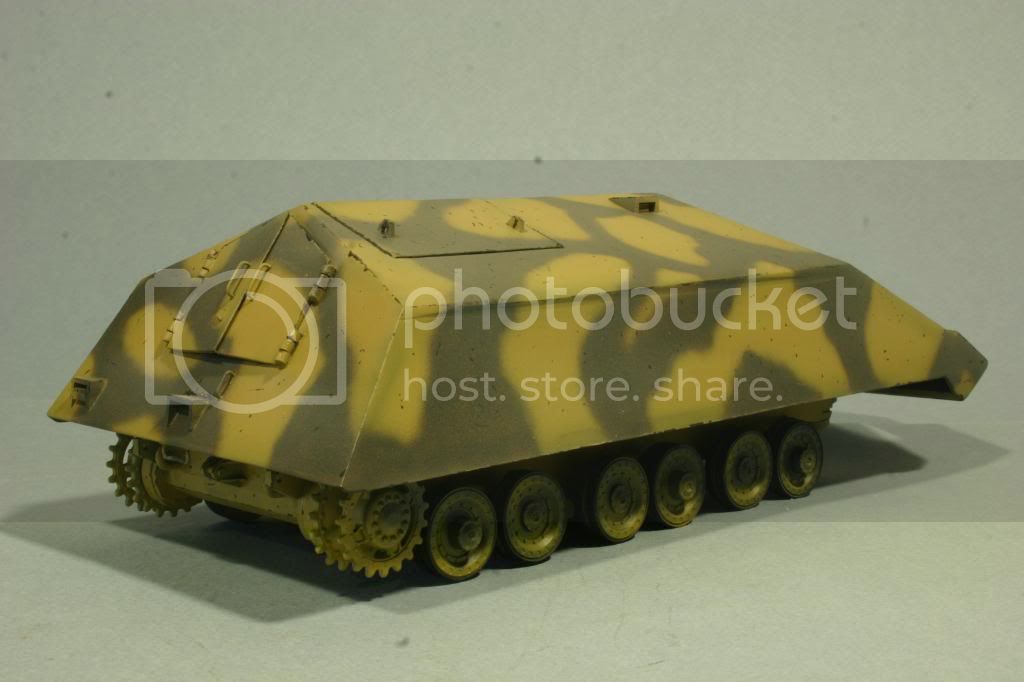
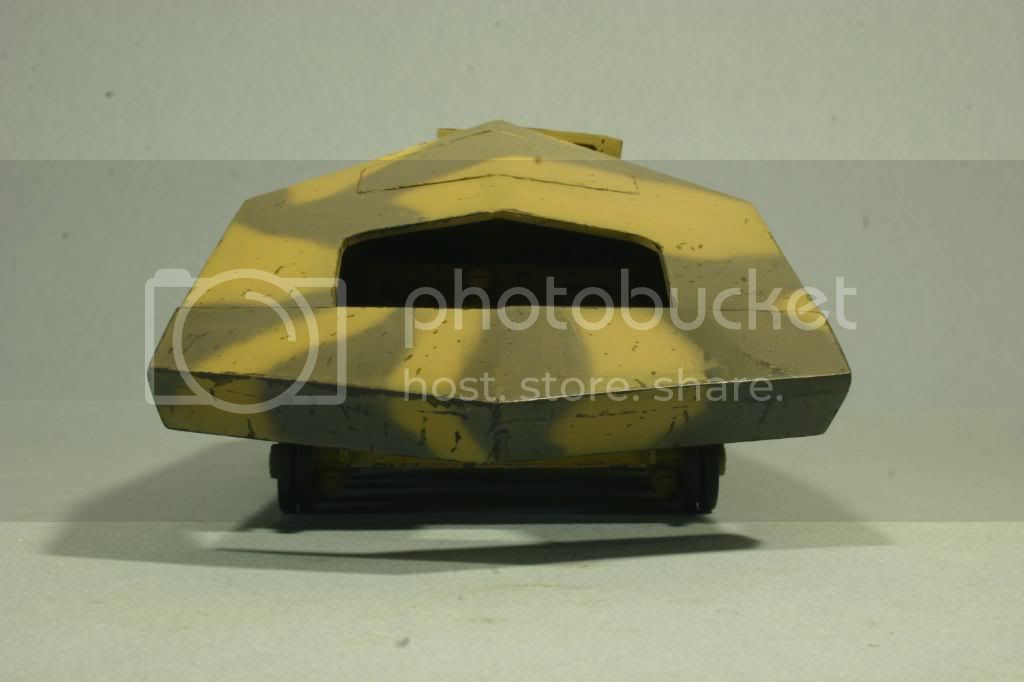
Next up I constructed the armor for the coupla. I didn't make a traditional coupla but what I thought might be the best for this kind of vehicle. This was done by first adding the vision blocks to the hood and the measuring the size needed to cover them. I installed four of them to give all around vision. Once again I think that it would have been nice and practical to see in all directions instead of just foward. I used 0.060 card to construct the armor.


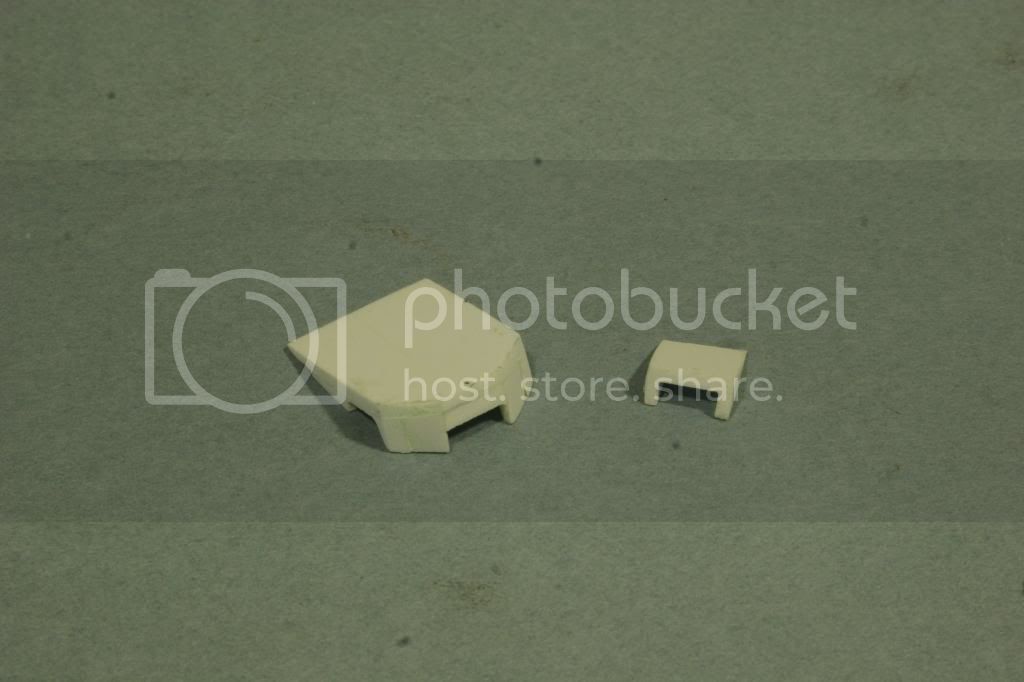
The armor installed on the hood.
spongya
Staff MemberAssociate Editor
MODELGEEK
Visit this Community
Budapest, Hungary
Joined: February 01, 2005
KitMaker: 2,365 posts
Armorama: 1,709 posts
Posted: Monday, June 09, 2008 - 01:41 AM UTC
Great job! Really awesome.
SGTJKJ
#041
Visit this Community
Kobenhavn, Denmark
Joined: July 20, 2006
KitMaker: 10,069 posts
Armorama: 4,677 posts
Posted: Monday, June 09, 2008 - 08:41 AM UTC
Looks great. A really unique conversion.

Looking forward to see more
moose421
Visit this Community
Alabama, United States
Joined: April 19, 2008
KitMaker: 46 posts
Armorama: 36 posts
Posted: Tuesday, June 10, 2008 - 05:10 AM UTC
Here is an update of my rammtiger build. Construction of the rear access doors has begun. I glued the door template onto a scrap piece of 0.040 plastic card. I found elmers school glue works really well for this. Attaches well, allows the piece to be cut out and cleans up easy. I added 3/32" to the outside of the template. Due to the fact I didn't use a new template, but the one I cut out of the back plate.

Next are the complete set of doors. a pieces of 0.010 strip was added to the left door opposit of the hidges. The hidges where made from 3/32" tube stock. I figured that a "beefier" hidge was needed to hold the rear doors on. A piece of wire will then be added though the mounts to give a working hidge. Grab handles were added as well using 0.028 wire.

View of the hidges on the ramm hood . Also added were two strips of 0.040 plastic. These were added to the edge of the engine access hatch. I figure that something would have to hold the hatch up. Just resting it in the opening would invite trouble. One wrong bump and down comes the hatch.

This picture shows the vision blocks, the engine hatch strips and a piece of angle stock. This piece is for proper alignment of the hood onto the support structure of the lower hull.
TacFireGuru
Visit this Community
Colorado, United States
Joined: December 25, 2004
KitMaker: 3,770 posts
Armorama: 2,263 posts
Posted: Tuesday, June 10, 2008 - 02:57 PM UTC
Hey Kim! Looks sharp! Anyway to get a couple of closeups of the shell's framing? I really like how you've set that up.

I think that your approaching this "What-If" as a "Could-Have-Been" is excellent. I'm looking forward to all the builds....see what "innovations" come up that actually make sense!

Curious....what's the thought behind the armored plate (?) that's just above the front opening?

Nice!

Mike
moose421
Visit this Community
Alabama, United States
Joined: April 19, 2008
KitMaker: 46 posts
Armorama: 36 posts
Posted: Tuesday, June 10, 2008 - 03:40 PM UTC
Don't know what is the function of the armor plate above the opening. SInce I didn't know I left it as is on the drawings. Will get some close-ups of my supports. Color has chaged now but should be able to get them. I primered up the vehicle. That way I can find my filling mistakes and correct them before I start painting.
musicwerks
Visit this Community
Singapore / 新加坡
Joined: August 09, 2005
KitMaker: 375 posts
Armorama: 335 posts
Posted: Tuesday, June 10, 2008 - 04:30 PM UTC
Hi,

Great job!

May I request for a copy of the plans too, I would really like to build one too.

Thanks!

Best wishes
Lester aka musicwerks
moose421
Visit this Community
Alabama, United States
Joined: April 19, 2008
KitMaker: 46 posts
Armorama: 36 posts
Posted: Wednesday, June 11, 2008 - 01:44 AM UTC
Sure, I will send you the plans. Just pm me your email address and I'll send them out to you.
moose421
Visit this Community
Alabama, United States
Joined: April 19, 2008
KitMaker: 46 posts
Armorama: 36 posts
Posted: Thursday, June 12, 2008 - 07:23 AM UTC
Well most of the final detailing is done. Just have to prime up the vehicle and find were all my filling mistakes are. And I haver been finding alot. Just more filling, sanding and priming.


I added a little detail to the inside of the rear doors. I figured that the crew would want to secure them to prevent damage from falling debris. Also I changed the orinentation of the lift rings on the engine hatch. I figured the new way would prevent easier damage from falling debris. Here is a picture of the rear doors open.


Here is a set of pictures showing close-ups of the support structure on the lower hull. I added the diagonal cross braces to help prevent the structure from bending during impact.


DUBDUBS
Visit this Community
Missouri, United States
Joined: September 29, 2005
KitMaker: 624 posts
Armorama: 456 posts
Posted: Friday, June 13, 2008 - 06:20 PM UTC
Lookin' great Man! I'm so jealous. I'm gonna start this weekend!
moose421
Visit this Community
Alabama, United States
Joined: April 19, 2008
KitMaker: 46 posts
Armorama: 36 posts
Posted: Sunday, June 15, 2008 - 05:18 AM UTC
The painting and weathering has begun. I tried to mix a batch of red to represent red oxide. Not quite there, but close. Will have to work on the mix. Also pre-shading was done to the hood and lower hull.


Next I paint the lower hull and hood with middlestone. This turned out a little darker that I wanted. Latter after the nex color was applied I would "dust" with a light coat of dessert yellow. I tried a brown color with the middlestone. That didn't work! Looked like garbage. So I repainted the brown with the dark green. Much better results. Next up chipping was applied. I used a dark gray. With a 5/0 brush, I made the chipping. I made most of the chips on the front and top with less on the sides. I figured that the front and top would see the most abuse. I finished up these steps with a dull coat. I did this to blend the colors and the middlestone is a semi-gloss.
Next up is the washes, decals, and pigments. This will be done tonight, I hope.


moose421
Visit this Community
Alabama, United States
Joined: April 19, 2008
KitMaker: 46 posts
Armorama: 36 posts
Posted: Sunday, June 22, 2008 - 02:19 PM UTC
I have posted the finished pictures under finished Rammtiger in the campaign forum.

Thank you to all those that have looked and made compliments. It is great to have others appreciated the work that I have done.
 _GOTOTOP