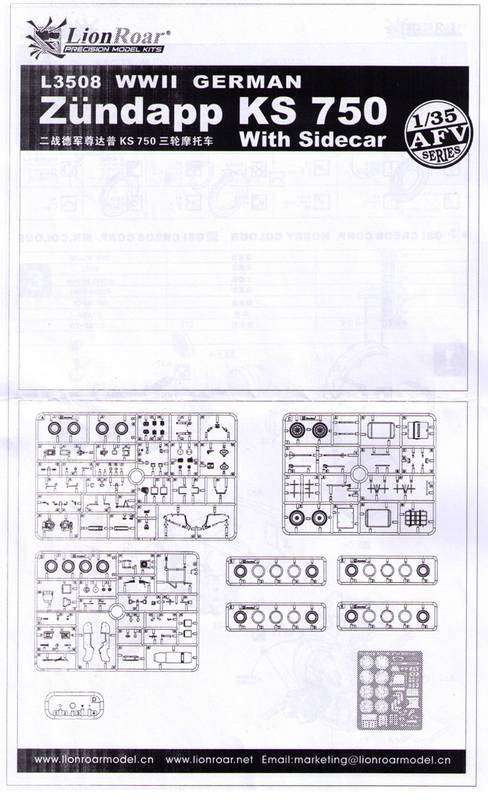
Build Log: Zündapp KS 750 by Lion RoarBill Plunk asked me to take over the reins of this carriage and move the process forward with a build of the model. My overall impression of the parts was favorable, with no
obvious flash, etc. But once I got rolling on the engine assembly, I found some areas of concern. Still, this is a pre-production sample, and some of the problems I encountered may be fixed before the kit is on-sale to the general public.
That Zündapp was in bikes at all was a strange twist of fate, since the company started out making explosive detonators in 1917. The firm name is one of those usual German contractions of something much longer: Zünder- (“detonator”) und Apparatebau G.m.b.H). After the end of WW I, the bottom fell out of that market, so the company looked at other ideas, including motorcycles. Theirs was the first closed-case engine, and the K in KS 750 stands for “Kardanantrieb” or “universal joint drive.” It was an innovation that led other German firms like BMW to a drive shaft technology while English and American bikes followed the chain drive route. But I digress.
OverallThis kit takes a huge leap in improving the quality and detailing of 1/35th scale motorcyles. It is not for the beginner modeler, since the photo etched brass is usually integral to the assembly and not an alternative. The PE came with a plastic film on both sides, which protected the smaller parts but required some care when removing. The molding is crisp, with a minimum amount of seam lines, but the knock-out holes and ejector pins are among the worst I’ve ever seen. I don’t know if that’s because this is a pre-production sample, or if Lion Roar needs to improve QA at the factory. Yet even keeping in mind some of the problems, this is a kit I would purchase myself for other diorama uses, and would give it a 90% if I were doing an in-box review.
The EngineThe build starts with the engine block, and the biggest problem starting out was the amount and ferocity of ejector pin marks. The block will not go together without quite a bit of clean-up, and since the parts are small, it makes for some eye strain. The two blocks are molded in four parts with the seam going right down the top of the cooling fins, making filling and sanding almost impossible. But the level of detailing is very high, including three pieces of PE brass that add ignition wiring and a “butterfly” twist cap for the spout where the crankcase oil goes in.
The engine design is oddball enough that the kit looks like it goes together wrong: the outer cylinder heads seem to be off-center when joined to the base, and I was tempted to reverse the order of the parts until I looked at the original (see photo below). Lion Roar has attempted to capture that offset, though I think the base of their cylinders is too large.

(Notice in the photo above how the oil filler seems to be just a nut instead of any easy access).

One disappointment is the 2 PE spark plug cables which seem to attach between the cylinder heads with no particular logic other than the end of their length. In reality, the wires attach to a small rod or spark plug housing. Definitely an oversight on the part of the kit designers. But LR has captured well the curved kick starter. The RS 750 had both straight and curved kick starter arms. The company has also included two versions of the cylinder heads, one rough (shown), the other with a smooth cap (not included in this build).


 ) so that everyone can see the good/bad/ugly such as the case may be of this pre-production kit.
  Feel free to continue to comment though, that's what LR wants out of this thread.


 Sorry Bill, I was afraid LionRoar somehow omitted this!