


https://armorama.kitmaker.net/review/3918
however, good as any Review can ever hope to be, it can never compete with a build. So, here are the first couple of steps.
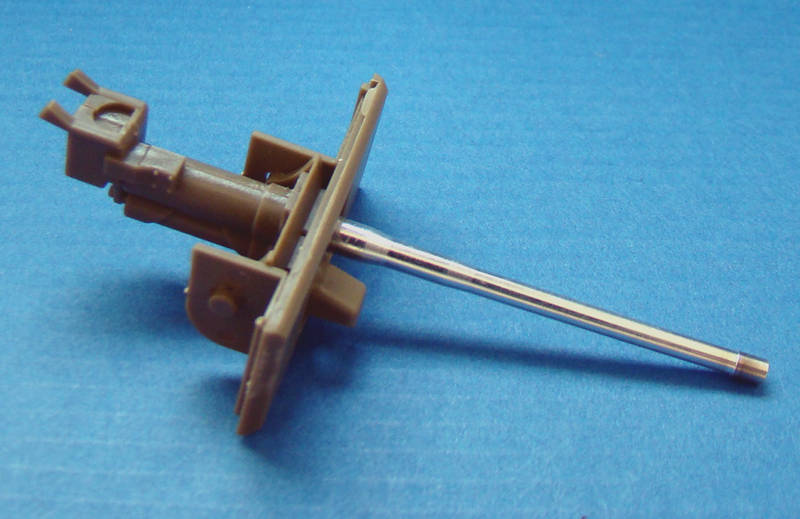
I began with the gun assembly which is very straightforward. As to fit, I had to slightly open the access hole for the barrel. It went in snugly and I added a drop of superglue just to cement it in. The BESA hasn't been added yet,

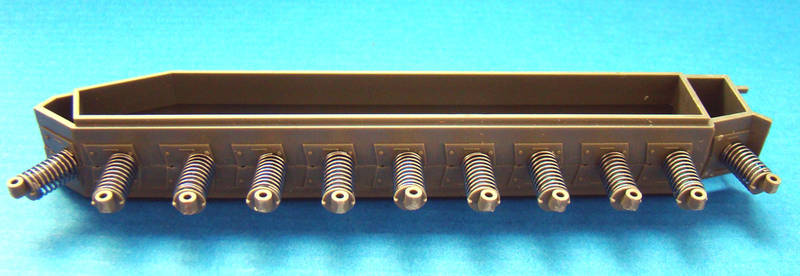
Putting that to one side, I began what looks to be the most daunting part of the model - the suspension. AFV Club chose to recreate it as closely as possible which calls for several sub-assemblies. This is the first, the sponsons:
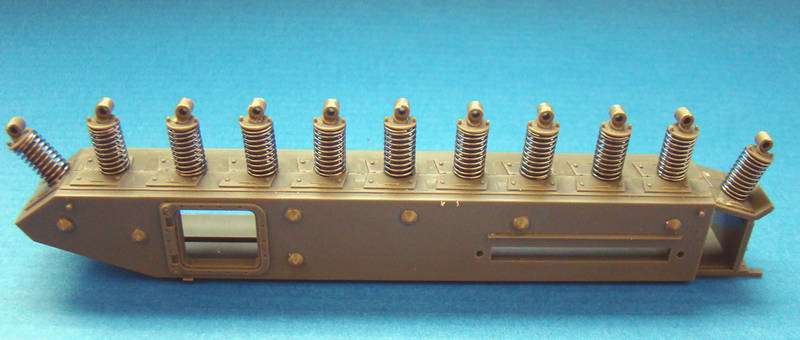
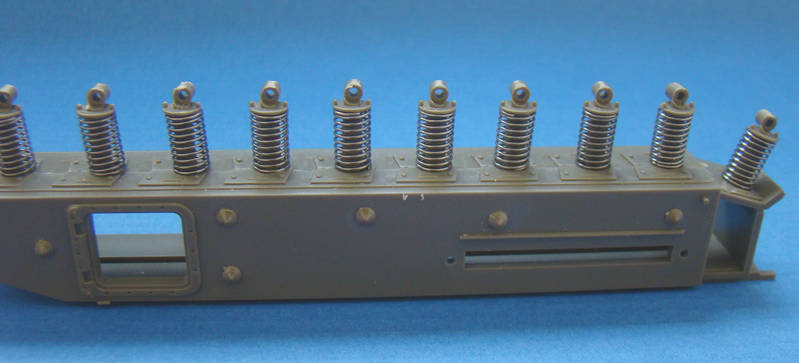
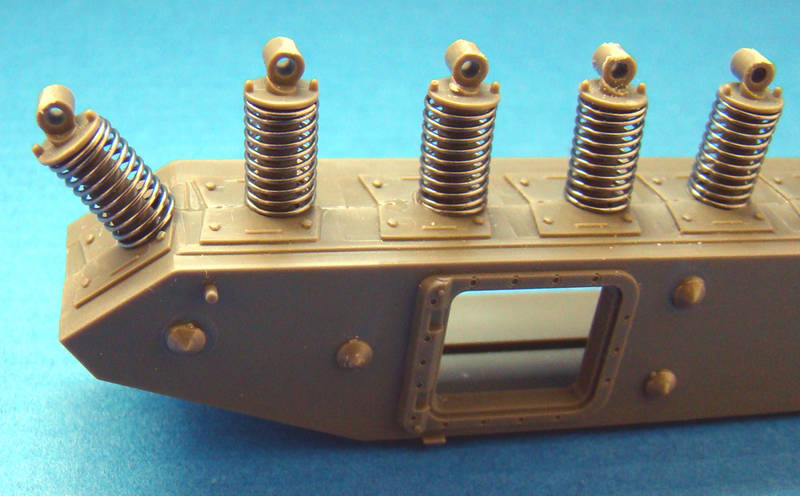
One of the items which are included, as seperate parts, are the large rivets on thse side sponson. Given the chioce, I would definitely have gone for the seperate (Brass) rivets that the company sell seperately. As can be seen some cleaning up is necessary with a few of the kit-supplied ones.

More to come...


