Well, hydrocal plaster anyway! : ) The following techniques will work with most plaster building kits, whether they are from Verlinden, Tiger or Dioramas Plus. I'll break the steps down into seperate posts so they don't all run together.
First, a word about plaster kits. Because of the casting process, most have detail on every surface except the back of the casting, which is usually the interior. Since the interior walls are usually fairly flat anyway, this is easy to overcome because you can add wallpaper, wood paneling, trim or whatever if you decide you need to detail the interior of the building.
Most plaster kits are usually comprised of just a few simple parts that need to be glued together, as most of the detail is cast right in place. That means you can get past the assembly part pretty quickly & get right to the fun part, painting & detailing your building.
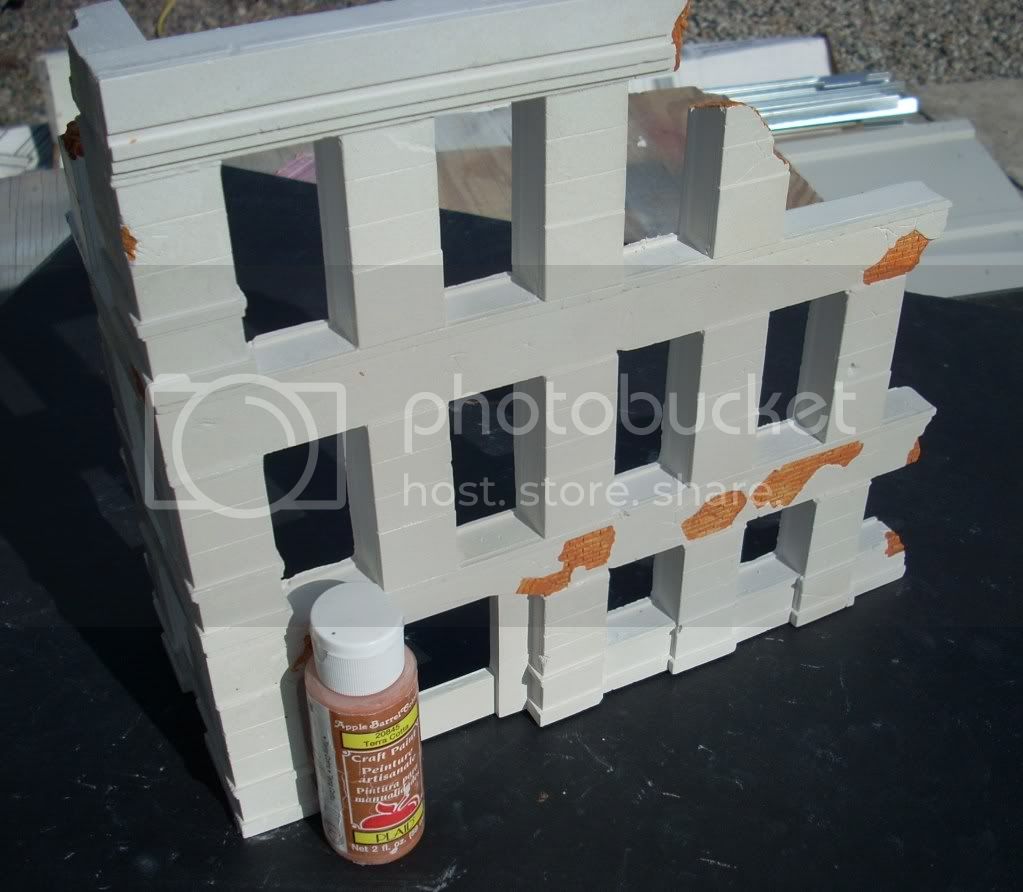
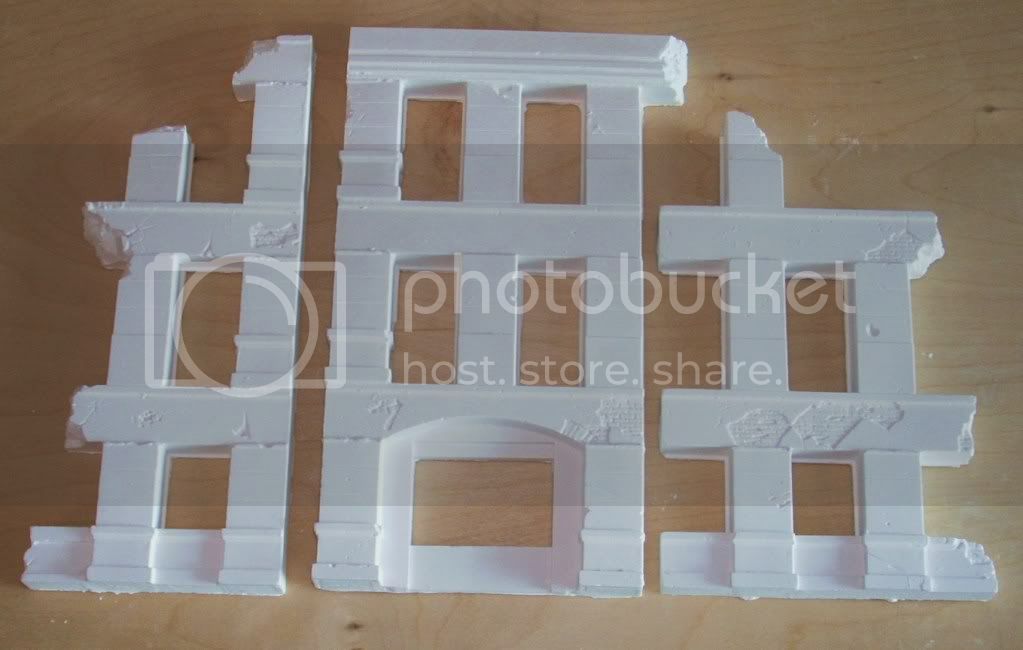
The sample I'll be illustrating here is one of my kits, DP2, The Goverment Ruins. As I said though, these basic instructions should work for most plaster kits & even scratch built projects you may do in the future.
Gluing the parts together. This kit has just three main parts. Before gluing them together take a minute or two to clean up the edges and make sure that you understand how they fit together.
I prefer 5 minute epoxy for assembling plaster parts. You can use white or carpenters glue, however, if you get your building really wet during the painting/aging stage the glue can soften and fail. You could also use super glue, but since the plaster is so porous you'd need to use a lot of it, not to mention that for me, the super glue always seems to "go off:" just the second I wiggle the parts I was holding together. : )
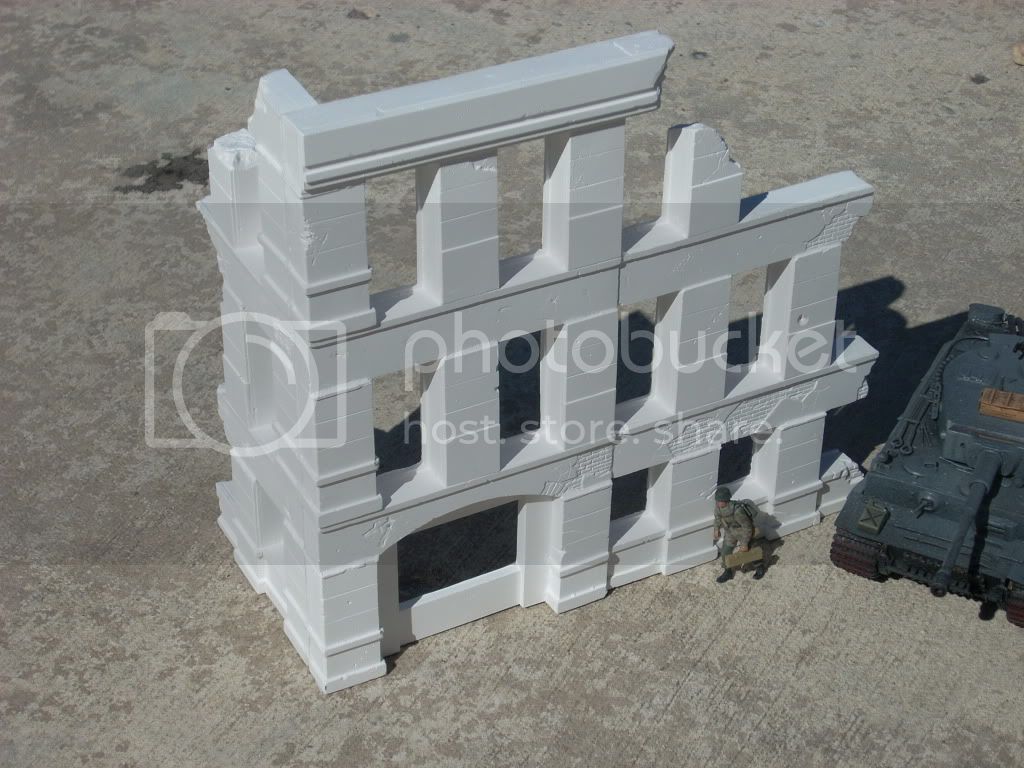
In any case, I prefer the 5 minute epoxy. It gives you enough time to make sure that the parts are straight and true, but you don't have to wait all day for it to set. Mix up a small amount of the epoxy and glue the parts together. Be careful to not use too much glue, or it could sqwish out & mar the surface of you model. If some oozes out wipe it off asap.
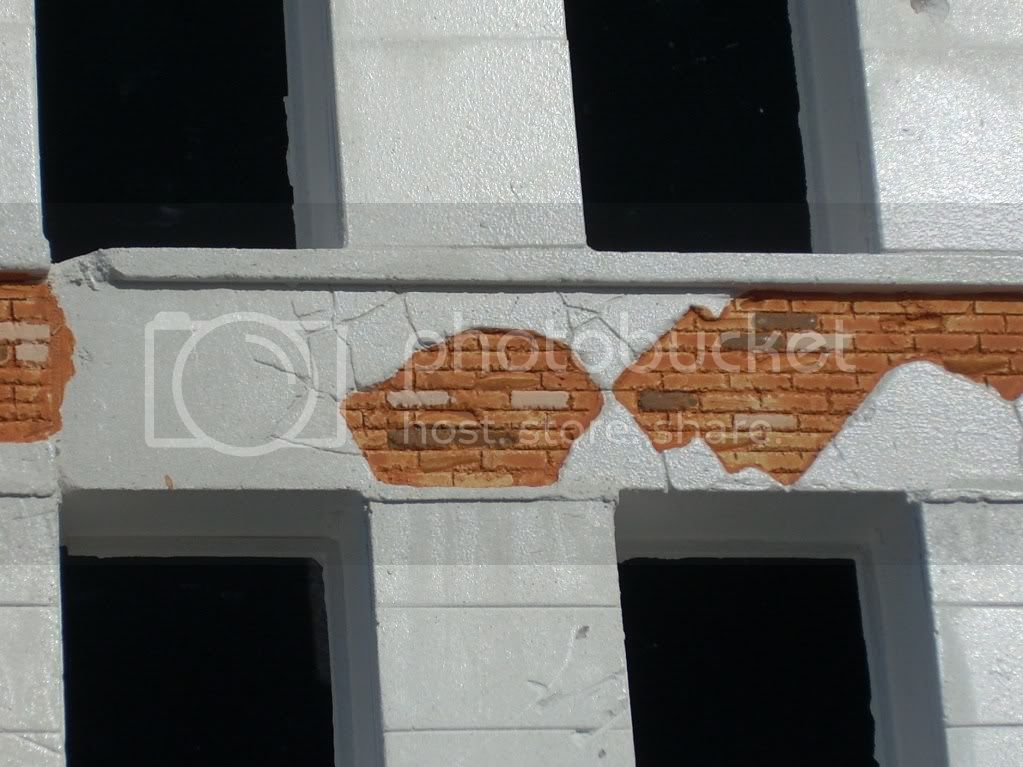
While in most cases plaster buildings fit together pretty well if you feel that are any seams or joints you need to hide you can use standard lightweight household spackle.
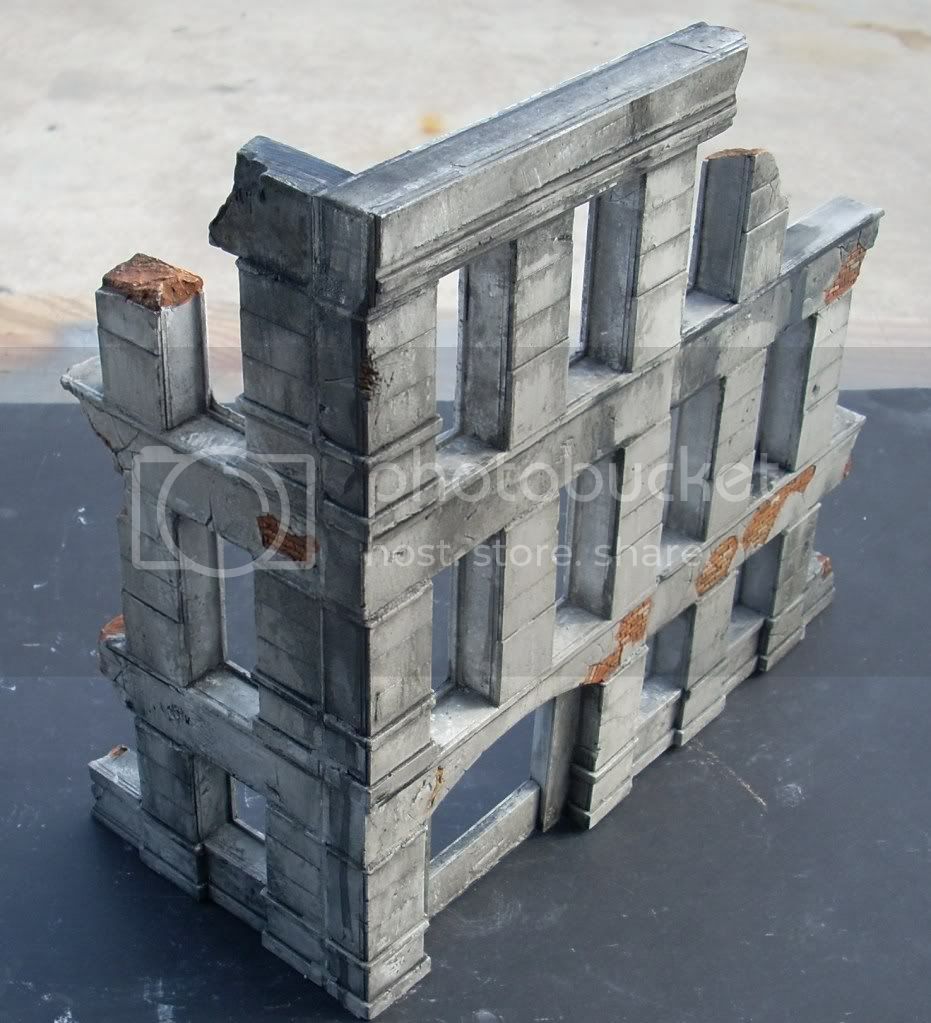
From unwrapping the castings to getting glued together for the first coat of primer was about 15 minutes, This is, IMO, one of the real advantages of this type of kit. Also, the plaster parts can be easily cut or modified if needed for a special project.
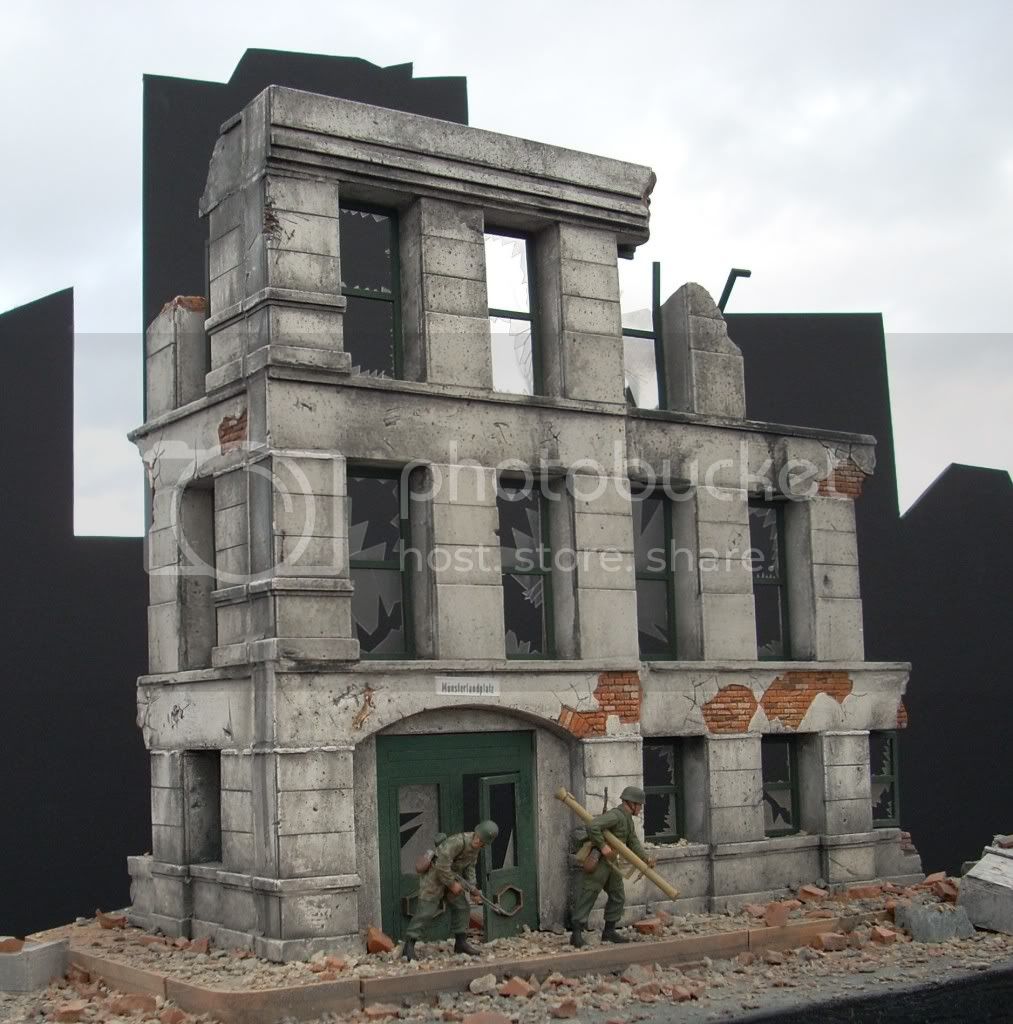
On to the painting!
Randy Pepprock
Dioramas Plus