The first order of business was to get the chassis built and add the armored rad and rear bumper then the skins.


Next was to add the armored side panels to the body and mate it to the chassis.


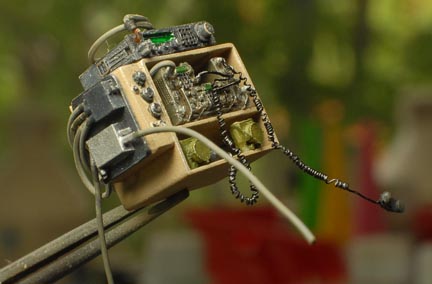
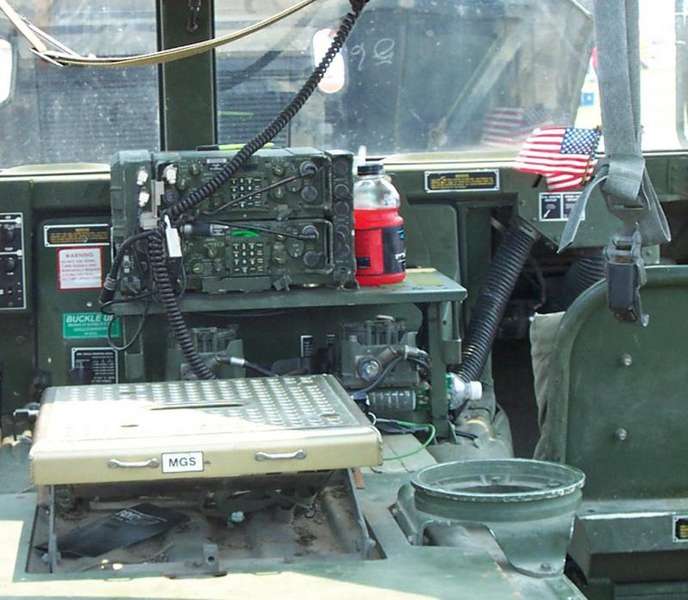
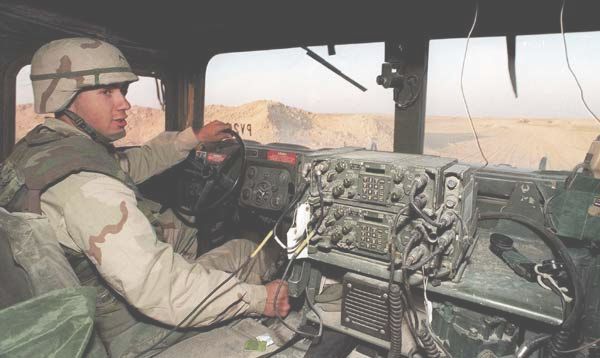
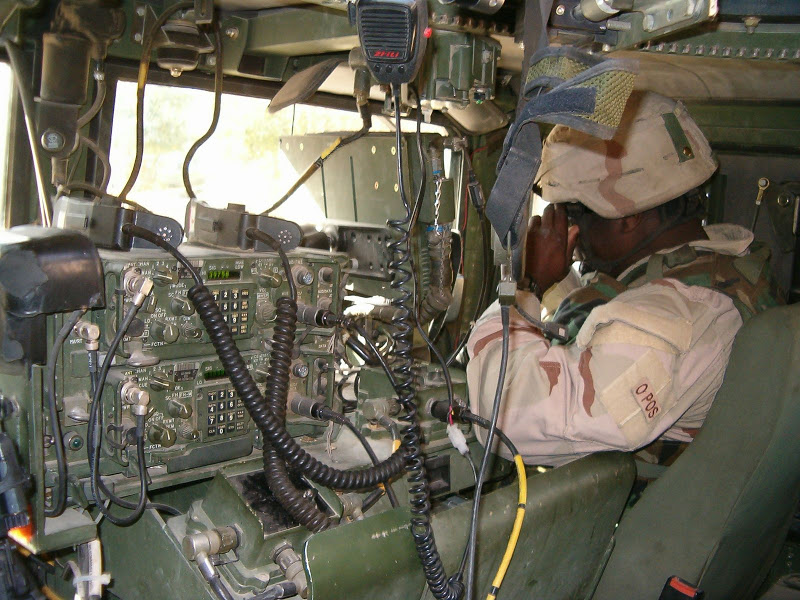
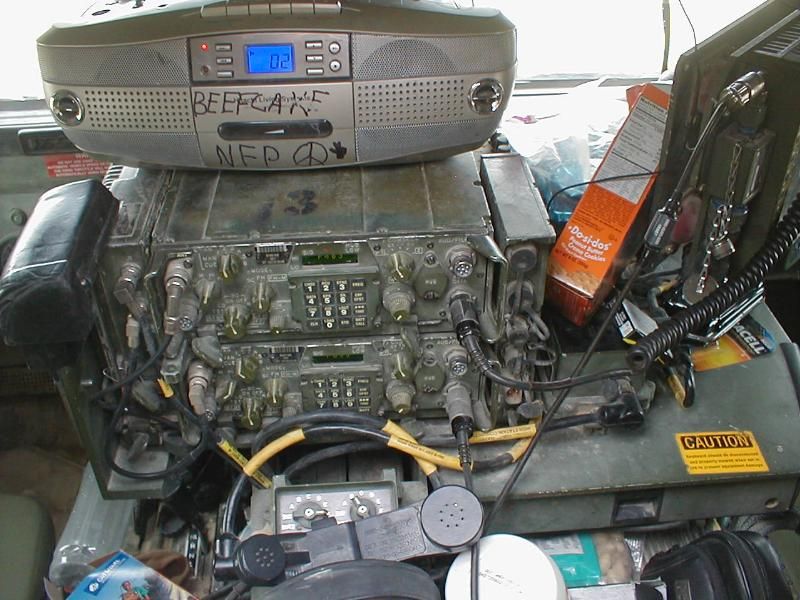
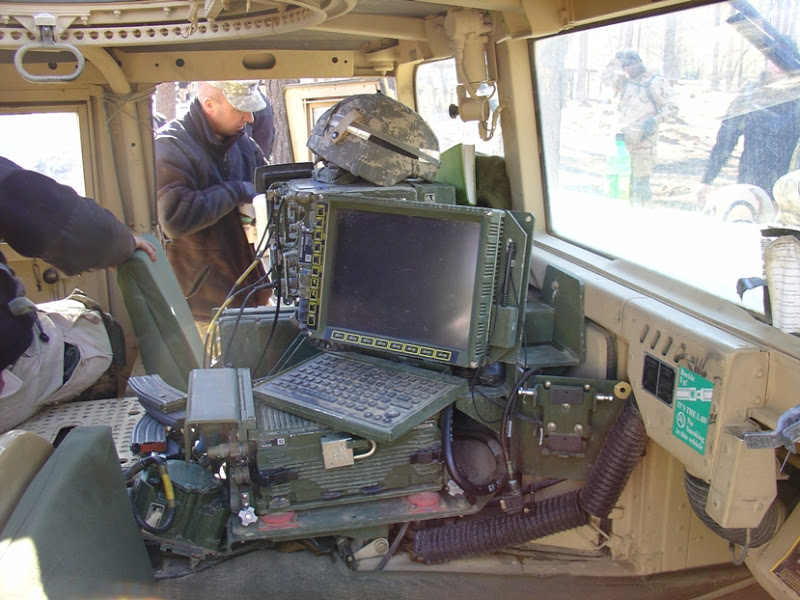
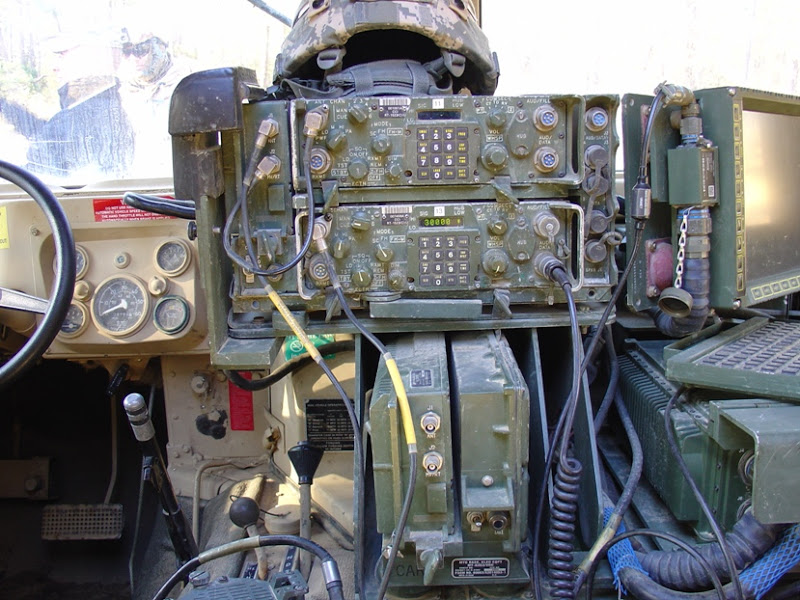
Most of the basic interior was added next. If anyone has a good photo of the radio to post so I could detail the kit one that would be super.


The hood and all of its fittings were attached as well as the tailgate ( sans the AM GENERAL logo ) .


At this point I have to think about stowing more gear inside and painting the interior before I can go any further but I blue tacked the roof and taped on the doors to give an idea of how it will look built up. The doors might take a bit of work to get them to fit nice but over all the MIG conversion has been a good go.


You've gotta love Echelon decals as they have some great marking schemes. I'm going to use the markings for the 504th Parachute Infantry Regiment " Devils In Baggy Pants " 82nd Airborne Division OEF Afghanistan 2005 and it is a great paint and marking scheme. See you soon, Jeff.