


Long time viewer, 1st time blog builder. I just got back into Modern Soviet armor and have been inspired by the work here. I really like builds that explain what was used where and really show the warts. Also a big fan of real photos of real parts. I am trying to get my images bigger so bear with me. So, with that said, on to the build.
The kit is an Eastern Express 2C9 #35187. I tracked down a ModelPoint Barrel set (included, barrel, antenna pot, pe straps and horn, which was missing) I also got an Eduard PE set for the BTR-D as the base vehicle are very close.

the sprues:

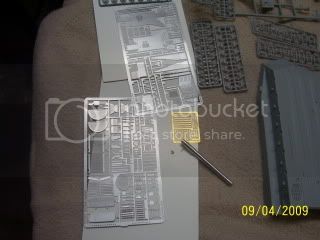
Aftermarket:
The top hull piece, dreaded part #1a. The word piece of.... comes to mind. Warped but good!

As an Irishman, I was brewing a cup of tea and was able to steam bend it close to correct. The instructions tell you to put the upper and lower together. Looking at the Eduard set I cleaned up part#9d(rear hull) and put this one and added Part 8D. This brought about some true Irish color.
1A is warped at the rear. I shaved down part 8d(engine deck), but it would not fit. So I had to cut the top hull rear to give me that bend I needed.

I took off the molded vents on the front of the upper hull so teplace with pe.

(already shaved off before I took photo, used a BTR-D piece for photo)

Front with a lot of filling to do.

More to follow...


