_GOTOBOTTOM
Armor/AFV: Modern - USA
Modern Armor, AFVs, and Support vehicles.
Hosted by Darren Baker
M113A3 Medevac O.I.F. [PHOTOS]
-Gabe-
Visit this Community
New York, United States
Joined: December 18, 2009
KitMaker: 68 posts
Armorama: 65 posts
Posted: Friday, January 29, 2010 - 06:58 AM UTC
This is my Academy M113A3 kit represented as a medical evacuation vehicle during Operation Iraqi Freedom in 2003. It was built OOB and I did not include the interior. The model was hand-brushed (this is my unique feature - ALL my models are hand-brushed) using Model Masters acrylics. It was weathered with soft pastel chalks and colored pencils. Image quality is not the best due to insufficient light so I apologize in advance. Well, I hope you'll enjoy looking at my model!

Let's start!


Thanks for watching!
Gabe
HeavyArty
Visit this Community
Florida, United States
Joined: May 16, 2002
KitMaker: 17,694 posts
Armorama: 13,742 posts
Posted: Friday, January 29, 2010 - 07:23 AM UTC
Looking good Gabe. Nice finish and weathering. I see two fixable issues with it though.

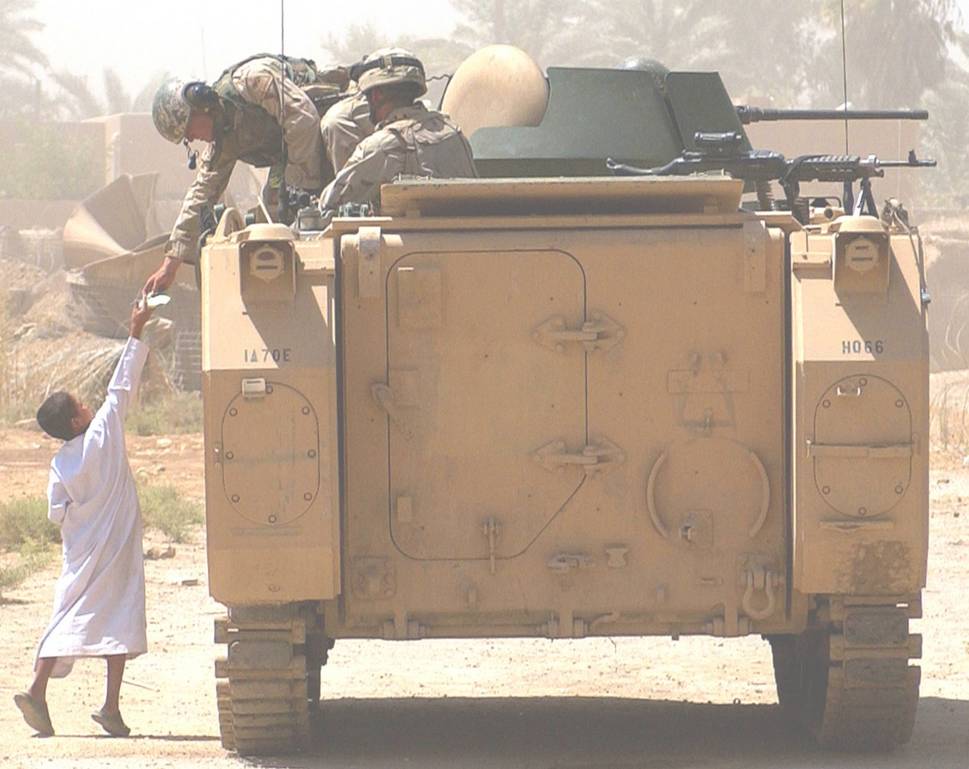
The first is the rear lights. Only the upper left oval should be red. The lower left slit and two slits on the right (upper and lower) should be black. They are part of the blackout drive system. It should look like below.

The second is the tracks. They are too loose. It looks like you used the one-piece vinyl ones. If so, I suggest removing them and taking out a link or two, then splice them back together with sewing thread or staples, reattach them, and then rotate the splice up under the skirts to hide it.

Great moel overall. Keep up the good work and keep posting it.

paul51
Visit this Community
Hamilton, New Zealand
Joined: January 03, 2010
KitMaker: 159 posts
Armorama: 158 posts
Posted: Friday, January 29, 2010 - 07:33 AM UTC
You have clearly demonstrated that a hand brush finish is just as effective as ab, nice job, looks great.
-Gabe-
Visit this Community
New York, United States
Joined: December 18, 2009
KitMaker: 68 posts
Armorama: 65 posts
Posted: Friday, January 29, 2010 - 07:38 AM UTC
Thanks, Gino.

I'm aware of the points you've mentioned. I'm afraid to break the skirts when trying to remove the tracks again, though. However, this model was a good lesson to me for more other M113s that I'm planning to build.
So all the little failures will not repeat themselves next time.

Thanks again!
-Gabe-
Visit this Community
New York, United States
Joined: December 18, 2009
KitMaker: 68 posts
Armorama: 65 posts
Posted: Friday, January 29, 2010 - 07:41 AM UTC

Quoted Text

You have clearly demonstrated that a hand brush finish is just as effective as ab, nice job, looks great.


Thanks, Paul. But I use Model Masters Dull Cote spray can as a clear flat finish. That's the only none hand-brushed procedure in my models...
HeavyArty
Visit this Community
Florida, United States
Joined: May 16, 2002
KitMaker: 17,694 posts
Armorama: 13,742 posts
Posted: Friday, January 29, 2010 - 07:46 AM UTC

Quoted Text

Thanks, Gino.

I'm aware of the points you've mentioned. I'm afraid to break the skirts when trying to remove the tracks again, though.

'

Fair enough. I would fix the tail lights though. They are an easy fix with a bit of paint and a fine brush.
xgames9
Visit this Community
Budapest, Hungary
Joined: April 22, 2012
KitMaker: 4 posts
Armorama: 4 posts
Posted: Sunday, April 22, 2012 - 08:14 AM UTC
Nice one! I'm build t too,but not the medic version, but you don't have time to build the interior?(i think its easy) But at last NICE ONE!
retiredyank
Visit this Community
Arkansas, United States
Joined: June 29, 2009
KitMaker: 11,610 posts
Armorama: 7,843 posts
Posted: Sunday, April 22, 2012 - 08:50 AM UTC
As far as the tracks go, you can fix them easily. Remove them, cut to two links past what shows on each end and glue them back on to the suspension. The right hand track appears to be crooked.
The decals are very well done. I can't even imagine hand painting a model larger than 1/72.
 _GOTOTOP