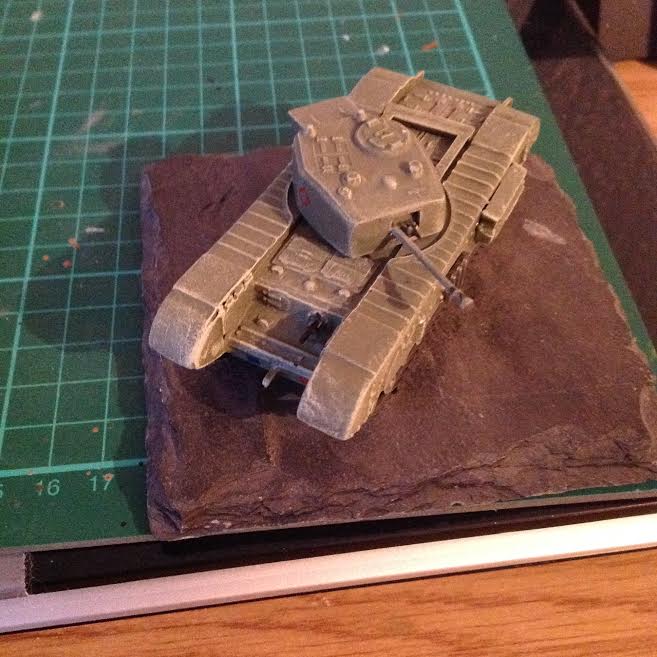
When this kit was announced I immediately rang my dealer to get one to my ASAP.
Reliable as always it was on my workbench shortly after, I recall visiting the Euro Militaire in Folkstone shortly after starting on the kit and I persuaded AA to send me an extra PE set of their excellent side skirts for this project. Leaving AA with about 400,- € worth of kits that weekend might have helped, but AA has always been very, very helpful with fulfilling customer concerns, so within a week after the fair I was able to pick them up at my dealers. Thankx again AA even after a couple of years!
The only good reference I remember having at the time was the Chally 2 book published by Concord, and some maneuver dvds fro TS-video.
To be honest the box version never interested me, I wanted to build a tank stationed in Germany, during the build the idea of adding the dozer-blade from the Trumpeter kit manifested itself.
BTW I never built the Trumpeter kit, just took the dozer kit.
As with many of my kits i build the to a certain extend and like with this one I continue with it after a couple of years and try to finish them.
The model itself has been in this state for at least 3 years and since I am just wrapping up a Warrior Fitter from AA, I pulled it out again to combine the efforts on both models.
Customizing the crews is the main aspect and maybe some additional weathering with new technics and materials.
A base it also in the making so there is a good chance to finally finish this great kit for display.
Please enjoy and feel free to comment (positive ones only)javascript:PasteSmiley(':-H')
Cheers
Christopher
Hosted by Darren Baker
Chally 2 + Dozer
chnoone
Armed Forces Europe, United States
Joined: January 01, 2009
KitMaker: 1,036 posts
Armorama: 1,033 posts
Joined: January 01, 2009
KitMaker: 1,036 posts
Armorama: 1,033 posts
Posted: Tuesday, March 02, 2010 - 10:29 PM UTC
SSTRATTON
England - South East, United Kingdom
Joined: December 25, 2009
KitMaker: 133 posts
Armorama: 132 posts
Joined: December 25, 2009
KitMaker: 133 posts
Armorama: 132 posts
Posted: Tuesday, March 02, 2010 - 11:55 PM UTC
Hey Christopher,great looking kit,how did the dozer blade go together?I was thinking of combining the dozer blade from the same kit as you with the new Trumpeter Chally 2 HEAT armour.
chnoone
Armed Forces Europe, United States
Joined: January 01, 2009
KitMaker: 1,036 posts
Armorama: 1,033 posts
Joined: January 01, 2009
KitMaker: 1,036 posts
Armorama: 1,033 posts
Posted: Wednesday, March 03, 2010 - 04:32 AM UTC
Quoted Text
Hey Christopher,great looking kit,how did the dozer blade go together?I was thinking of combining the dozer blade from the same kit as you with the new Trumpeter Chally 2 HEAT armour.
Works quite well, a little filling and sanding is needed, you will also need the two "base plates" for the the front lower hull but these can easily be adjusted and fitted when the "rig" is hooked in. All in all it is easy and simple to supplement, just hope the new tooled Chally 2 kit is better than the original one, which I personally think is not a worthwhile alternative to the Tamiya kit.
good luck with your Chally
cheers
Christopher
panzerIV
England - North West, United Kingdom
Joined: January 02, 2007
KitMaker: 781 posts
Armorama: 676 posts
Joined: January 02, 2007
KitMaker: 781 posts
Armorama: 676 posts
Posted: Wednesday, March 03, 2010 - 04:58 AM UTC
hi there chris
great model on the chally 2
is this the tamiya kit?
what colour green have you used can i ask??
cheers tony
great model on the chally 2
is this the tamiya kit?
what colour green have you used can i ask??
cheers tony
chnoone
Armed Forces Europe, United States
Joined: January 01, 2009
KitMaker: 1,036 posts
Armorama: 1,033 posts
Joined: January 01, 2009
KitMaker: 1,036 posts
Armorama: 1,033 posts
Posted: Wednesday, March 03, 2010 - 06:47 AM UTC
[quote]hi there chris
great model on the chally 2
is this the tamiya kit?
what colour green have you used can i ask??
It is the Tamiya kit, still the best one around in my opinion.
The early Chally 2 had a more "Grey" apperance to it then the colour the Britsh Army uses now, today it more into OLIVE DRAB.
For the colour I always stick to one or two pictures of the real tank and then try to mix the colours to match those images.
I usually mix a larger quantity of let say "British Green" for one project, on the next British project this mix would be the base colour and would be supplemented with other tones again. I never use the same base color more than once, the camo on my models may look alike but they are never the identical.
The base colour was if I remember correct Tamiya XF 58 OLIVE-GREEN, I would lighten it up with some XF 55 DECK-TAN, give it a drab touch with XF 62 OLIVE DRAB and then add some XF 51 KHAKI DRAB to give it a "Grey tint" with XF 51 KHAKI DRAB.
The black is simply flat Black XF 1.
I usually mix a base Green for the whole kit, apply some washes with different oils, add rust pigments to weld seams etc. and then lighten the base colour and spray a light "fog" over the whole kit, so things blend in. I am not into heavy washes or shading since I believe they mostly look too " artificial". Then I apply the black stripes, and do some light washes there and seal the whole thing before going on with pigment, oil streaks and spots etc.
The callsigns are of light Grey sprayed on using masks.
Cheers
Christopher
viper29_ca
New Brunswick, Canada
Joined: October 18, 2002
KitMaker: 2,247 posts
Armorama: 1,138 posts
Joined: October 18, 2002
KitMaker: 2,247 posts
Armorama: 1,138 posts
Posted: Wednesday, March 03, 2010 - 06:59 AM UTC
Quoted Text
Hey Christopher,great looking kit,how did the dozer blade go together?I was thinking of combining the dozer blade from the same kit as you with the new Trumpeter Chally 2 HEAT armour.
The new Trumpeter Chally II with the Slat armor comes with a dozer blade in it. Likely the same one that is in the older kit.