Decided i'd finally start a build ive been planning for a while now. This will be a slow blog as I dont have much free time at the moment with final year studies, so dont expect a speedy finish.
The Tank (which will hopefully end up in a diorama) i'm building is based on this picture of a T-72B from, I assume, the first Chechen war.

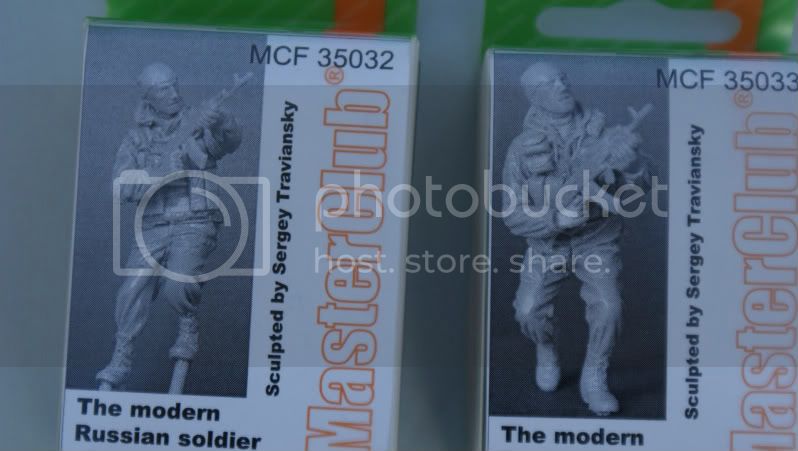
And heres a pic of some of the hardware i'm using:
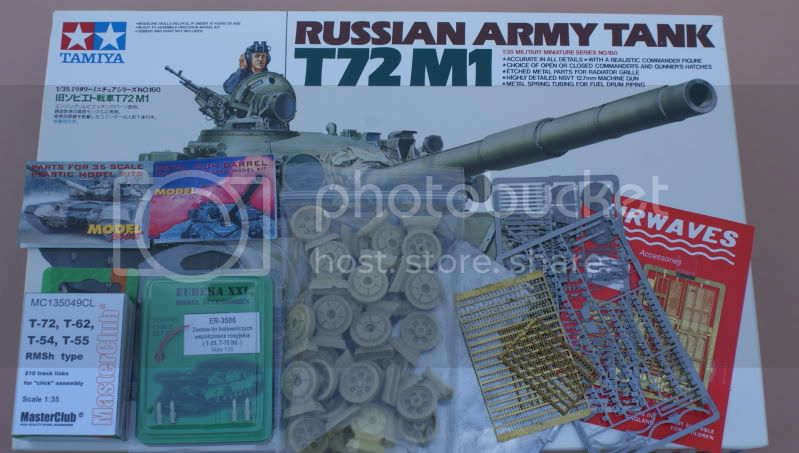
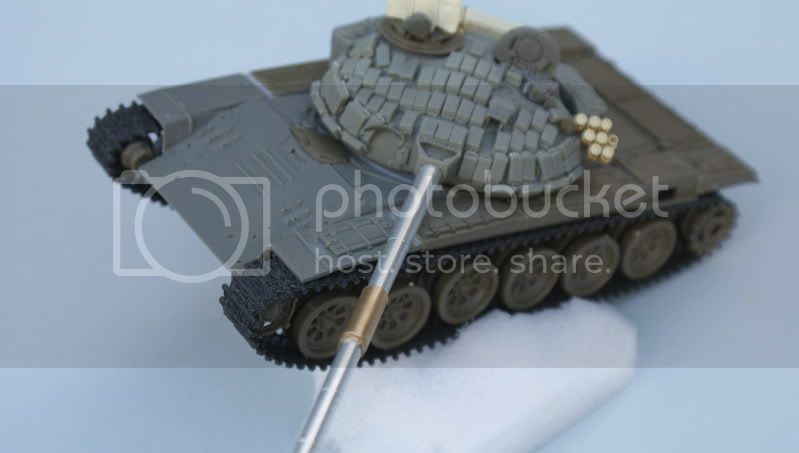
Tamiya T-72
Miniarm T-72B Turret and front glacis (not pictured)
Miniarm 6 spoke wheels
Masterclub T-72 tracks
Eureka tow cable
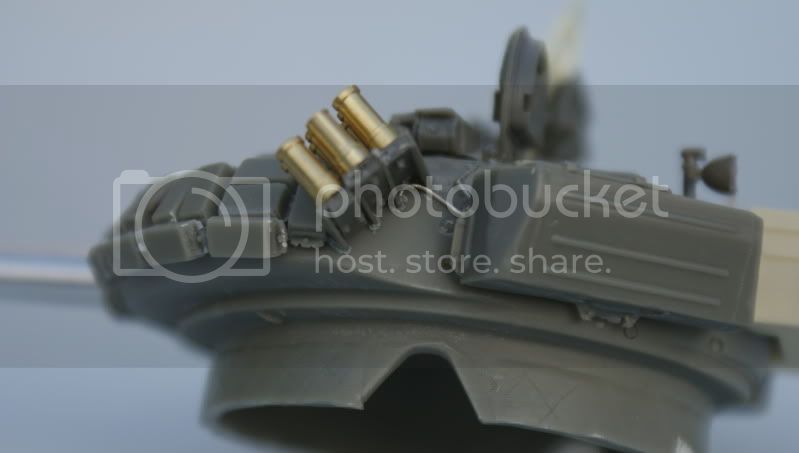
Modelpoint Tucha's
Modelpoint aerial base
Trumpeter KMT-5 (not pictured)
various T-72 etch sets
And a pile of PE nuts & bolts, lead foil, plasti card and other useful scraps
Some references:

The Tamiya book has some decent detail pics of generic T-72 features, the Concord book is quite out of date today but still useful. AFV modeller issue 50 has a Charlie Pritchets T-72M build which is ideal reference for more generic details. I will also be using Kagero's book and WWP's reference books, and Concord T-72&T-90 reference (these have been bought yet) and a ton of online reference pics.
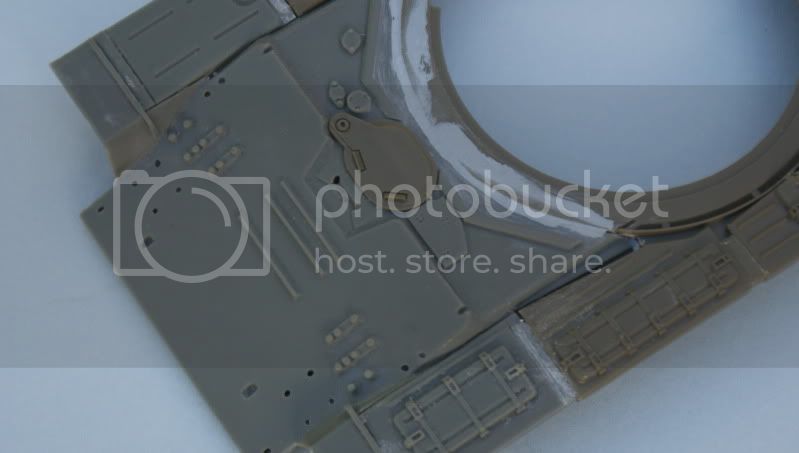
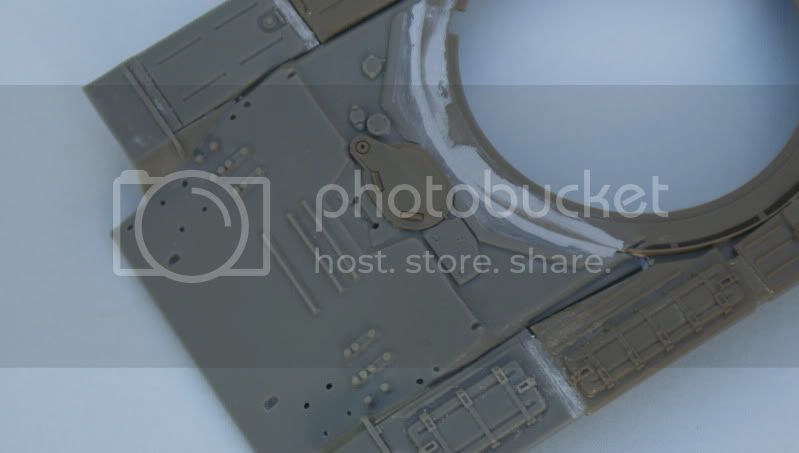
I dont have the Miniarm stuff yet (its on order from Hobbyeasy) but I started work anyway on the hull. I have cut away most of the front glacis, some still needs trimming once I have the new part to match up.

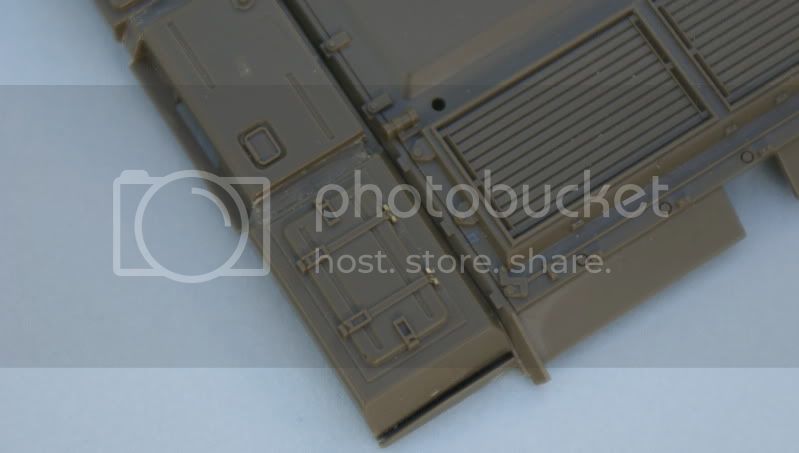
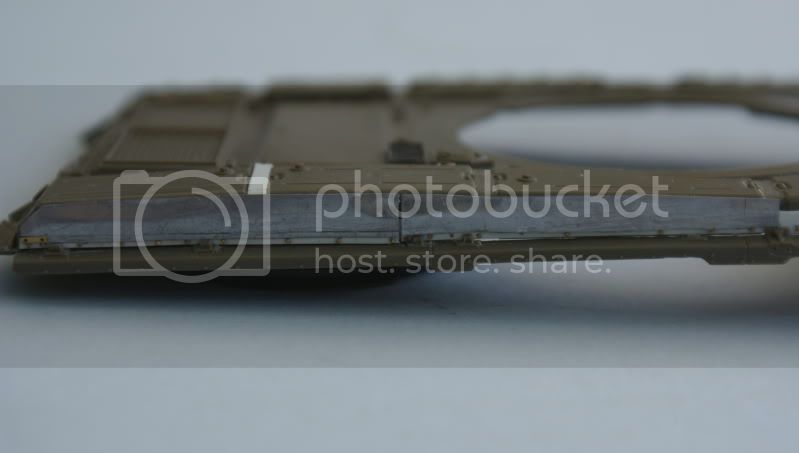
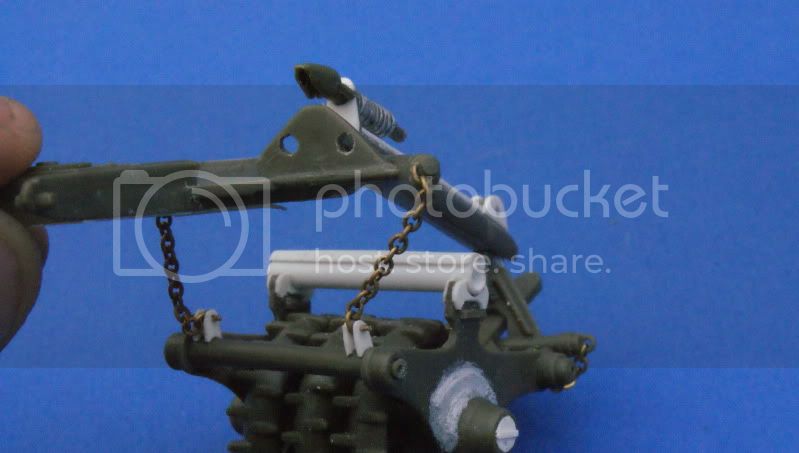
I turned my attention then to begin adding details to the rear deck. First I removed the rear mud flaps, one will be made from lead foil, the other will be completely missing. I then focused on the area around the 2 rear fuel cells. Using this handy pic:

I added the first set of plumbing. The fuel line is made from some hollow modelling rod, and detailed with some plastic tube for the joins.


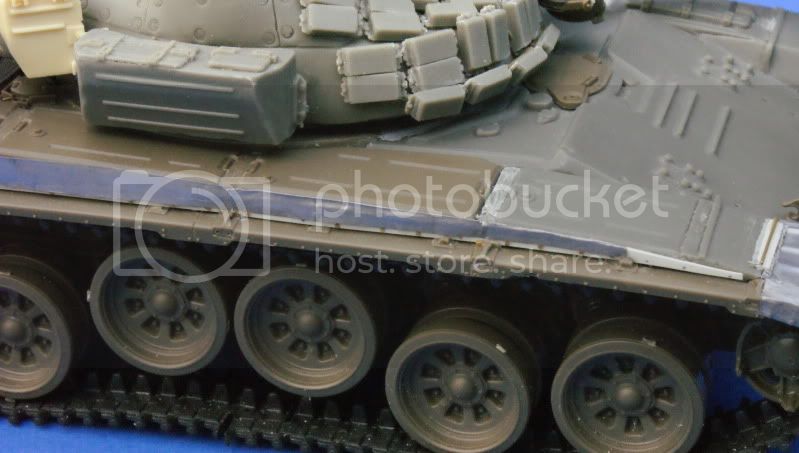
You may also notice in these pics, that ive given the tanks a dented appearance by carving bits out and sanding them smooth. The tank retaining bracket was made from plastic card and the tamiya bit was ground down a bit to make way for the bracket. I added the tiny bolts and clips as well.

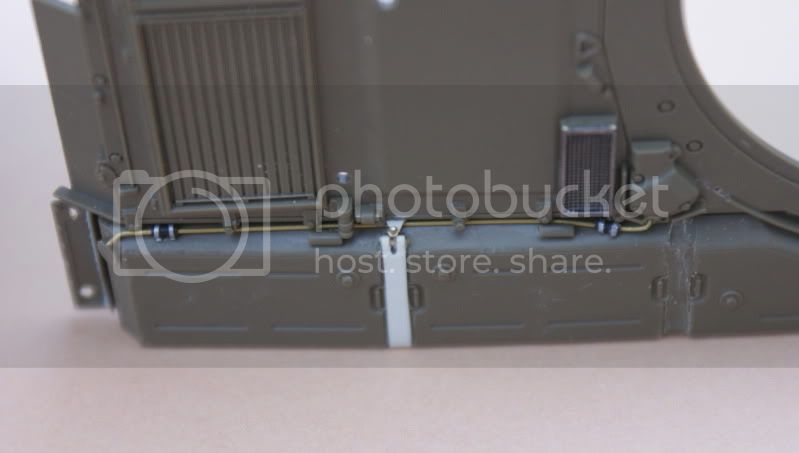

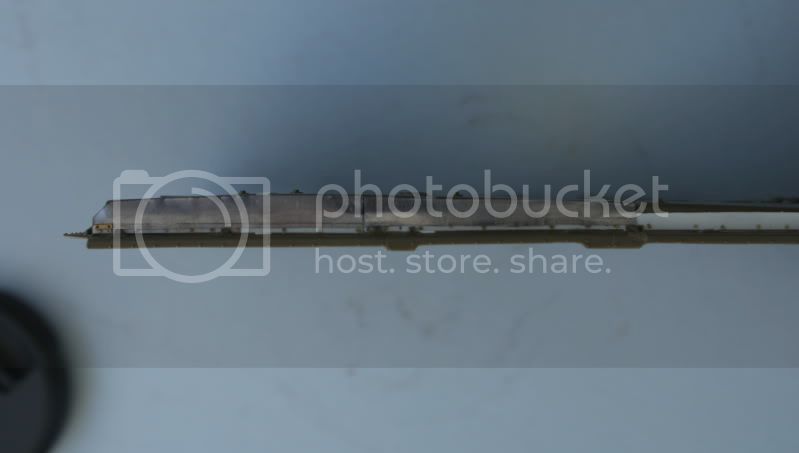
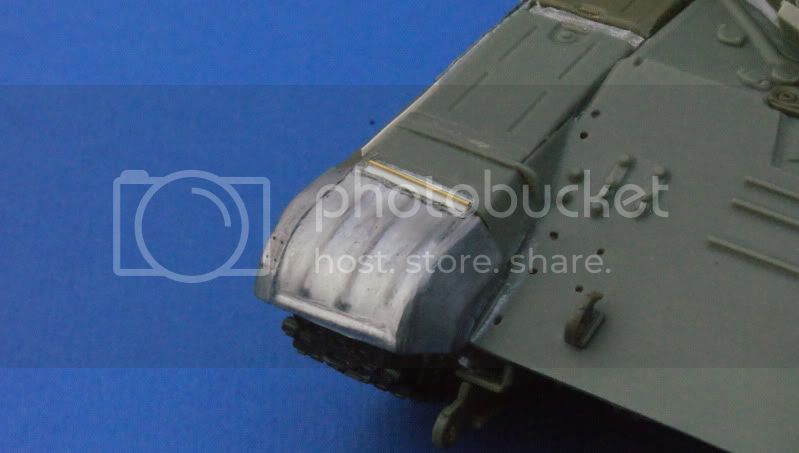
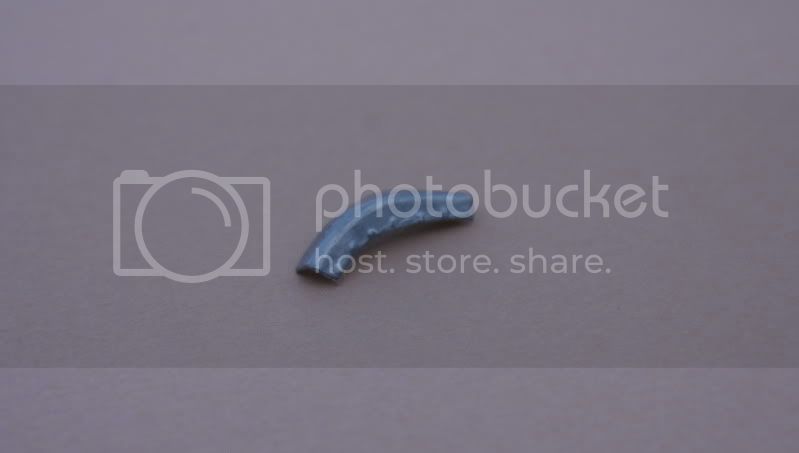
The PE mesh screen on the small intake is eduard. And finally for those who missed it, my lead foil front fender:


More updates to follow whenever the hell I have free time (maybe never at the rate things are currently going!)