

Hi all
Ive finally got hold of a kit of the Mastiff and if its ok with everybody id like to post a few photographs and comments about the build because A. Ive never done a build log before and B. This just seems like a good kit to do one on.
I will understand if there are any objections from the forum, given some of the recent threads on here and i dont want to turn my first build log into anything other than a build log.
Your thoughts please members and staff.
Thanks guys.
Hosted by Darren Baker
Mastiff Build

Sapper131

Joined: December 09, 2004
KitMaker: 110 posts
Armorama: 96 posts

Posted: Tuesday, July 27, 2010 - 03:39 AM UTC

arpikaszabo

Joined: February 13, 2006
KitMaker: 674 posts
Armorama: 637 posts

Posted: Tuesday, July 27, 2010 - 03:42 AM UTC
Please post them, I am interested how it goes together...
Sapper131
Joined: December 09, 2004
KitMaker: 110 posts
Armorama: 96 posts
Posted: Tuesday, July 27, 2010 - 05:52 AM UTC
Apologies, a better description might help.
The Mastiff PPV is the British armies latest patrol vehicle, built as a Cougar MRAP then converted by the British to serve our purposes.
Its currently serving in Afghanistan in a number of roles including Force Protection and is a big beastie.
Hope that clarifies things, im trying to figure out how to upload photos as we speak.
Sapper131
Joined: December 09, 2004
KitMaker: 110 posts
Armorama: 96 posts
Posted: Tuesday, July 27, 2010 - 06:08 AM UTC
Some pics of the real deal.  [img]http://gallery.kitmaker.net/25811/thumbs/04813.JPG" BORDER="0">[/img]

colin-rlc

Joined: January 10, 2006
KitMaker: 91 posts
Armorama: 76 posts

Posted: Tuesday, July 27, 2010 - 09:49 AM UTC
Post pix !! Be good to see how it comes along. They are a big beastie alright, but surprisingly cramped on the inside !!
Sapper131
Joined: December 09, 2004
KitMaker: 110 posts
Armorama: 96 posts
Posted: Tuesday, July 27, 2010 - 10:15 PM UTC

Still experimenting with picture uploads, is this pic showing as it doesnt seem to be my end, just got a red cross.
Sapper131
Joined: December 09, 2004
KitMaker: 110 posts
Armorama: 96 posts
Posted: Thursday, July 29, 2010 - 02:47 AM UTC
Ok here we go.
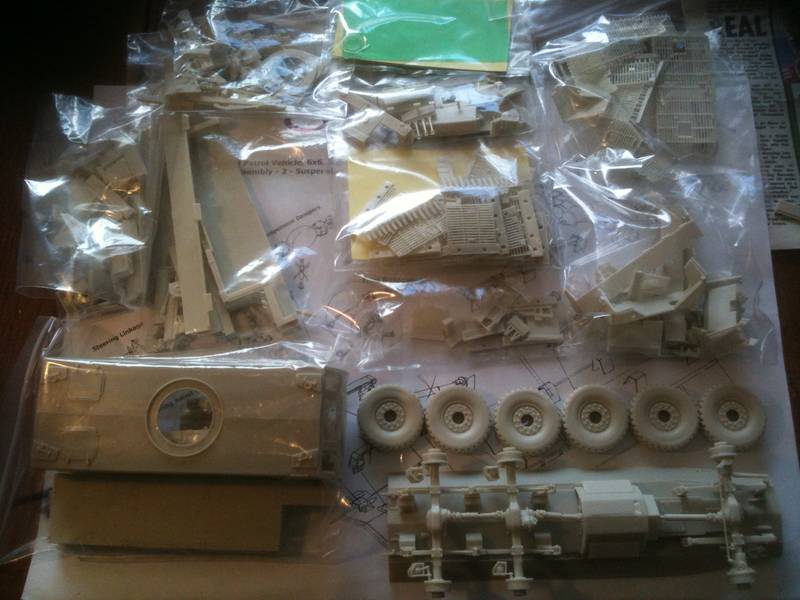
The kit is by Cromwell and is completely cast in gray resin, no white metal or PE. As you can see from the pic i have assembled the lower suspension already but more about that later. For reference i am using the excellent Tankograd UK Next Generation Armour.
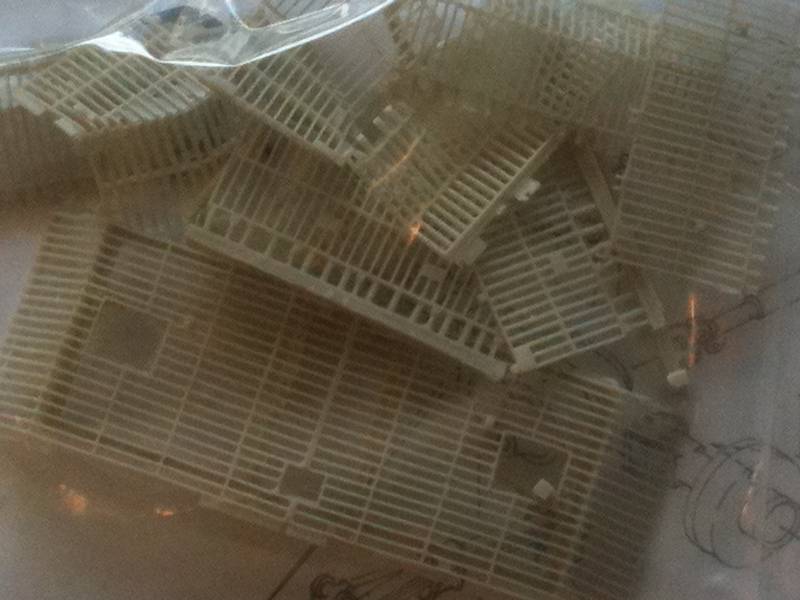
The bar armour is also cast in resin and although it looks great is very fragile and will need some cleanup, fortunately the mould is still fairly new so cleanup is kept to a minimun.
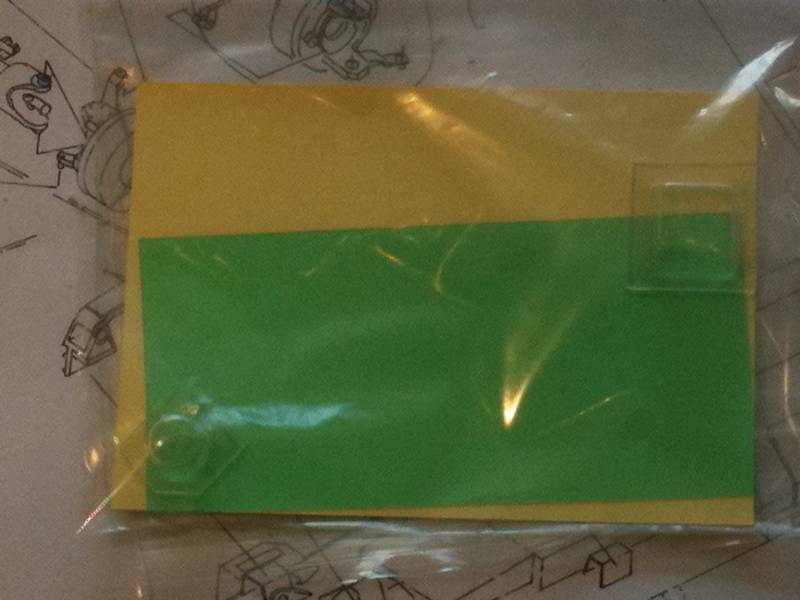
Included is two vacformed clear parts for the ecm pod and gps as well as a sheet of clear green acetate for the windows, not quite sure howim going to bond them to the resin without melting them or turning them cloudy yet, any suggestions or tips on that one are greatly apreciated.
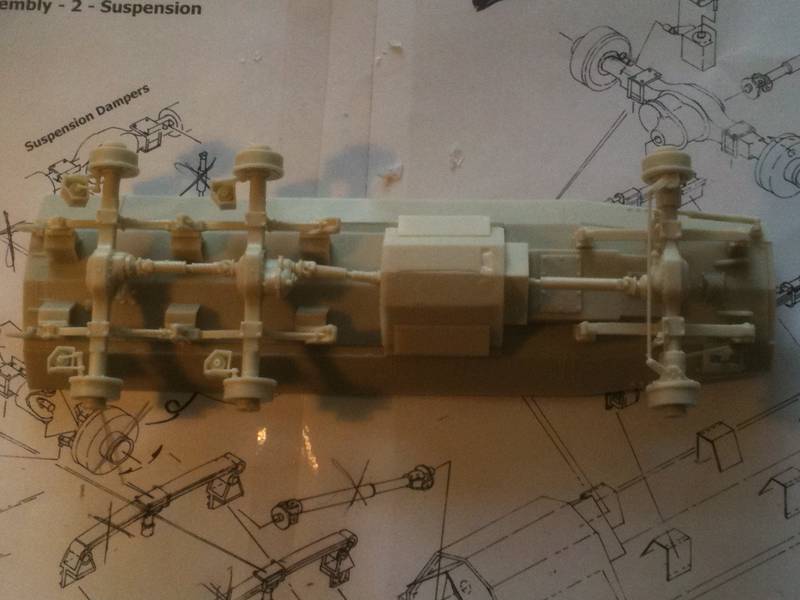
Ok so this is the first part of the assembly, i broke the kit down and bagged it up into stages. Stage one being lower hull and suspension. This took about 8hrs, just due to cleanup and getting placement right, the instruction are just cad drawings and are a bit vague in places and due to limited knowledge of this vehicle i jus had to go ahead and guess in a couple of places.
One or two of the very tiny parts were so fragile that they just broke during handling (no reflection on the production, more my fat fingers). The instructions for the placement of the front and rear brake cylinders were so vague that in the end the rear was guesswork and the front were omitted completely.
Just starting a week of lates (joys of being a paramedic) so not sure when my next post will be as ive also got a Bulldog and a WMIK on the go. Hopefully the pics have come out ok (wont know till i post this on LOL).
As this is my first build log i welcome all comments, criticisms and tips. Enjoy.
The kit is by Cromwell and is completely cast in gray resin, no white metal or PE. As you can see from the pic i have assembled the lower suspension already but more about that later. For reference i am using the excellent Tankograd UK Next Generation Armour.
The bar armour is also cast in resin and although it looks great is very fragile and will need some cleanup, fortunately the mould is still fairly new so cleanup is kept to a minimun.
Included is two vacformed clear parts for the ecm pod and gps as well as a sheet of clear green acetate for the windows, not quite sure howim going to bond them to the resin without melting them or turning them cloudy yet, any suggestions or tips on that one are greatly apreciated.
Ok so this is the first part of the assembly, i broke the kit down and bagged it up into stages. Stage one being lower hull and suspension. This took about 8hrs, just due to cleanup and getting placement right, the instruction are just cad drawings and are a bit vague in places and due to limited knowledge of this vehicle i jus had to go ahead and guess in a couple of places.
One or two of the very tiny parts were so fragile that they just broke during handling (no reflection on the production, more my fat fingers). The instructions for the placement of the front and rear brake cylinders were so vague that in the end the rear was guesswork and the front were omitted completely.
Just starting a week of lates (joys of being a paramedic) so not sure when my next post will be as ive also got a Bulldog and a WMIK on the go. Hopefully the pics have come out ok (wont know till i post this on LOL).
As this is my first build log i welcome all comments, criticisms and tips. Enjoy.
colin-rlc
Joined: January 10, 2006
KitMaker: 91 posts
Armorama: 76 posts
Posted: Thursday, July 29, 2010 - 05:23 AM UTC
For attaching clear plastic for windscreen etc, try a dab of white PVA adhesive (white wood glue). A cocktail stick is just the job for this. It dries out clear as well. Or try Humbrol 'Clearfix'.
Sapper131
Joined: December 09, 2004
KitMaker: 110 posts
Armorama: 96 posts
Posted: Saturday, August 07, 2010 - 02:19 AM UTC
Quoted Text
Post pix !! Be good to see how it comes along. They are a big beastie alright, but surprisingly cramped on the inside !!
Hi colin
Im hazarding a good guess that you have worked on these. Dont suppose you can give me any clues or pics as to interior colours can you?
Any help greatly apreciated.

colin-rlc
Joined: January 10, 2006
KitMaker: 91 posts
Armorama: 76 posts
Posted: Saturday, August 07, 2010 - 03:30 AM UTC
PM'd ya !!
Sapper131
Joined: December 09, 2004
KitMaker: 110 posts
Armorama: 96 posts
Posted: Tuesday, August 17, 2010 - 11:53 PM UTC
Ok sorry its been a while, oh the joys of being a dad, a student Paramedic and having so many projects on the go (no sympathy i hear you all shout LOL!!!).
Ive not got a lot done as can be seen by the ohotos im about to post on (please let them come out). I wrote a massive post for this on sunday night with lots of detail and as soon as i tried to post it my Laptop crashed and i lost the lot so im going to keep it short and sweet today.
A big thank you to Colin, you was a massive help and sorry i havnt PM'd you back yet. I also found some cracking interior photos on WarWheels.com.
Ok the story so far.........


As you can see i kept the interior pretty basic, no weathering and no super detailing due to the fact that you wont be able to see it once it has gone together.
colour wise i used a 2-1 mix of Tamiya XF57 & XF59 for the inner hull and a 2-1-1 mix of XF57 XF19 and Games workshop skull white for the seats and interior padding. Weapons were just painted on the racks in chaos black with no detailing.
Pros and cons so far. Very little cleanup on the parts and the fit is very good with little or no fitting, however the resin is very brittle making some of the smaller parts almost impossible to get off the mould blocks without breaking. Also there is a lot of air bubbles in some of the bigger castings, fortunately i have not made a big deal out of these with the interior but i have yet to deal with the exterior.
More as soon as i can get back on it, as always all comments and critisims welcome.
Ive not got a lot done as can be seen by the ohotos im about to post on (please let them come out). I wrote a massive post for this on sunday night with lots of detail and as soon as i tried to post it my Laptop crashed and i lost the lot so im going to keep it short and sweet today.
A big thank you to Colin, you was a massive help and sorry i havnt PM'd you back yet. I also found some cracking interior photos on WarWheels.com.
Ok the story so far.........
As you can see i kept the interior pretty basic, no weathering and no super detailing due to the fact that you wont be able to see it once it has gone together.
colour wise i used a 2-1 mix of Tamiya XF57 & XF59 for the inner hull and a 2-1-1 mix of XF57 XF19 and Games workshop skull white for the seats and interior padding. Weapons were just painted on the racks in chaos black with no detailing.
Pros and cons so far. Very little cleanup on the parts and the fit is very good with little or no fitting, however the resin is very brittle making some of the smaller parts almost impossible to get off the mould blocks without breaking. Also there is a lot of air bubbles in some of the bigger castings, fortunately i have not made a big deal out of these with the interior but i have yet to deal with the exterior.
More as soon as i can get back on it, as always all comments and critisims welcome.
 |

WEB HOSTING BY


Copyright ©2021 Armorama and Kitmaker Network, a subsidiary of Silver Star Enterprises
All Rights Reserved. Please read our Conditions of Use and Privacy Policy.
All Rights Reserved. Please read our Conditions of Use and Privacy Policy.