


I am finaly able to post some progress pics and reports,so without further ado let's get at it.
Here's what I have been using so far:

I would like to note that this is actualy a fix up of this kit which I had started a long time ago.So,first step was to tear it apart and restart.Here is the beast stripped patched up and with its new commander's cupola.


Next up I've added the sponsons,removed molded details to be replaced with PE and reapplied the weld seams.


Next up on the list was the tracks.Here I used Fruili's amazing set of type54 E tracks;a lot of work to build but well worth the effort in my opinion.Here they are freshly completed:

...and here in their base color coat of Tamiya Nato black(XF-69) mixed 50/50 with Tamiya flat earth XF-52).

Extensive photo etching is next.I decided to go with the Aber set which did not dissapoint me upon its arival.One of the best PE sets I've ever used.But here...you be the judge...

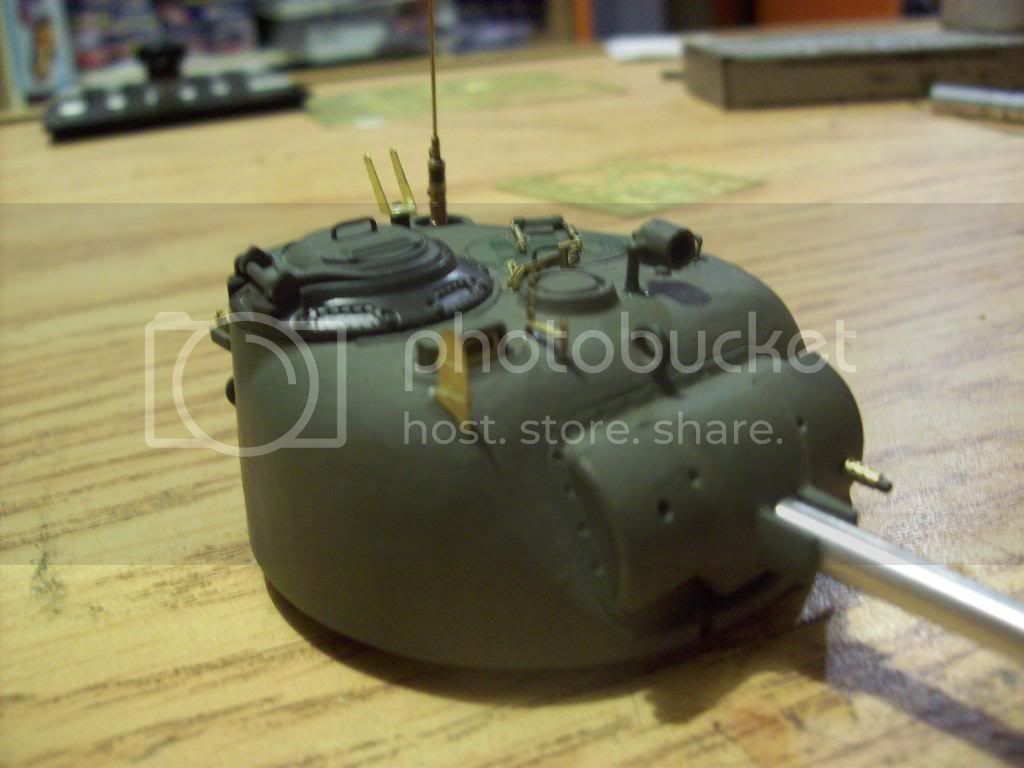


...please note that the rear bustle rack is fully operational...
Stay tuned for more progress pics and reports shortly.As usual,all comments and or criticism are welcome.
Ron.


