_GOTOBOTTOM
Armor/AFV: Modern Armor
Modern armor in general.
Hosted by Darren Baker
Iraqi M113- Ex Swiss
edouble
Visit this Community
Arizona, United States
Joined: January 21, 2006
KitMaker: 126 posts
Armorama: 123 posts
Posted: Friday, September 10, 2010 - 01:40 AM UTC
I was fishing around the closet the other day looking for a new project and I came across the MR Models Swiss M113 conversion. I completely forgot I bought this item on sale from a Local Hobby Shop several years ago. They gave it to me for $20 bucks and I am kicking myself because it has the add on armor and other details used by several nations currently deployed in Iraq and Afghanistan.


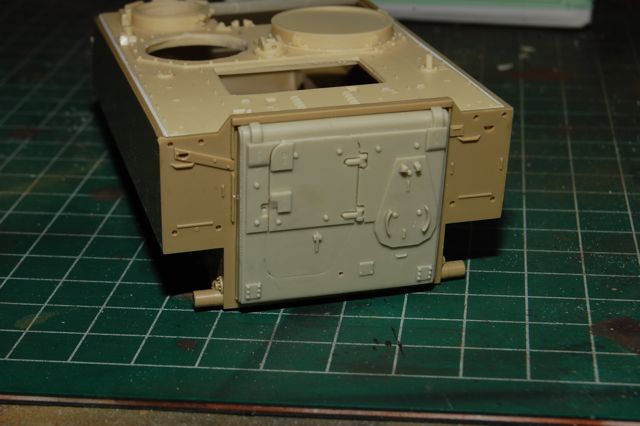
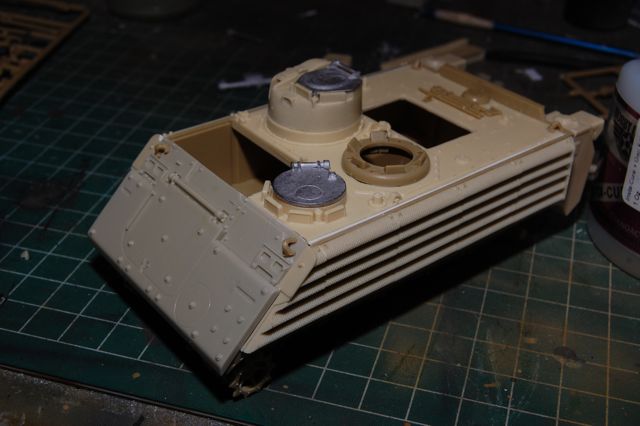
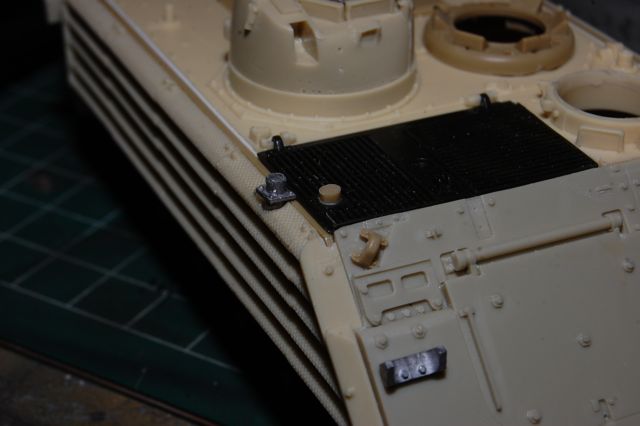
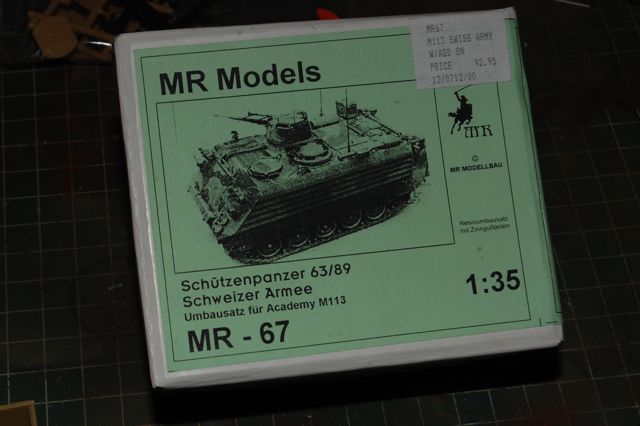
The conversion includes side armor, new upper hull, 20mm turret, new frontal armor, up-armored rear hatch, modified exhaust, and external fuel tanks.


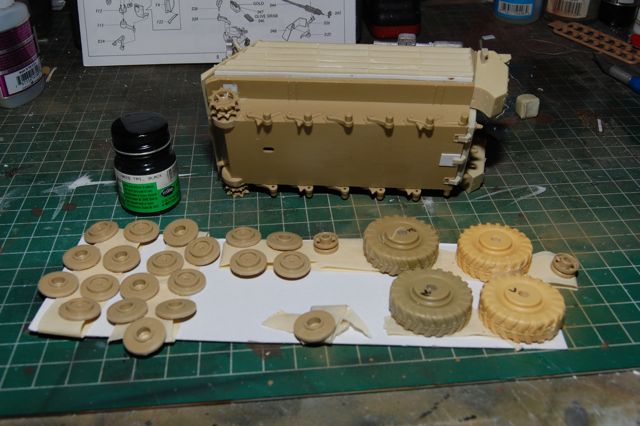
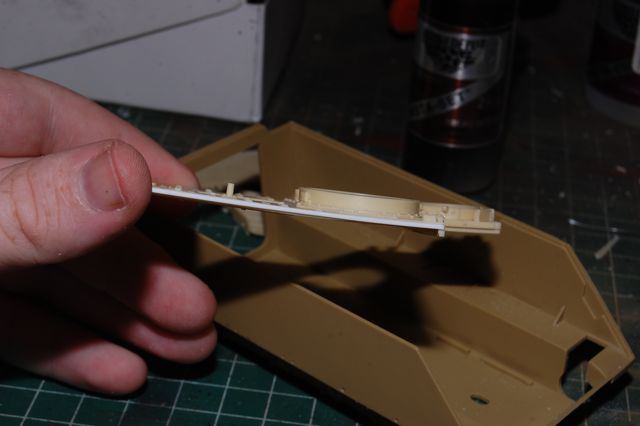
The armor is well detailed but a bit warped. I used my largest razor saw to cleanly remove each side from the pour tab.

From here with the frontal armor I could model a Danish M113 but I decided to hit the web and see if anyone might use the Swiss version. Low and behold I found several articles of an arms deal from 2005 where Switzerland would have sold surplus, refurbished vehicles to Iraq. Swiss law forbids sales of arms to a nation engaged in conflict so the deal was supposed to go through a third party nation and both the UAE and Kuwait are mentioned. I don't know if this deal ever transpired but I am going to finish this vehicle in an Iraqi finish for my own amusement.


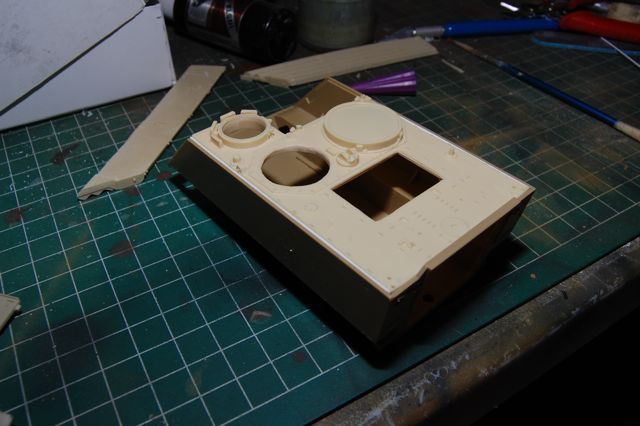
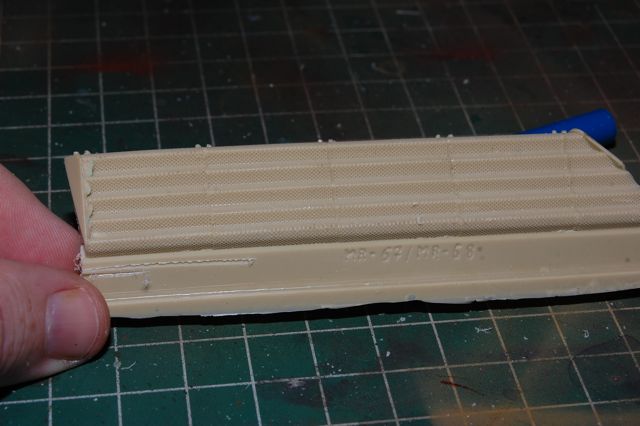
The new upper deck relocates the hatches to add the 20mm turret but once I removed the flash and pour stubs I had a too narrow deck for the Academy hull and a very warped piece of resin. I added some plastic shims to the resin with CA and enjoyed the added benefit of using my MEK glue to install the deck.


edouble
Visit this Community
Arizona, United States
Joined: January 21, 2006
KitMaker: 126 posts
Armorama: 123 posts
Posted: Friday, September 10, 2010 - 02:27 AM UTC


Found a picture of a current version of the Swiss M113. Best one so far.
Dangeroo
#023
Visit this Community
Zurich, Switzerland
Joined: March 13, 2009
KitMaker: 2,058 posts
Armorama: 1,656 posts
Posted: Friday, September 10, 2010 - 02:47 AM UTC
Ethan, that's cool to see someone do the SPz 63/89! I remember seing those when we had an artillery training in Bure in 2001. Nowadays they're no longer in service, replaced by the CV90. I think they were mostly scrapped as the deal through the third country never meterialised (I think it was the UAE who wanted to buy them and give them to Iraq as a present; that would have been a very obvious way around the law...). So it is a "what if", but a very interesting one for sure! You got me hooked.

Do a google picture search with SPz 63/89 and you'll get quite a few pics. They look even better without the mud guards...

Cheers!
Stefan
ptruhe
Visit this Community
Texas, United States
Joined: March 05, 2003
KitMaker: 2,092 posts
Armorama: 1,607 posts
Posted: Friday, September 10, 2010 - 04:13 AM UTC
$20 is a great price. I had the same issue after cutting off the pour plug for the top deck.

Another option is you can build a 63/73 (http://www.museumimzeughaus.ch/images_upload/gross/Schuetzenpanzer_63:73_M_113.jpg and save the side, front and rear uparmor pieces for a Danish vehicle.

Paul
edouble
Visit this Community
Arizona, United States
Joined: January 21, 2006
KitMaker: 126 posts
Armorama: 123 posts
Posted: Friday, September 10, 2010 - 05:11 AM UTC
I am committed to this concept for the time being. What I mean is I already glued stuff together.

I attached the rear hatch and then added the frontal armor. These pieces all fit with no major issues.


My side armor pieces were slightly warped but a generous amount of CA and some clamps did the trick.

LeoCmdr
Visit this Community
Alberta, Canada
Joined: January 19, 2005
KitMaker: 4,085 posts
Armorama: 3,917 posts
Posted: Friday, September 10, 2010 - 01:14 PM UTC
Canada trialed a very similar if not identical hull armour package on a couple of M113A2s back in the early 1990s.....the perforated armour looks very cool up close.
edouble
Visit this Community
Arizona, United States
Joined: January 21, 2006
KitMaker: 126 posts
Armorama: 123 posts
Posted: Monday, September 13, 2010 - 12:13 AM UTC
Turret added and several other parts prepped and attached. The white metal parts are well detailed and fit beautifully.


I forgot to mention the donor kit for this project was an Academy M-981 Fist-V. I snapped up a few on close out from a local hobby store a few years back after I realized they have all the parts of the M113A2 kit.
edouble
Visit this Community
Arizona, United States
Joined: January 21, 2006
KitMaker: 126 posts
Armorama: 123 posts
Posted: Monday, September 13, 2010 - 02:23 AM UTC
I used an old Italeri part to for the engine deck and went to work adding the exhaust. The exhaust for this version in vented downwards through the armor, my guess is to dampen the IR signature(?). I used some sprue to make the stack and mounted the white metal exhaust tube by drilling a channel through the side armor. Later I added an outlet below the armor but above where the skirts will attach.

edouble
Visit this Community
Arizona, United States
Joined: January 21, 2006
KitMaker: 126 posts
Armorama: 123 posts
Posted: Tuesday, September 14, 2010 - 02:45 PM UTC


Engine exhaust in place and other upper hull elements added.
Most of the rest is standard M113 construction. The Academy parts all fill with minimal futzing. Unfortunately I have lost a few of the Swiss parts, notably a set of smoke grenade launchers and the larger of the manual gunsights.


I am now ready to paint. First coat was nato black but I forgot to take a picture of it! (Sunday Football)

First camo coat is Tamiya Acrylic Field Grey. I love this color. Bogies and tracks added.


Dangeroo
#023
Visit this Community
Zurich, Switzerland
Joined: March 13, 2009
KitMaker: 2,058 posts
Armorama: 1,656 posts
Posted: Tuesday, September 14, 2010 - 08:13 PM UTC
Ethan, looks like a smooth fitting kit. Might have to look for one myself. Too bad you lost those parts. What are the big tires in the pic for?

Cheers!
Stefan
 _GOTOTOP