I'm just finishing the construction of this kit, but I've put the suspension arms off until the end. Does anyone have a good system for getting the arms A.) correctly angled, and B) evenly angled? Or is just eyeballing it really still the best way to go?
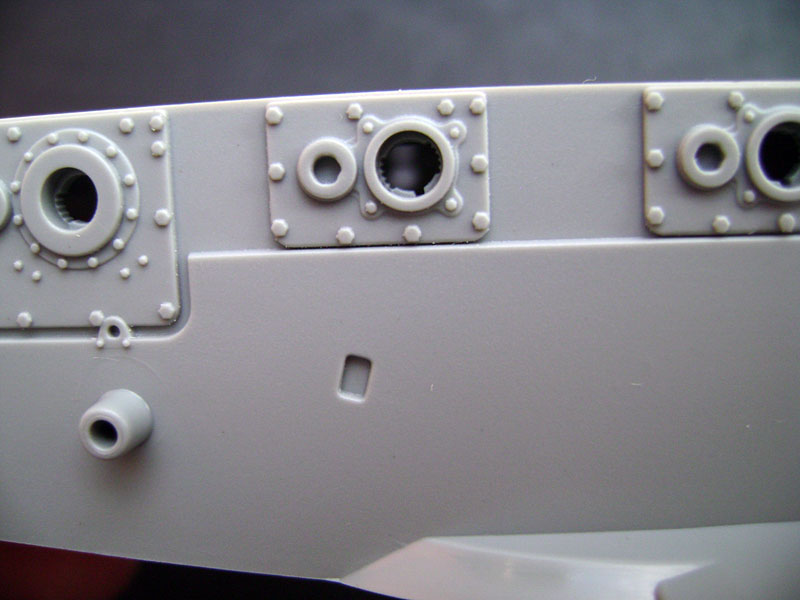
And let me just say about this kit: DAAAYYYYYUUUUMMMMM. Dragon did things on this model that I didn't know were possible with injection-molded plastic, although the instructions left something to be desired. ( Gotta love step 15, which has the addition of no less than 50 parts, including bent-photoetch.)
Hosted by Darren Baker
Dragon M1A2 Suspension
Redheadkevin

Joined: September 28, 2010
KitMaker: 13 posts
Armorama: 13 posts

Posted: Monday, September 27, 2010 - 03:02 PM UTC

majjanelson

Joined: December 14, 2006
KitMaker: 1,355 posts
Armorama: 979 posts

Posted: Monday, September 27, 2010 - 03:53 PM UTC
Kevin,
I have a M1A1 AIM in my stash to build, so I can't give you a difinitive answer.
Since DML made the hull and roadwheel arms with indexing notches, then I would assume (I know, I know) that the middle of the index range should be the proper hieght without any deflection from terrain roughness.

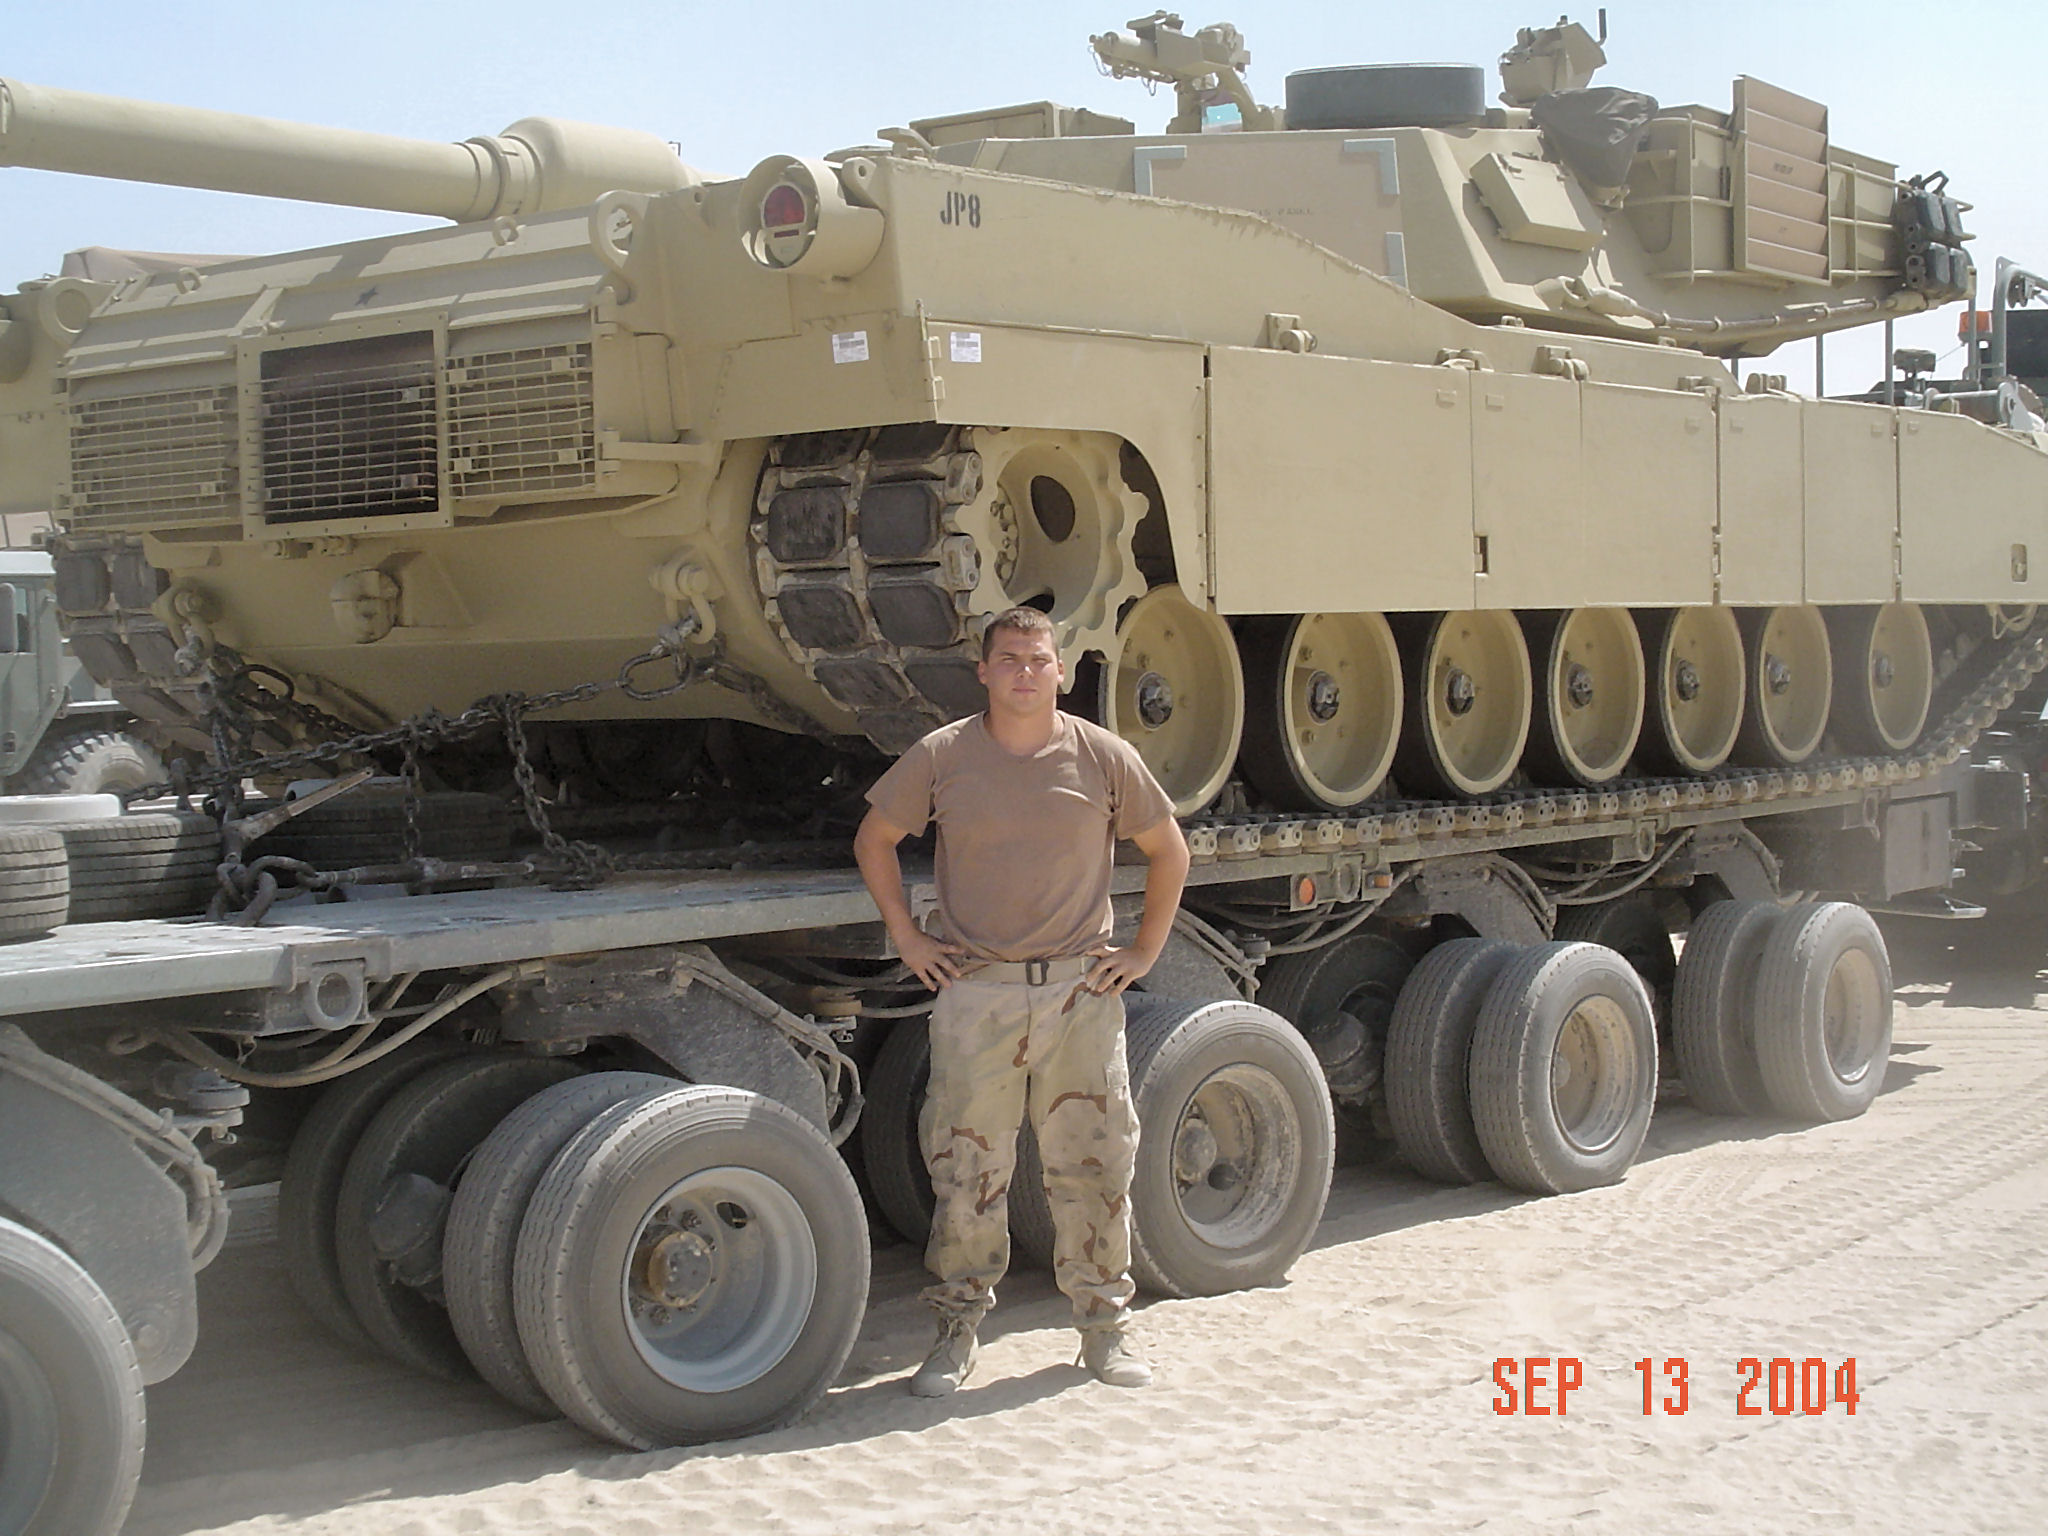
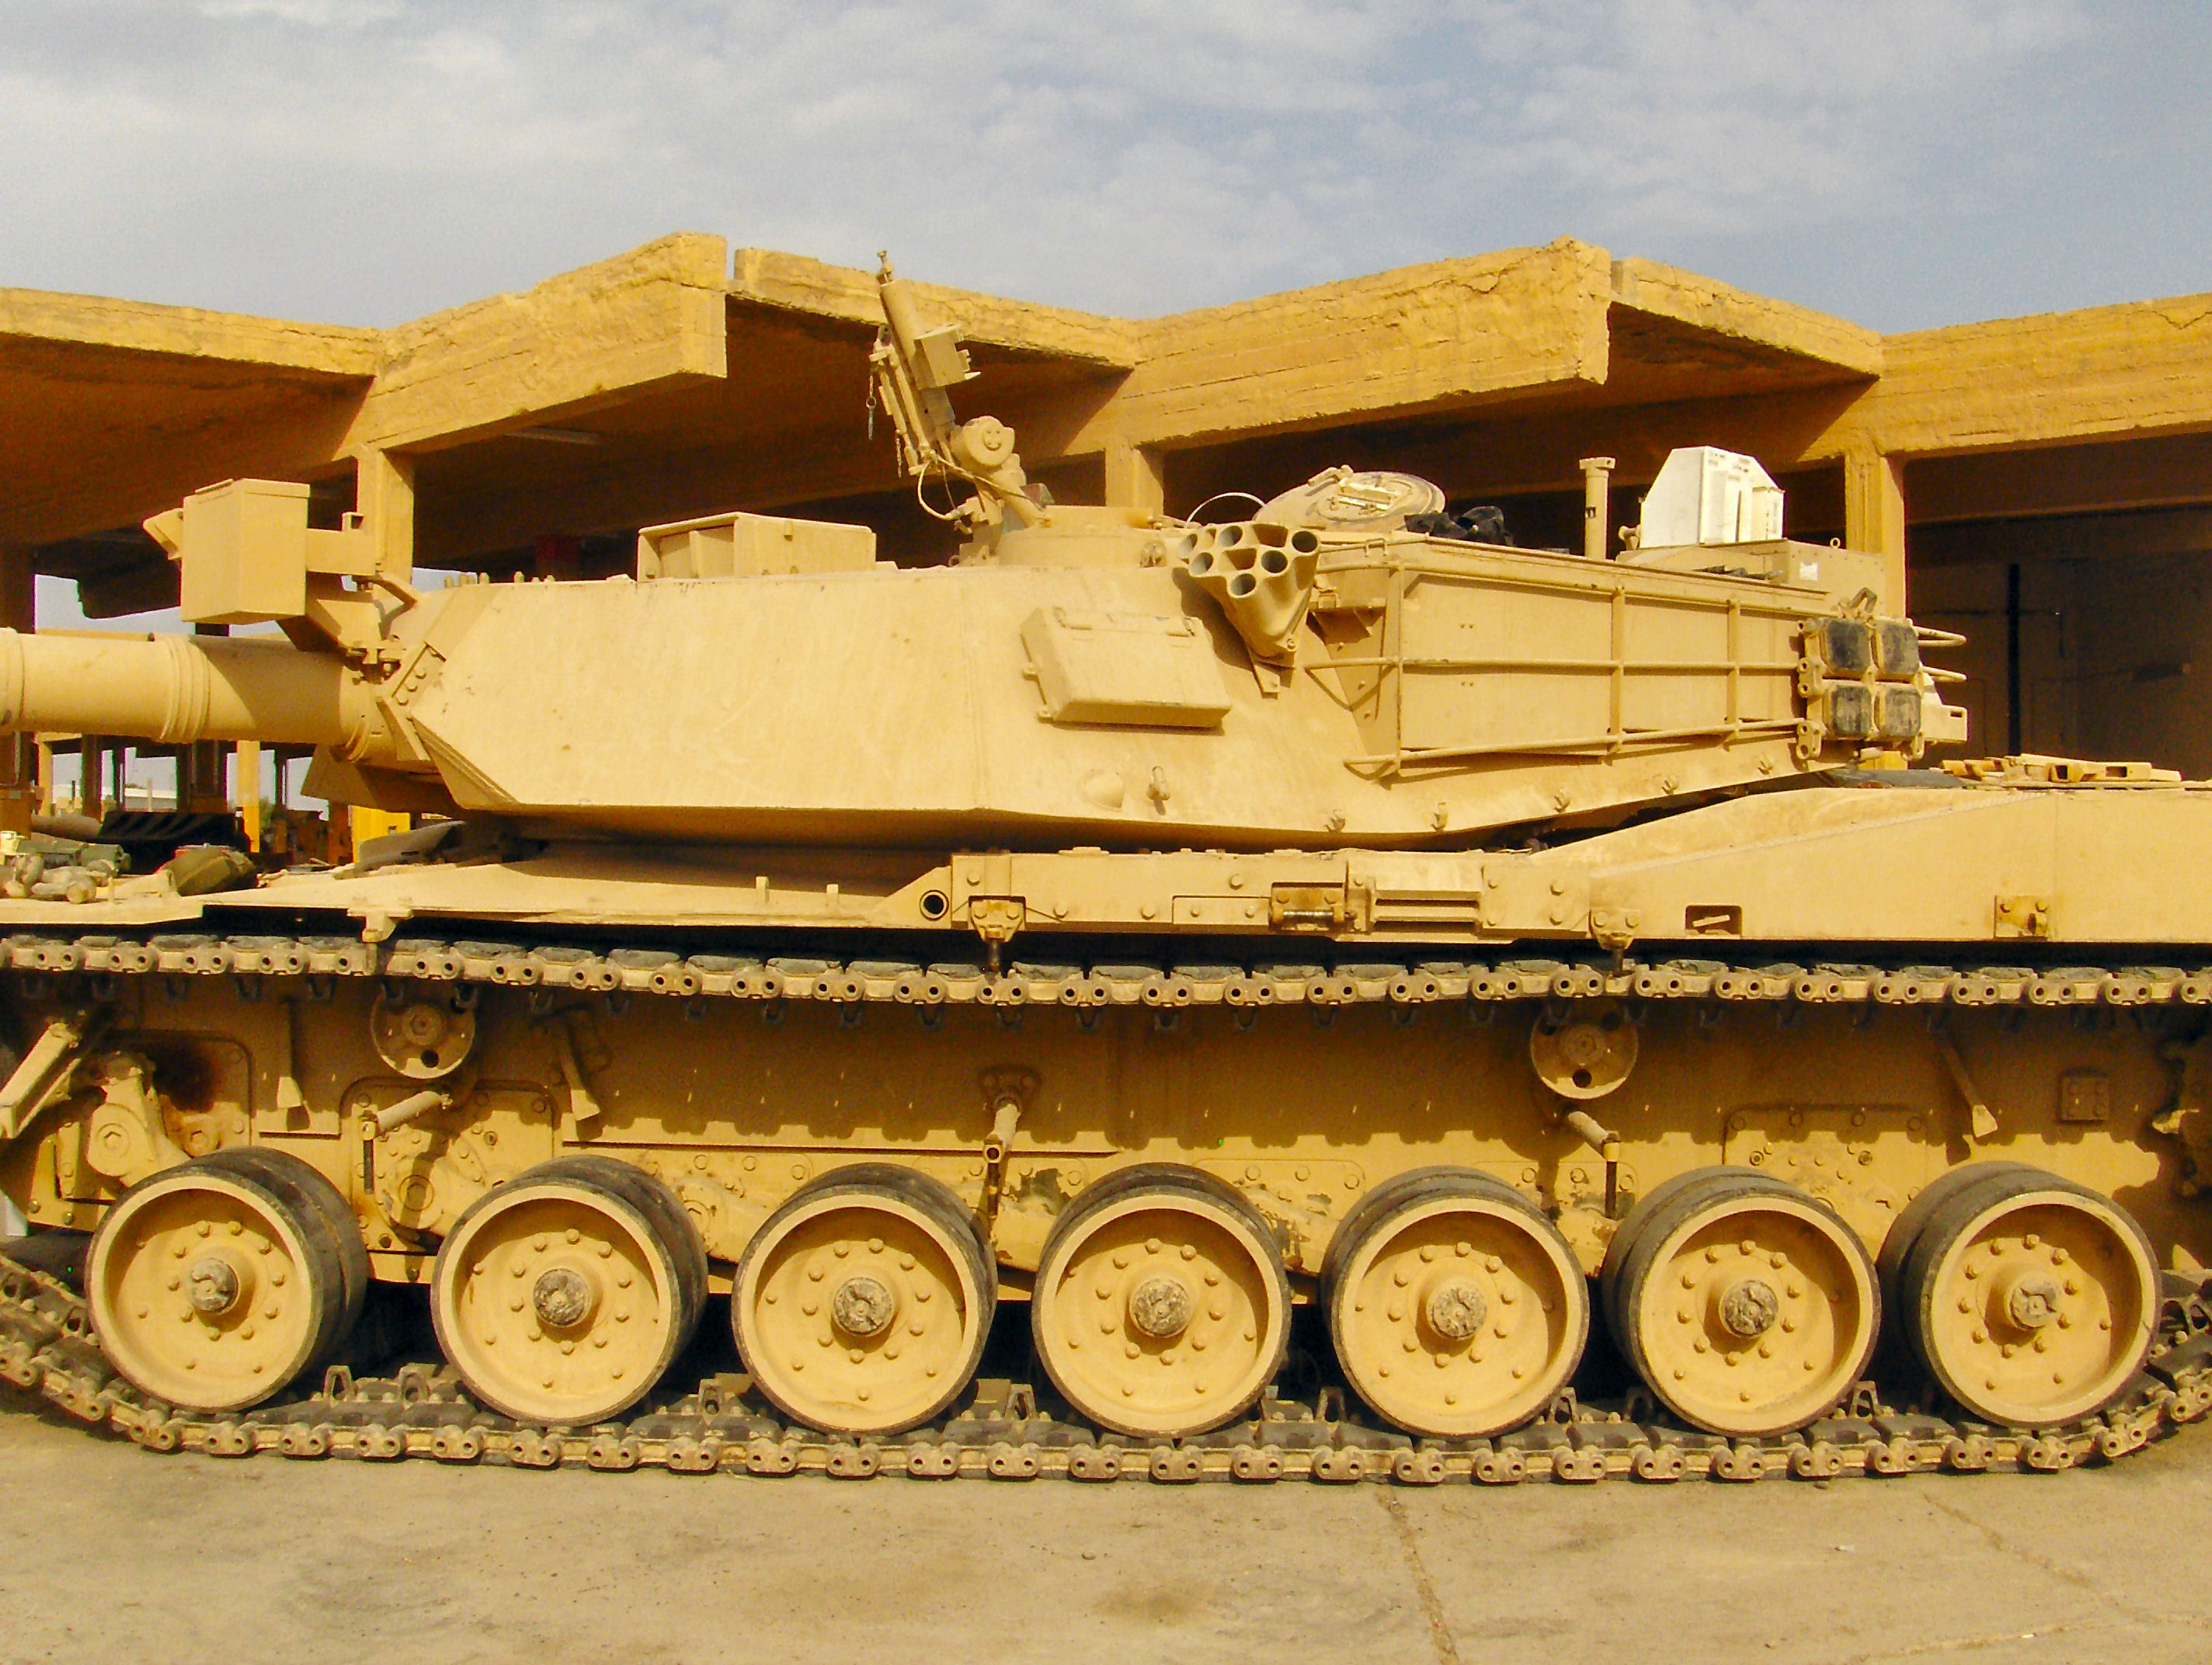
With that said, these pictures show the roadwheels in relation to the side skirts on M1A1s without the additional weight of a plow or roller. The tops of the roadwheels appear to line up with the bottom of the armor plates on the hull.


The bottom edge of the hull side armor is just to the left of the roadwheel tops in this image:

These images show the ends of the roadwheel arms in relation to the bottom of the hull:


I hope this helps...
I have a M1A1 AIM in my stash to build, so I can't give you a difinitive answer.
Since DML made the hull and roadwheel arms with indexing notches, then I would assume (I know, I know) that the middle of the index range should be the proper hieght without any deflection from terrain roughness.

With that said, these pictures show the roadwheels in relation to the side skirts on M1A1s without the additional weight of a plow or roller. The tops of the roadwheels appear to line up with the bottom of the armor plates on the hull.


The bottom edge of the hull side armor is just to the left of the roadwheel tops in this image:

These images show the ends of the roadwheel arms in relation to the bottom of the hull:


I hope this helps...
pseudorealityx

Joined: January 31, 2010
KitMaker: 2,191 posts
Armorama: 1,814 posts

Posted: Tuesday, September 28, 2010 - 01:32 AM UTC
Only thing I'll add from my recent experience with the kit is to make sure the glue has completely set up before putting the model back on the tires, so it drys at the correct level.
Cuny12

Joined: April 04, 2010
KitMaker: 378 posts
Armorama: 348 posts

Posted: Tuesday, September 28, 2010 - 01:54 AM UTC
hey there since building several of these kits the easist way is to grab a clear ruler and dry fit the suspension arms first get every thing sitting good first at the hull rear the very bottom you should have about three mil to a nice flat surface at the front of the hull go for 2.5cms dont glue any of them until they sit even then i glue from the inside of the hull where they just protrude through when im happy i will apply cyano to the outside just where they join all of my m1a1s and a2s sit perfect just remember to use a flat surface and check them as they dry as they tend to do their own thing as they dry I hope this releives a potential headache for you.
cheers cunny12.
cheers cunny12.

Redheadkevin

Joined: September 28, 2010
KitMaker: 13 posts
Armorama: 13 posts

Posted: Friday, October 01, 2010 - 02:44 AM UTC
Thanks for the help guys! I got my road wheel arms all installed. I got the 4 corner arms installed, made sure everything was lined up and level, then super-glued them in place. I dryfitted the rest of the arms, made sure all the rest touched the ground, and voila. I think I made it sit a hair too high, but everything's glued securely, so there's not a lot I can do about it now. OH well, I'll fix it next time. (The way this thing went together, I'm SURE I'll build another one someday.)
Cuny12

Joined: April 04, 2010
KitMaker: 378 posts
Armorama: 348 posts

Posted: Friday, October 01, 2010 - 01:23 PM UTC
Hope it turns out well its probaly the only let down with the kit in yhe sense it can make or break the build ive perfected it to an art now it usualy takes a couple of hours getting it to sit right i just get to picky.
cheers cuny12.
cheers cuny12.
 |


