_GOTOBOTTOM
Dioramas: Vietnam
For Vietnam diorama subjects or techniques.
Hosted by Darren Baker
Gotcha diorama
mojo72
Visit this Community
Kuala Lumpur, Malaysia
Joined: September 05, 2010
KitMaker: 160 posts
Armorama: 130 posts
Posted: Saturday, October 09, 2010 - 08:44 AM UTC
Hi everyone

Just thought I share my first ever diorama with you guys. It is called Gotcha, simply because it consists of a group of GIs interrogating 2 VC suspects in a raid. Please visit my photo gallery to view my progress
exer
Visit this Community
Dublin, Ireland
Joined: November 27, 2004
KitMaker: 6,048 posts
Armorama: 4,619 posts
Posted: Saturday, October 09, 2010 - 08:54 AM UTC
good building looking forward to seeing more
CMOT
Staff MemberEditor-in-Chief
ARMORAMA
Visit this Community
England - South West, United Kingdom
Joined: May 14, 2006
KitMaker: 10,954 posts
Armorama: 8,571 posts
Posted: Saturday, October 09, 2010 - 09:10 AM UTC
muhammad here are your pictures for you. I really like the look of the roof, what did you use for it?


mojo72
Visit this Community
Kuala Lumpur, Malaysia
Joined: September 05, 2010
KitMaker: 160 posts
Armorama: 130 posts
Posted: Saturday, October 09, 2010 - 09:22 AM UTC
Darren

Thanks for uploading the photos on the main forum. With regards to the hut, I used bamboo skewers for the supports, and cocktail sticks for the doors and windows. The roof was constructed from a broom bristles, and the walls were made from old armchair fibre. The coconut trees were scratchbuilt as per Chas Young's and Thanan's tutorials.
mojo72
Visit this Community
Kuala Lumpur, Malaysia
Joined: September 05, 2010
KitMaker: 160 posts
Armorama: 130 posts
Posted: Tuesday, October 19, 2010 - 02:38 AM UTC
Hi all

Finally my Gotcha diorama is completed. I used Tamiya's M113 and animals, and Dragon figures to complete the scene. The hut, shed and coconut trees are scratchbuilt as previously mentioned.
Unfortunately I was not able to upload the photos on the main forum after several attempts. Should anyone could guide me it would be much appreciated. I even tried to use the guide from the user support page but to no avail.
Also please feel free to leave any feedback
HeavyArty
Visit this Community
Florida, United States
Joined: May 16, 2002
KitMaker: 17,694 posts
Armorama: 13,742 posts
Posted: Tuesday, October 19, 2010 - 03:11 AM UTC
All you need to do to add photos is go to your photo album and click on the pic you want to add to make it bigger. Now, right click on the image and select properties. This will open a smaller box. Copy the Address line starting with http:.. and ending with .jpg. In your post, click on the [ i m g] tab below the text box and you will get the following: [i m g]http://put.url.here /image. file[/ img]

Now paste the picture address into the place where it says http:// put url here/ image.file. It will look like this:

[im g]http ://gallery .kitmaker.net/data/500 /100_0604. JPG[ /i m g]
Only w/out spaces. When the spaces are removed, you get the picture.


It looks very good. Good job on the hut and the figures. One small tweak on the M113A1 and it will be even better. The rear lights are off. Only the upper left oval should be red. The right side has two slits, like on the modern M113A3 below.
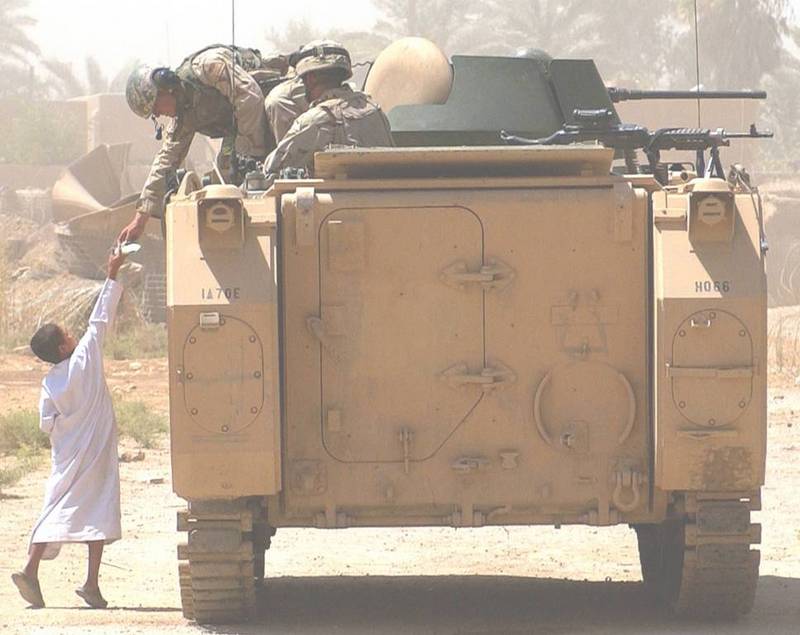


I would also add some personal items inside the hut so it looks lived in. Maybe a bedrole, cooking items, clothing, rice sacks, lantern, etc. Other than that, good job.
mojo72
Visit this Community
Kuala Lumpur, Malaysia
Joined: September 05, 2010
KitMaker: 160 posts
Armorama: 130 posts
Posted: Tuesday, October 19, 2010 - 04:24 AM UTC
Gino

Thanks for pointing me in the right direction. With regards to the photo uploading, when right clicked to enlarge the selected photo there was no tab for Properties....hence I was not able to proceed further. However I will try again in the near future and hopefully it'll work
roudeleiw
Visit this Community
Luxembourg
Joined: January 19, 2004
KitMaker: 2,406 posts
Armorama: 2,224 posts
Posted: Tuesday, October 19, 2010 - 06:23 PM UTC
Hi, this is a good dio. Obviously your scratched items make it good. Well done!

My comment would be the tracks. Your imprint in the ground is smaller then the tracks.

Cheers
Claude
mojo72
Visit this Community
Kuala Lumpur, Malaysia
Joined: September 05, 2010
KitMaker: 160 posts
Armorama: 130 posts
Posted: Friday, October 22, 2010 - 05:47 AM UTC
Hi Claude

Thanks for the comment. I must admit that I did not realise about the tracks until the groundwork was completed. Once again thanks for the observation.........cheers
retiredbee2
Visit this Community
Florida, United States
Joined: May 04, 2008
KitMaker: 757 posts
Armorama: 518 posts
Posted: Friday, October 22, 2010 - 08:29 AM UTC
Very nice work and what a brave chicken to be contently sitting there while the dog inspects the hooch. Really like the trees and the hut.
mojo72
Visit this Community
Kuala Lumpur, Malaysia
Joined: September 05, 2010
KitMaker: 160 posts
Armorama: 130 posts
Posted: Friday, October 22, 2010 - 09:04 AM UTC
Hi Alfred

Maybe the chicken were too mesmerised with the ongoing scene that they forgot about the dog....lol
retiredbee2
Visit this Community
Florida, United States
Joined: May 04, 2008
KitMaker: 757 posts
Armorama: 518 posts
Posted: Friday, October 22, 2010 - 10:36 AM UTC
Maybe she was stoned. There was a lot of that going on those days. .....Al
 _GOTOTOP