

I want to make a 1/72 scale dio of an Stridsvagn 103 (S-Tank) in a hull down/dug in postion, but i have'nt a clue how to make it look dug in?
 I was wondering if anyone knew how to do this?
 Anyhelp would be greatly appreciated


 I was wondering if anyone knew how to do this?


 It will help no end Does anyone know of any other methods or this idea would be good?
 I had'nt thought of that one, I'll have to see what i can get hold of material wise

 Cheers for the info

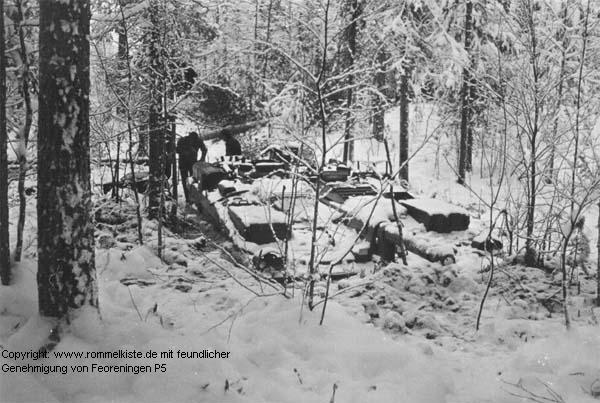
Actually they dug themselves in as every third(I think) was fitted with a dozerblade.


 Im sure it will help no end. Just got to order the Kit and get the materials now, then i can start making


 I think I have some blue foam somewhere And cheers, im looking forward to building it
  |


