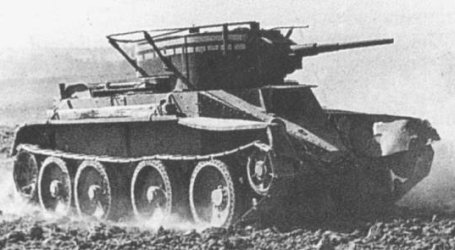
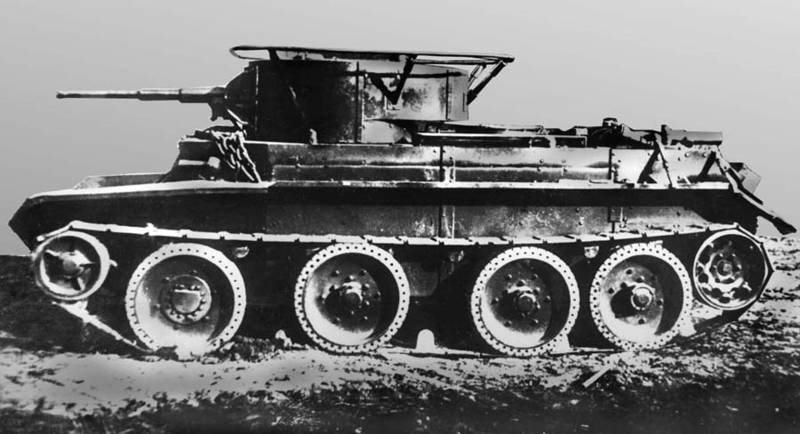
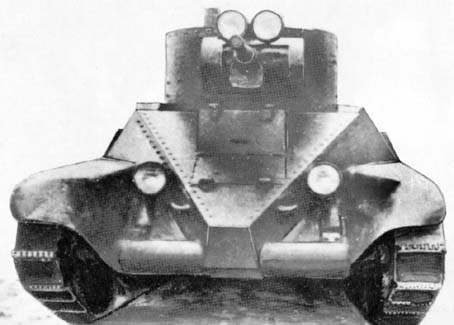
As you might gather, I rather enjoy the more unusual aspects of modelling, i.e. motorcycles, WWI tanks and obscure softsides, which might be the reason I was asked to build a BT-7 (no. 2), but not any BT-7... one from the final Manchurian campaign that routed the Japanese in September 1945.
In this blog I'll talk about the tidbits I discovered about the final campaign and the Russian practicality, plus the odd resilience of this tank destined for scrap as early as 1940.
Part of the subject challenge was leveled at me by my building partner John B. who does figures, another came from a chance e-mail with Shiao Qi of Voyager Models after I wrote to them (well, my wife wrote them in Chinese) about what a treat it had been to use some Voyager PE on my Panzer IV build for an Armorama Campaign. I got back a note thanking me and asking what was next on the bench. Well, my wife being Inner-Mongolian and I always looking for historical items connected to her and my son's homeland this lose connection with the BT-7 was my first armor reference within my level of possible builds. I had already done a series of Hawk biplane fighters in Mongolian warlord colors sent to my father-in-law in Hailair.
I noted to Shiao Qi I wanted to build a BT-7 (again) but as rare as they come. So what better and odd piece than a 10 year old tank used effectively in the last battles of 1945. Onward Manchuria!
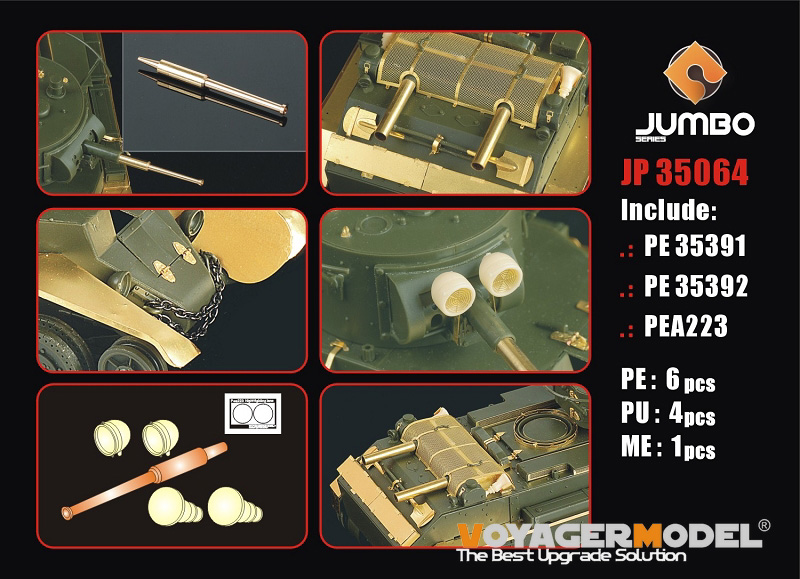
Shiao Qi wrote back that a parcel was on its way. What I got was this and I knew there was no turning back!
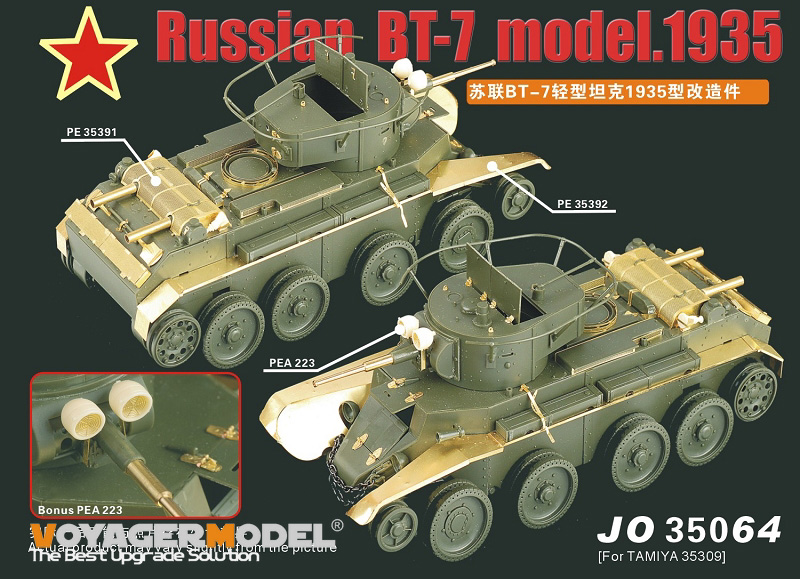
Ya Gotta Love Tamiya!
The Tamiya kit is a great weekend romp and out of the box is a solid representation of the BT series. It goes together well and no glaring errors, simple instructions and enough small peices to make you humble. To be truthful I stay as far away from PE as I can get because of eyesight (lack of) so when I stared at sheets of brass, and resin parts then at the Bt-7 made up hull and turret I really had to gird the loins to attempt this... so what was the first thing I try? The compound curves of the front fenders with a cold roller (I need my head examined).
Above is the result. No annealing was done, and no solder. Whatever Voyager uses for their 'brass' is remarkably forgiving with great 'memory'. There are 7 bends with a 'Hold and Fold' and then a couple of hours with a mini-roller using the Tamiya fenders as jigs. Here is a later test-fit picture of the fenders prior to final attachment.
Another nice thing about Voyager is they assume we have carpet monsters and alternative PE-dwelling universes around our work benches. All the smallest and trickiest parts have at least one spare and sometimes two.
The fenders are close to scale thickness which means they are thin with tiny attachment points, but what you lose in frustration placing the parts you gain in a delicate and scale rendition of the part you are replacing on the kit.
With the fenders in place and the hinges done, in my next installment I'll move to the back and the engine screen. As you can see, this too seems daunting, but turned out as forgiving as the fenders.
Two notes:
* I wish the photographs were better and more of them, but I use them to 'see' before and after an hour's work. Along with the vision aids I use I rely on a computer monitor and my digital camera to help me see what I'm doing. Consequently, what once took me 4 hours to do now stretches to 4 days. This allows me to model even if considered visually impaired.
* Please, ask anything you want either in the forum or via PM about the 'hows' of getting around disablities. I'm also always open to tips and tricks.
PadrePete


