


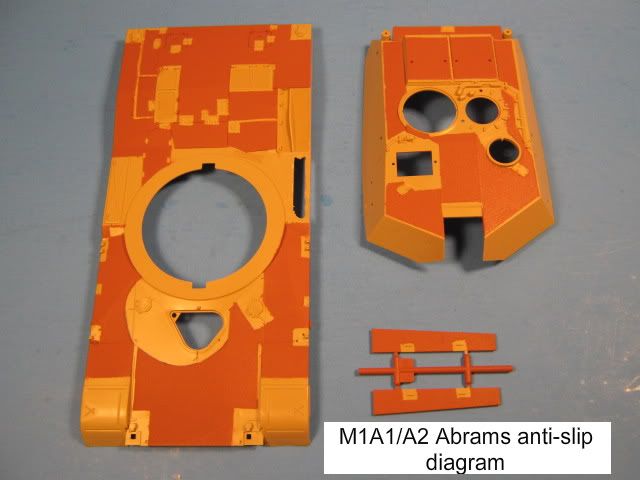
I started with the Tamiya M1A1/A2 kit and added anti-slip coating using the Rust-Oleum Terra Cotta spray technique that I showed here a while ago.
I also used as many left-over parts from my last Dragon M1A2 SEP project (grey parts) as possible to raise the level of detail a bit. I added wire springs for the front fenders too. I also scratched the shields around the TC and the loader with 0.30 sheet styrene. I found some "Z"-shaped rod from Plastruct that worked perfectly for the frames around the armored windows. A bit of expanded PE mesh for the one shield between the TC and loader finished them off.
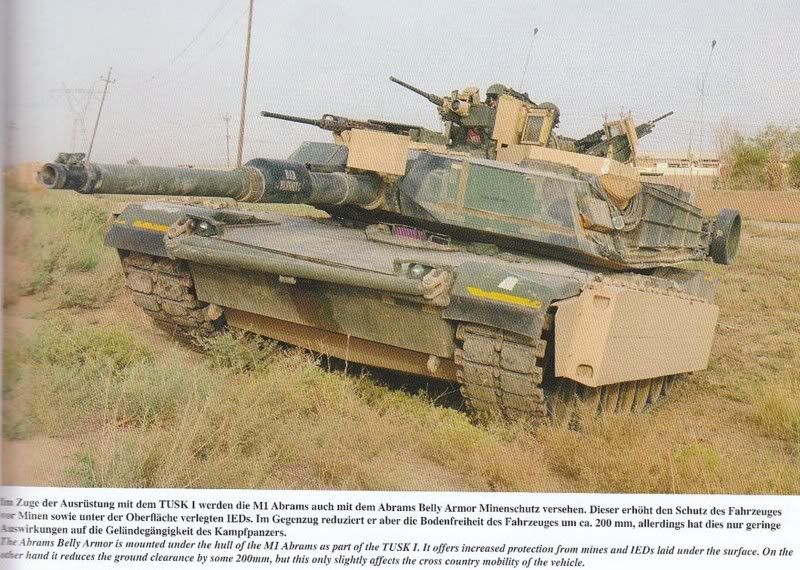
For the rest of the TUSK parts, I used the excellent Legend TUSK I set.
Here it is with the TUSK parts propped in place prior to painting.


Next I applied the camo paint to the tank and the sand paint to the TUSK parts separately, then joined them after painting. I detail painted the TUSK parts and hull before combining them and adding weathering. I used Testors Model Master enamels for the base coats and acrylics for the weathering.
Here is the finished project.


More pics here.
As always, all comments and critiques are welcomed.


