_GOTOBOTTOM
Armor/AFV: Allied - WWII
Armor and ground forces of the Allied forces during World War II.
Hosted by Darren Baker
Sherman M4A3 Jumbo
Nahuel1943
Visit this Community
Chubut, Argentina
Joined: May 01, 2008
KitMaker: 83 posts
Armorama: 82 posts
Posted: Sunday, February 27, 2011 - 10:43 AM UTC
Hi all

I like to show you one model that I recoverd. I hope that you like it.

The model is a Tamiya, Its scheme is of unit was not identificated in The Ardenes in 1944

The Photos:


Nuevas Vistas
Nuevas Vistas
Nuevas Vistas
Nuevas Vistas
Nuevas Vistas
Nuevas Vistas
Nuevas Vistas


And my inspiration was:

Photobucket


¿What do you think? Plese no
retiredyank
Visit this Community
Arkansas, United States
Joined: June 29, 2009
KitMaker: 11,610 posts
Armorama: 7,843 posts
Posted: Sunday, February 27, 2011 - 10:47 AM UTC
Nice kit. What did you use for snow?
jashby
Visit this Community
Queensland, Australia
Joined: July 01, 2009
KitMaker: 278 posts
Armorama: 248 posts
Posted: Sunday, February 27, 2011 - 11:28 AM UTC
Both Shermans are very nice indeed. Well done. Can't help but wonder what the concept behind the chain link/chicken wire was but you captured it excellently. Did you use any AM or was it all kit and scratch?

Cheers, John

PS Actually thought about the wire and answered my own question. It looks like something to hold local camoflage especially during the greener months.
Nahuel1943
Visit this Community
Chubut, Argentina
Joined: May 01, 2008
KitMaker: 83 posts
Armorama: 82 posts
Posted: Sunday, February 27, 2011 - 11:31 AM UTC
Hi Matt

I used bicarbonate with waterglue. I put the waterglue in the place that I wanted, and then I put becarbonate.-

Omar
ericadeane
Visit this Community
Michigan, United States
Joined: October 28, 2002
KitMaker: 4,021 posts
Armorama: 3,947 posts
Posted: Sunday, February 27, 2011 - 11:34 AM UTC
Nice work. Can I point out a few corrections I would make?

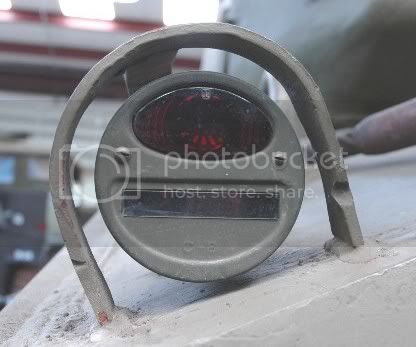
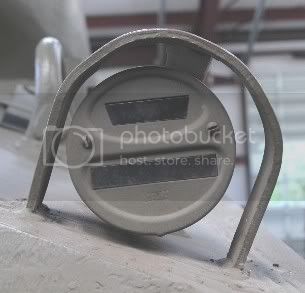
1) Only the upper left light was red. The bottom left was black and both right lights are black


2) The black smoke stains around the cannon barrel are what modelers think should be there. In reality, they should be very subdued

3) the lens on the roof mounted spot lamp should go inside about 2mm more.

Hope this helps
Nahuel1943
Visit this Community
Chubut, Argentina
Joined: May 01, 2008
KitMaker: 83 posts
Armorama: 82 posts
Posted: Sunday, February 27, 2011 - 11:43 AM UTC
Thanks Matt

All the accessorys are in scracht. I can show you the kit before I had painted it:


Omar
Nahuel1943
Visit this Community
Chubut, Argentina
Joined: May 01, 2008
KitMaker: 83 posts
Armorama: 82 posts
Posted: Sunday, February 27, 2011 - 12:05 PM UTC
Thank Roy by your help.

I´ll use this information, by my next Sherman. I have one more (Sherman M4 A1 75 mm - Early version)

Thanks again. I need to read more

Cheers

Omar
acebatau
Visit this Community
Colorado, United States
Joined: February 10, 2008
KitMaker: 730 posts
Armorama: 616 posts
Posted: Sunday, February 27, 2011 - 12:42 PM UTC
I'm impressed...
Great work, thanks for sharing
GeraldOwens
Visit this Community
Florida, United States
Joined: March 30, 2006
KitMaker: 3,736 posts
Armorama: 3,697 posts
Posted: Sunday, February 27, 2011 - 05:24 PM UTC

Quoted Text

Both Shermans are very nice indeed. Well done. Can't help but wonder what the concept behind the chain link/chicken wire was but you captured it excellently.


Fresh cut branches could be inserted into the metal netting to improve the camouflage as needed.
Nahuel1943
Visit this Community
Chubut, Argentina
Joined: May 01, 2008
KitMaker: 83 posts
Armorama: 82 posts
Posted: Tuesday, March 01, 2011 - 05:14 AM UTC
Thanks again!!!
Omar
 _GOTOTOP