There are actually enough decals to do two tanks. Woody included everything visible on the two tanks I photographed, so the header notation is really very conservative.
The only groups on the set without two sets of marks are F and G. (H is used only with the lower half of group A.) These markings were not visible on all tanks. The splash guard marks were seen on both, one or none of the guards, depending on the tank. (When not visible the markings were either on the inside of the splash ring or small marks on the top edge.) The turret ventilator marks were frequently ground partially or completely away to mount the MG pintle, or absent altogether. So, while the instuctions label these groups as "BOTH TANKS", neither of the real tanks had a full set and just about any combination was possible on a given tank.
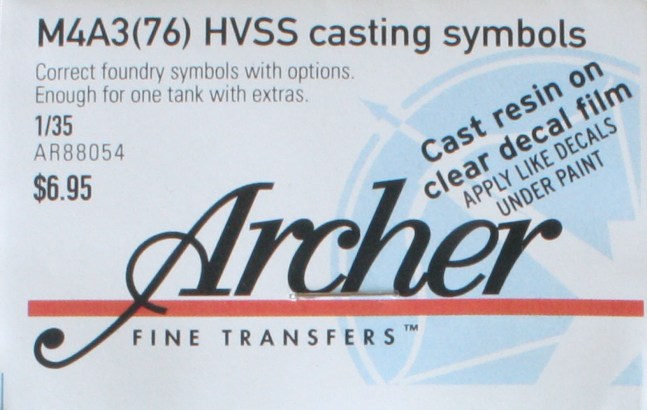
There are dozens of casting markings visible on any Sherman. The problem is that most are so small that they can't be made to appear as anything other than a rough line in 1/35, or they are applied to rounded surfaces that won't allow the raised resin of the decals to conform. This set is probably the most reasonable group of markings possible because it covers the most prominent symbols.
KL