While looking for another little project to do I had the idea of finally building something that isn't German! I had always had an interest in the Sherman Firefly but had never got round to building one. On searching for 1/72 Fireflies I came across Dragon's IC and VC kits.
After many searches on google I had plenty of info on the VC kit but barely any on the IC. So on that basis I thought get the IC and do a build Log. So here it is. I will be documenting each step of the build and pointing out the good and bad to hopefully help anyone interested in this kit.
Nice box art

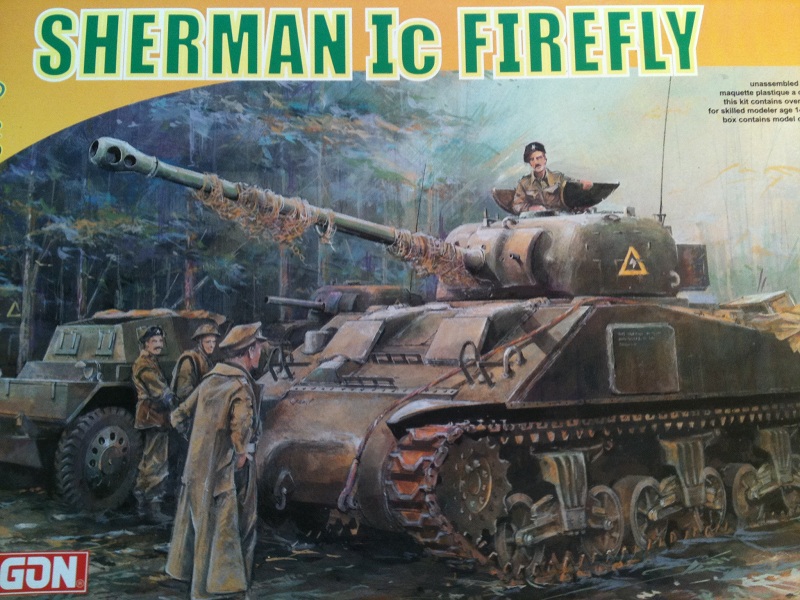
In the box you get 5 spures of plastic, 1 spure of photo etch, seperate upper and lower hulls, DS100 tracks, decals and the instructions. All the parts look perfectly moulded with no flash. The PE fret has a fair few parts for the kit this small and looks like it might be a challenge. A note on the decals. For some reason Dragon has provided all 3 markings options for Polish tanks only. A big disappointment for me as I want to model a British Firefly. Bison decals to the rescue!
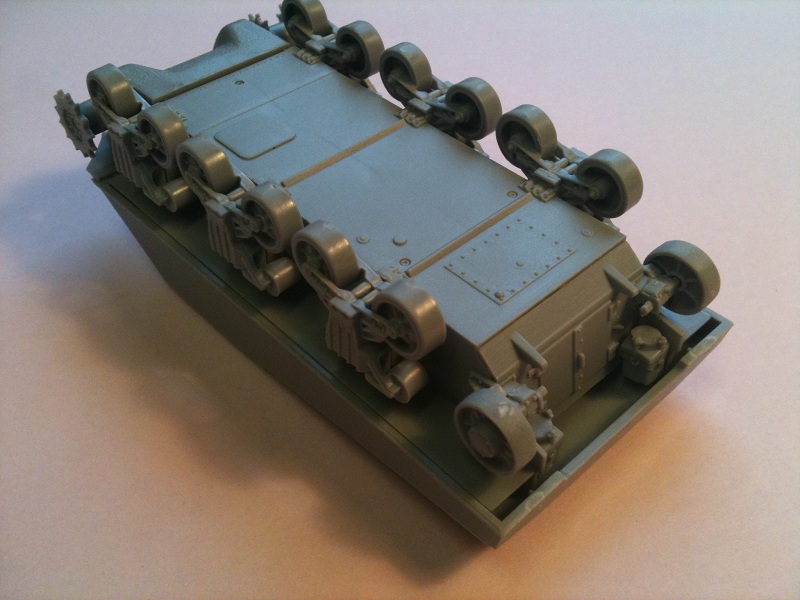
The first step is to build up the suspension. Each of the 6 units are made up of 4 parts. There is some excellent detail here including cast texture and even casting numbers
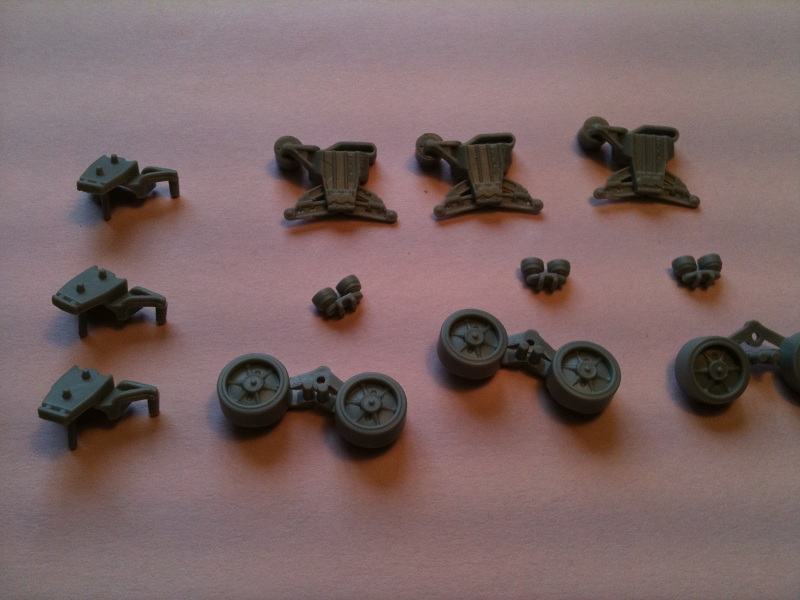
The wheels are moulded as one piece and are located on a pin on the rear half of the unit. The bumpstops are also mounted to this pin. Once these are on the front half is attached.
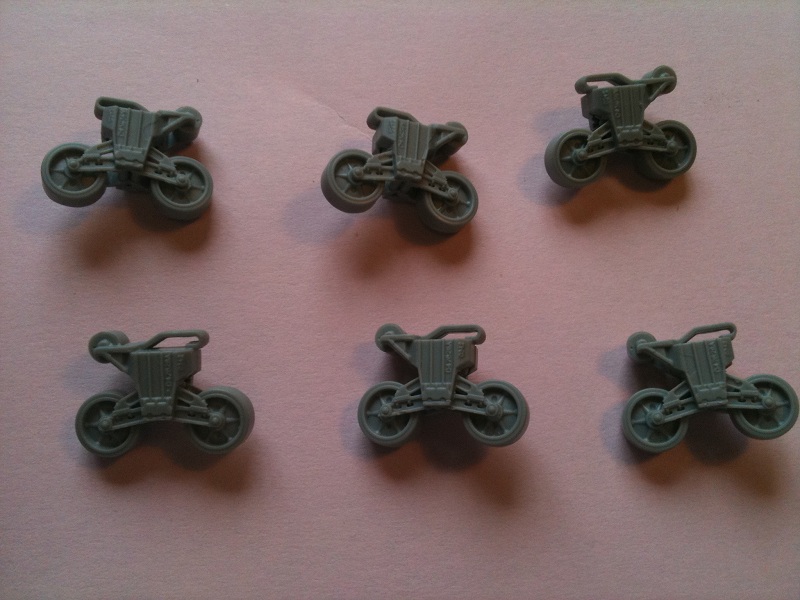
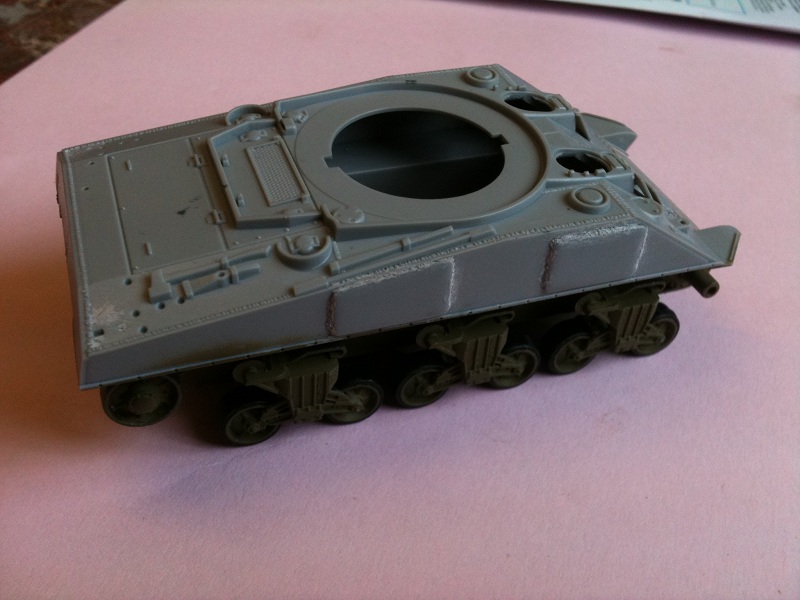
This reveals a fit problem. You will need to trim the mounting pin otherwise the two halfs of the unit will not sit flush. Some work is also needed to get everything to align. Once together there is a noticable gap on the forward facing edge of each unit which is quite visible and needs to be filled. You can see the filler in this photo

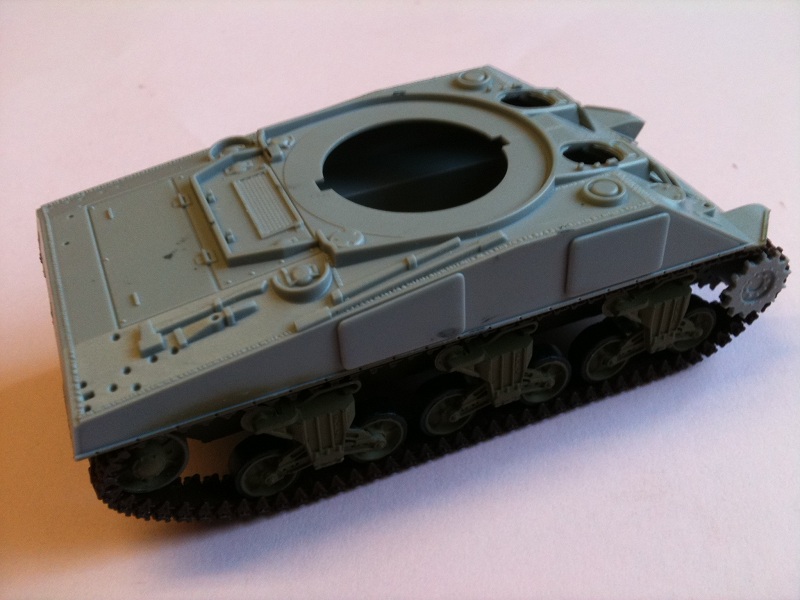
Next the drive sprocket, made of 2 parts was assembled. The 1 part idler has a large mould seem which needs to be removed.

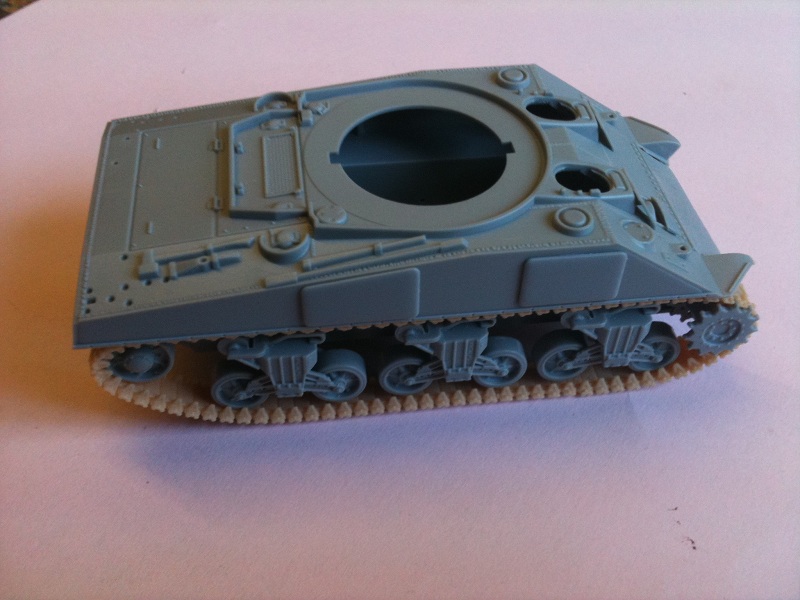
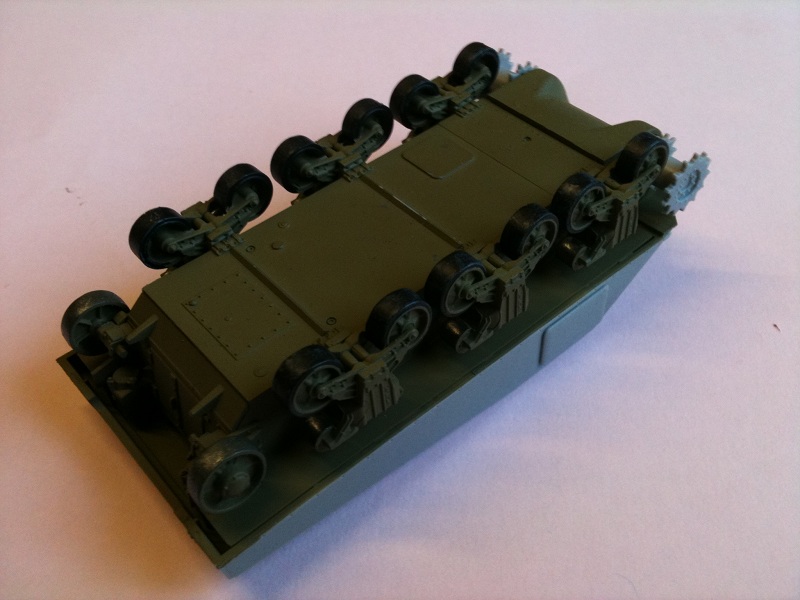
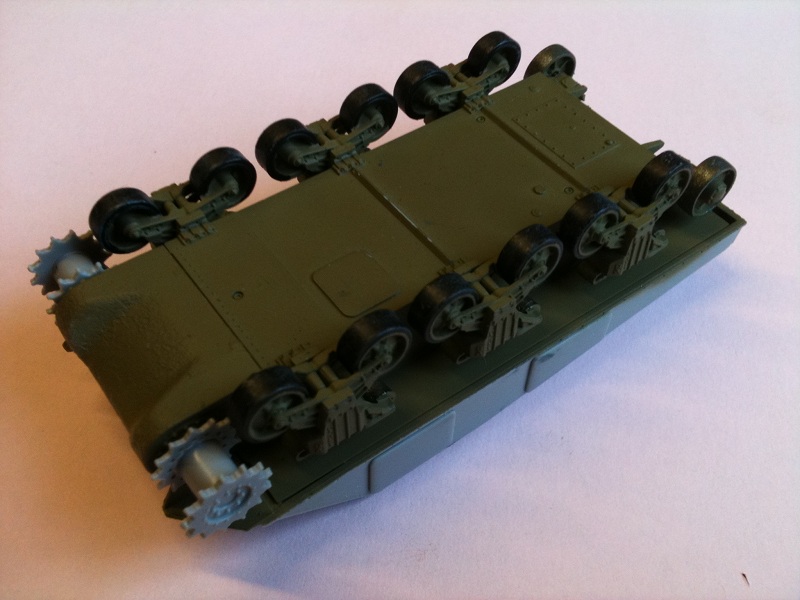
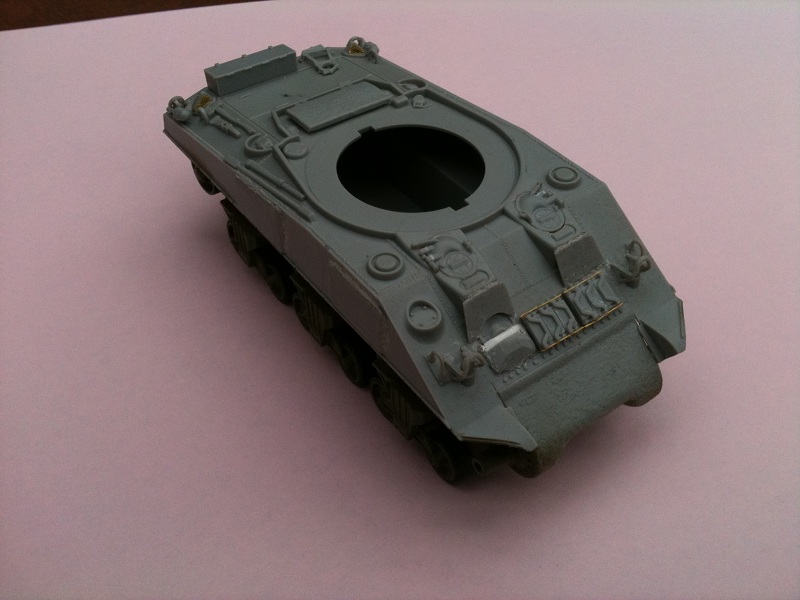
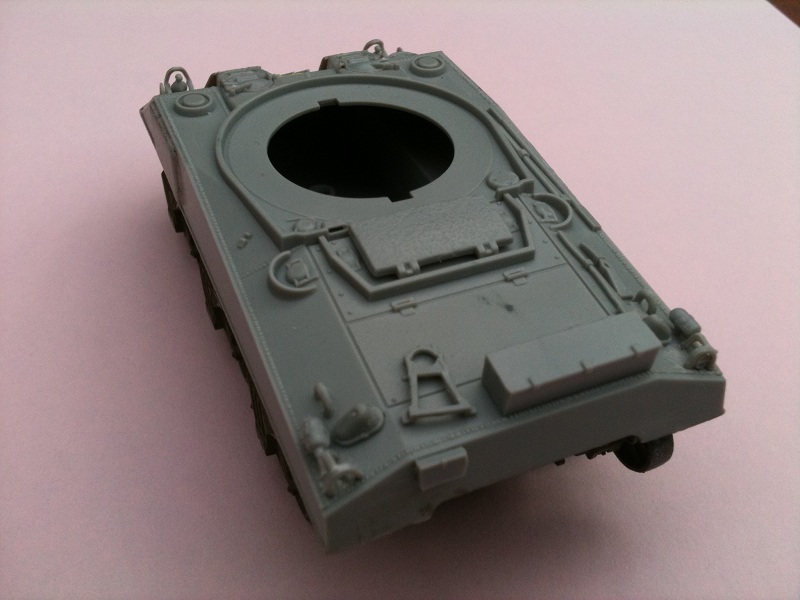
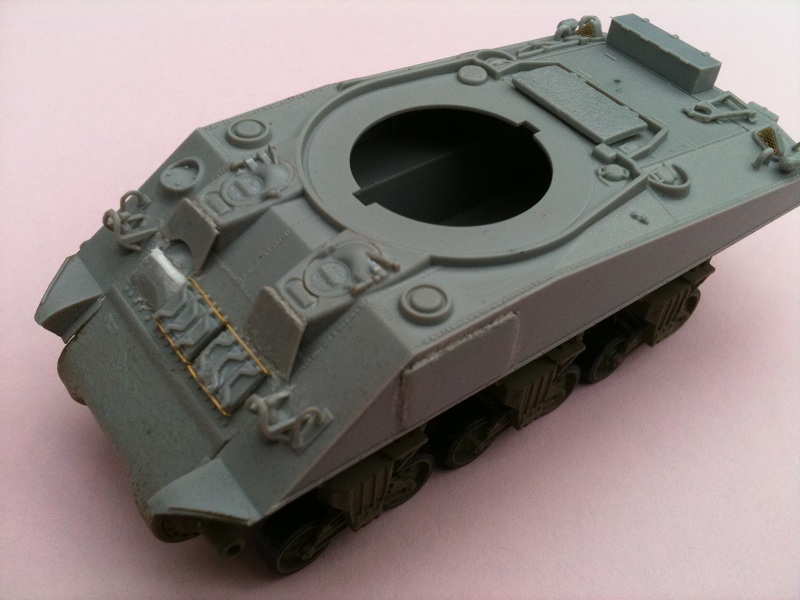
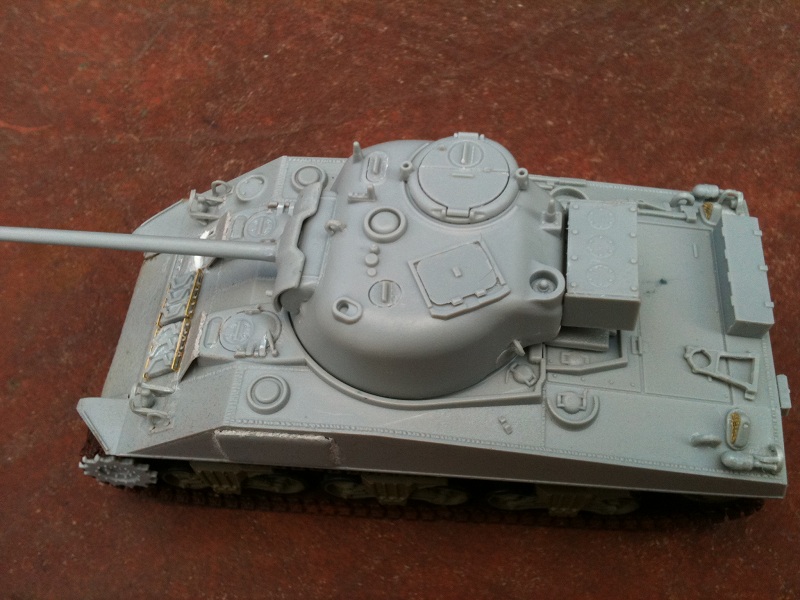
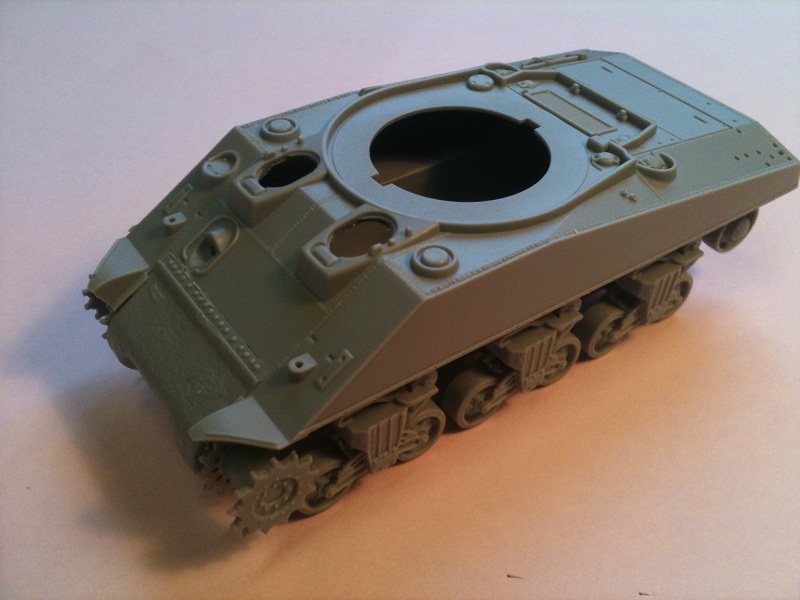
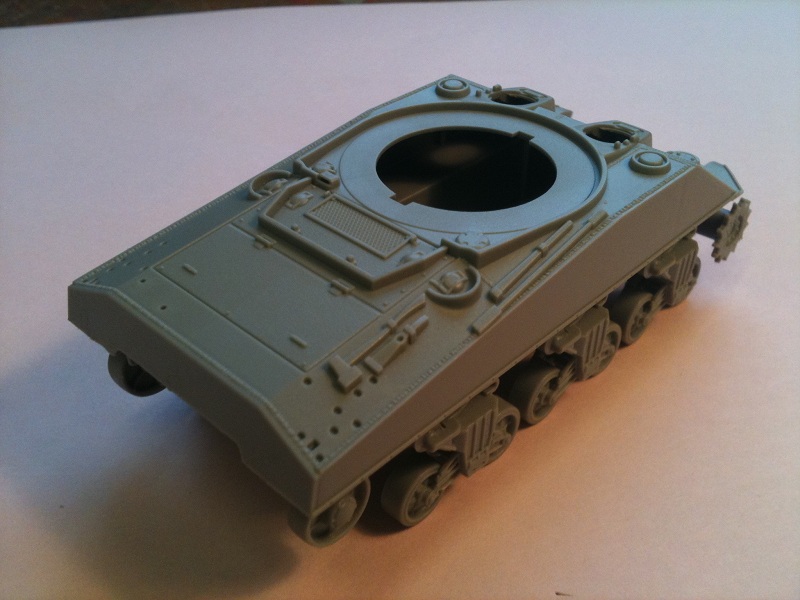
Next was the rear plate which is made up of 7 parts. The plate sits nicely to the hull with the idler mounts, smoke candles (i think) and side plates fitting well. At the front the transmission casing is in on piece with a seperate part for the bolting plate. The suspension, drive sprockets and idlers were added. I encountered an issue with the idler wheels. They have no mounting hole to attach them to the idler mounts. You have to just glue it on, lining it up by eye. If you drill a hole the idler wheel will not line up with the rest of the suspension. I also added the hull top now.
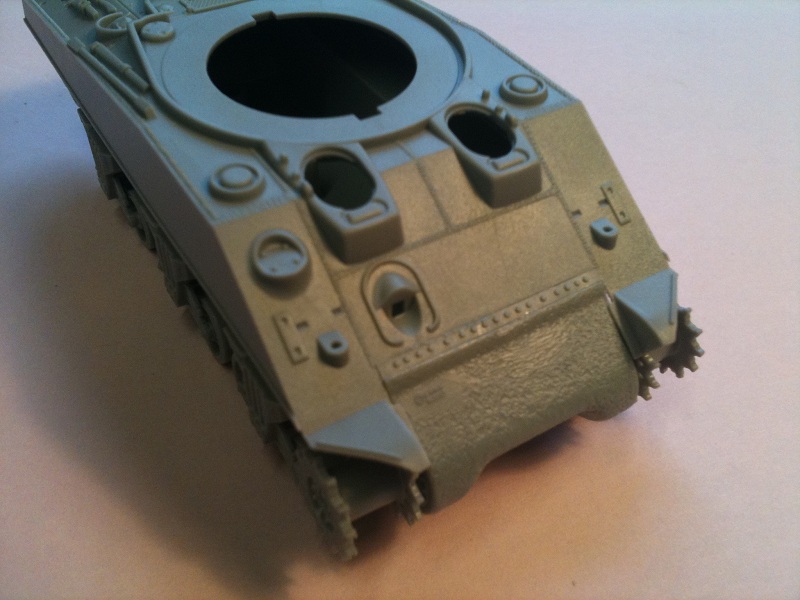
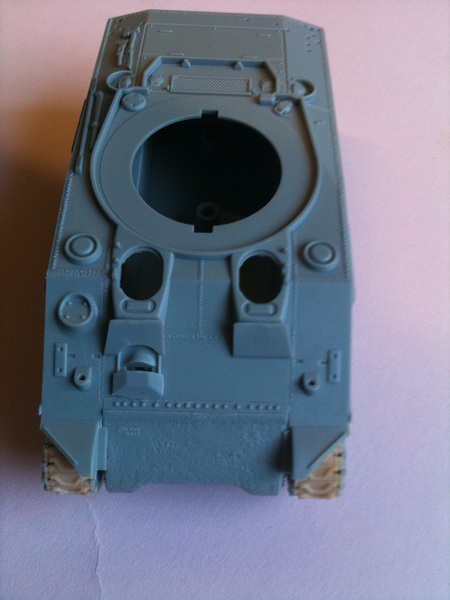
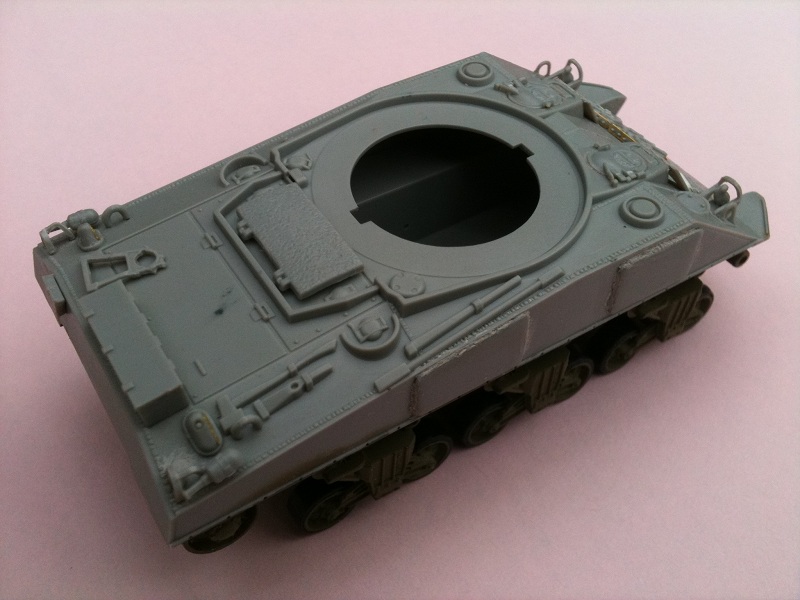
The hull top is very well detailed with some nice weld beads. My only gripe is the moulded on tools but I think they will look ok once painted.
Well thats all for now. Hope you guys find it informative. Any comments/questions welcome