_GOTOBOTTOM
Dioramas
Do you love dioramas & vignettes? We sure do.
Not done this before
chillon
Visit this Community
England - South East, United Kingdom
Joined: July 26, 2011
KitMaker: 35 posts
Armorama: 28 posts
Posted: Wednesday, July 27, 2011 - 11:16 AM UTC
Although the internet is a wonderful resoucre to 'larn yuslef'.

I have just made a start on a 1/72nd scale diorama as 1/35th would have been both completely unmanagable and although i could have dealt with the financial cost I am not sure the personal one between me and my G/F would have been improved by it in any shape of form. No really. She means it!

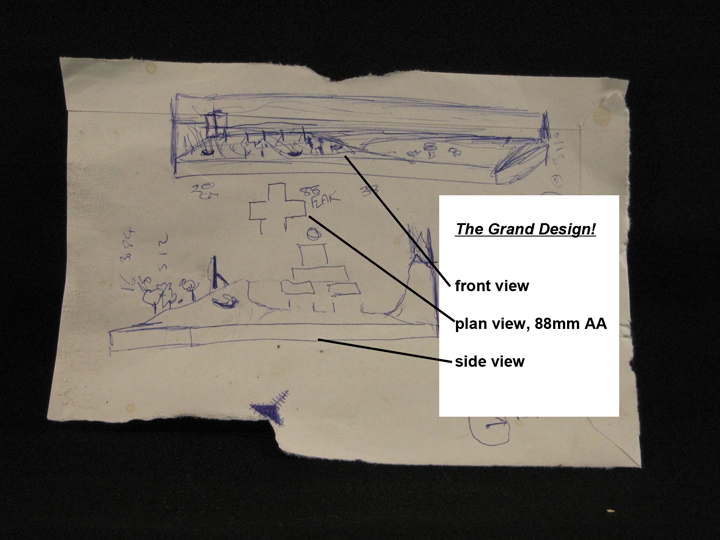
Brainwave


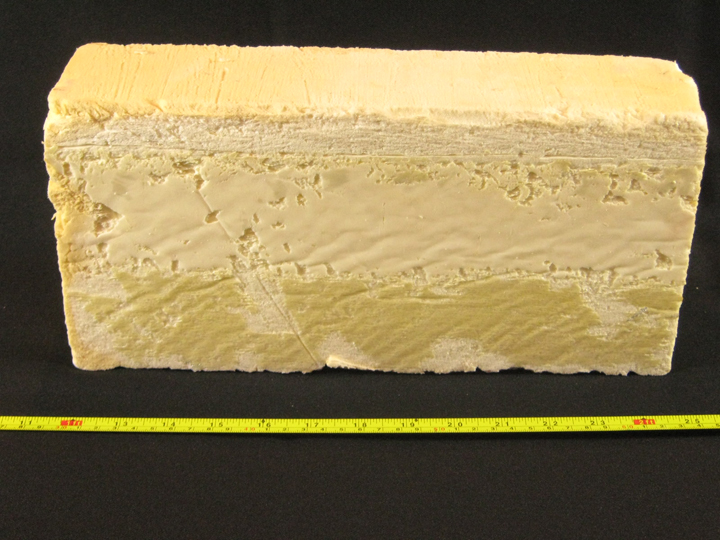
Before


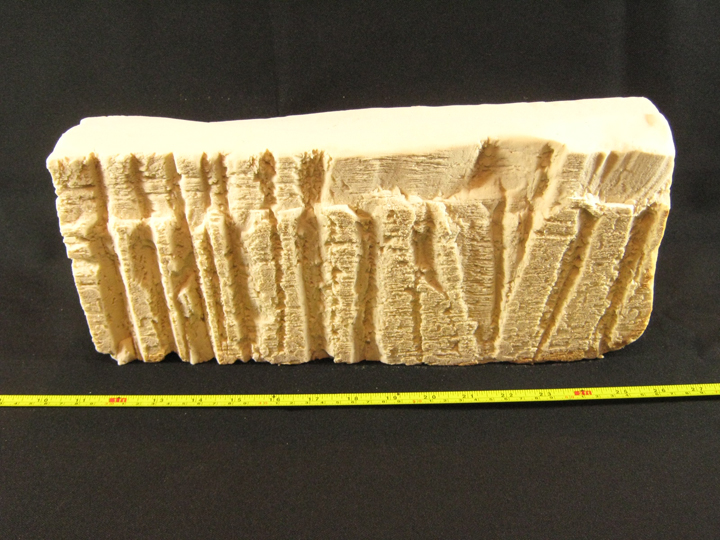
After


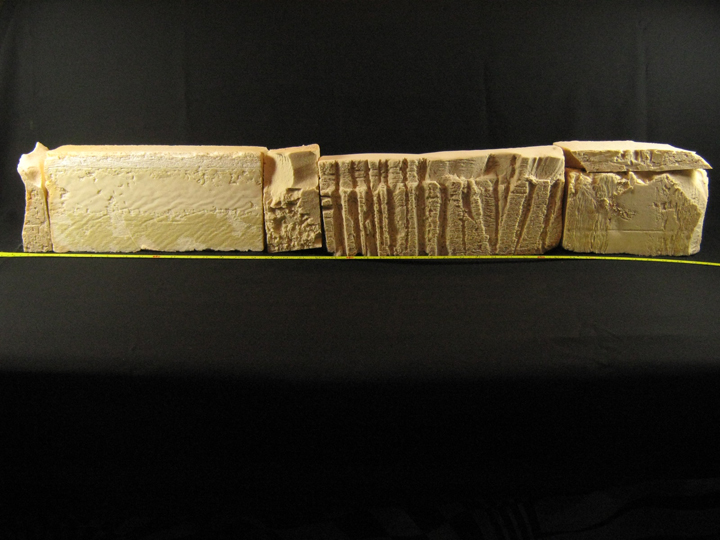
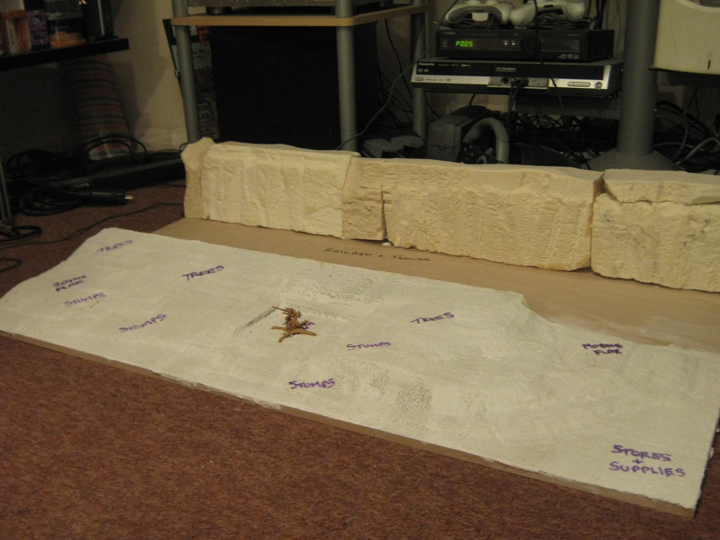
Full Length


The plan involves a base which seems to have ended up being 1200mm x 650mm as that was the minimum needed to make what I have in mind.

Any comments ESPECIALLY ones that offer advice if somebody spots where i could be making a mistake/missing a trick are obviously especially welcomed. Before embarking on ths 'little' project believe me I had spent hours and hours going "WOW" at many of the ideas, the models and the execution of the overall look of stuff posted by people from this site. I hope I can mange to get something like close to those high standards.
slodder
Visit this Community
North Carolina, United States
Joined: February 22, 2002
KitMaker: 11,718 posts
Armorama: 7,138 posts
Posted: Wednesday, July 27, 2011 - 11:15 PM UTC
I need two things. 1. a text description of what you're aiming for. I see something in the plans, yet I'm not sure if that's what you see. 2. I need a scale reference next to the wall. The gaps look a bit big so far and the grooves you've got may be a bit big also? Just not sure in 1/72.
stansmith
Visit this Community
England - North West, United Kingdom
Joined: July 18, 2010
KitMaker: 611 posts
Armorama: 584 posts
Posted: Thursday, July 28, 2011 - 03:25 AM UTC
looks good, but what is it? is it a normandy beach seen?
anyway looks pretty cool!
stan
chillon
Visit this Community
England - South East, United Kingdom
Joined: July 26, 2011
KitMaker: 35 posts
Armorama: 28 posts
Posted: Thursday, July 28, 2011 - 05:41 AM UTC

Quoted Text

I need two things. 1. a text description of what you're aiming for. I see something in the plans, yet I'm not sure if that's what you see. 2. I need a scale reference next to the wall. The gaps look a bit big so far and the grooves you've got may be a bit big also? Just not sure in 1/72.


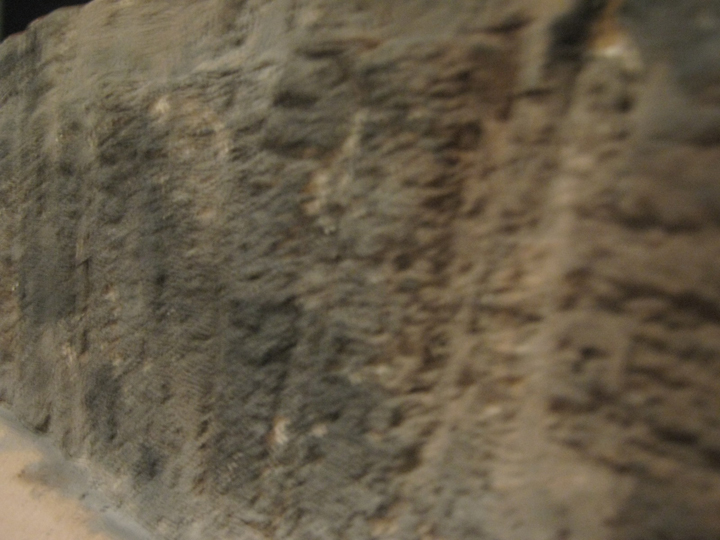
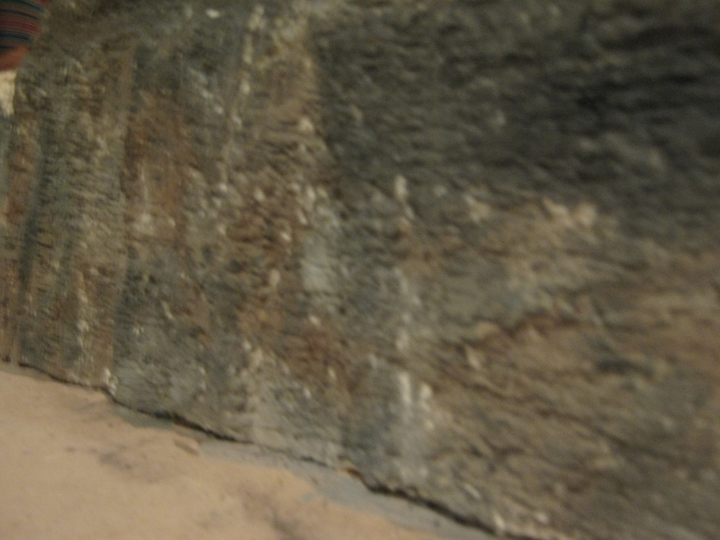
the wall is 7 inches in height

the gaps are where the celotex is just butted up to the piece next to it - none of it is fixed into place yet - tomorrow hopefully to start on that
chillon
Visit this Community
England - South East, United Kingdom
Joined: July 26, 2011
KitMaker: 35 posts
Armorama: 28 posts
Posted: Thursday, July 28, 2011 - 08:18 AM UTC
@ Scott - thanks for the advice on the depth of the vertical cuts. I just did a bit more work on the relief of another of the pieces and can see how a little restraint can be a very good thing!.

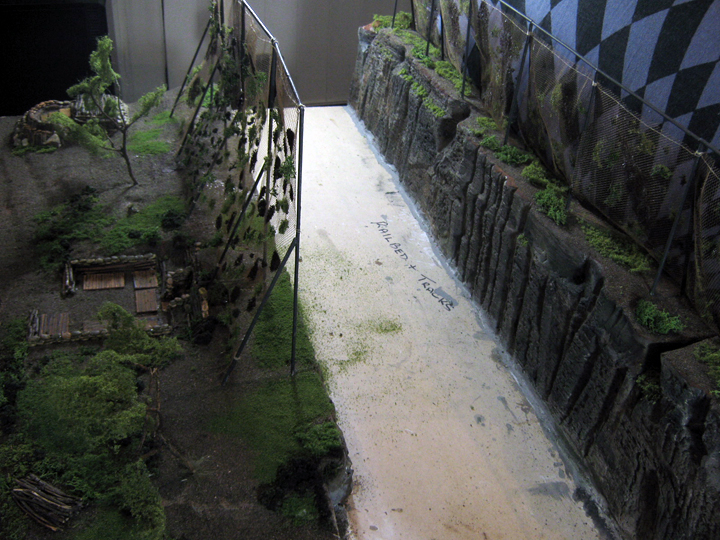
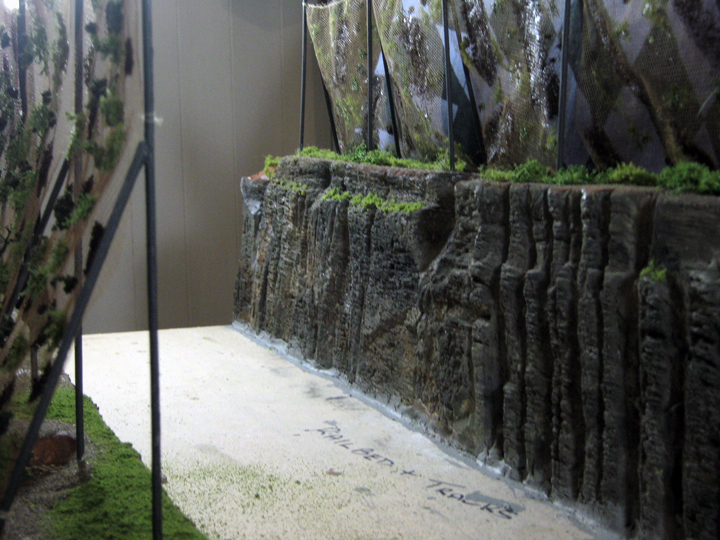
I forgot to mention the rock wall is meant to be the rear wall of a rail cutting and the back edge of the diorama. More pics and information to follow as I get along with this.
slodder
Visit this Community
North Carolina, United States
Joined: February 22, 2002
KitMaker: 11,718 posts
Armorama: 7,138 posts
Posted: Thursday, July 28, 2011 - 11:05 PM UTC
7 inches high or long? The rail cut concepts helps out. Keep us posted.
chillon
Visit this Community
England - South East, United Kingdom
Joined: July 26, 2011
KitMaker: 35 posts
Armorama: 28 posts
Posted: Thursday, July 28, 2011 - 11:56 PM UTC

Quoted Text


the wall is 7 inches in height


The length is 44 inches. I calculate the rear wall to be 42ft scale height.
Your advice on the depth of the vertical cuts was taken on board and the subsequent pieces to the first one look a lot better. I have gone back over the first one and reduced those depths a bit.

I am currently using PVA to stick the wall down and also place a strip of wood that will serve two purposes. One to ensure the base board doesnt warp in the future by providing some lateral strengthening and to give the front landscape a defined and solid finishing point at the near side wall of the cutting.
chillon
Visit this Community
England - South East, United Kingdom
Joined: July 26, 2011
KitMaker: 35 posts
Armorama: 28 posts
Posted: Friday, July 29, 2011 - 10:04 AM UTC
Lots more progress

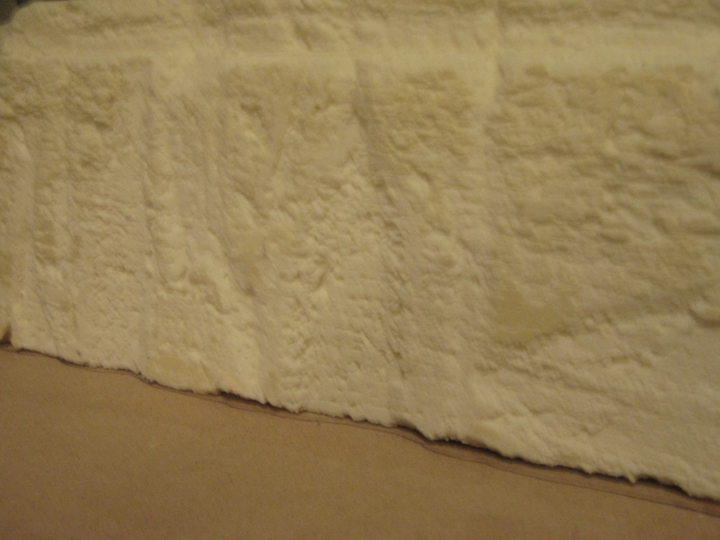
Cutting rear wall now fully carved and I think looks better for holding off on going in too hard on the carving


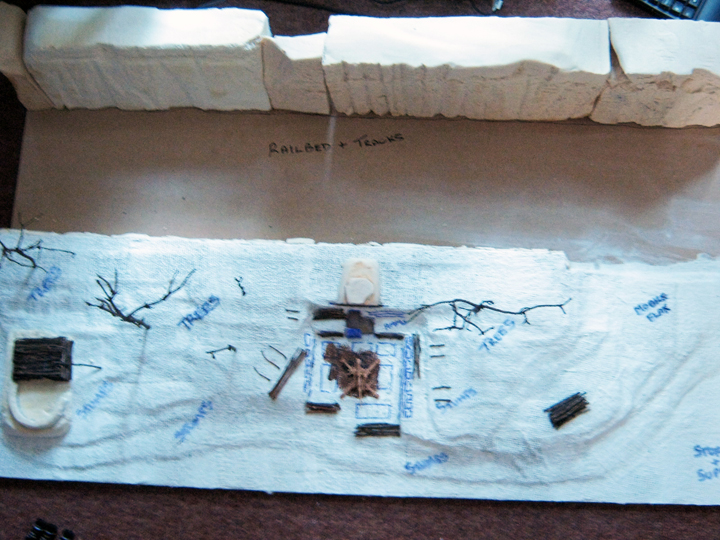
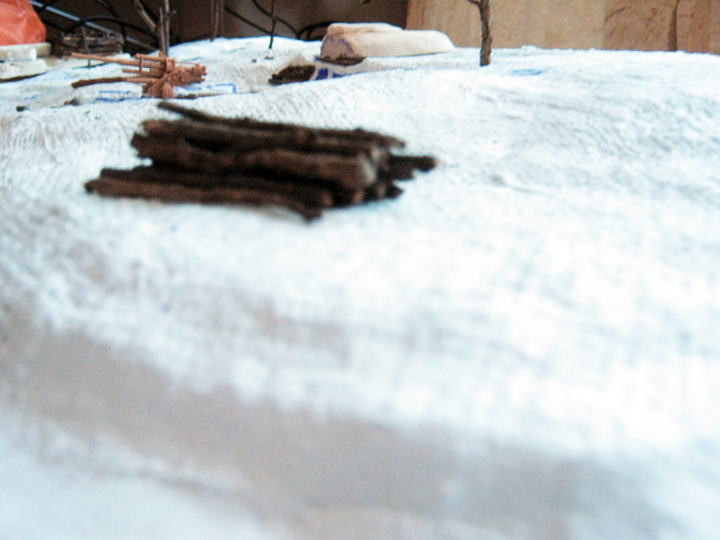
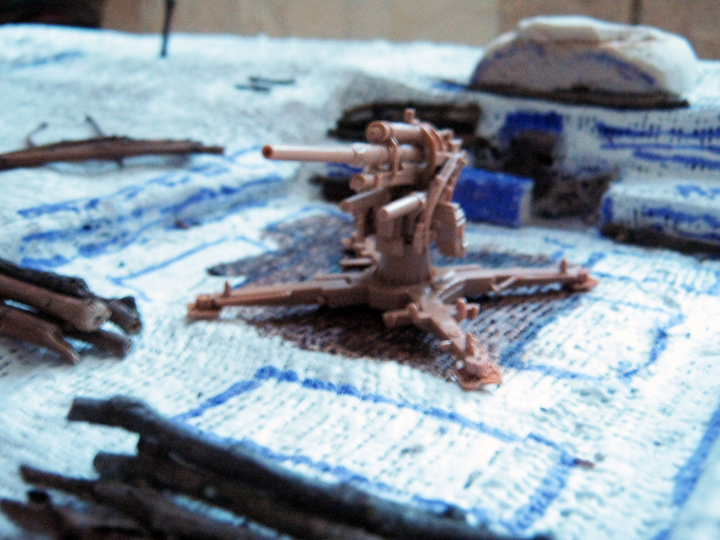
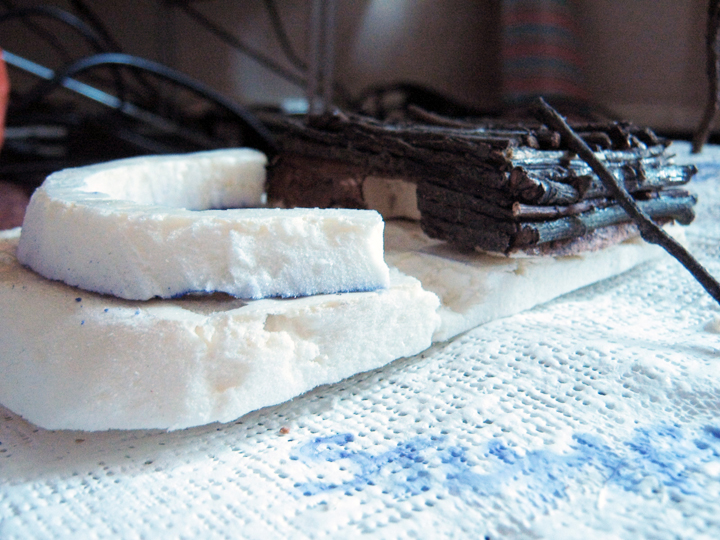
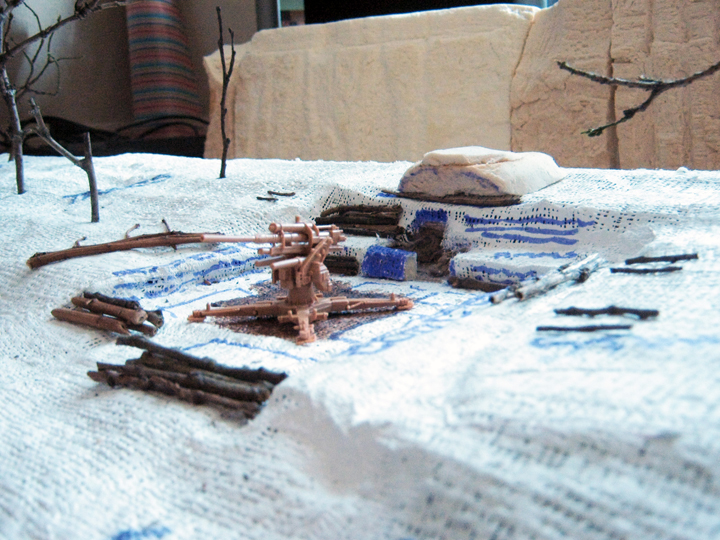
Because the base is so large you can imagine the difficulty in getting the whole thing into shot. I created the landscape by cutting cardboard and PVA'ing to the base board and building it up layer by layer with contour lines cut to the front edge of each piece. Once each layer was glued I used the end of a box cutter to flatten out the hard edge of the contour and then moved onto the next layer. Once I had reached the right height i applied a couple of layers of Mod rock.


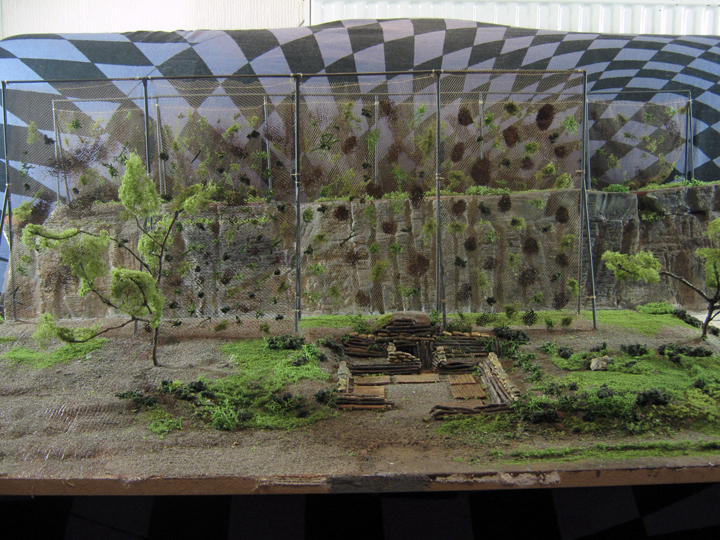
The foreground landscape I have (in my minds eye) split into three rows and into this type of layout/positioning

----------Trees-------------Trees---------Trees
---20mm AA-------------- 88mm AA-----------Mobile AA---------- Stores & Supplies
------Stump--------------Stumps-----------------Stumps

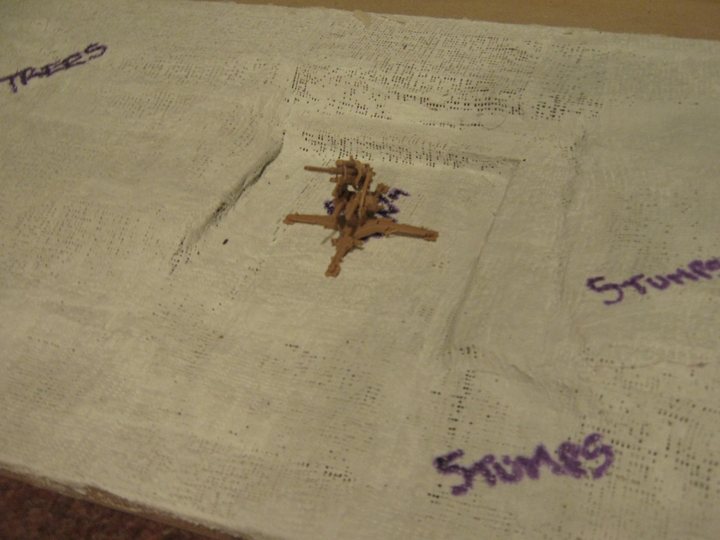
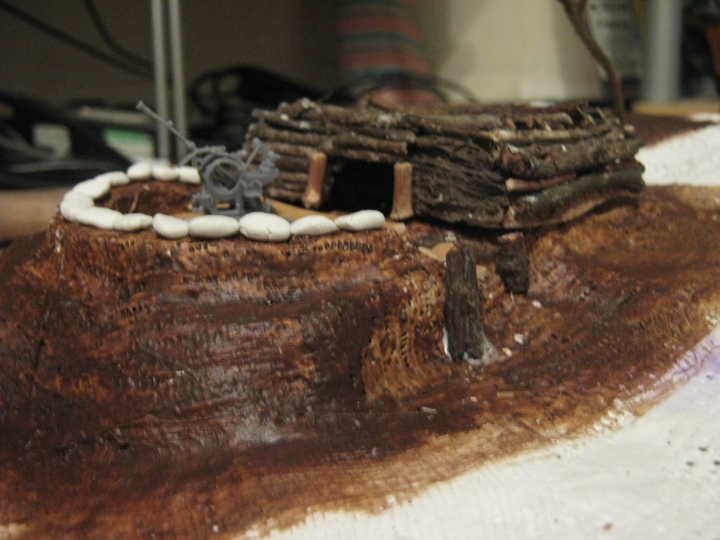
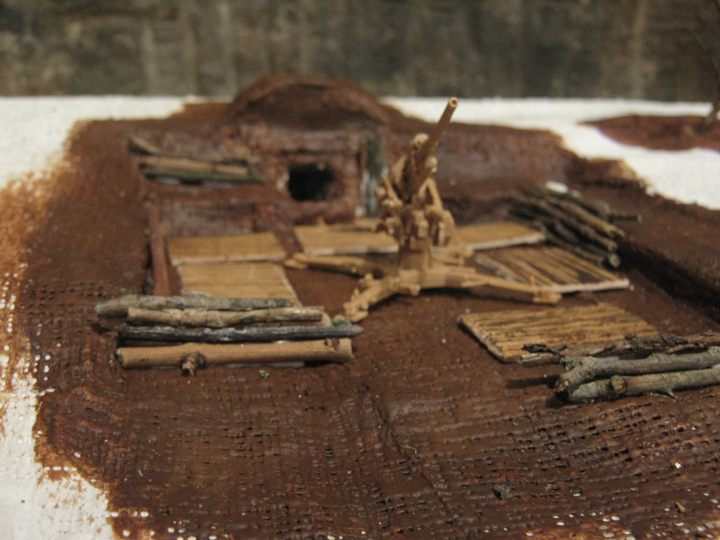
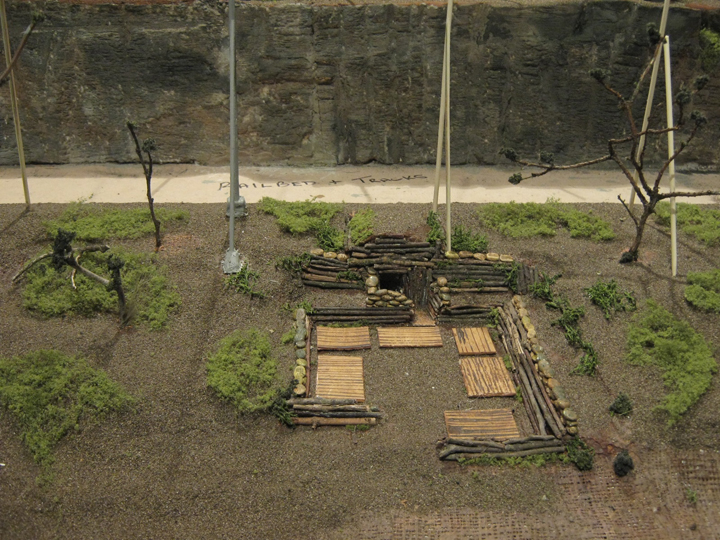
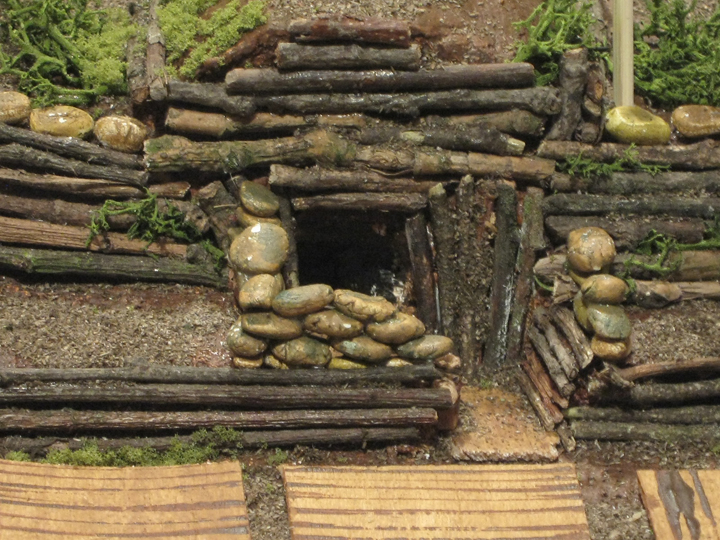
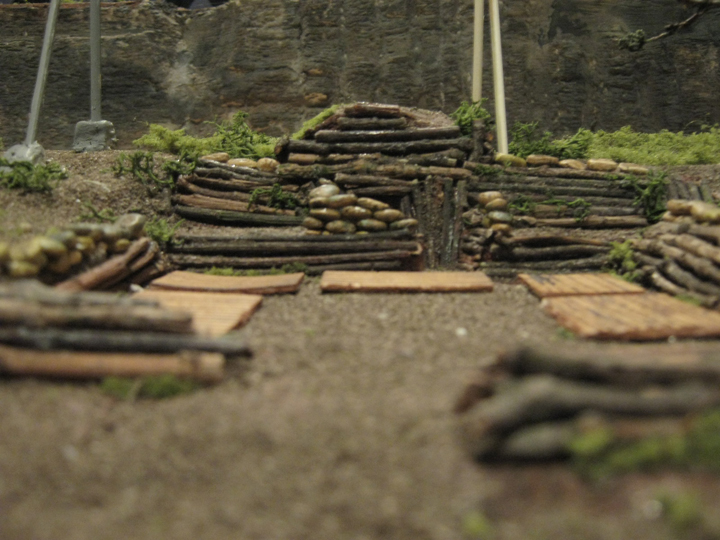
To give an idea of scale here is an unfinished, unpainted 88mm in the gun pit I have moulded as a part of the hard landscaping I am currently doing.


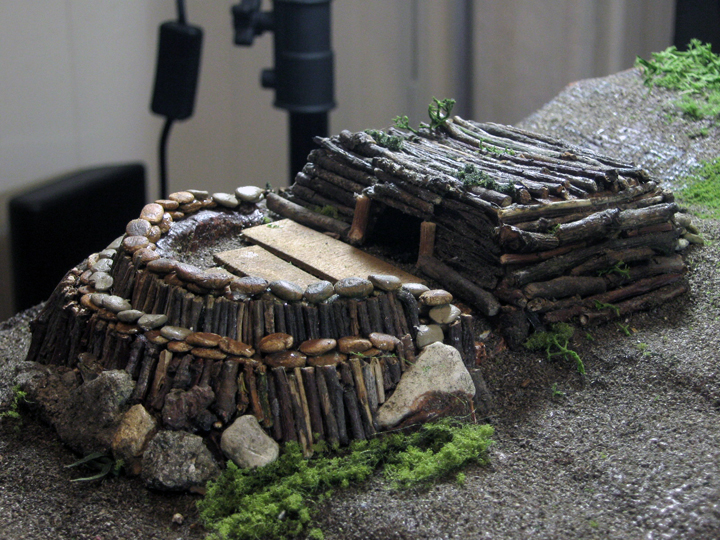
Amongst other things tomorrow I plan a trip to a local park to see if I cant find twigs to use to represent logs to line the inner walls of the gun pit.


stansmith
Visit this Community
England - North West, United Kingdom
Joined: July 18, 2010
KitMaker: 611 posts
Armorama: 584 posts
Posted: Friday, July 29, 2011 - 10:14 AM UTC
sounds really cool! and it is giant!
chillon
Visit this Community
England - South East, United Kingdom
Joined: July 26, 2011
KitMaker: 35 posts
Armorama: 28 posts
Posted: Monday, August 01, 2011 - 03:07 PM UTC
Sorry cocked up - all of the pictures above had to be replaced due to me not realising they had huge file sizes and they ate up all my gallery space. I tried using the replace feature but didn't work so will repost below including images of further progress.

27/07:


29/07:


31/07:


01/08:


stansmith
Visit this Community
England - North West, United Kingdom
Joined: July 18, 2010
KitMaker: 611 posts
Armorama: 584 posts
Posted: Monday, August 01, 2011 - 11:55 PM UTC
this looks really cool!
chillon
Visit this Community
England - South East, United Kingdom
Joined: July 26, 2011
KitMaker: 35 posts
Armorama: 28 posts
Posted: Tuesday, August 02, 2011 - 01:48 AM UTC
Thanks Stan - lets hope the young boy that this will end up with eventually thinks the same. I have made a lot of progress in what I think is a relatively short time but the more I get on and do the more I realise there is to do and more importantly to learn.
chillon
Visit this Community
England - South East, United Kingdom
Joined: July 26, 2011
KitMaker: 35 posts
Armorama: 28 posts
Posted: Monday, August 15, 2011 - 04:22 PM UTC
Had a quick trip to Hungary followed by an almost fatal dose of man flu but hey, I'm back.


chillon
Visit this Community
England - South East, United Kingdom
Joined: July 26, 2011
KitMaker: 35 posts
Armorama: 28 posts
Posted: Saturday, August 27, 2011 - 05:00 PM UTC
Been busy.
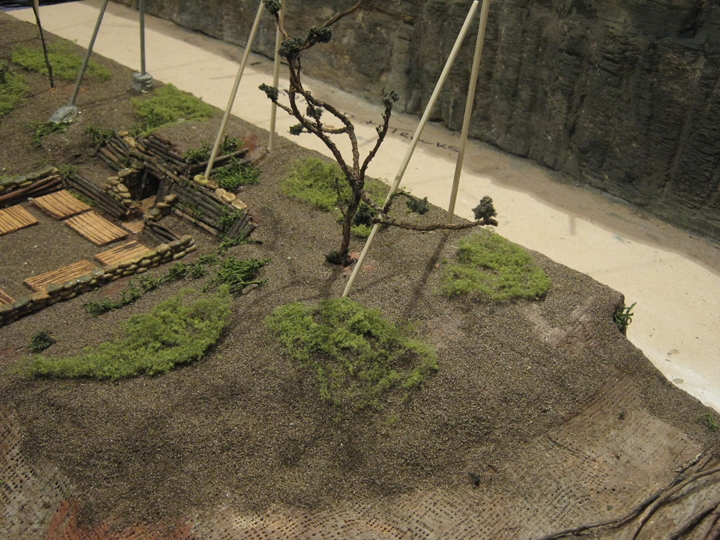
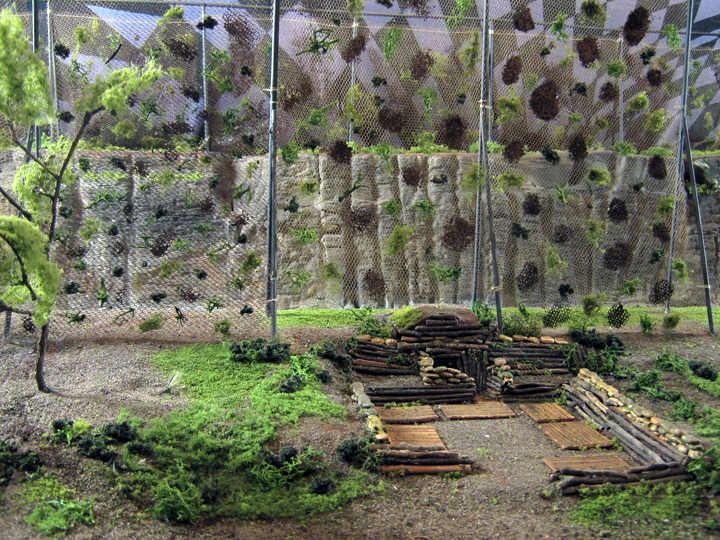
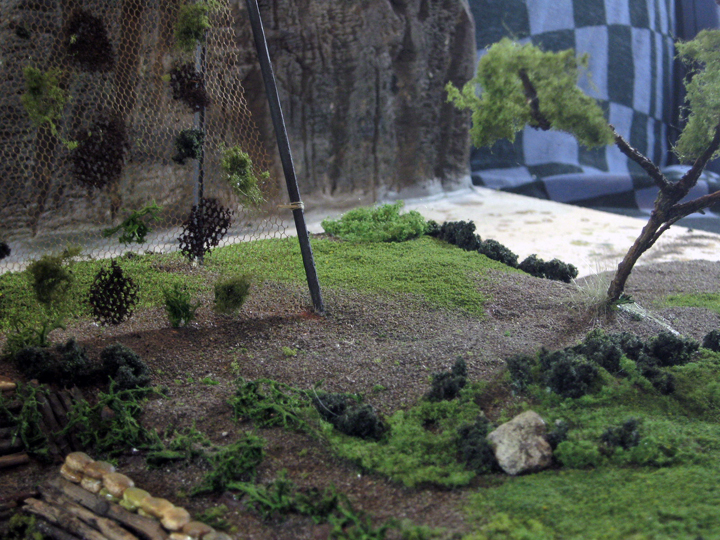
Didnt like the trees, looked like something that might belong in Africa so I have worked on them and think they are starting to look more like something broadleaved!
The 'concrete' blocks at the base of the camouflage net support structures was a' flight of fancy' and the idea has been dumped in favour of how they were done in reality.
The camo net was quite had work to get to look how i wanted and thought it should look as per photos I have found of the location. Bridal net in brown, white glue (PVA), tea leaves, various shades of green and types of lichen and green mat was the solution. The nets are fixed using cotton to represent rope.
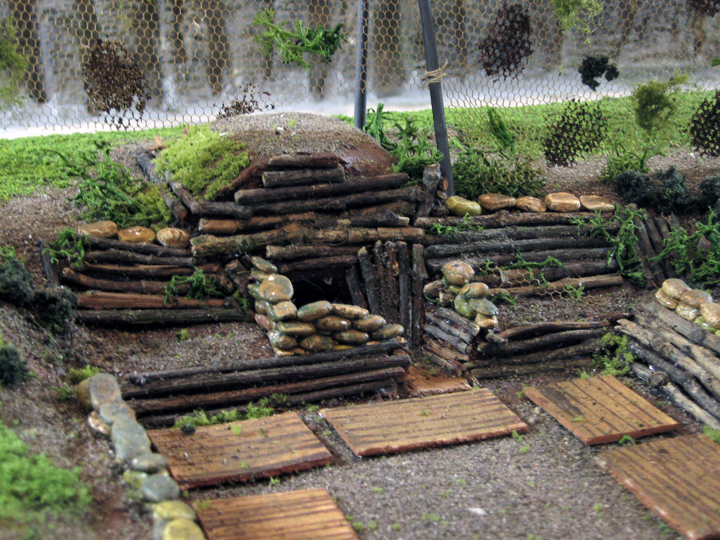
Havent done any more to the 88mm gun pit as i feel that is pretty much complete but have progressed the 20mm bunker considerably.
Pictures to follow tomorrow.
CMOT
Staff MemberEditor-in-Chief
ARMORAMA
Visit this Community
England - South West, United Kingdom
Joined: May 14, 2006
KitMaker: 10,954 posts
Armorama: 8,571 posts
Posted: Saturday, August 27, 2011 - 05:22 PM UTC
Picture one of your previous post caught me out Dave as I had to look at it for a while before I realised it was your diorama. Really nice work thus far.
chillon
Visit this Community
England - South East, United Kingdom
Joined: July 26, 2011
KitMaker: 35 posts
Armorama: 28 posts
Posted: Sunday, August 28, 2011 - 07:24 AM UTC
Woot. I will gratefully accept all unsolicited praise. Thank you.
This really is my first attempt at something quite like this and if I do it again I am going for 1:35 as this is killing my remaining eyesight!
I will get round to sorting out some pictures in a while.
chillon
Visit this Community
England - South East, United Kingdom
Joined: July 26, 2011
KitMaker: 35 posts
Armorama: 28 posts
Posted: Friday, September 02, 2011 - 07:43 PM UTC
Sorry to anybody following this for the delay in getting the pictures done, however the benefit of that delay meant more work to the dio itself!
Time for a reveal too, the rail cutting is to accommodate the Hobbyboss 1`:72 scale Dora that I will be entering the Art of the Battlefield campaign with.


 _GOTOTOP