Hey Dustin,
Just wanted to address your comment:
Quoted Text
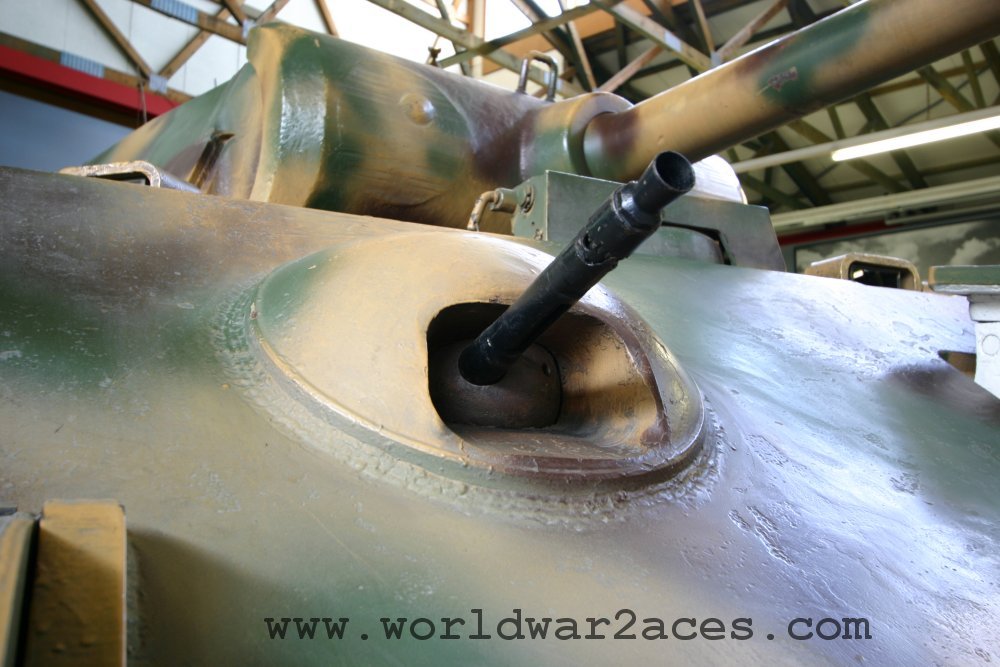
The problem I have is that I have seen a Panther in real life and in every photo i see the armor is smooth not pitted
Can't say I have seen a Panther up close and personal, don't think one ever stepped on Greece, but I've spend my fair share of time on, near, in and sometimes under M60s, M48s, M42s..... Also, I've gone thru quite a few pics of Panthers as well as any German armor I could get my hands (or mouse) on.
My PERSONAL conclusion is this:
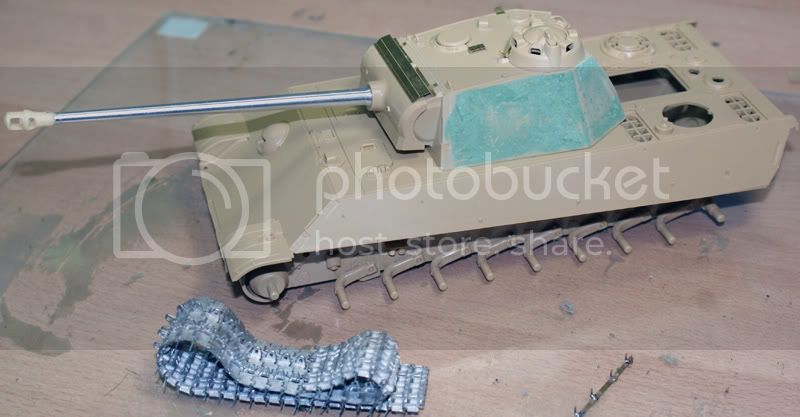
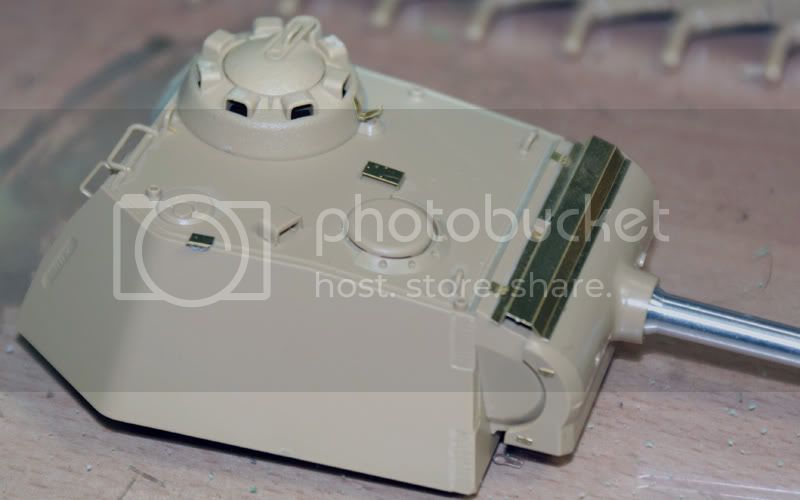
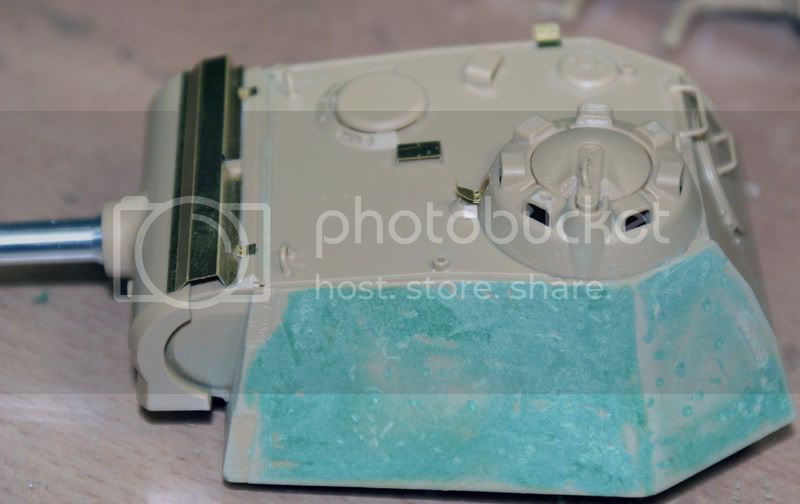
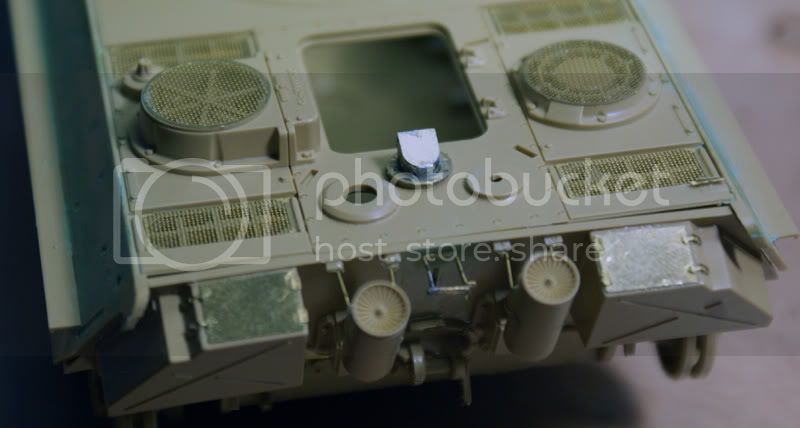
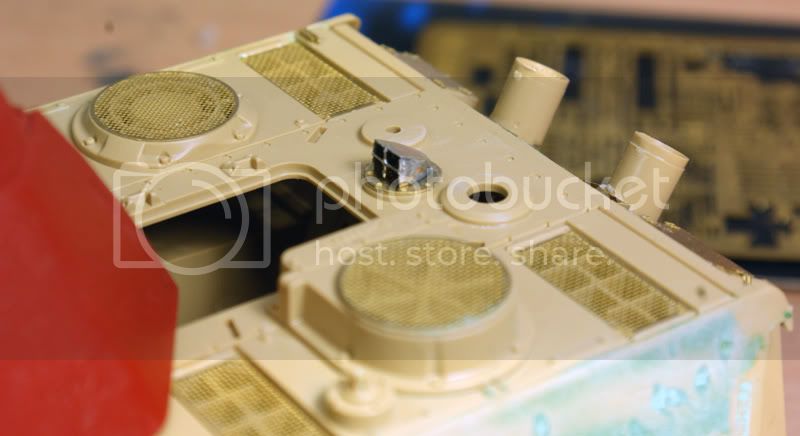
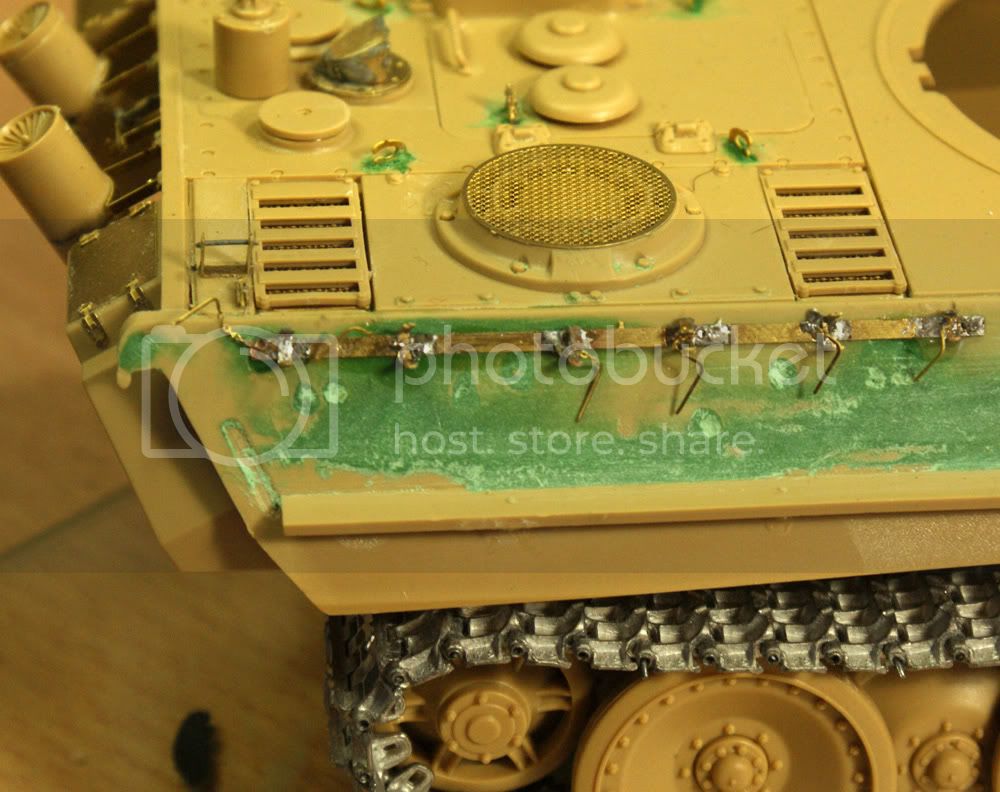
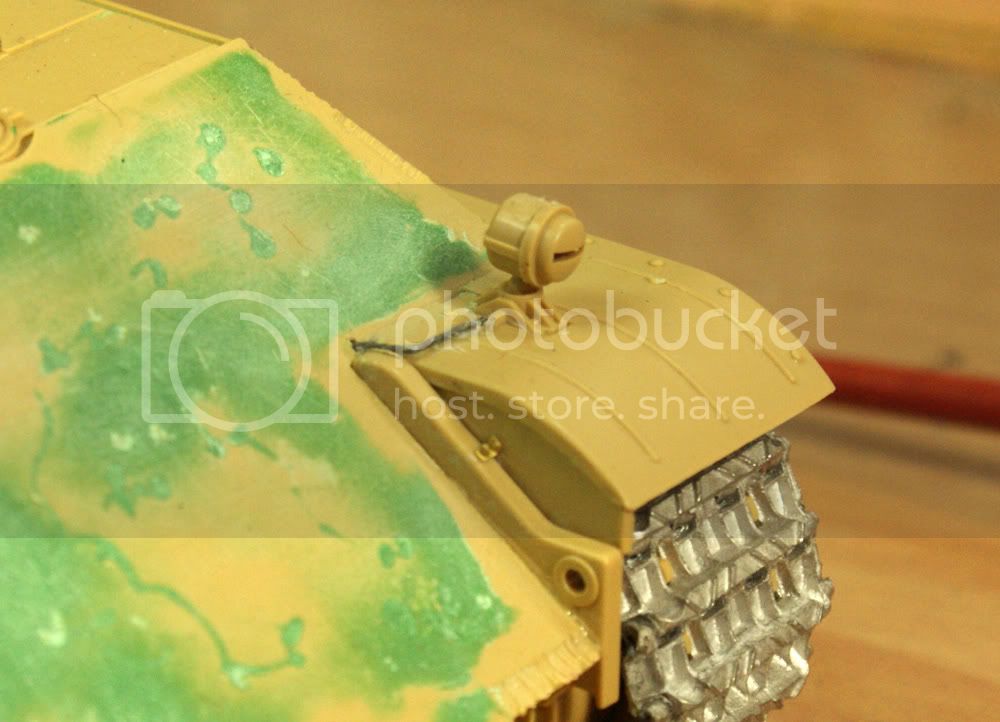
1. Rolled armor is almost never 100% smooth. There are pits and smears and whathaveyounuts. Even on armor rolled leisurely in peace-time American plants in the 50s, 60s and 70s... never mind under extreme wartime conditions in bombed out plants in Germany at the end of the war....
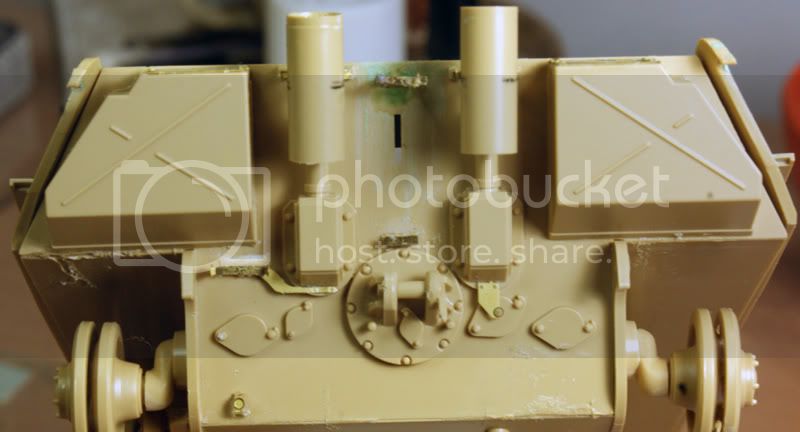
2. Late German armor especially shows a lot of this. Many pics out there show this. But...
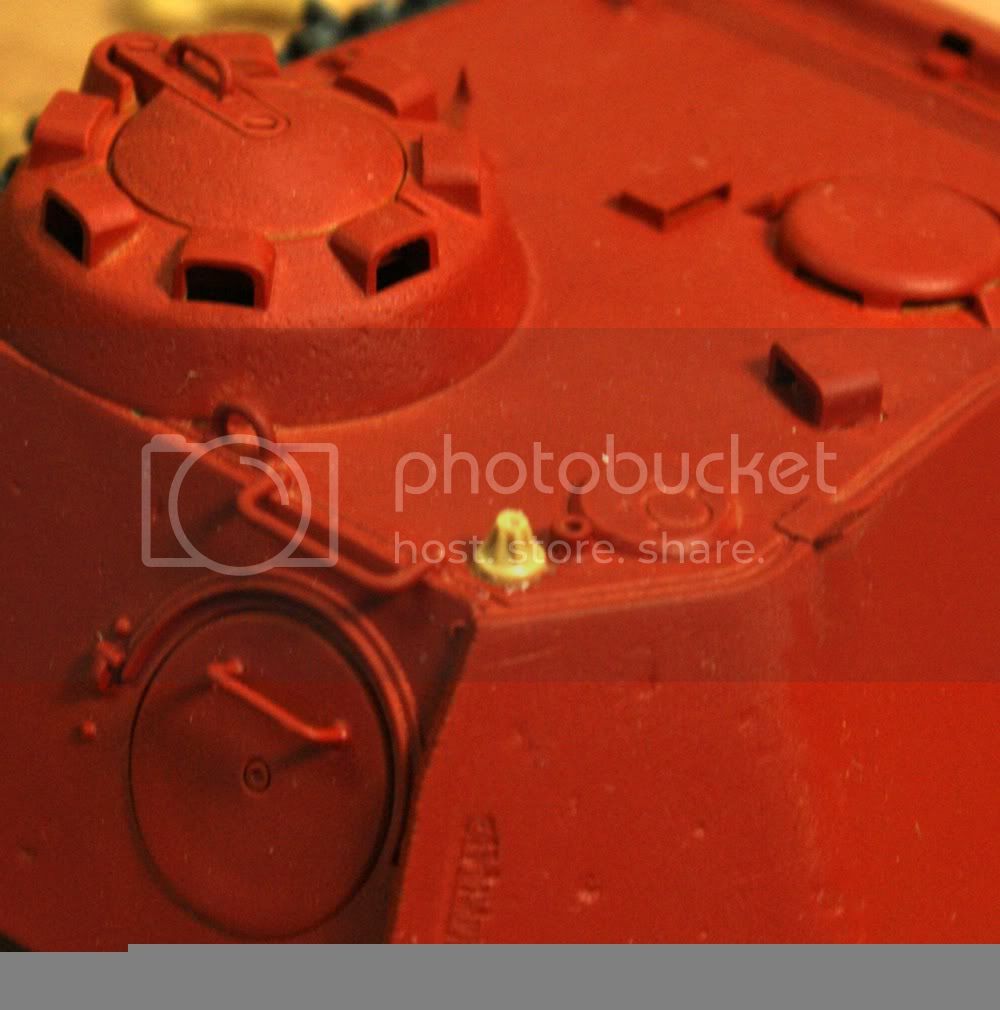
3. (And this is the main question) ....would this show up in 1:35 scale???
Well no. But I am a great fan of something that has often been discussed here and elsewhere "The Scale EFFECT".
I believe you know what I'm talking about, but just to summarize, all our shading and washing and griming and chipping and scuffing and - YES - texturizing, would not show up in 1:35 scale.
We do all that to FOOL the eye into recognizing effects that resemble those on the 1:1 subject in fact enhancing realism by effectively overdoing the effects.
It is a lot like actors, especially on TV. They have to be made up grotesquely in order to APPEAR NORMAL on the screen that you and I look at.