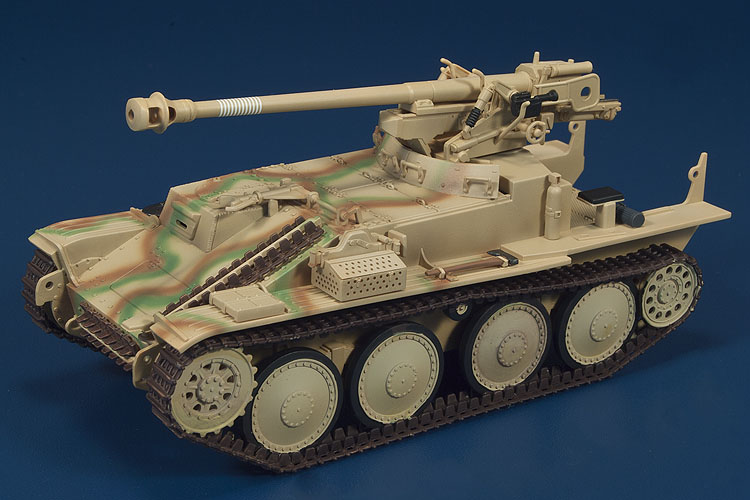
This model will be for the annual Almeria Association Contest ruffle, the model was assembly by Emilio Bonachera, and I will paint the vehicle and the small vignette, the figures will be another year of Total Miniatures War, and its will paint by Diego Jimenez.
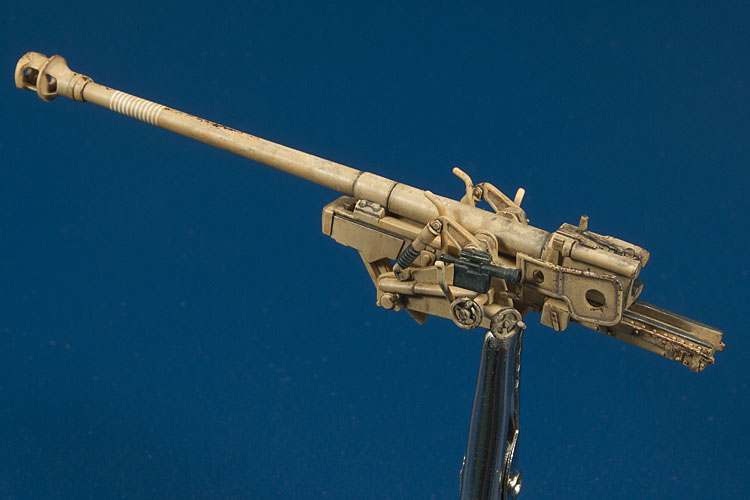
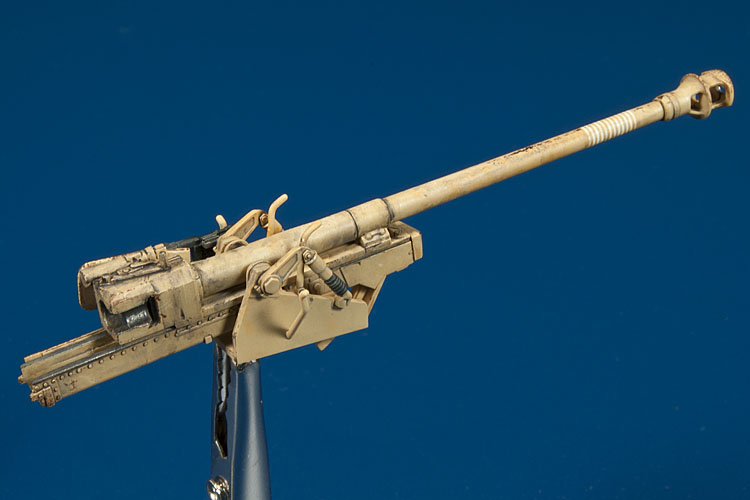
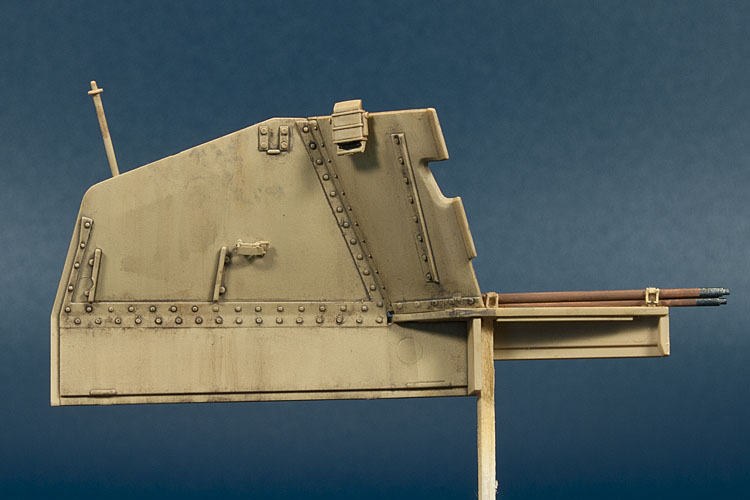
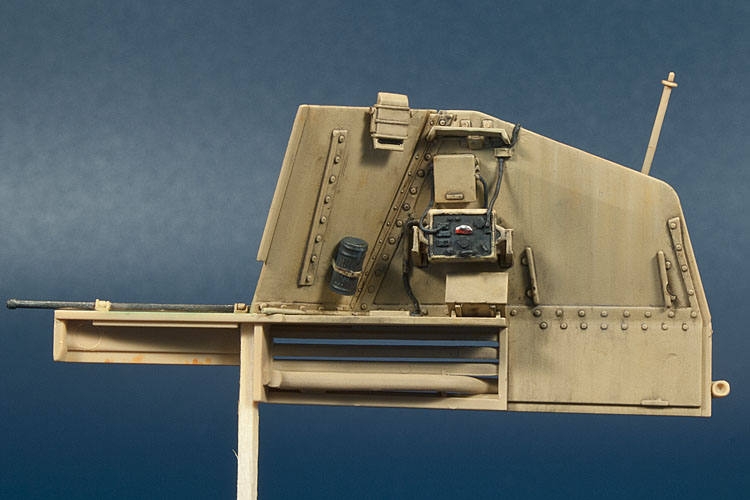
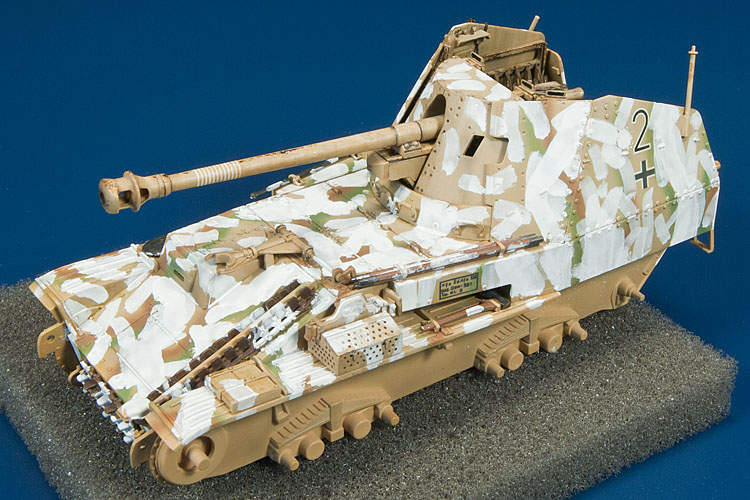
As like this is for enjoy and have fun, I'll go posting step by step painting process, first some pictures of the assembly, as is usual in Tamiya, simple and accurate kit, only a bit tedious the excess of mould circles, it was filled and carefully sanded, some PE pieces to detail the tools, copper wire for the handles and this is all...
![[linked image]](../../../panzermodelling.com/wordp/wp-content/uploads/2011/09/Marder_III_m_01.jpg)
![[linked image]](../../../panzermodelling.com/wordp/wp-content/uploads/2011/09/Marder_III_m_02.jpg)
It's important to prepare the sub-assemblys to make easier the paint work:
![[linked image]](../../../panzermodelling.com/wordp/wp-content/uploads/2011/09/Marder_III_m_04.jpg)
I'll paint it in winter camouflage, it's a vehicle with three-color camouflage, winter comes and the crew applied a camouflage with brushes, but not completely cover the original camo.
I will divide the paint process in four main phases:
1 / Camouflage base.
2 / Basic weathering.
3 / Application of white paint camuflage.
4 / Final weathering and finish.
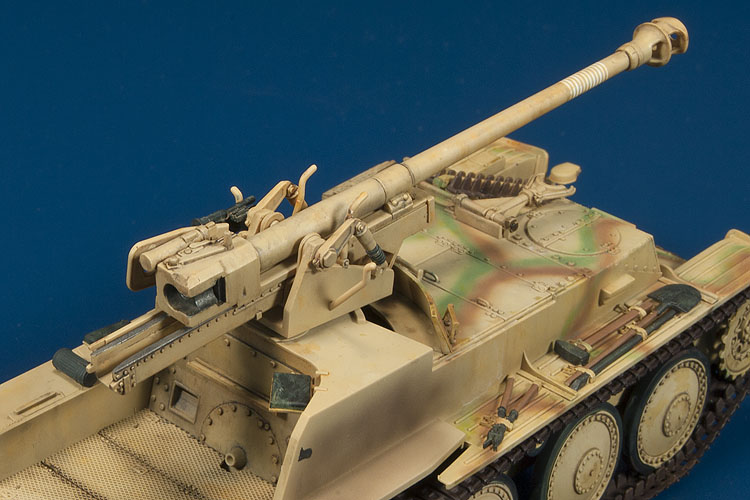
This post is about phase 1. As usual start applying the base color with airbrush:
![[linked image]](../../../panzermodelling.com/wordp/wp-content/uploads/2011/09/Marder_III_m_10.jpg)
I aplied three yellow degrees, a lighter yello for the upper surfaces, a mid yellow for the vertical planes, and a darker yellow for the bottoms of the vehicle:
![[linked image]](../../../panzermodelling.com/wordp/wp-content/uploads/2011/09/Marder_III_m_11.jpg)
![[linked image]](../../../panzermodelling.com/wordp/wp-content/uploads/2011/09/Marder_III_m_12.jpg)
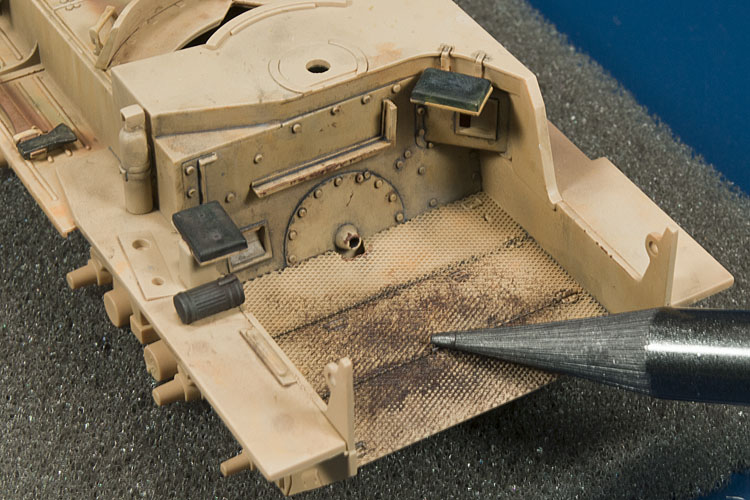
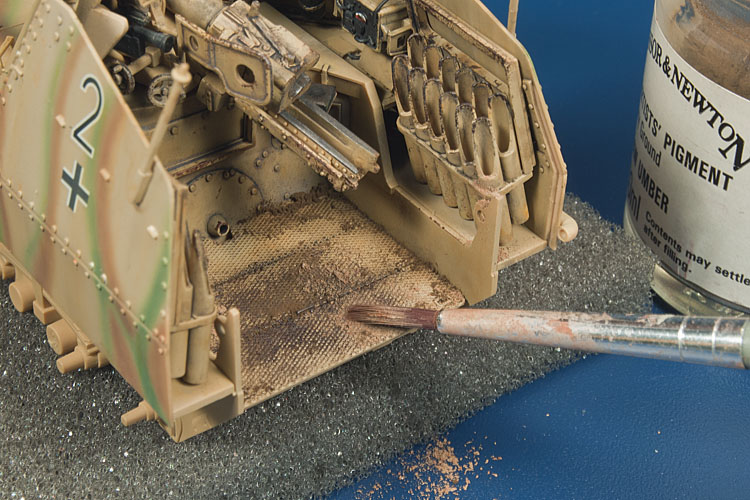
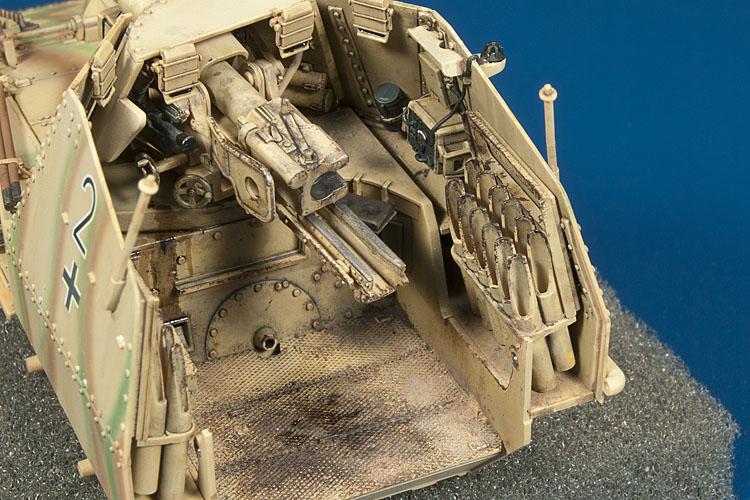
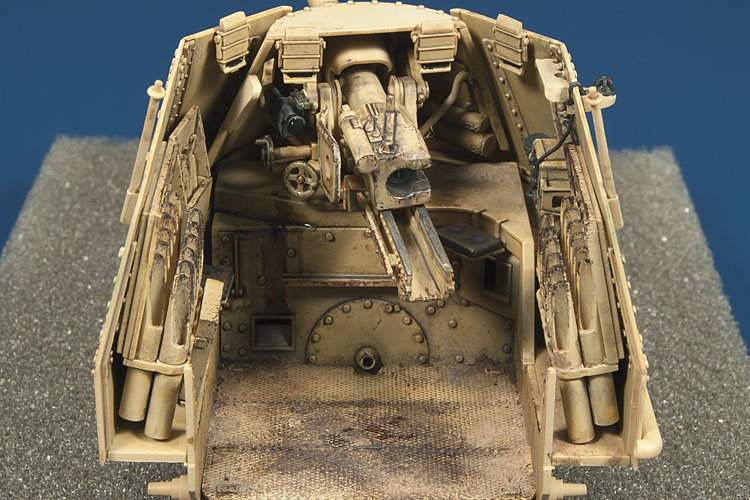
In the interior, the yellow is darker than the exterior plates:
![[linked image]](../../../panzermodelling.com/wordp/wp-content/uploads/2011/09/Marder_III_m_13.jpg)
Outside - inside comparative plates:
![[linked image]](../../../panzermodelling.com/wordp/wp-content/uploads/2011/09/Marder_III_m_14.jpg)
I apply the same effects in the wheels, very soft and natural:
![[linked image]](../../../panzermodelling.com/wordp/wp-content/uploads/2011/09/Marder_III_m_15.jpg)
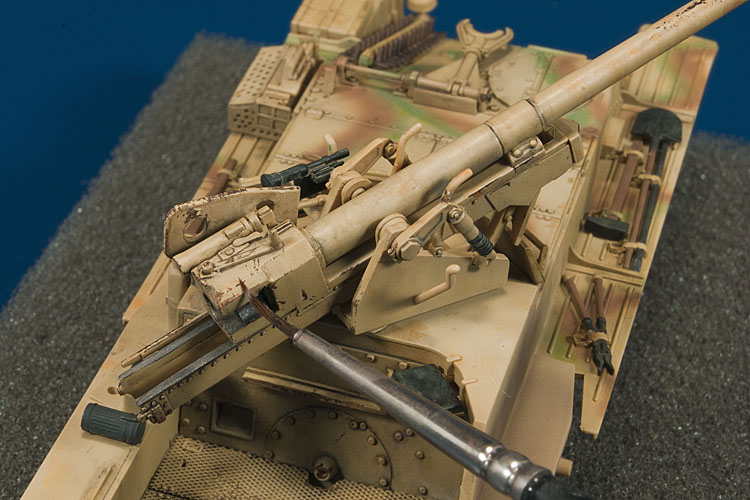
I continue painting the camouflage patches:
![[linked image]](../../../panzermodelling.com/wordp/wp-content/uploads/2011/09/Marder_III_m_16.jpg)
![[linked image]](../../../panzermodelling.com/wordp/wp-content/uploads/2011/09/Marder_III_m_18.jpg)
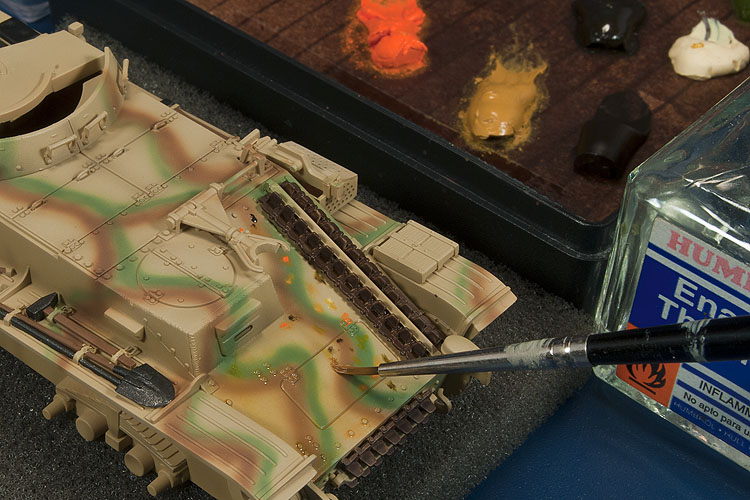
I finish with a subtle shading with black XF-1 and brown XF-10 very diluted, I insist in the bottom and inside the crew chamber:
![[linked image]](../../../panzermodelling.com/wordp/wp-content/uploads/2011/09/Marder_III_m_17.jpg)
For now this is all, in the next posts, decals and the basic weathering...
I hope you like it.
Best Regards.