_GOTOBOTTOM
Armor/AFV: 48th Scale
1/48 scale discussion group hosted by Rob Gronovius
Hosted by Darren Baker
1/48 Patriot missile battery
Sqrootof5
Visit this Community
Singapore / 新加坡
Joined: January 30, 2010
KitMaker: 45 posts
Armorama: 35 posts
Posted: Thursday, September 15, 2011 - 05:19 PM UTC
Hey guys, been some time since i've last posted.

For quite some time, I've been thinking of making one and by chance i came across this at the hobby shop. I started on this project in 2010 for a gulf war group build but I never got to completing the kit. Been working on this kit on and off since 2010 and it was in danger of becoming a permanent resident on the work desk along with some other WIP projects.

So with that in mind, I decided I should stop procrastinating and actually try to finish it up. Definitely wasn't an easy build with stuff to repair, holes to fill and mould lines to remove. I would say this kit is my most difficult build to date.
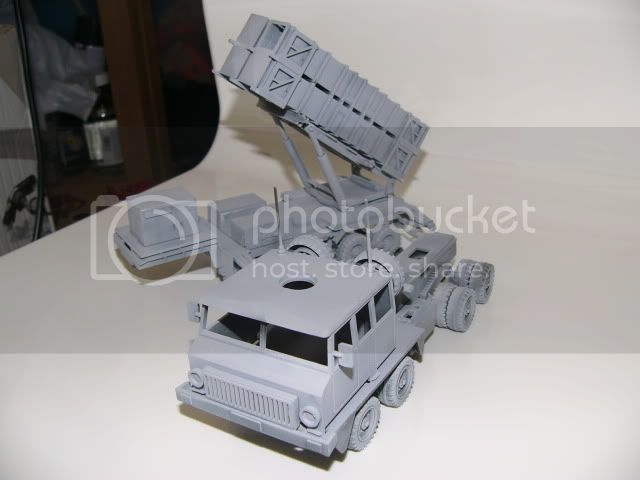
The kit.


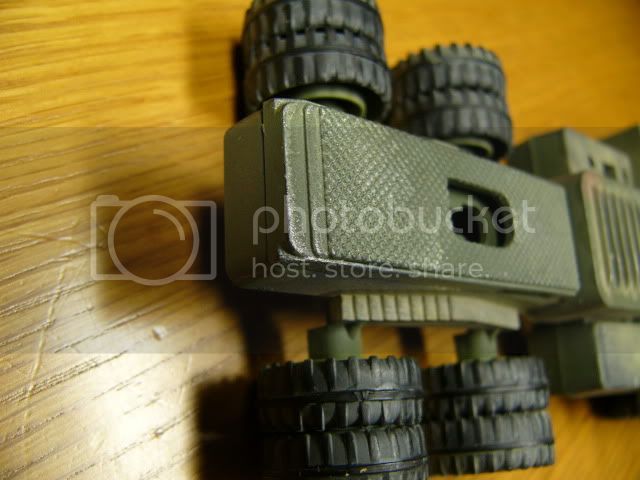
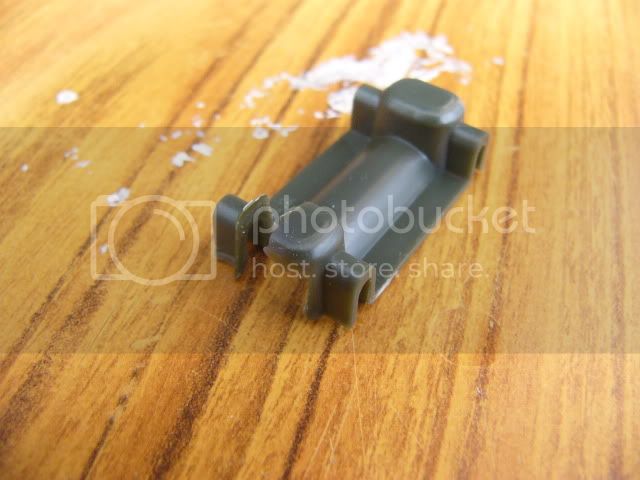
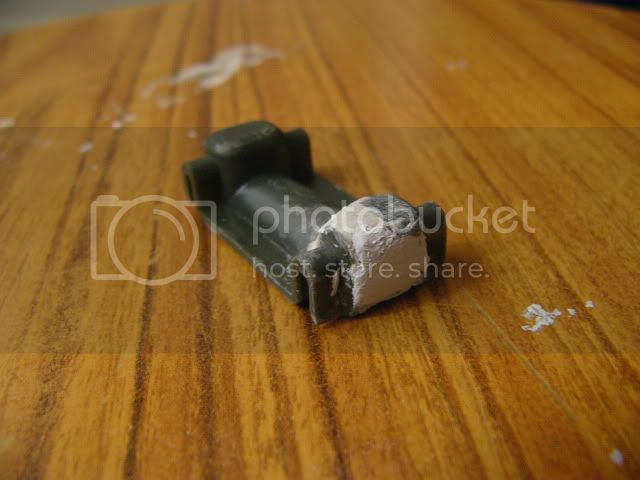
This part was not moulded properly and I had to fix it with putty.
Before:

After:


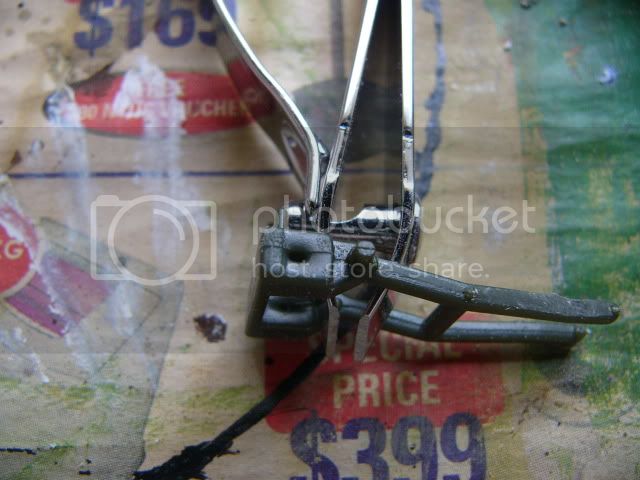
Sights like this were not uncommon:


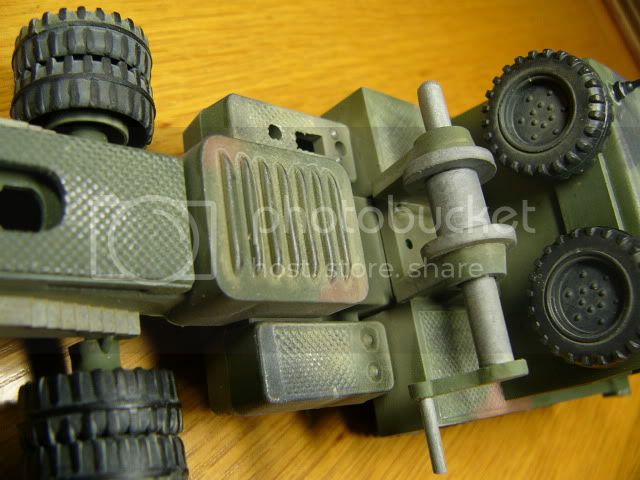
Glued up the different parts and kept them seperate to facilitate painting & priming.


Primed and ready to go!


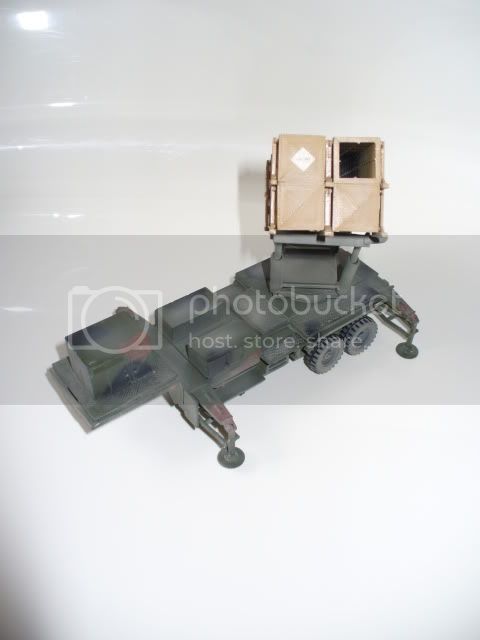
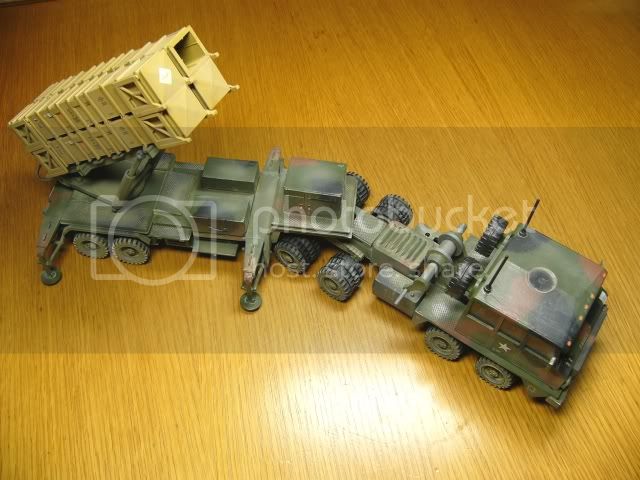
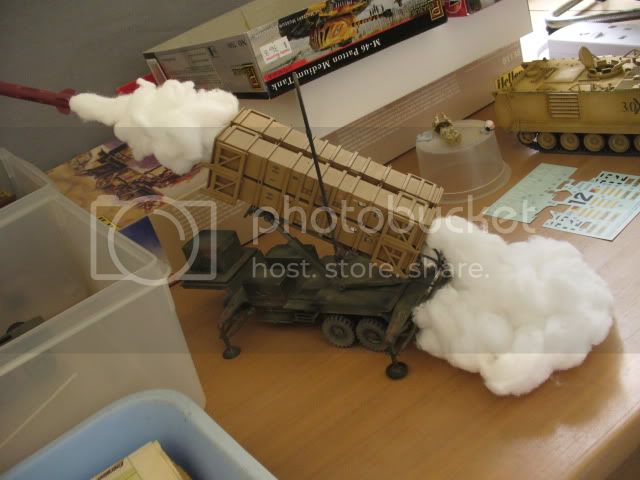
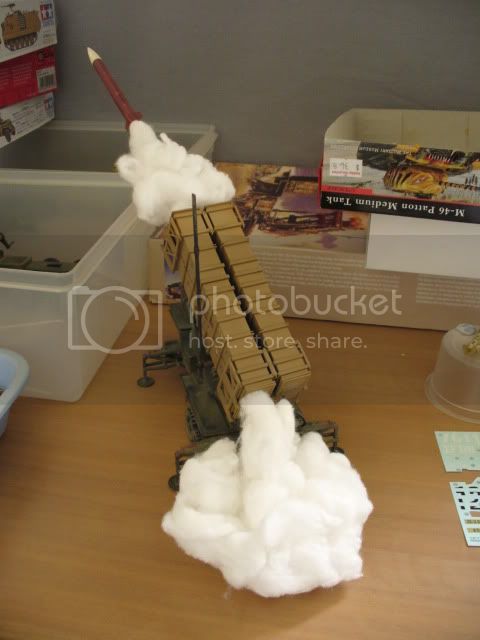
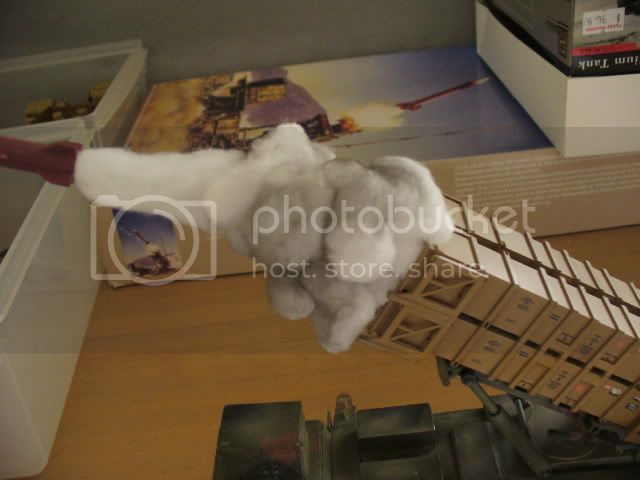
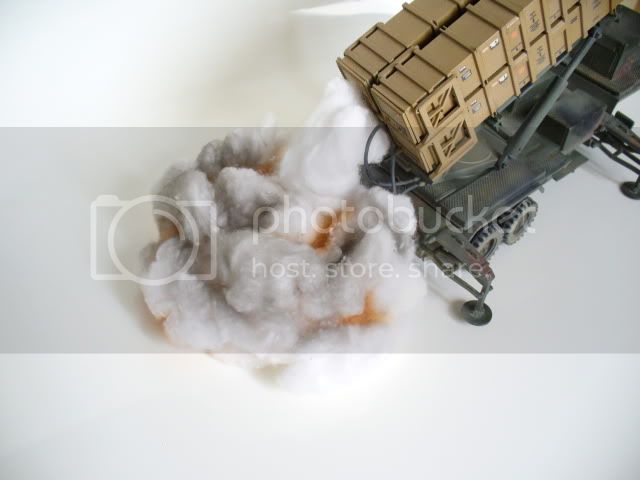
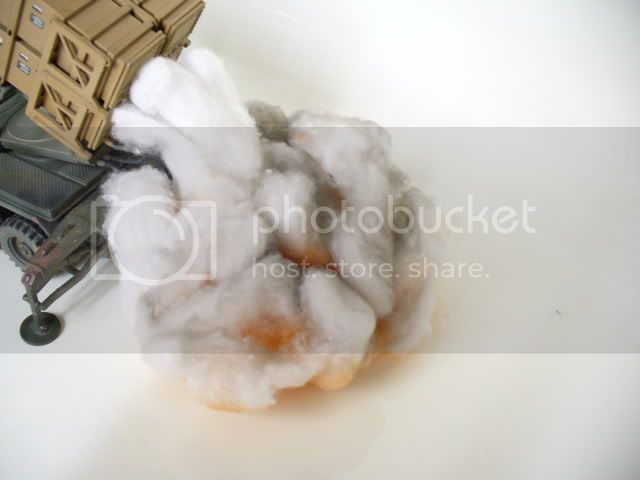
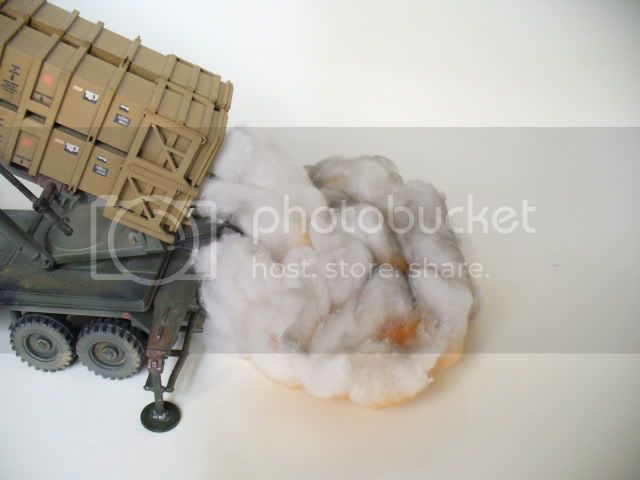
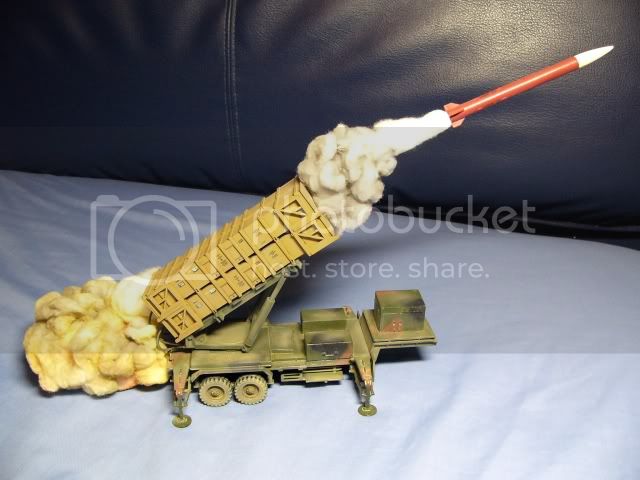
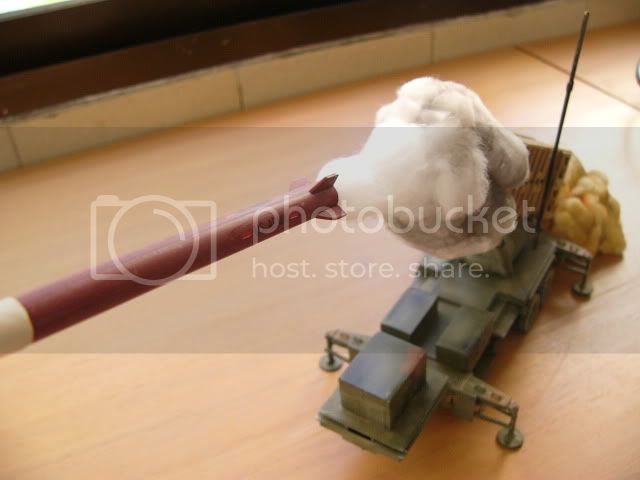
So after much procrastination, working on it on and off. I've finally reached the stage of starting to weather the model. Posing it here with the missile. I'm planning to model it firing the missile(Hope I don't make a mess of it! )


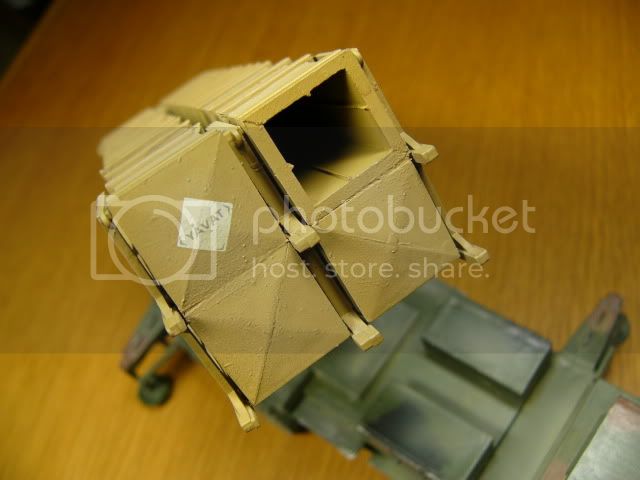
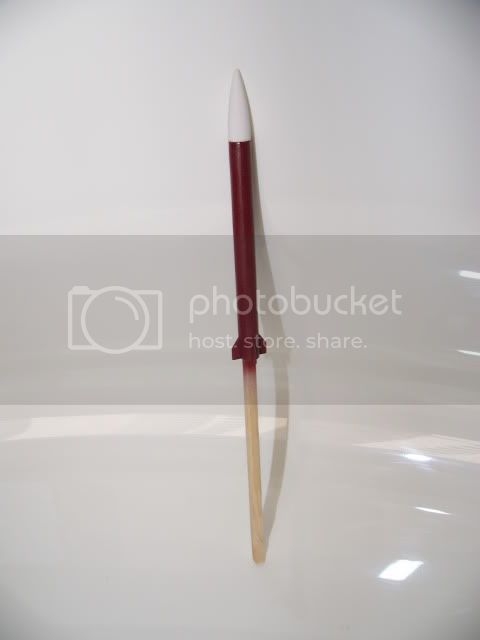
The painted missile. Yet to add the gloss coat & decals.


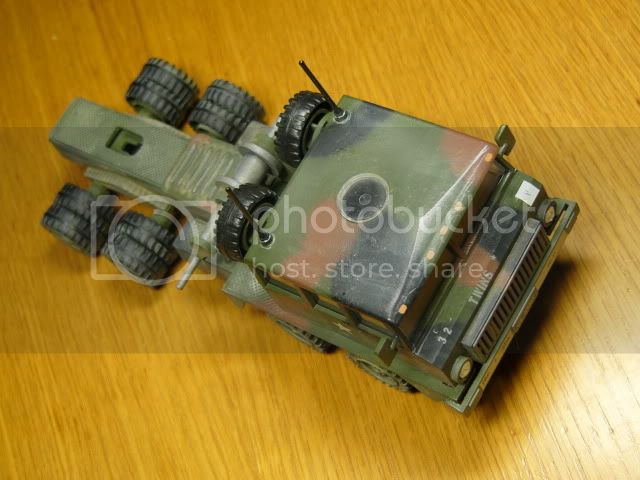
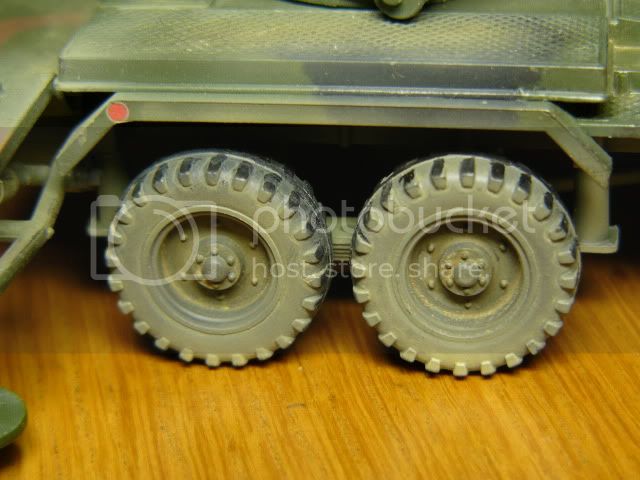
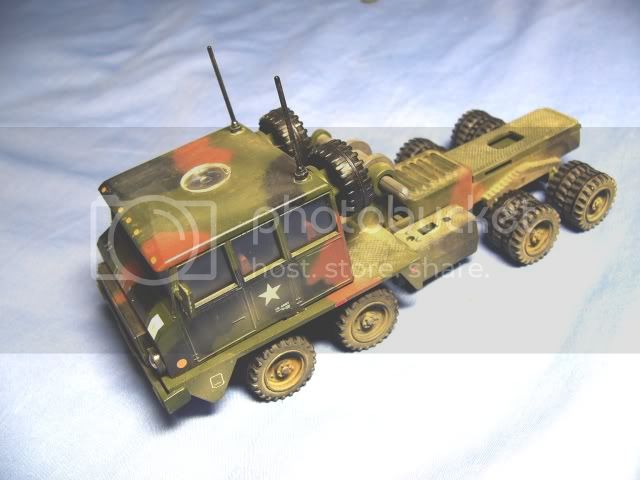
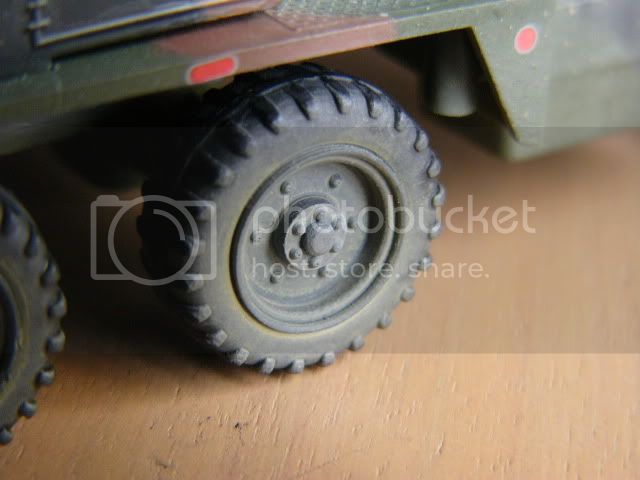
Did some washes on the wheels, drybrushing and rubbing with a pencil to simulate wear & tear.


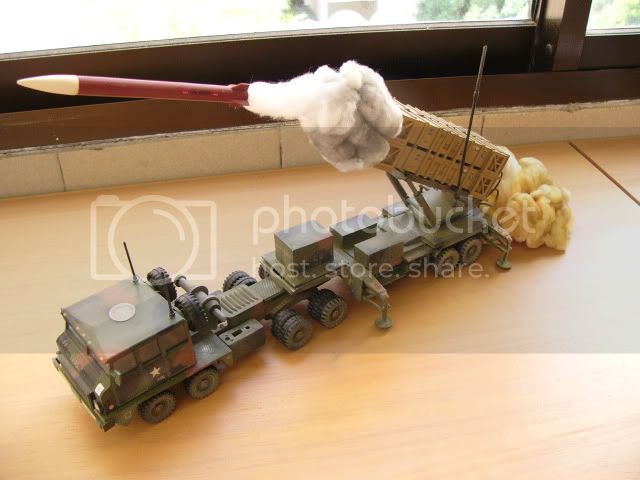
Posing the vehicle and battery seperately.

Buckeye198
Visit this Community
Ohio, United States
Joined: May 02, 2010
KitMaker: 596 posts
Armorama: 265 posts
Posted: Thursday, September 15, 2011 - 06:41 PM UTC
Cool build, Caleb! I like seeing the essential, yet overlooked vehicles get modeled...an endless stream of Tigers and Mustangs gets old fast! You did a very nice job addressing the kit's inherent downfalls, and the weathering is very realistic. My only source of input comes in the paint scheme. If you're aiming for a NATO 3-color scheme, it looks to me like there's too much green huddled in the middle of a bit of brown and black on the outskirts. Check out this KitMaker thread for some more views on the NATO scheme. (https://armorama.kitmaker.net/forums/166923) And finally, give it a few coats of a dulling agent (I use Testors Flatcote) to really bland it up a bit. Of course, the only person for whom the model has to pass inspection is you, and if you're happy with the camo, then hats off to you, mate! It really is an impressive model you have there!
Sqrootof5
Visit this Community
Singapore / 新加坡
Joined: January 30, 2010
KitMaker: 45 posts
Armorama: 35 posts
Posted: Thursday, September 15, 2011 - 08:34 PM UTC
Thanks Robby. Thanks for the link, I'll probably look into using it as a reference for similar projects.

Well, the result of the paint scheme was partly my fault. I kind of just followed the markings as given on the instructions manual without adding more browns & blacks. Hence, the result is that there's alot of green in the middle.

I agree, I think i need to bland the camouflage a little bit more. The cabin area of the vehicle looks a little too clean & glossy as compared to the rest of the vehicle.
Sqrootof5
Visit this Community
Singapore / 新加坡
Joined: January 30, 2010
KitMaker: 45 posts
Armorama: 35 posts
Posted: Wednesday, September 21, 2011 - 08:59 PM UTC
Recently managed to do some more weathering as well as add decals to the missile.
Model was weathered using a variety of methods(I hope I didn't go overboard with the weathering. Like what happened to my stryker)
- Washes were done with oil paints(buff titanium, raw sienna) to create the effect of accumulation of sand on the vehicle
- Drybrushing done with Tamiya german grey, metallic grey and flat aluminium for general wear & tear
- Airbrushing with thinned Tamiya buff & dark yellow to create an overall dusty effect as well as act as a filter to reduce the contrast in the 3-tone camouflage
- Mig pigment(Gulf war sand) were used to add variation to the dust
- Rubbing at edges with a pencil to simulate wear

Missile with decals added, yet to spray on the matt coat


Shot of the whole model


Some shots of the vehicle


Shots of the missile battery


Weathering done with the above mentioned methods


Sqrootof5
Visit this Community
Singapore / 新加坡
Joined: January 30, 2010
KitMaker: 45 posts
Armorama: 35 posts
Posted: Monday, October 24, 2011 - 07:47 PM UTC
First time trying this. Added the missile and cotton wool to simulate the missile being fired from the battery.

C&C welcome.


GregCloseCombat
Visit this Community
California, United States
Joined: June 30, 2008
KitMaker: 2,408 posts
Armorama: 2,394 posts
Posted: Wednesday, October 26, 2011 - 07:54 PM UTC
You do cool work! Looks the part
35th-scale
Visit this Community
Kildare, Ireland
Joined: November 21, 2007
KitMaker: 3,212 posts
Armorama: 2,807 posts
Posted: Wednesday, October 26, 2011 - 08:52 PM UTC
As I saw the first pictures of the parts I thought you can't make a silk purse from a sow's ear. In this case it seems you can!
Great job and the "smoke" works for me.
Sqrootof5
Visit this Community
Singapore / 新加坡
Joined: January 30, 2010
KitMaker: 45 posts
Armorama: 35 posts
Posted: Wednesday, October 26, 2011 - 09:36 PM UTC
Thanks Greg & Sean. I'm still doing some planning on how to finish up, using the box art and pictures from the internet to get ideas on how to do this.

Here's what I'm thinking of so far:
1) Adding some light shades of grey to the smoke created by the blast from the missile itself.
2) For the smoke from the base of the launcher, I'm thinking of using a mixture of dust and grey colours to show the smoke and dust being kicked up from firing the missile. Maybe I'll add some orange to the mix as well to simulate the blast from the missile ignition.

I'm still thinking about how to do the actual jet blast from the missile. Not sure if just leaving it as white and creating a contrast by using varying shades of grey on the "smoke" would do the trick to create that bright white effect. Maybe I can look into seeing if there are any suitable fluoroscent colours to use. Might work airbrushing thinned fluoroscent colours along with the contrast from the darker coloured smoke to create the bright look of the jet blast.

CrazyIvan
Visit this Community
England - North West, United Kingdom
Joined: May 14, 2005
KitMaker: 12 posts
Armorama: 10 posts
Posted: Friday, November 04, 2011 - 06:07 AM UTC
Outstanding job Caleb, give yourself a pat on the back.

I did have this kit and the control unit until recently. I had intended to build them and bring them up to scratch but after lot`s of deliberation i decided life was too short
Sqrootof5
Visit this Community
Singapore / 新加坡
Joined: January 30, 2010
KitMaker: 45 posts
Armorama: 35 posts
Posted: Sunday, November 06, 2011 - 04:44 PM UTC
Thanks David. Yeah. This kit was certainly a difficult build with lots of holes to fill, lines to remove.

vonHengest
Visit this Community
Texas, United States
Joined: June 29, 2010
KitMaker: 5,854 posts
Armorama: 4,817 posts
Posted: Sunday, November 06, 2011 - 05:30 PM UTC
That is very well done, you did a great job capturing the kit as portrayed in the box art
Sqrootof5
Visit this Community
Singapore / 新加坡
Joined: January 30, 2010
KitMaker: 45 posts
Armorama: 35 posts
Posted: Sunday, December 04, 2011 - 12:53 PM UTC
Thank you Jeremy. Guess here's where it kind of deviates from the box art.

Added some colour to the smoke from the missile jet blast. My plan is to first colour it with a dark shade of grey for the thicker parts of the smoke then use progressively lighter shades(Probably 2 or more) of grey for the thinner parts of the smoke.

Here, I've added the darker shade of grey(Tamiya German Grey) to the smoke first.


Still yet to colour the smoke from the base of the canister.

C&C welcomed.
18Bravo
Visit this Community
Colorado, United States
Joined: January 20, 2005
KitMaker: 7,219 posts
Armorama: 6,097 posts
Posted: Sunday, December 04, 2011 - 09:06 PM UTC
Very cool effect. Now I wouldn't be surprised to see one in 1/35 in less than a year.
Sqrootof5
Visit this Community
Singapore / 新加坡
Joined: January 30, 2010
KitMaker: 45 posts
Armorama: 35 posts
Posted: Wednesday, December 07, 2011 - 01:57 PM UTC
Thanks Robert. Guess if it did come out in 1/35 I'll probably get and make one in that scale!

Added colour to the smoke at the bottom of the canister. Still yet to add the dust colours to simulate the sand & dust being kicked up from the blast.

C&C welcome.


jimb
Visit this Community
New York, United States
Joined: August 25, 2006
KitMaker: 2,539 posts
Armorama: 238 posts
Posted: Thursday, December 08, 2011 - 12:51 AM UTC
Nice job on the build. Having served in a US Army PARTIOT battery, this subject is of interest to me. The launcher looks pretty close to what we used (M860 trailer); however, I have no idea what that prime mover is supposed to be. The US Army uses the M983 HEMTT. That tractor looks very "European". No that that's a bad thing.

Also, when the launchers are emplaced, the trailer is not attached to the tractor at the king pin, and the wheels are off the ground. In order for the launcher to work properly, the trailer must be completely level. You could probably fake that, but if you get the trailer up off the ground using the outriggers it will go a long way to increasing accuracy.

Also, I know that 99.9% of the pictures of PATRIOT launchers dont show it, but there is a rope railing system that goes around the front & sides of the generator set. There is also a black fiber optic cable that runs from the side of the launcher trailer to the ECS.

I wish I had taken more pics when I was in the Army!

Jim
ti
Visit this Community
Dalarnas, Sweden
Joined: May 08, 2002
KitMaker: 2,264 posts
Armorama: 1,763 posts
Posted: Thursday, December 08, 2011 - 09:02 AM UTC
Great job on simulating the smoke.
18Bravo
Visit this Community
Colorado, United States
Joined: January 20, 2005
KitMaker: 7,219 posts
Armorama: 6,097 posts
Posted: Thursday, December 08, 2011 - 10:05 AM UTC

Quoted Text

The US Army uses the M983 HEMTT.


It always warms my heart to know I haven't been wasting my time...


jimb
Visit this Community
New York, United States
Joined: August 25, 2006
KitMaker: 2,539 posts
Armorama: 238 posts
Posted: Thursday, December 08, 2011 - 10:38 AM UTC
Interesting pic. What's it from?

I guess I should have clarified that they used the HEMTT "back in the day".

Jim
retiredyank
Visit this Community
Arkansas, United States
Joined: June 29, 2009
KitMaker: 11,610 posts
Armorama: 7,843 posts
Posted: Thursday, December 08, 2011 - 10:45 AM UTC
The cotton sure looks the part. I had never even heard of this creature's existance, before. Would have never thought of the strategic launch(strategic in how you did it, not just the missile itself). Did you hand paint the camo?
Sqrootof5
Visit this Community
Singapore / 新加坡
Joined: January 30, 2010
KitMaker: 45 posts
Armorama: 35 posts
Posted: Thursday, December 08, 2011 - 12:25 PM UTC
Thanks for the comments guys!

@James: Thanks for the pointers. If I ever do this again, I'll keep them in mind and try to incorportae them. I have no idea what that prime mover is too but it is seen here in action in this reference picture that I found on the internet. I do have plans to pose the trailer & tractor seperately when finished. Unfortunately, the outriggers provided in the kit don't lift the wheels off the ground so I guess I won't be able to replicate that anymore at this stage.

@Matt: Thanks. The camo was painted free hand using an airbrush. I wasn't quite satisfied with the idea of the missile coming out of the canister without the blast that we would expect to see if this was a real launch. So I just tinkered around and figured cotton wool would be a good material to simulate the blast.
Sqrootof5
Visit this Community
Singapore / 新加坡
Joined: January 30, 2010
KitMaker: 45 posts
Armorama: 35 posts
Posted: Thursday, December 08, 2011 - 07:33 PM UTC
Added in dust colours to the base today. The orange colour now looks more subdued and I think I would want to make it brighter again. I am thinking of adding more dust colouration to the bottom cloud as well.


Here, I'm posing the vehicle together with the trailer. The camera isn't able to really capture the colours very well, the fainter parts of the cloud at the base of the canister appears white.


Just the vehicle alone.


As always, C&C is welcome.

jimb
Visit this Community
New York, United States
Joined: August 25, 2006
KitMaker: 2,539 posts
Armorama: 238 posts
Posted: Friday, December 09, 2011 - 01:27 AM UTC
That looks really nice. Someone, or something, is going to be in a world of hurt really soon! Great job with the smoke.

Jim
Sqrootof5
Visit this Community
Singapore / 新加坡
Joined: January 30, 2010
KitMaker: 45 posts
Armorama: 35 posts
Posted: Friday, December 09, 2011 - 05:43 PM UTC
Thanks Jim.

Touched up the missile blast this morning and finished up this kit.

Posing the vehicle with the trailer.


Just the vehicle alone.


Trailer.


Delivery of pain to target.


Closeup of the blast at the base of the canister.
 _GOTOTOP