I'm not quite sure yet how to attach images to the actual message but I have loaded some pics on my gallery section.....Its my first offering to the site so feel free to rip it up and tell me how it is
 or how it should be..I'd appreciate the feedback.
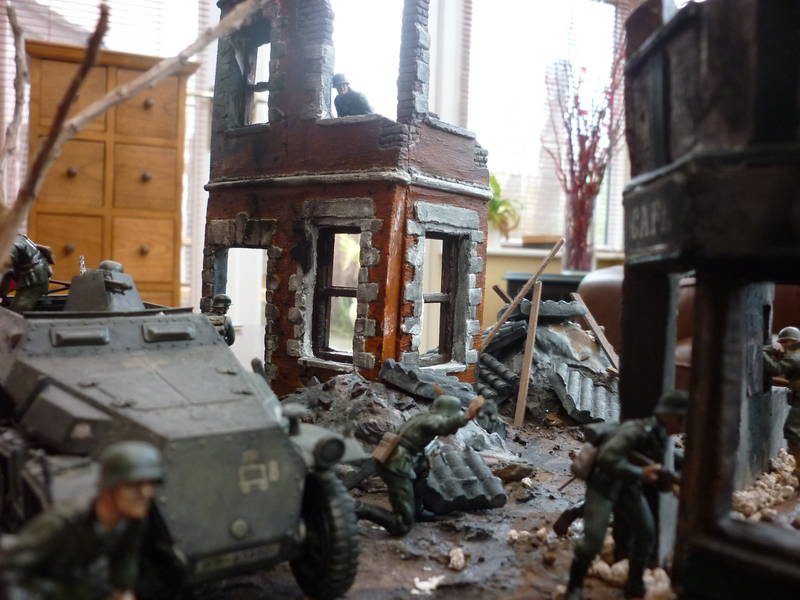
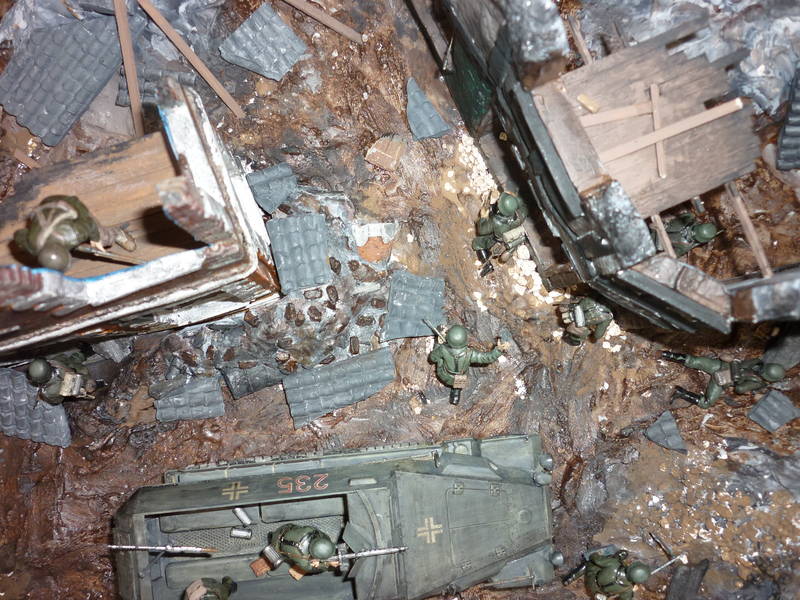
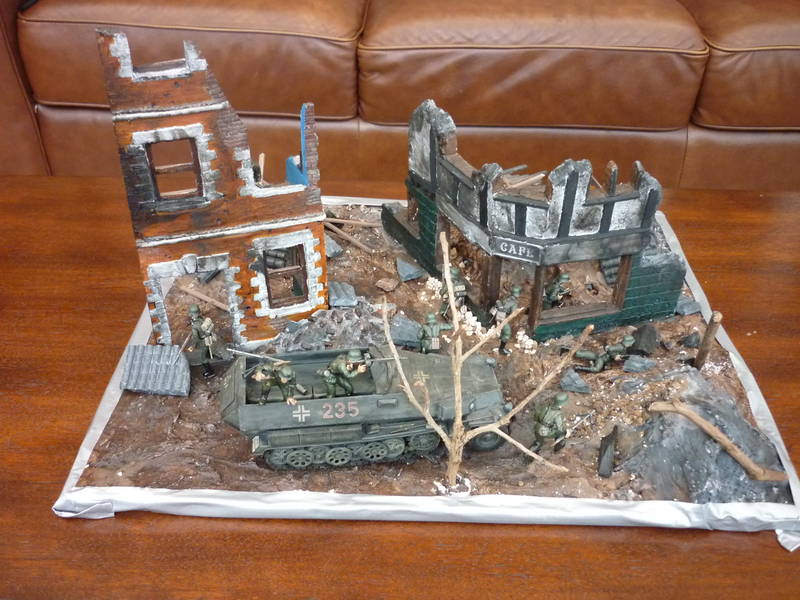
I'm not totally convinced its finished but i need one of you guys to tell me to put it to bed and move on..
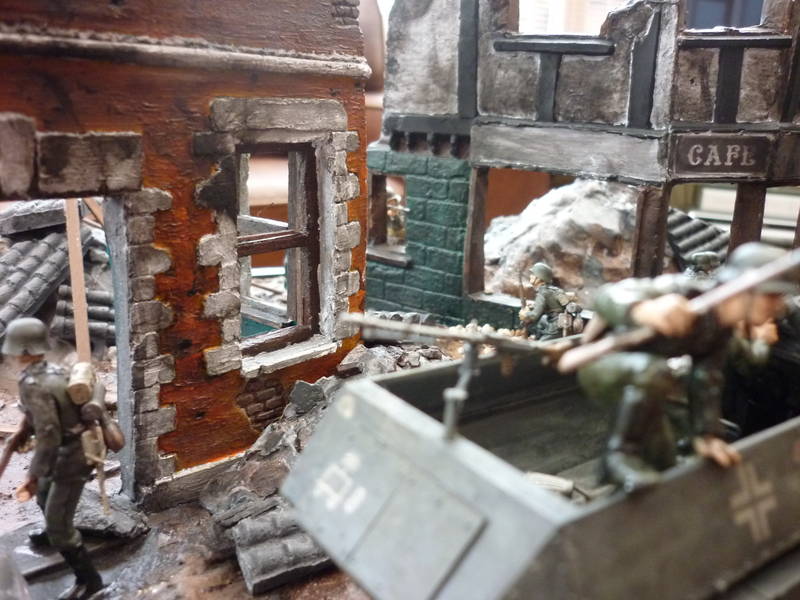
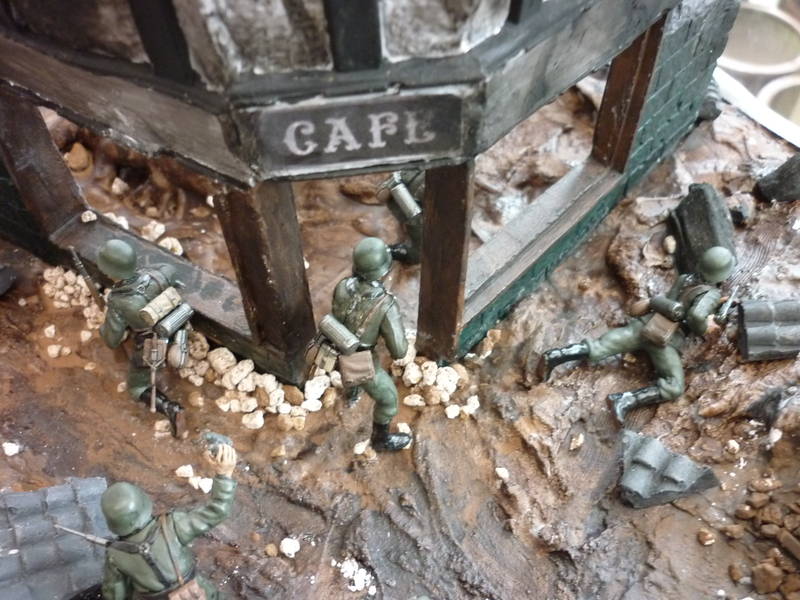
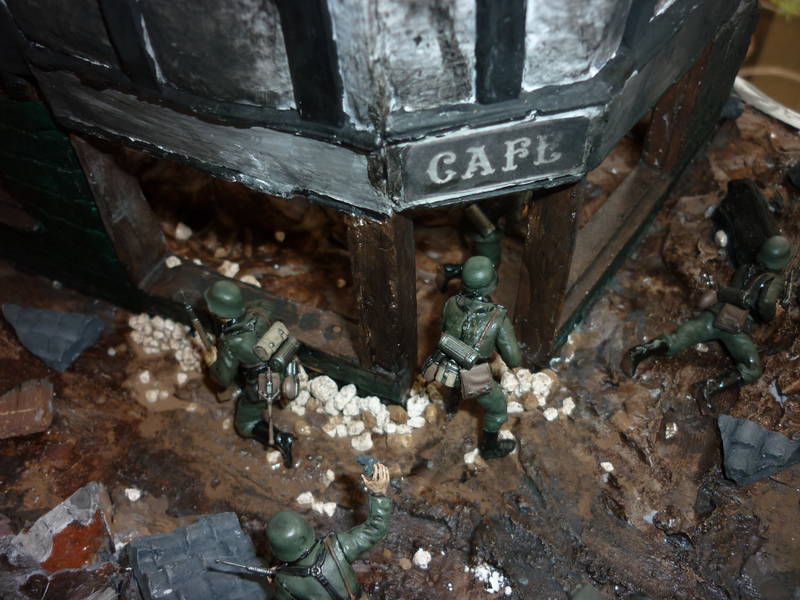
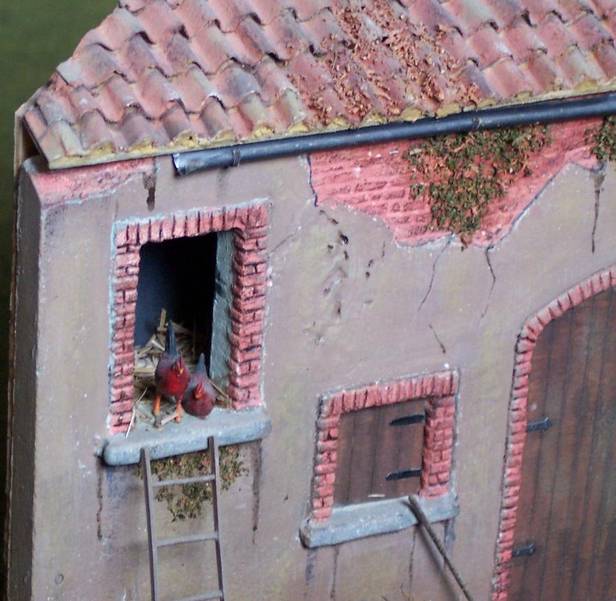
Tamiya model and figures as are the paints..and the roof tiles , Cafe & House ruin from FOG..
many thanks