


Anyways doing the Humvee by tamiya, the normal one, not the big airfield one.
This won't take long and will be working on it every night for a few hours with a daily update so hopefully this blog be over in a week. I want to also express my opinions of the kit, and offer some good one the way photos.
so lets get on with it
firstly this is going to be a kitchen table build - not in the modelling den which is a still a mess from the last project!! and theres no tv in there either.
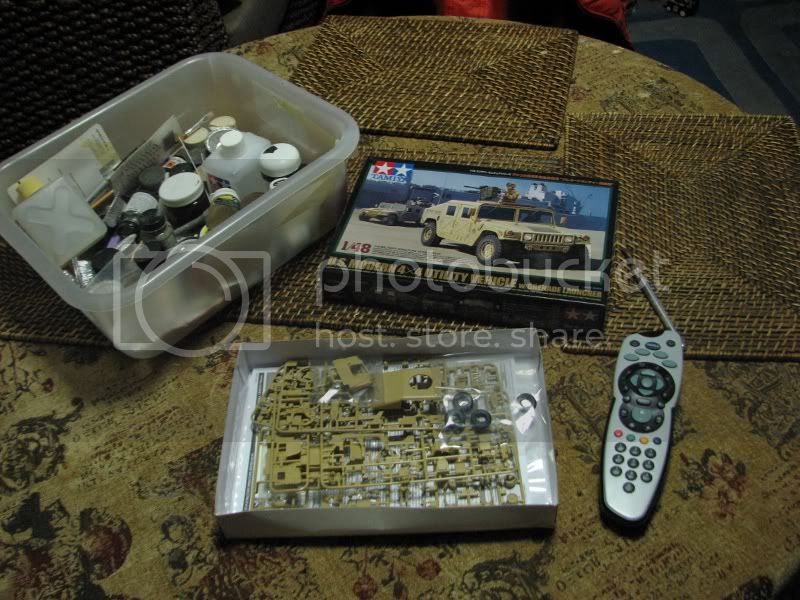
yeah I was watching tosh.0...

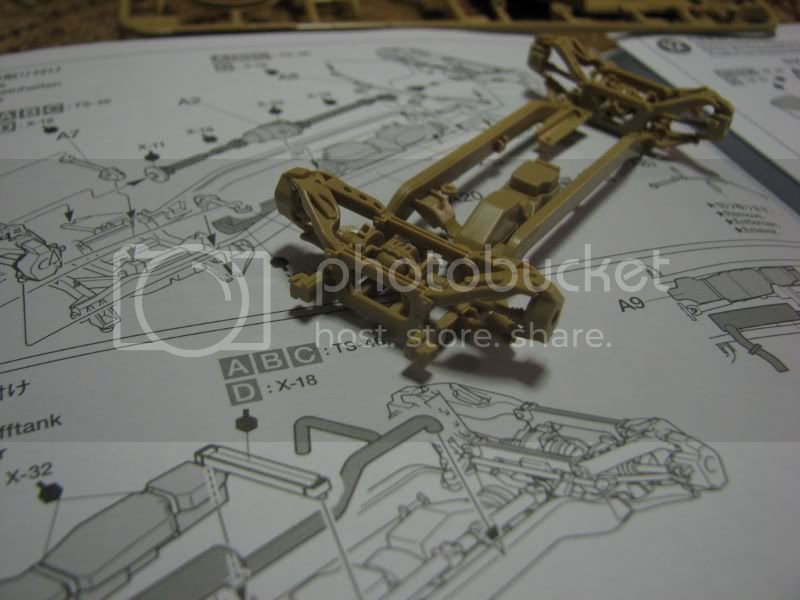
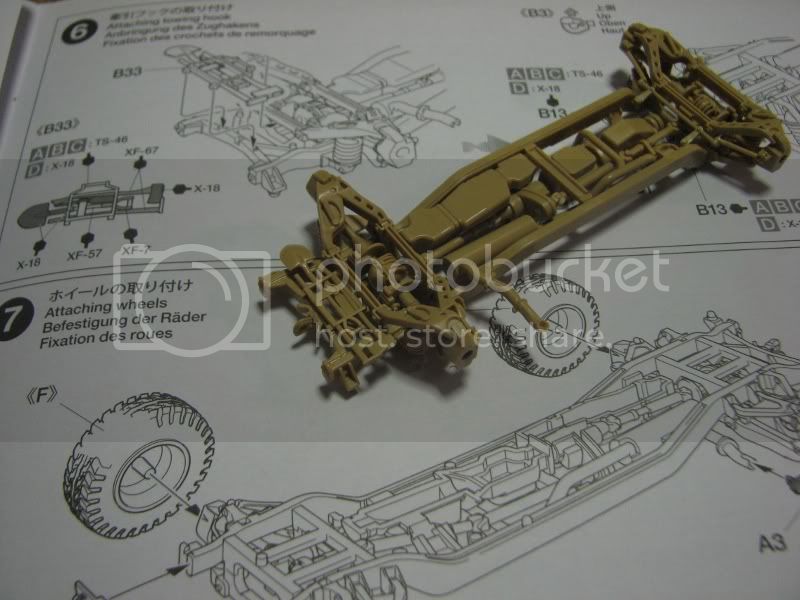
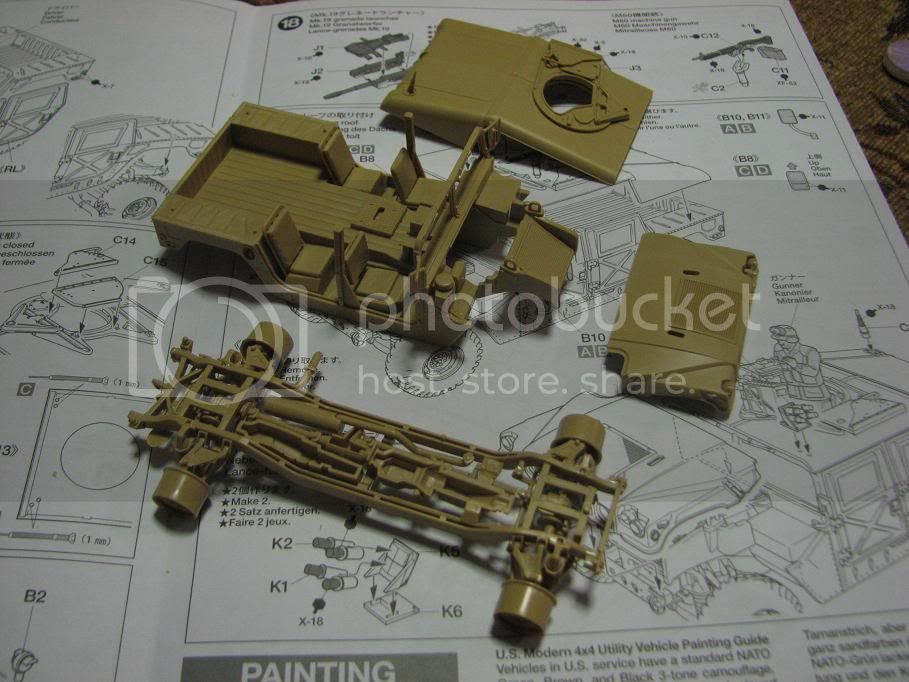
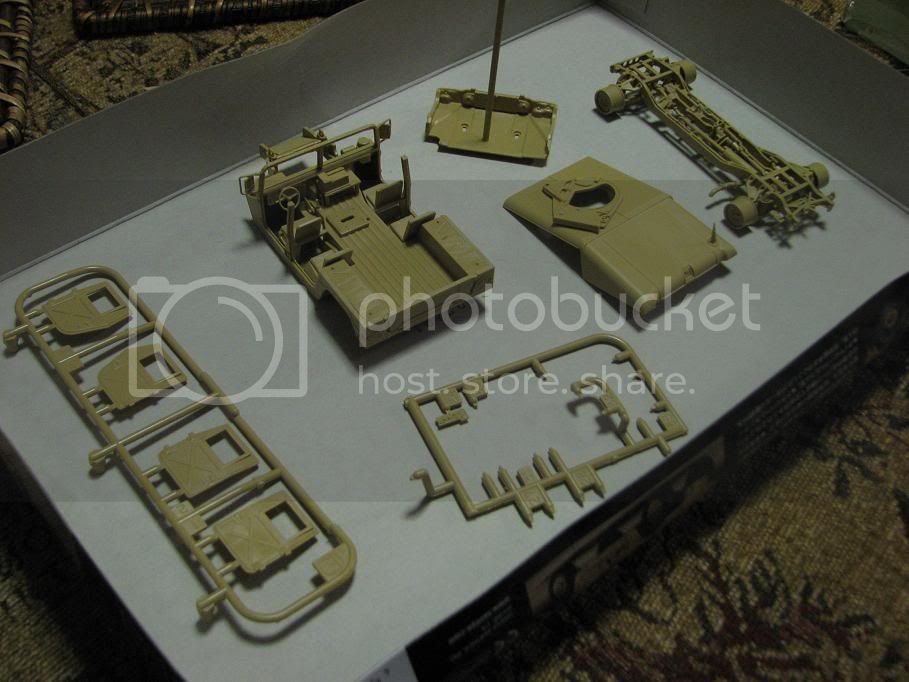
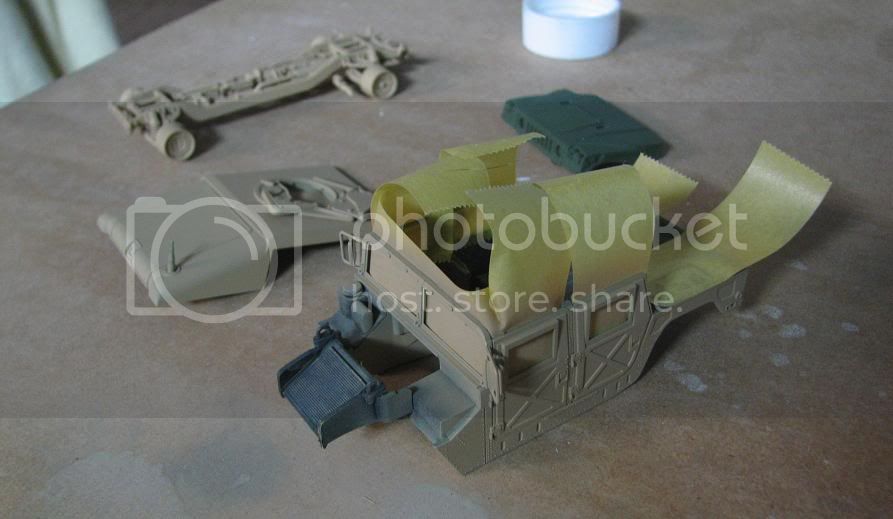
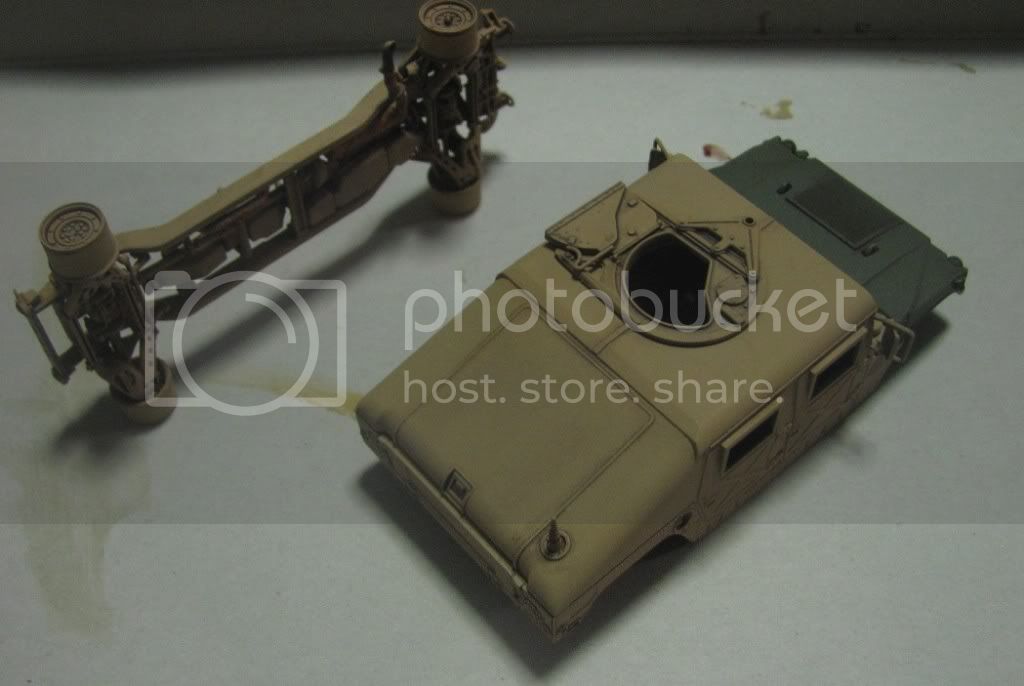
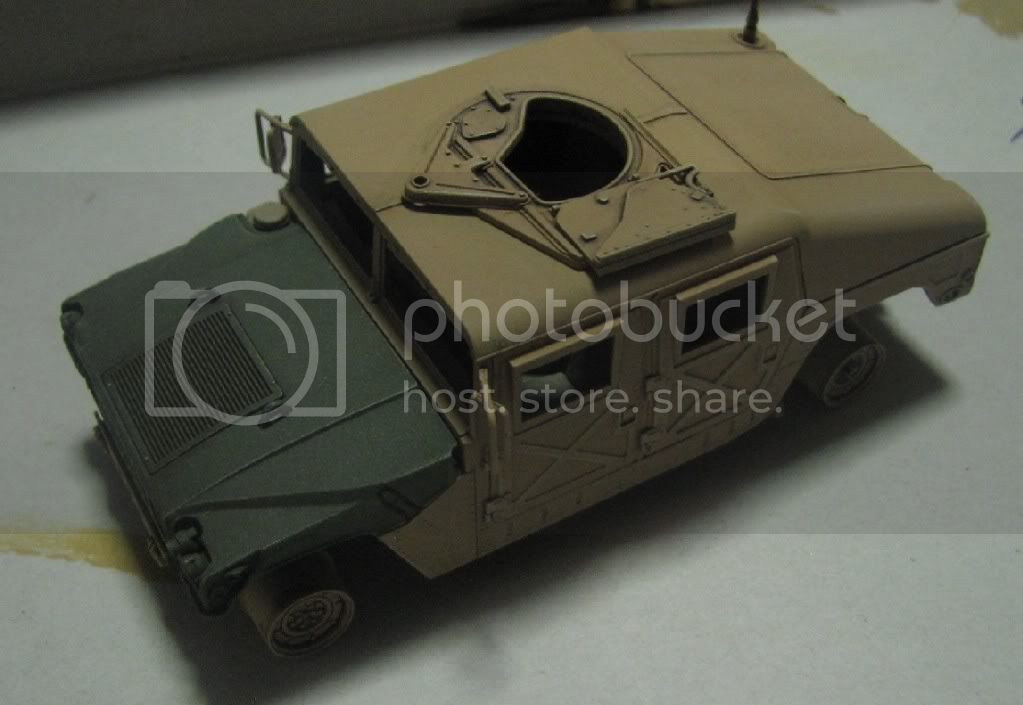
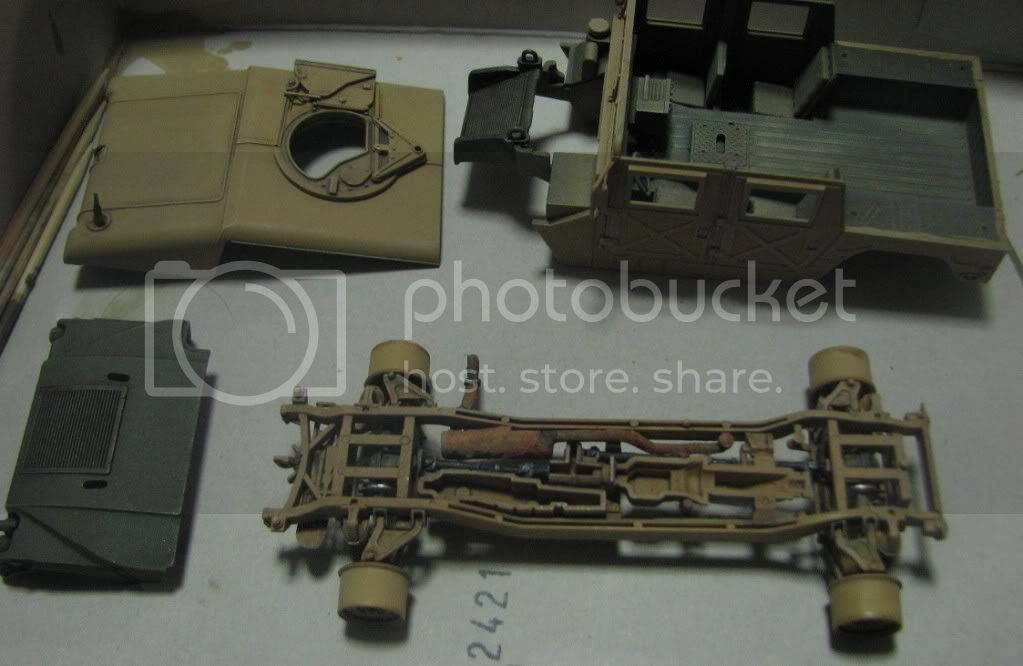
assembly starts with axles and chassis. beautifully detailed for the scale. typical tyamiya! important to note that hidden inside one of the walls is a letter F and R on each axle so as to not confuse front and rear. BRONCO are you paying attention? their instructions are quite bad(bronco) but this is brilliant(tamiya)- typical fall together kit
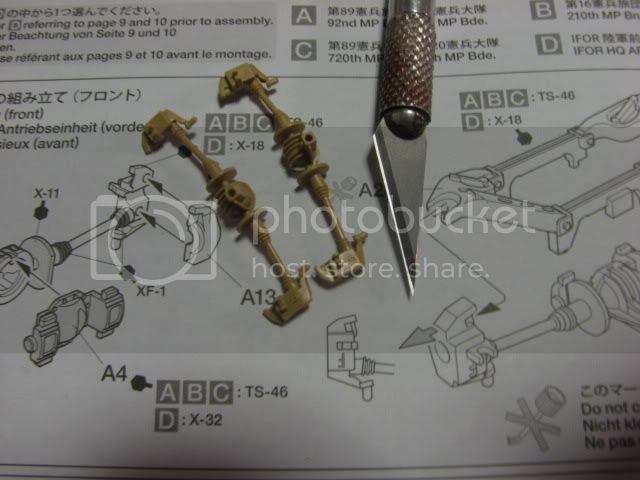
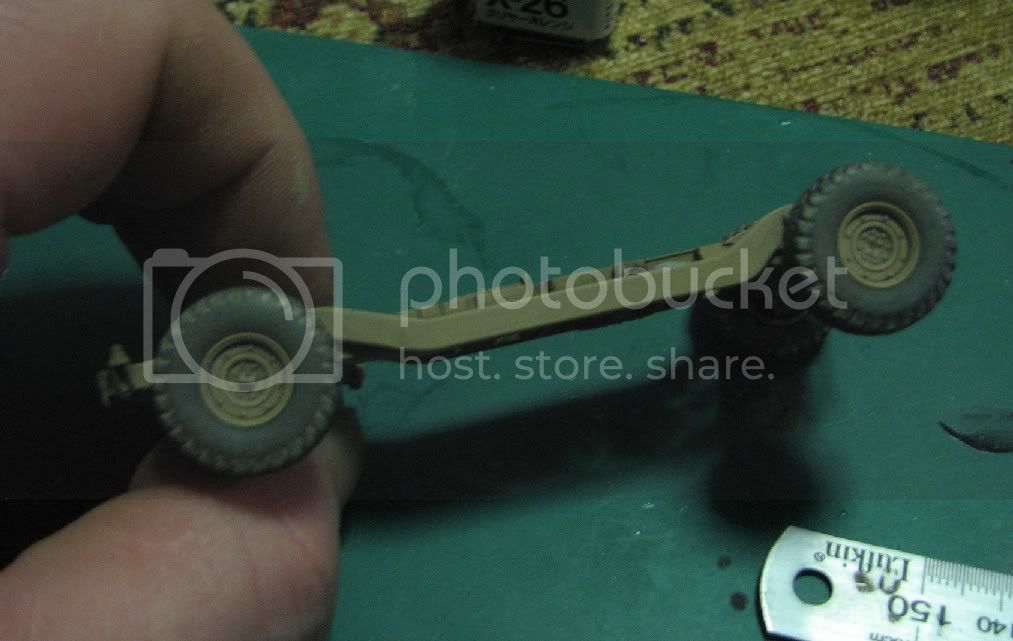
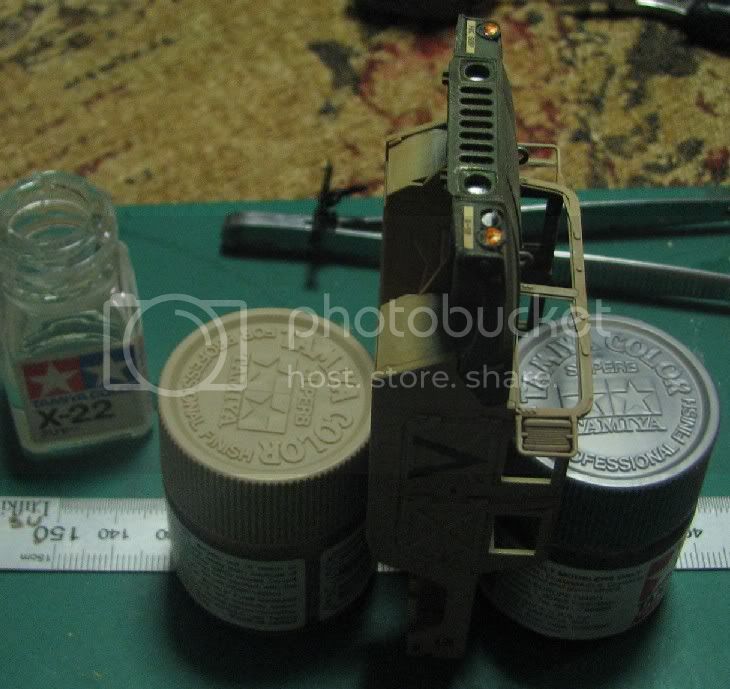
knife shown to give scale

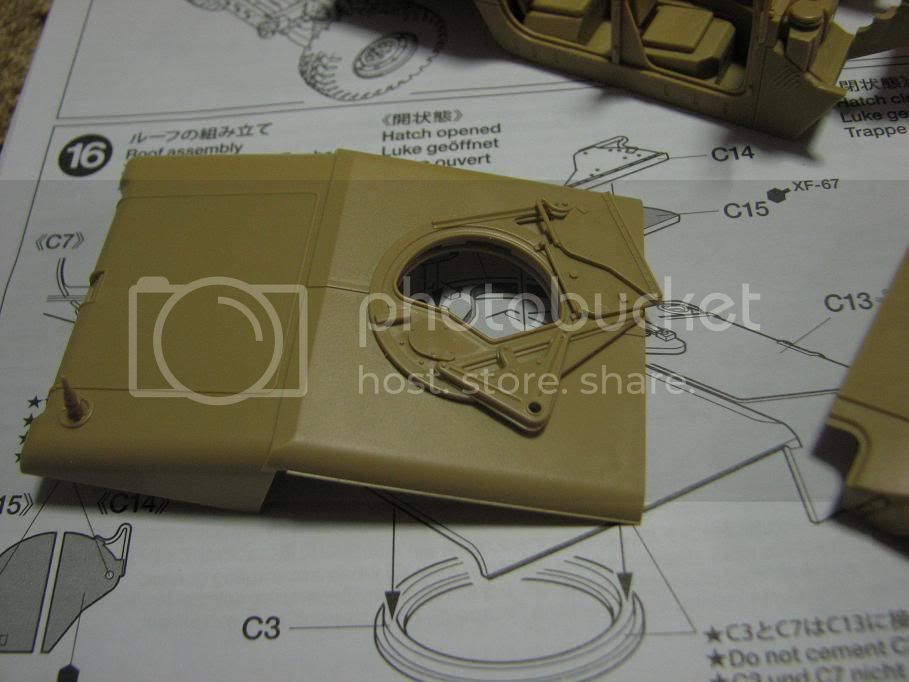
great detail!
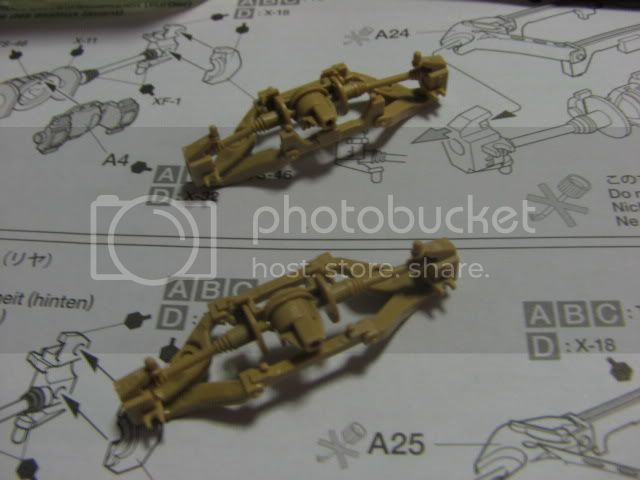
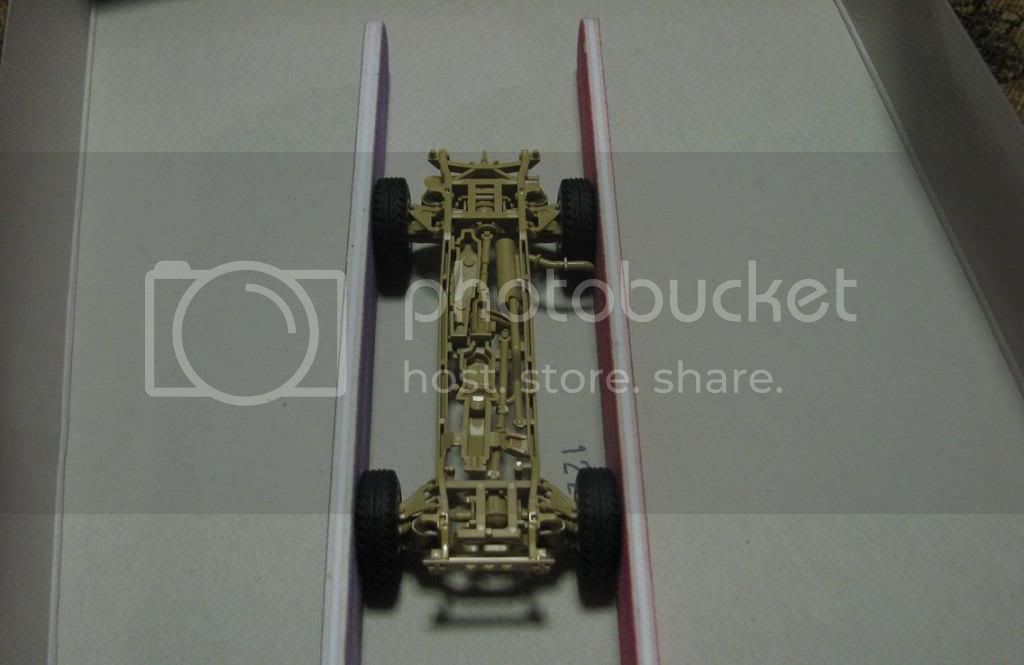
chassis assembly
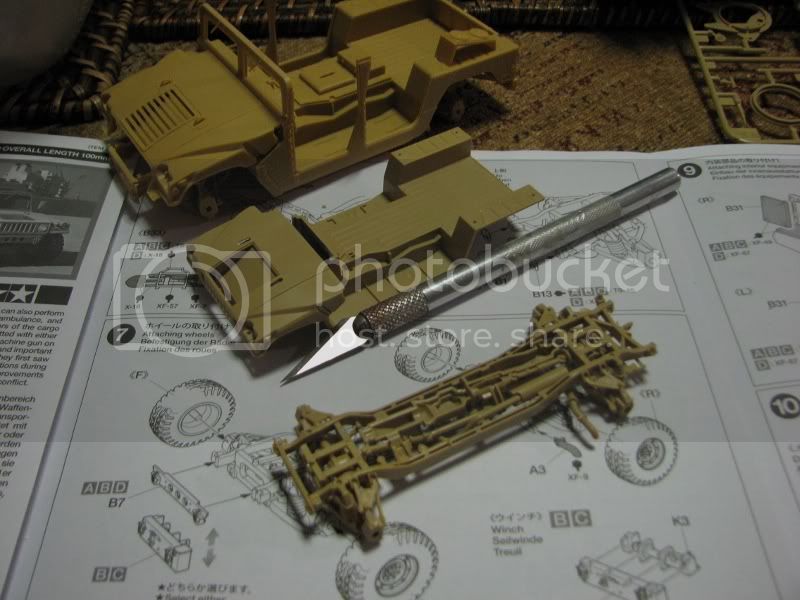
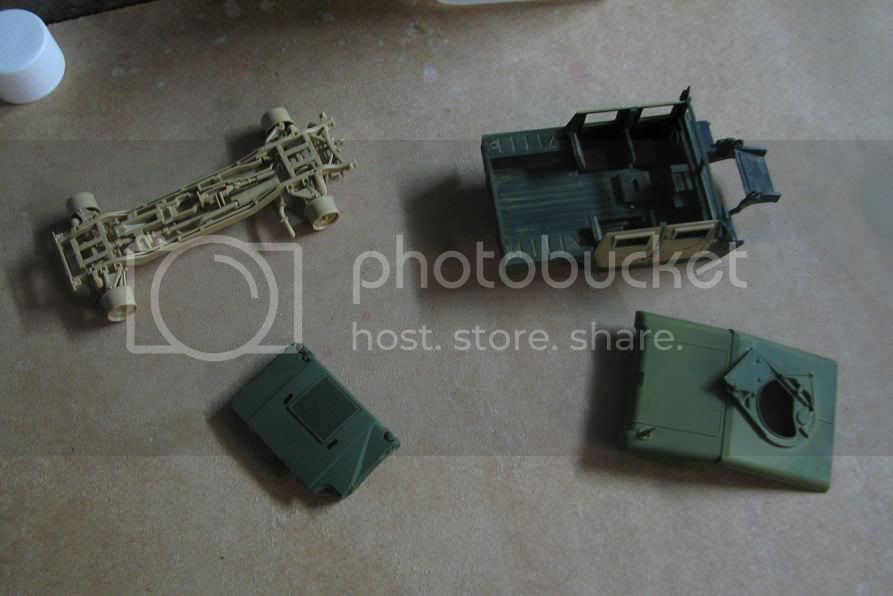
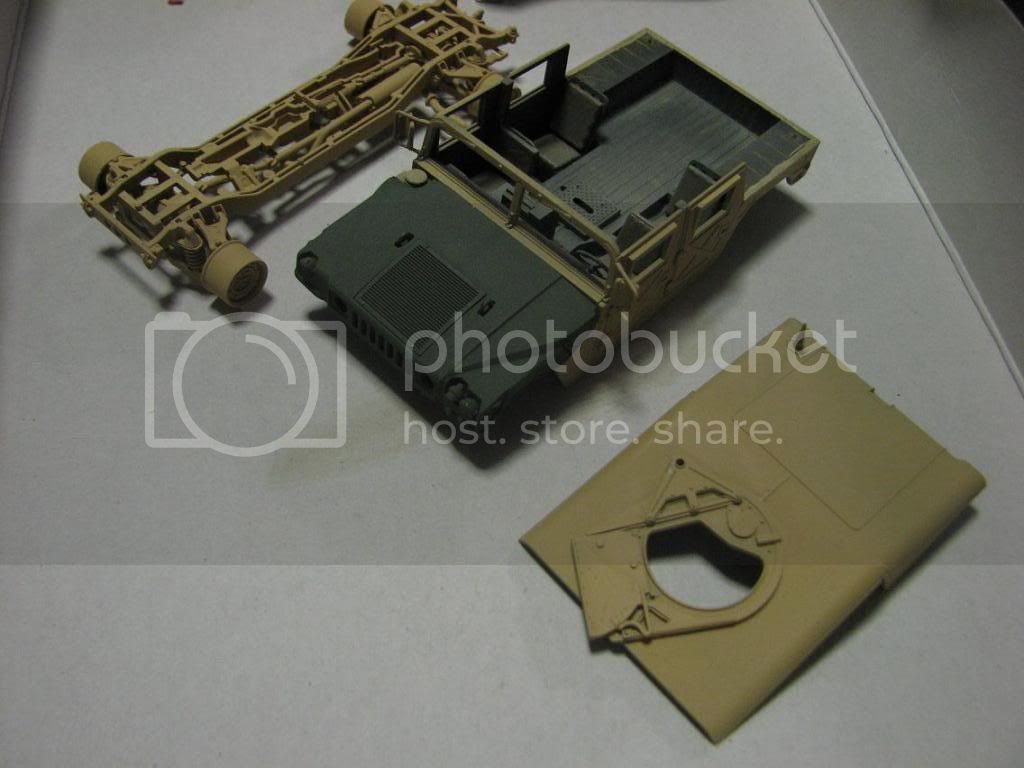
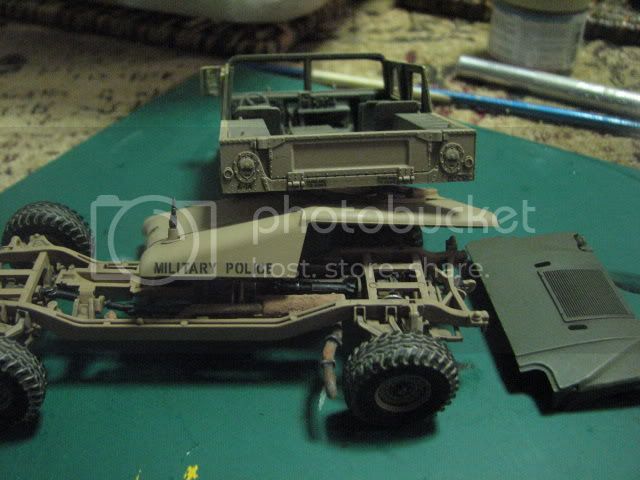
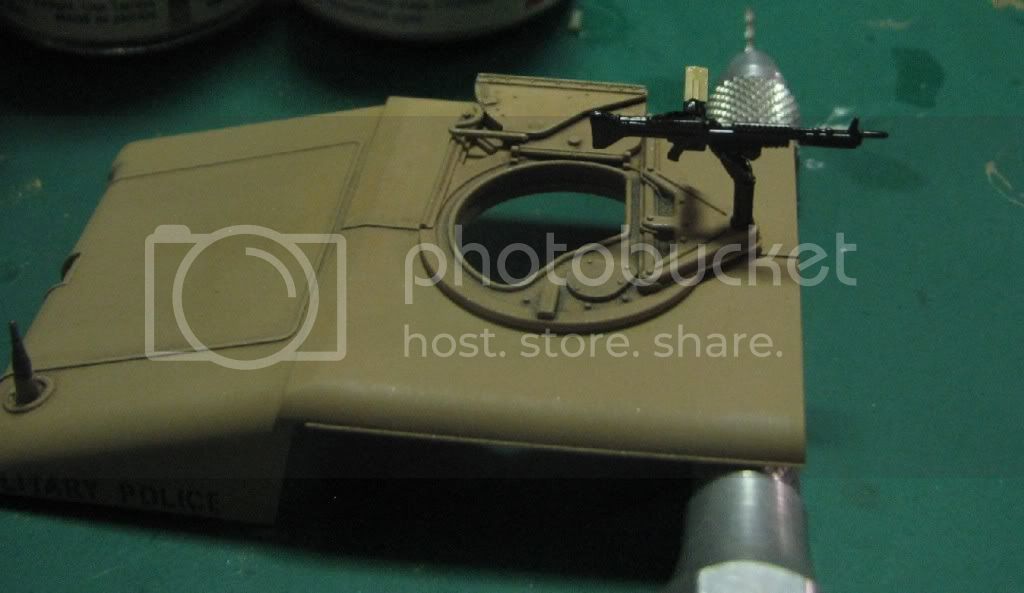
comparison of scale with the bronco humvee - a project I abandoned a while back.

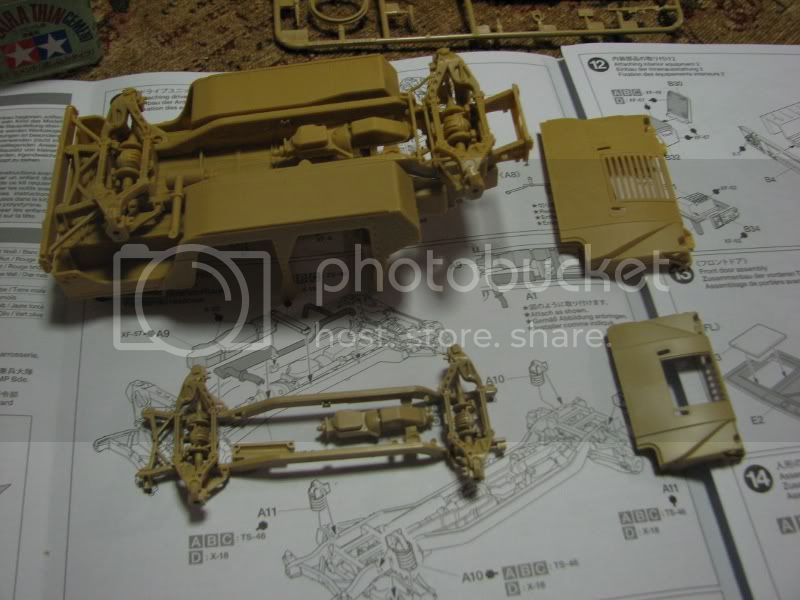
the detail at 1/48 scale in comparison to 1:35 on the bronco is extraordinarily similar.
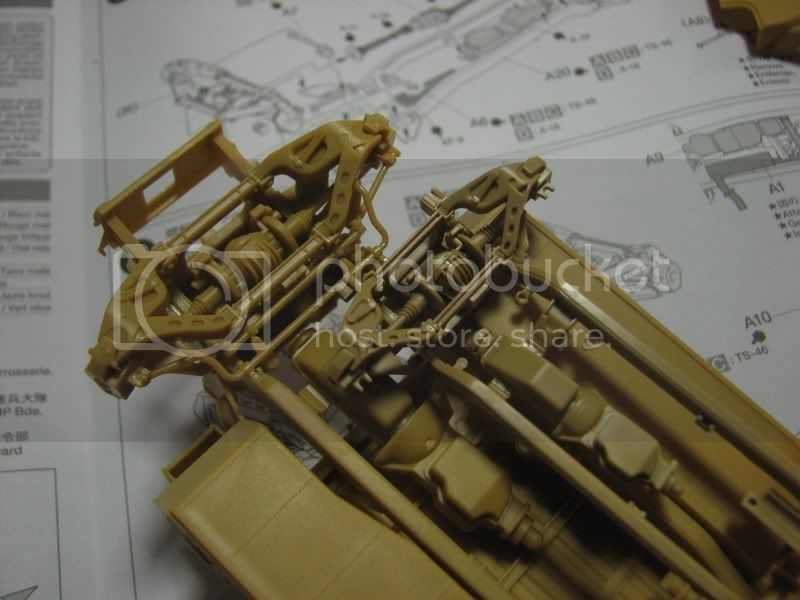
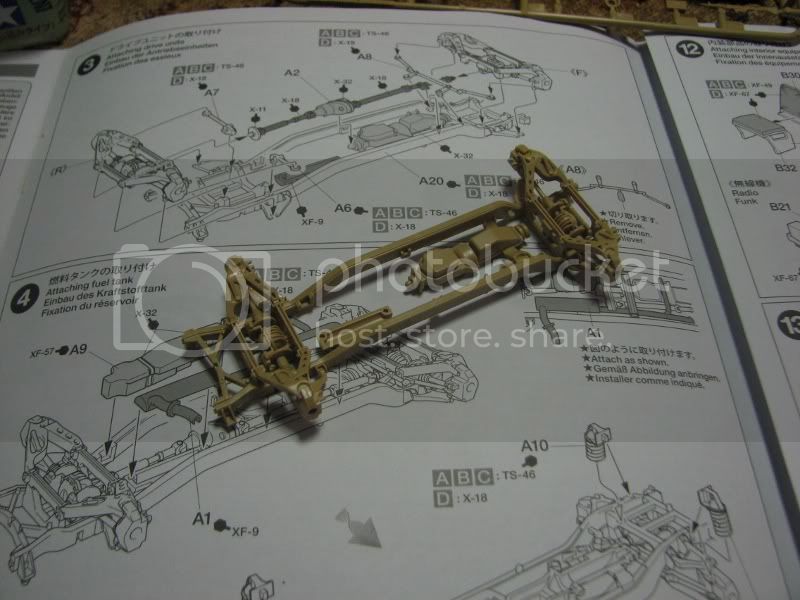
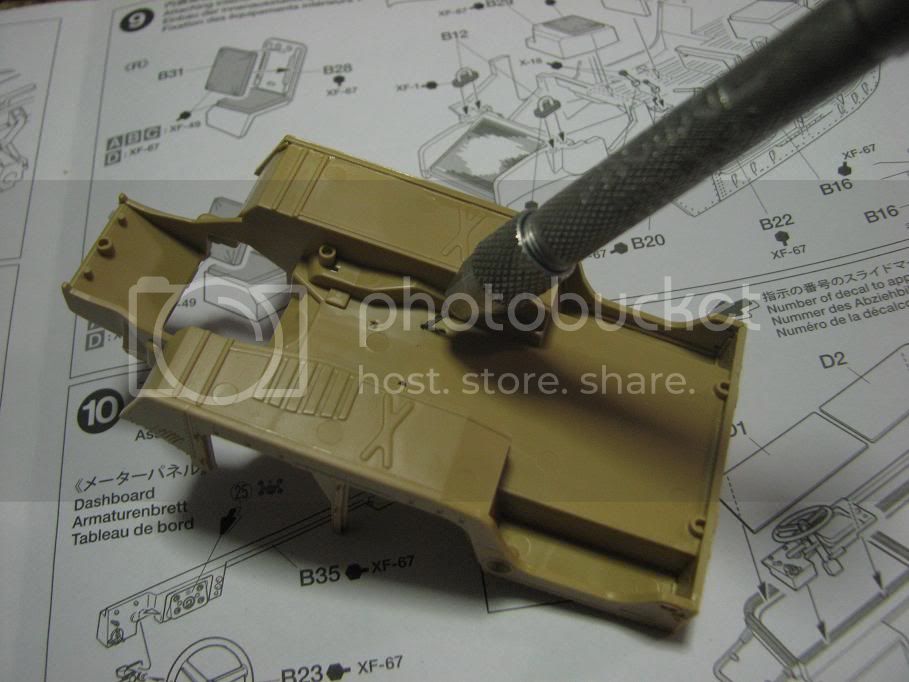
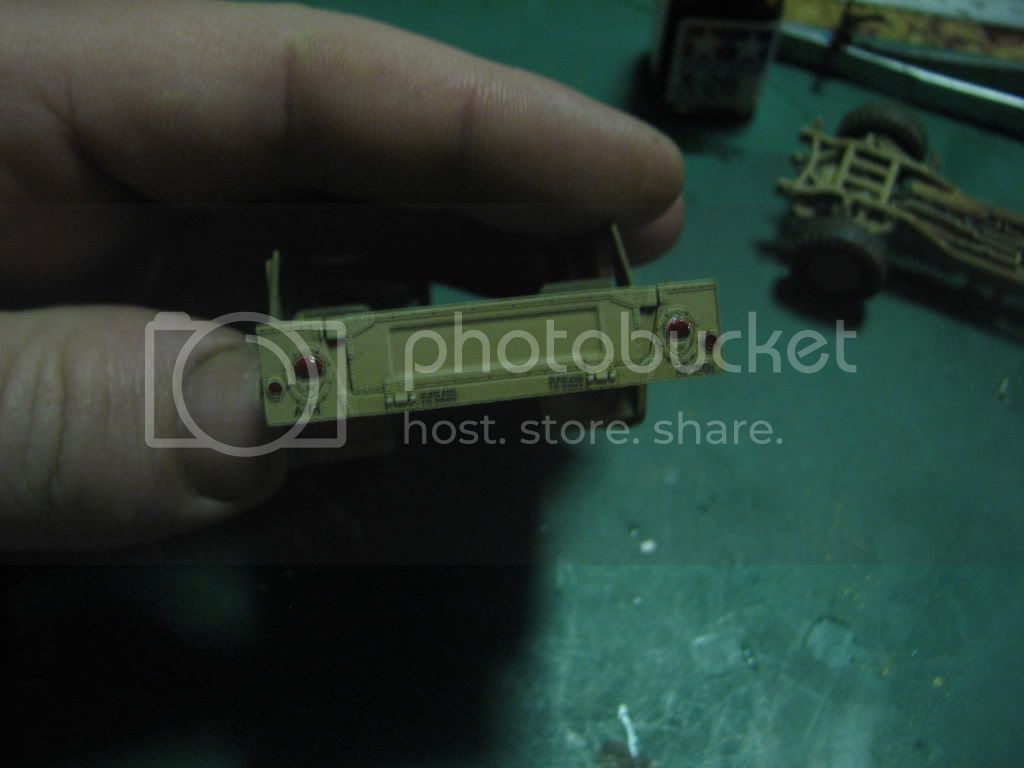
drive shafts and exhausts
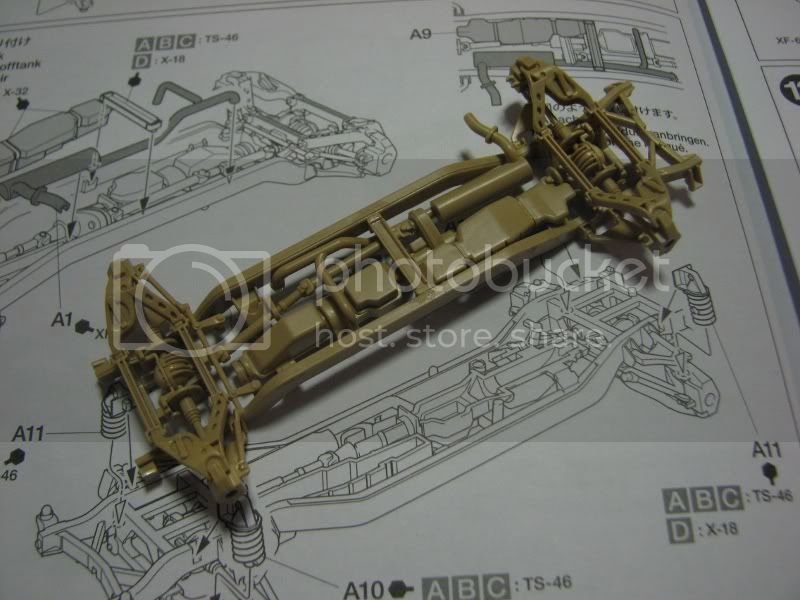
check out the tool rack under the chassis - I have never seen this in any kit before nor in any reference. hopr they not making it up but its way cool.
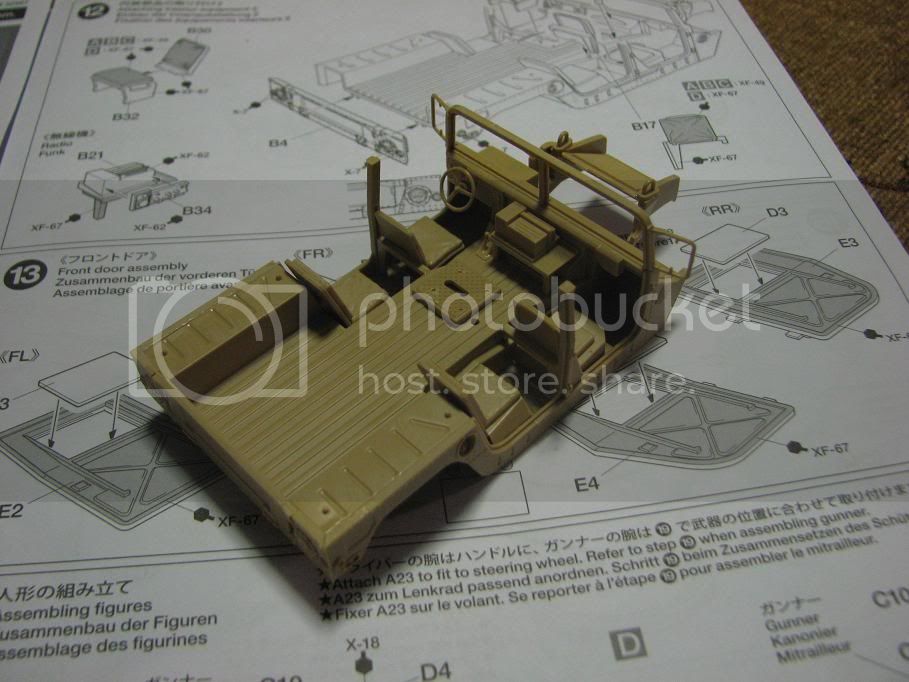
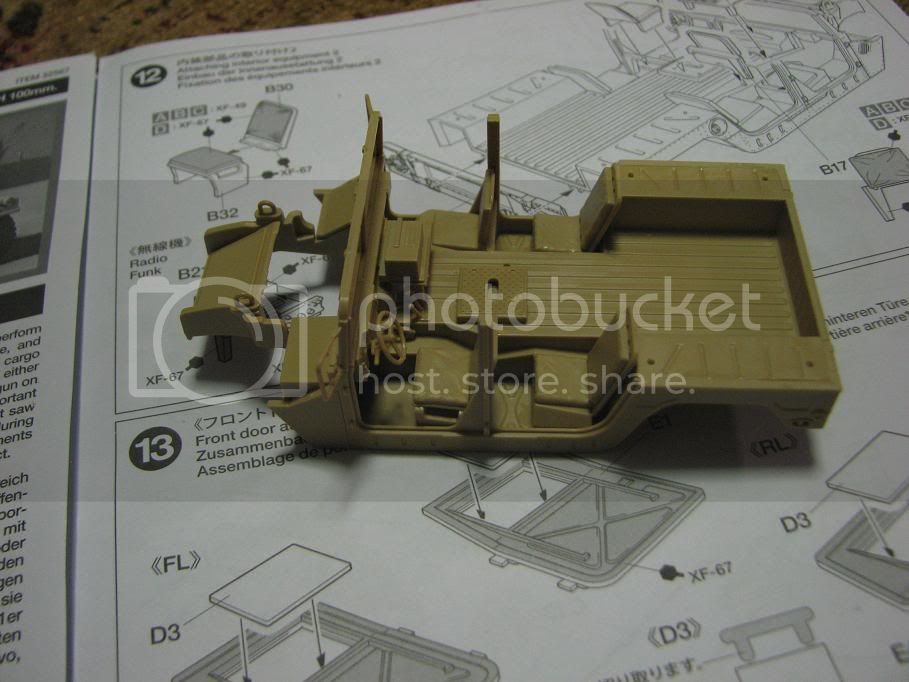
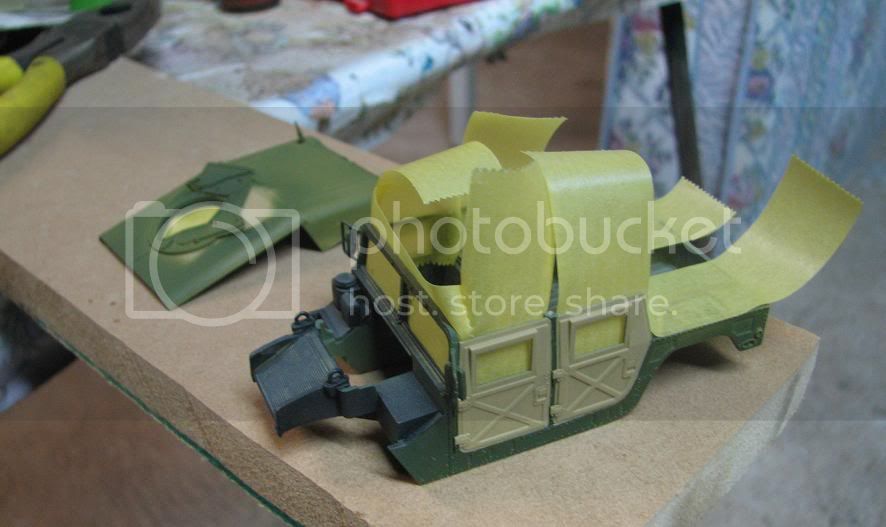
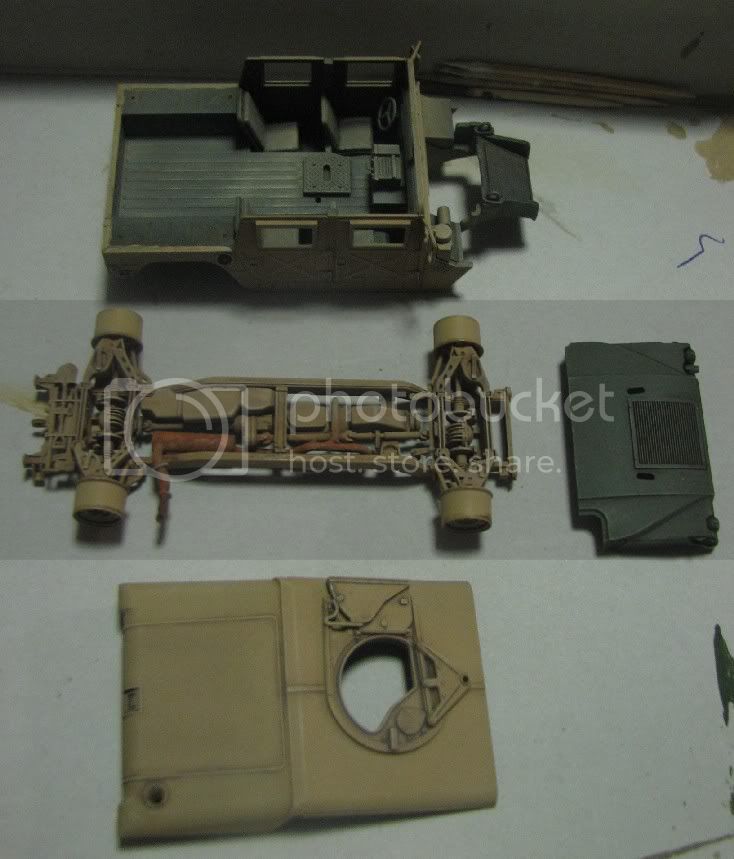
a final comparison for tonight, tomorrow is the cabin interior and that means painting already !
enjoy , adamskii


