I'm really not a "rivet counter" so some may nitpick that items may not be correct. However, after researching for quite a bit, I noted one thing; no two carriers are the same in configuration, accessories added or stowage. I now felt fairly safe in combining different elements from dozens of photos and saying without a shadow of a doubt that this little carrier could have existed exactly as it is.
Of course, after the assembly started I realized I needed more detail and the kits has dragged on for quite a while and is still not finished. I didn't want to blow extra $ on a PE set, so I decided to upgrade the kit using some scrap metal and plastic pieces.
I use a method that has served me fairly well in the past. I basically go on Eduard's website and download the instructions for their PE kits that they provide. I then see what they upgrade, look up the item on the real vehicle on the web, and build replacement parts out of scrap metal pieces. One of my favourite materials is the little metal cups that encase tea light candles. It is really thin and can be cut with scissors, easily pliable, and cheap!
While I love to use PE kits from various companies, buying them for every model I make isn't good financial sense. For the price of some PE upgrade sets I can by a whole new model.
For the kit, I added or replaced the following:
-"Flimsy" POL carriers rebuilt for all for corners of the fenders. I later removed the back carriers and flimsies after studying photo's showing that Carriers in Italy had mostly switched to American or german Jerry cans. i added 2 Jerry's to each back corner.
-Webbing straps and strap eyelets added to back corners
-headlight cables added to the front
-weapons support hooks/brackets added to fighting compartment sides
-new engine compartment screens
new antenna mounts
-all cabling will be added from radios, headset and antennas
-"field" made stowage shelf to front of carrier
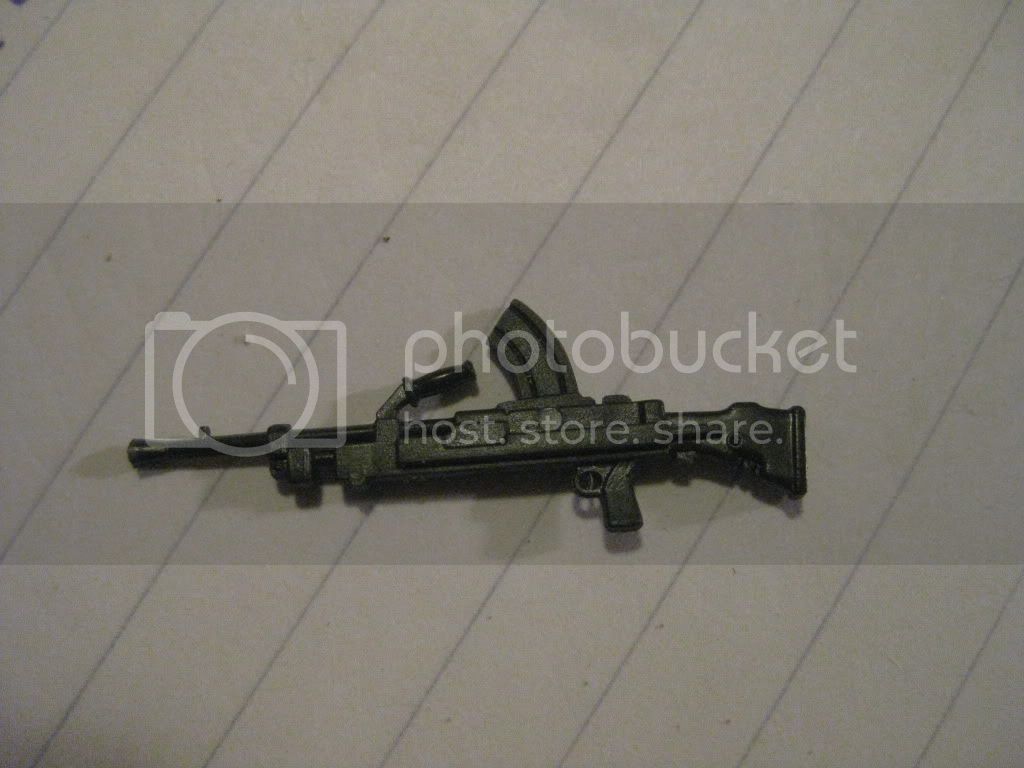
-spare barrel brackets added below Bren gunners positon
-cut down a kit bren gun to just the barrel
-new tarp made
So, on to the model;
Main body assembled.

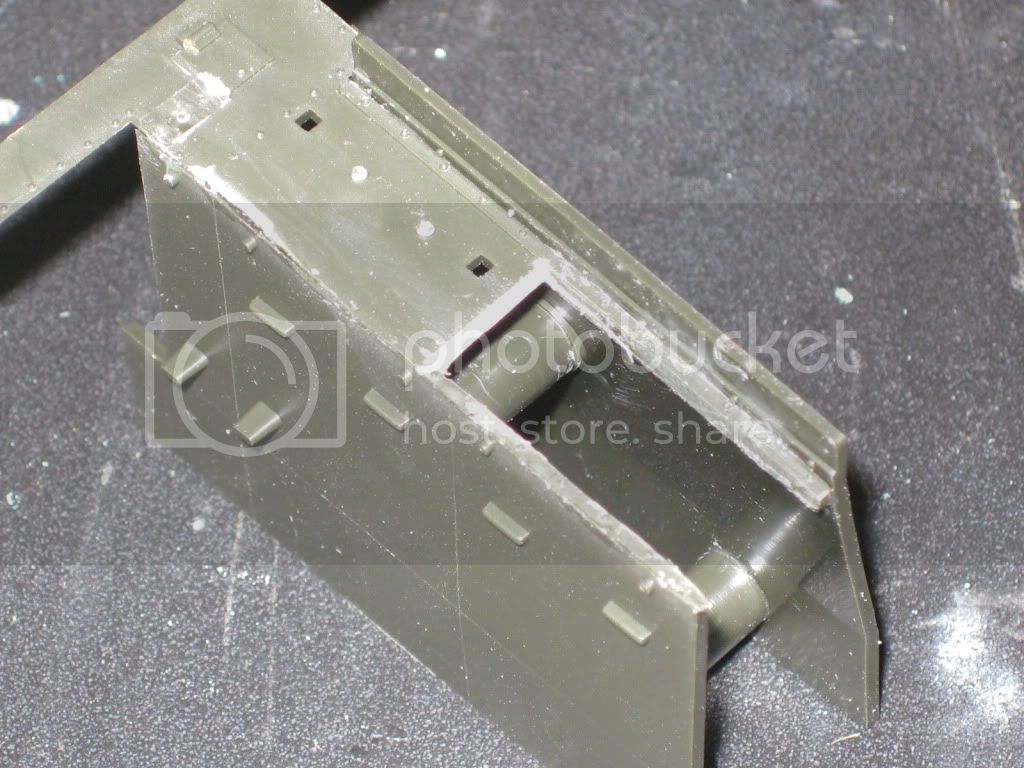
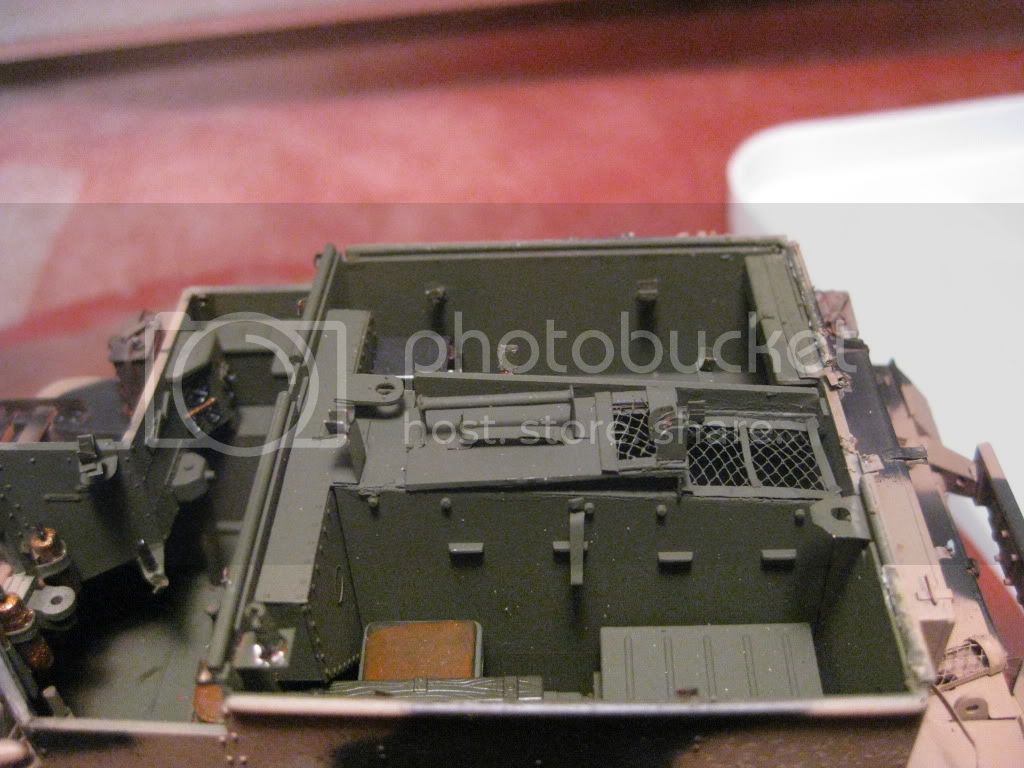
Rear deck. I replaced the moulded on screens (no idea what they are for) with scratchbuilt ones. They look rough, but will mostly be covered with stowage.


Center engine compartment top panel and moulded in screen:
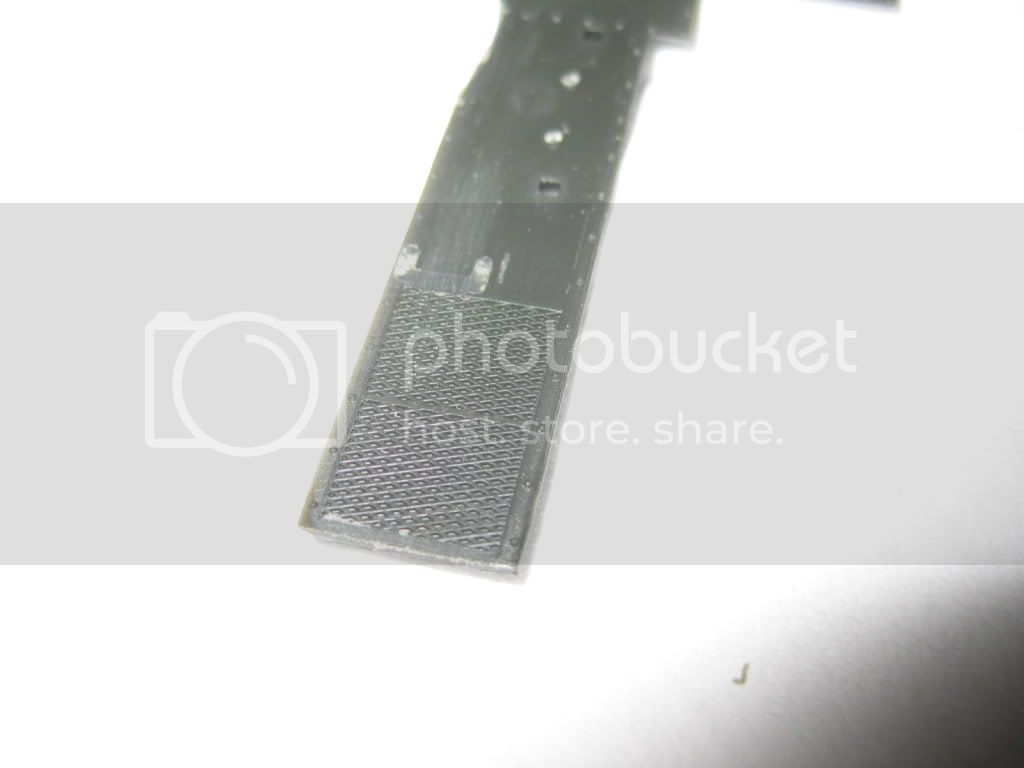
Screen cut out, and top panel rebuilt:
Top piece and installed:
 del/IMG_3172.jpg[/IMG]
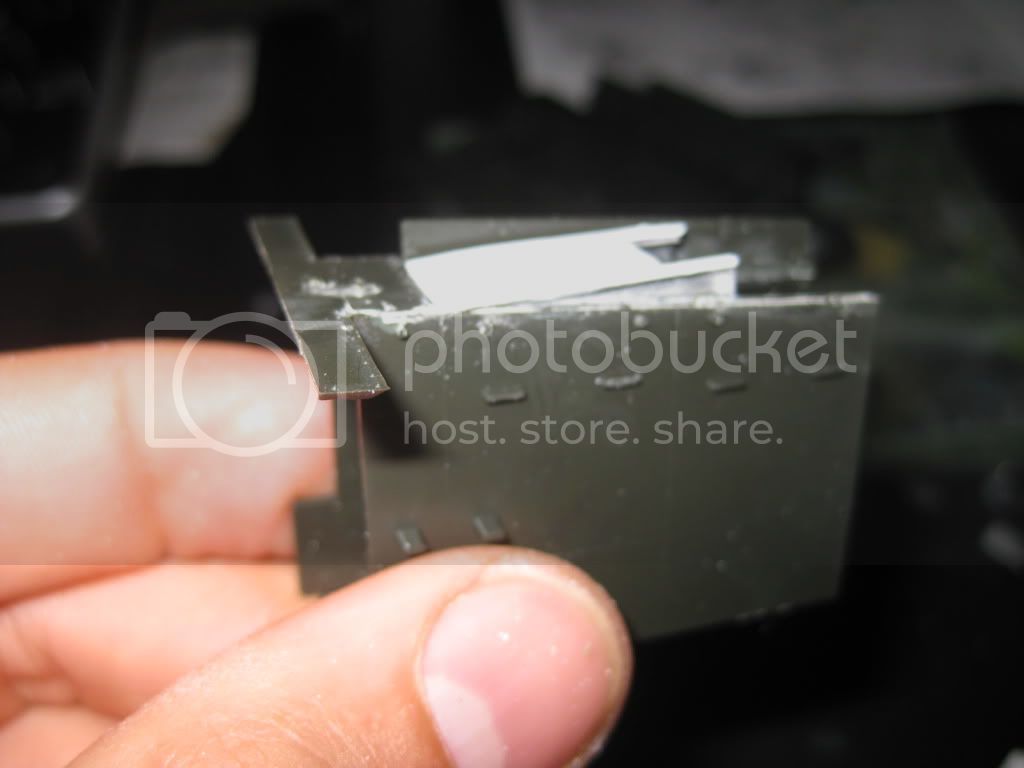
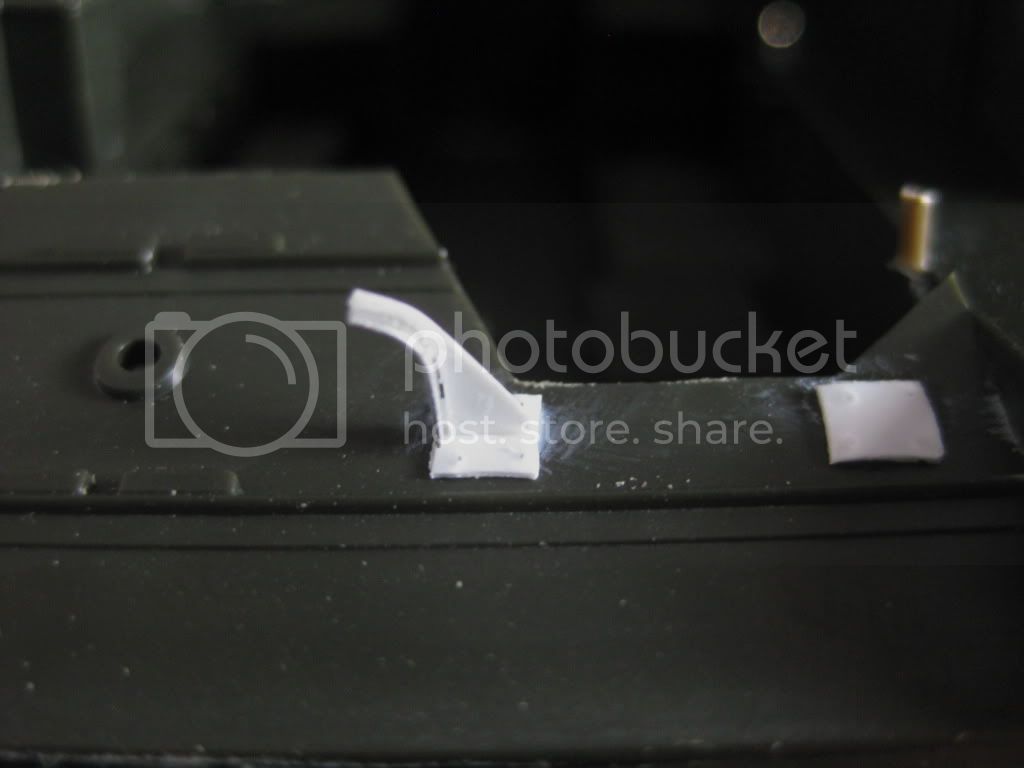
Front left "Flimsy"as can holder:

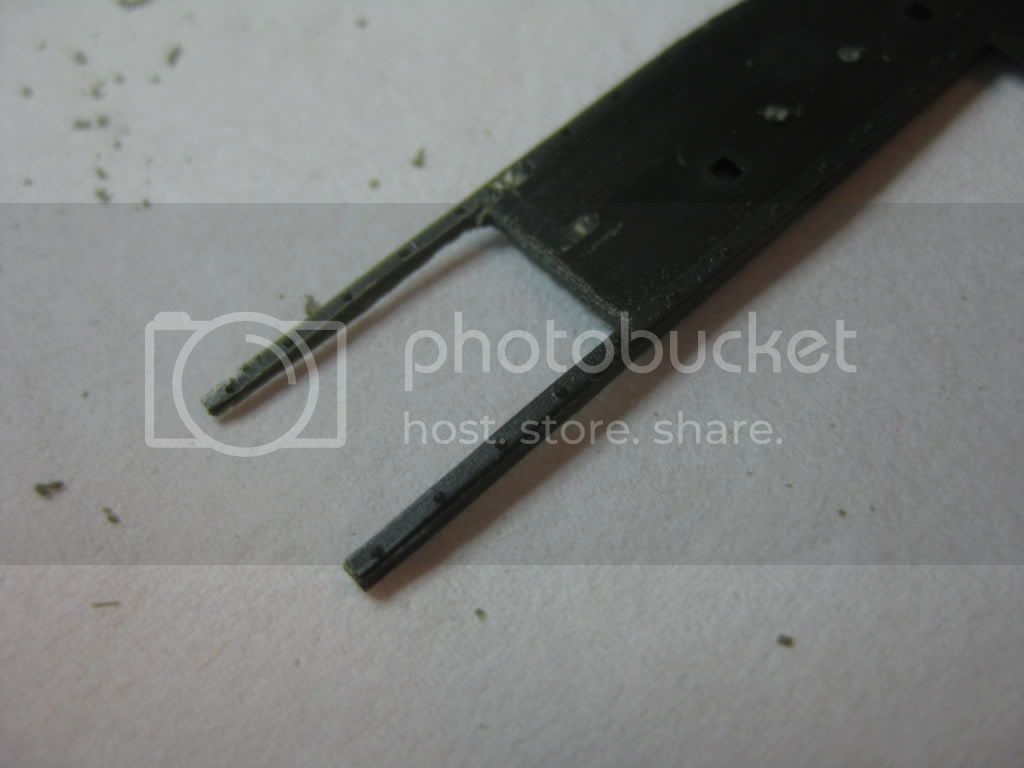
Front tow cable hooks rebuilt:
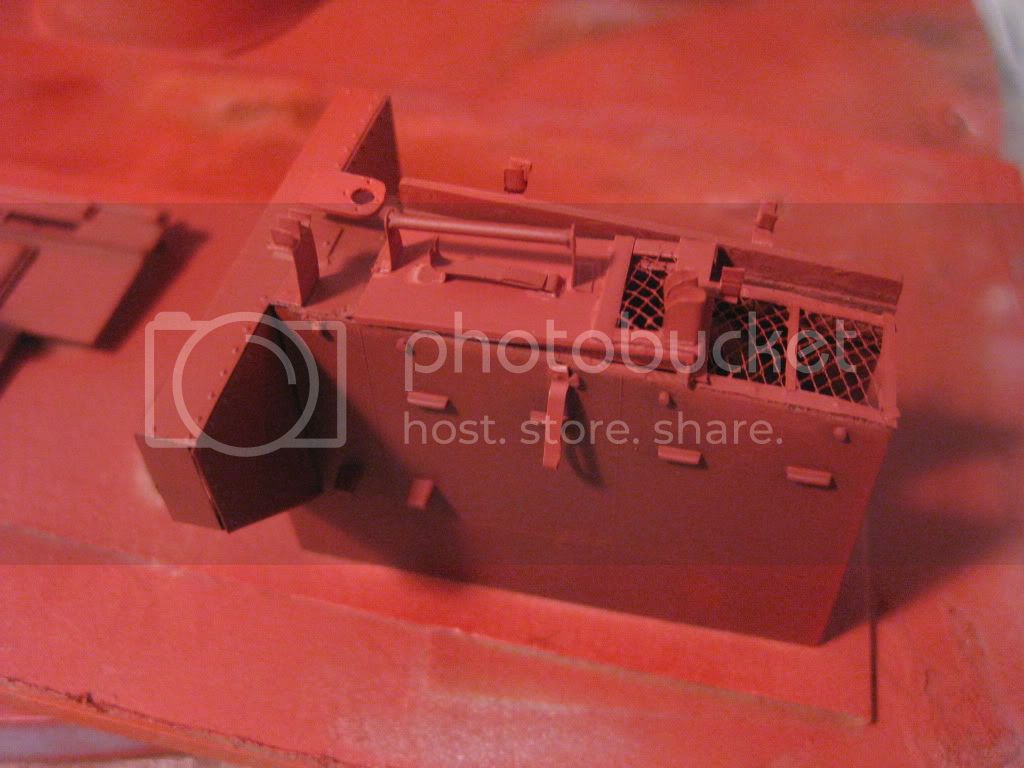
Fast forward to built and priming. Used automotive red rattle can:


Kit Bren gun I wanted to cut down after noticing a spare barrel bracket below the the bren gunners opening. it would be at the gunners right knee:


Here's most of the stowage I wanted to load the carrier with:

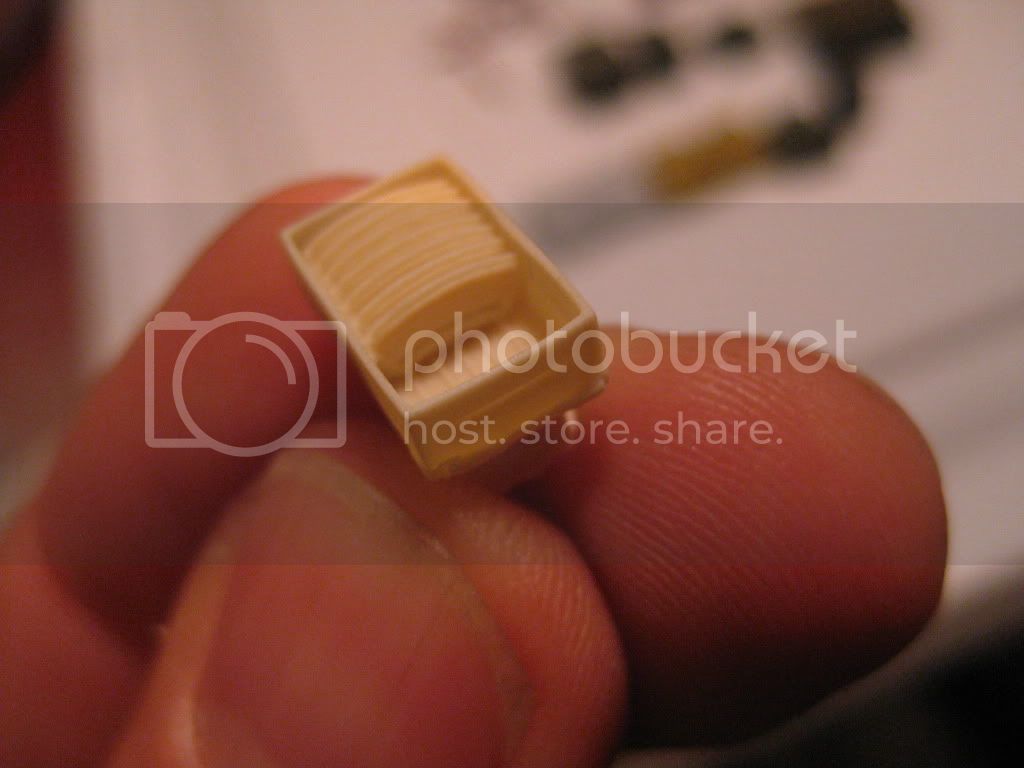
I had some resin Bren gun Magazine boxes in the stash for years. Where eles to use them except ona Bren carrier. Superbly detailed, with one box open to show the mag's inside. Also, several spare loose magazines were in the kit.


The carrier with camo applied. I used flat black and a non'descript tan for the camo. It will change drstcially once I start weathering. The side surface may look rough, but that is because I used salt and water on certain parts that I will later scrape away to simulate chipped paint.


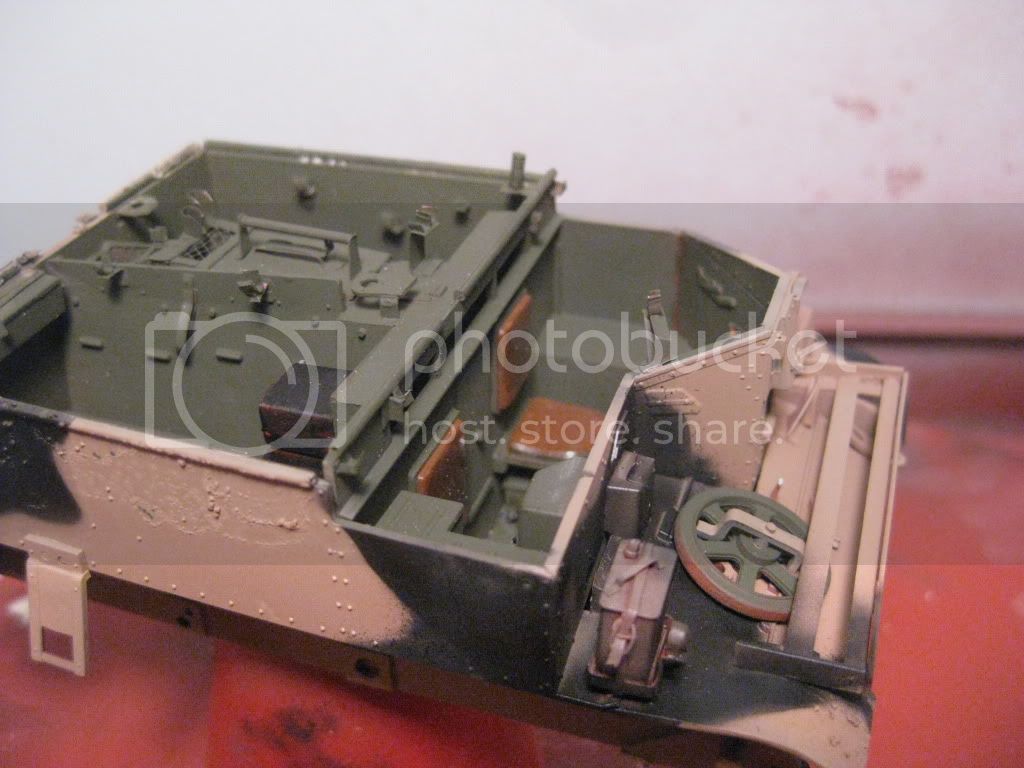

Interior:


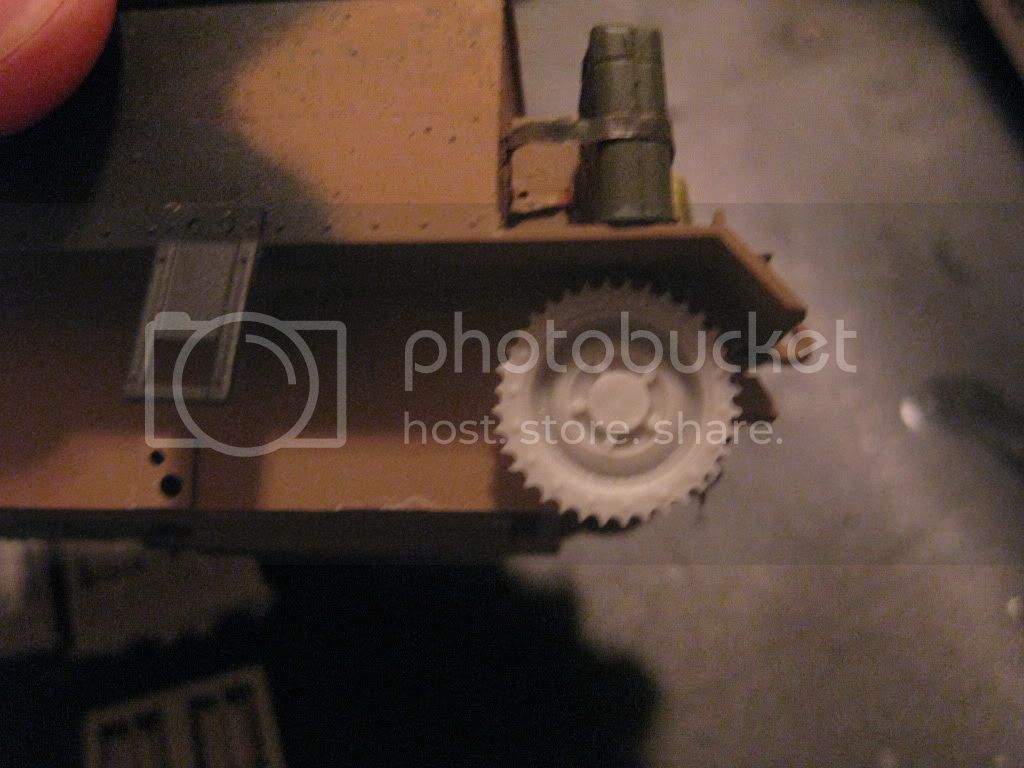
Spare barrel bracket to the right of the top fire extinguisher:

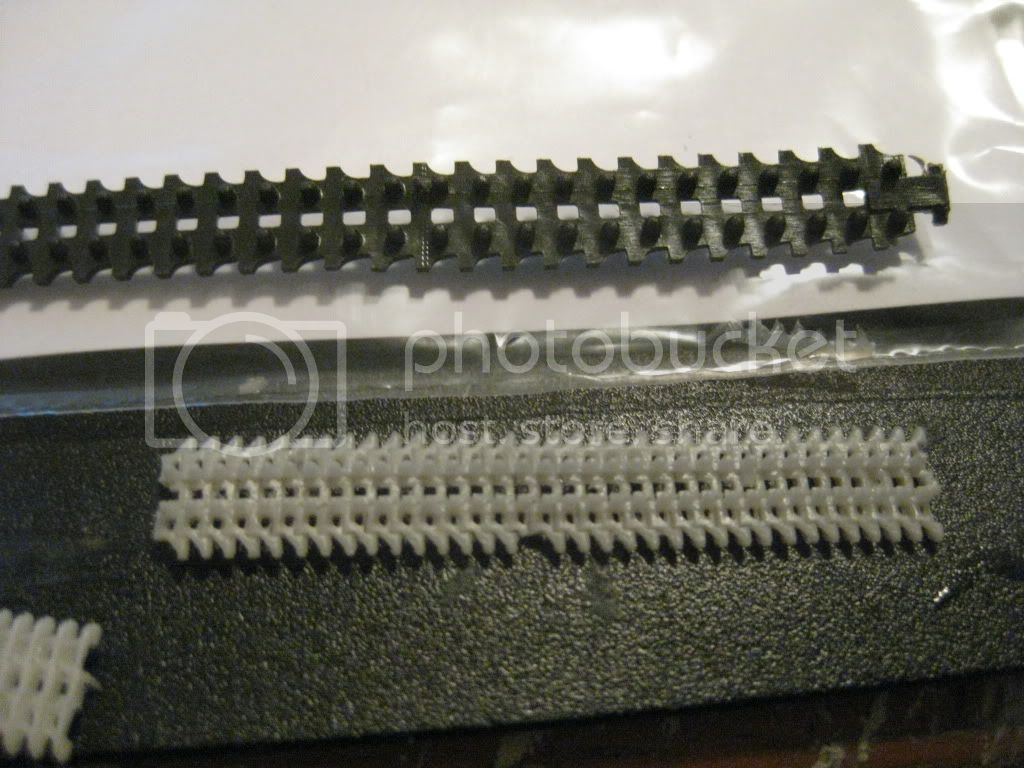
I am mostly complete except for stowage painting and weathering. I would have been done already except in a final breakdown could not use the kit supplied tracks. I broke downand ordered 2 sets of tracks from Resicast....
See, if I used photoetch there would be no cash for the tracks.....
Just realzed some of the photos are out of date. The radio is only temporarily installed. After looking on the web I found the front face is actually gray. Mine has since been repainted.
I will post more pics after the tracks arrive.