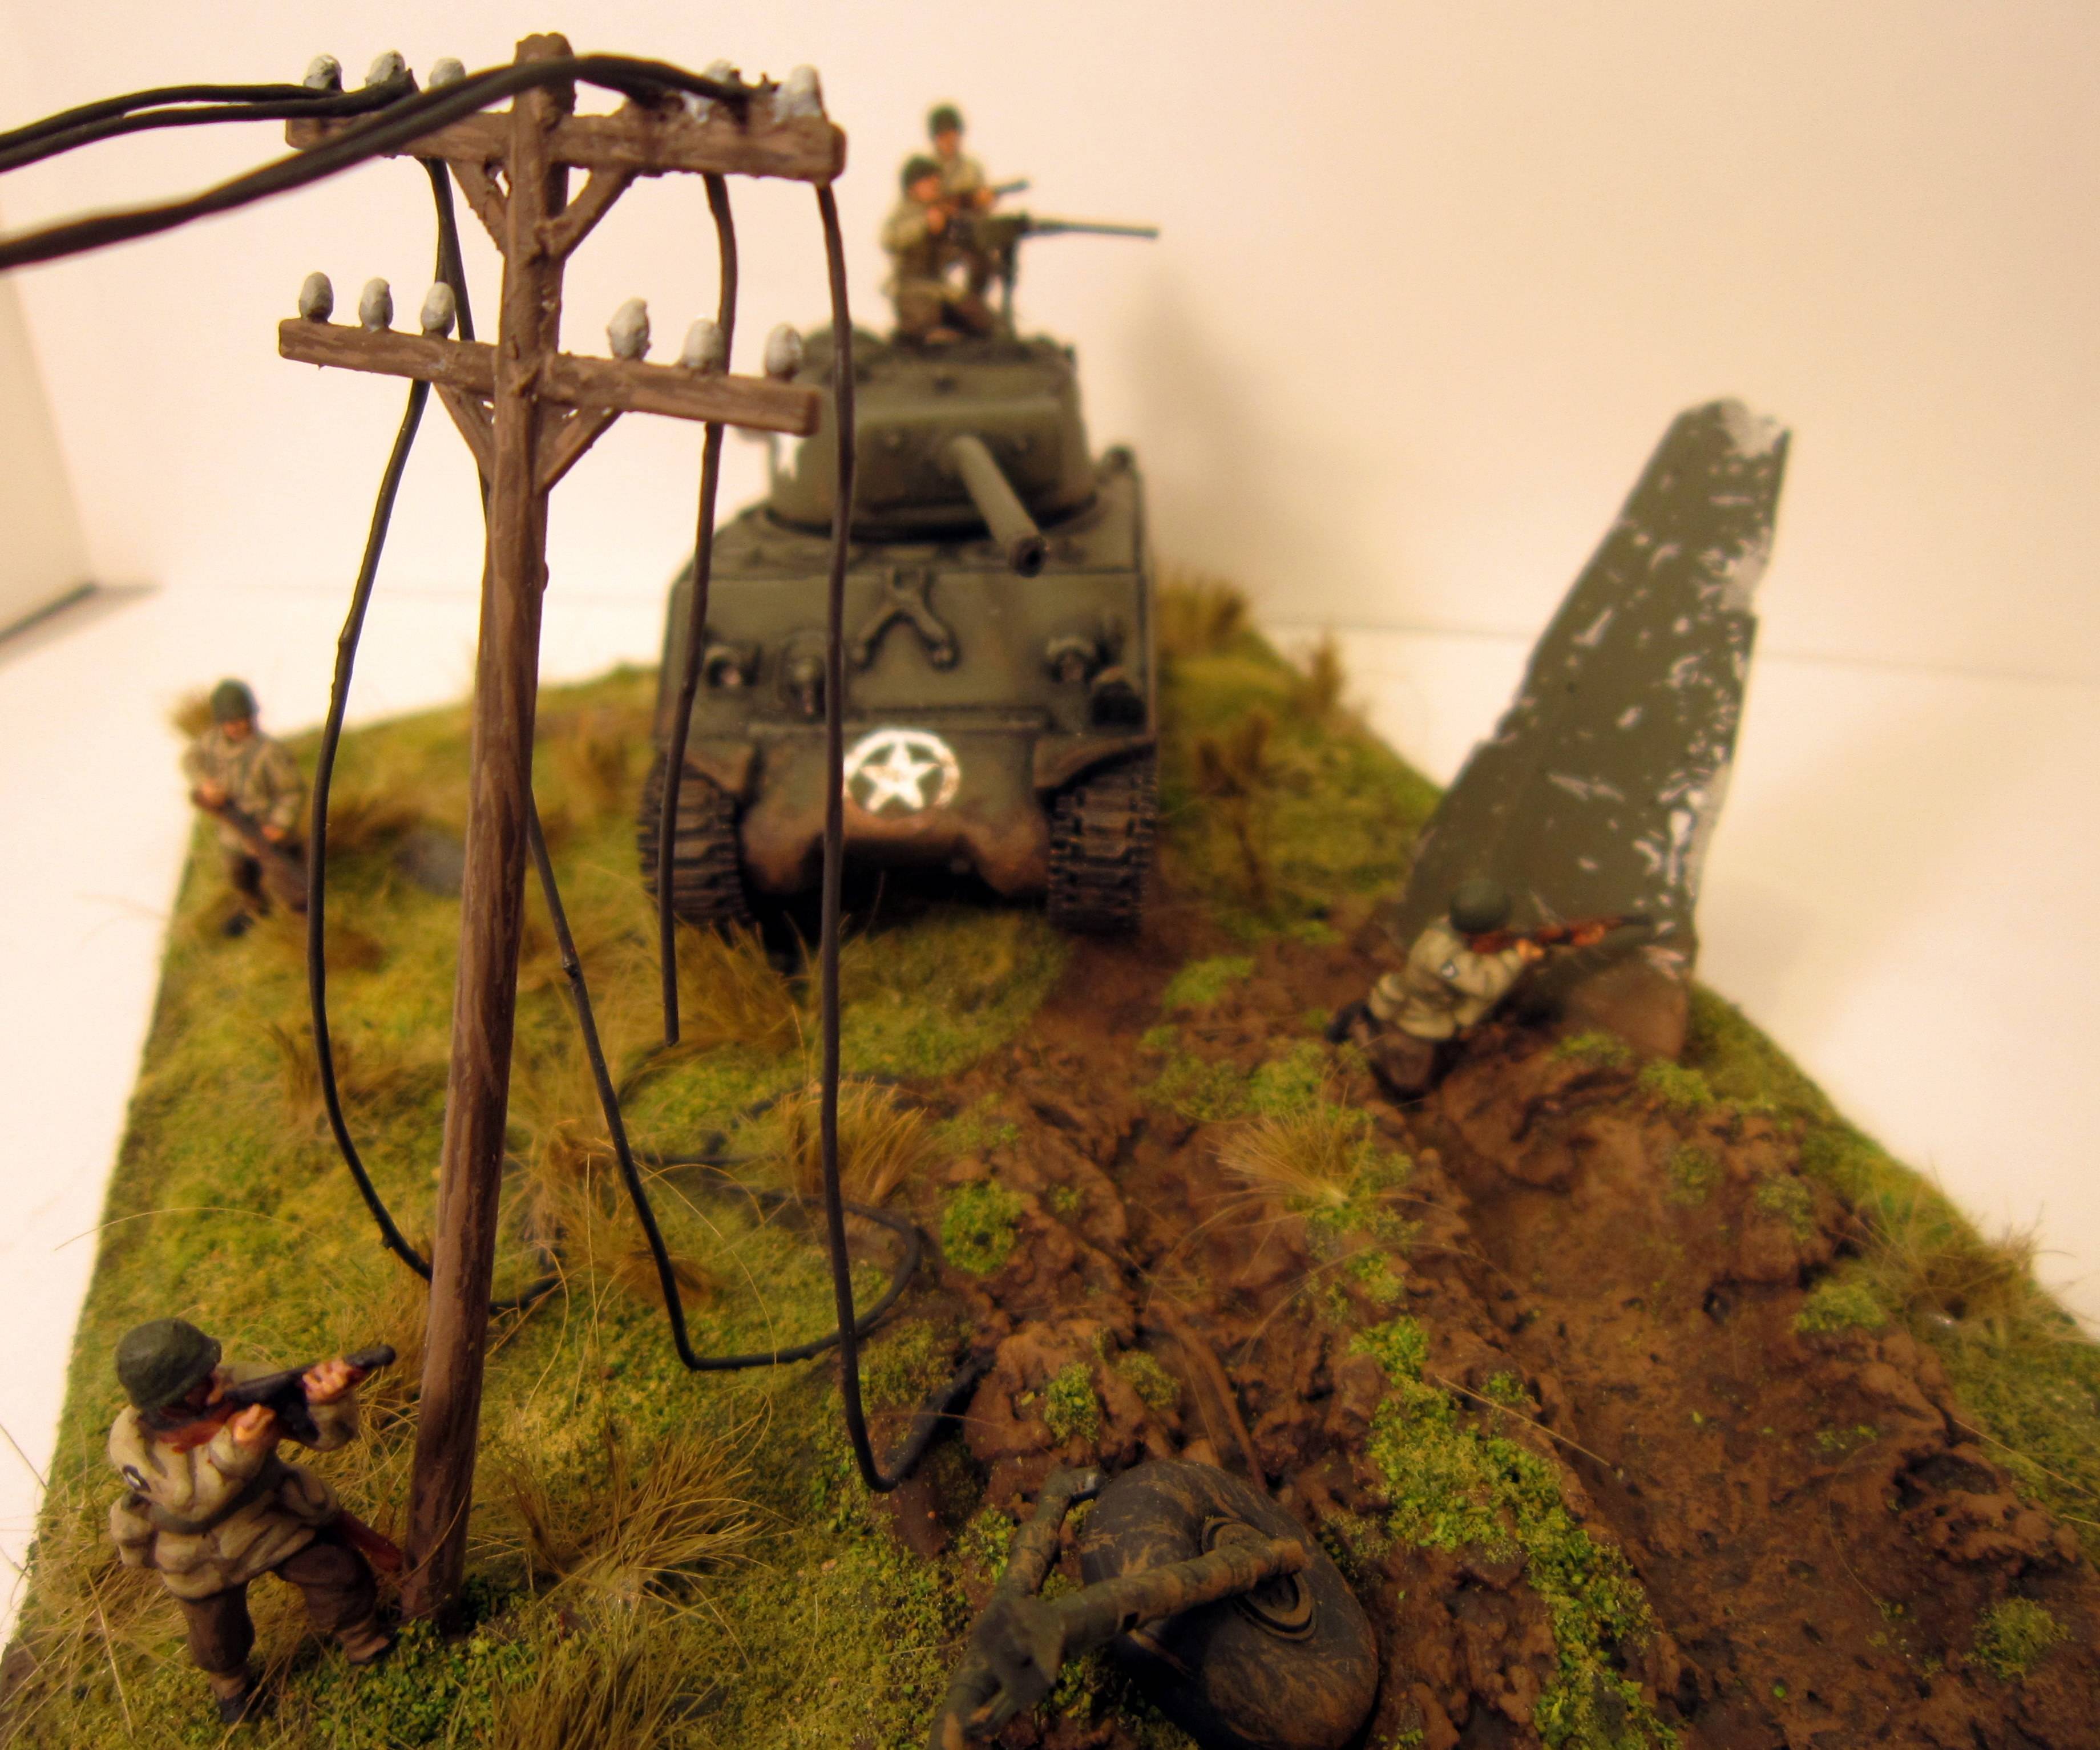
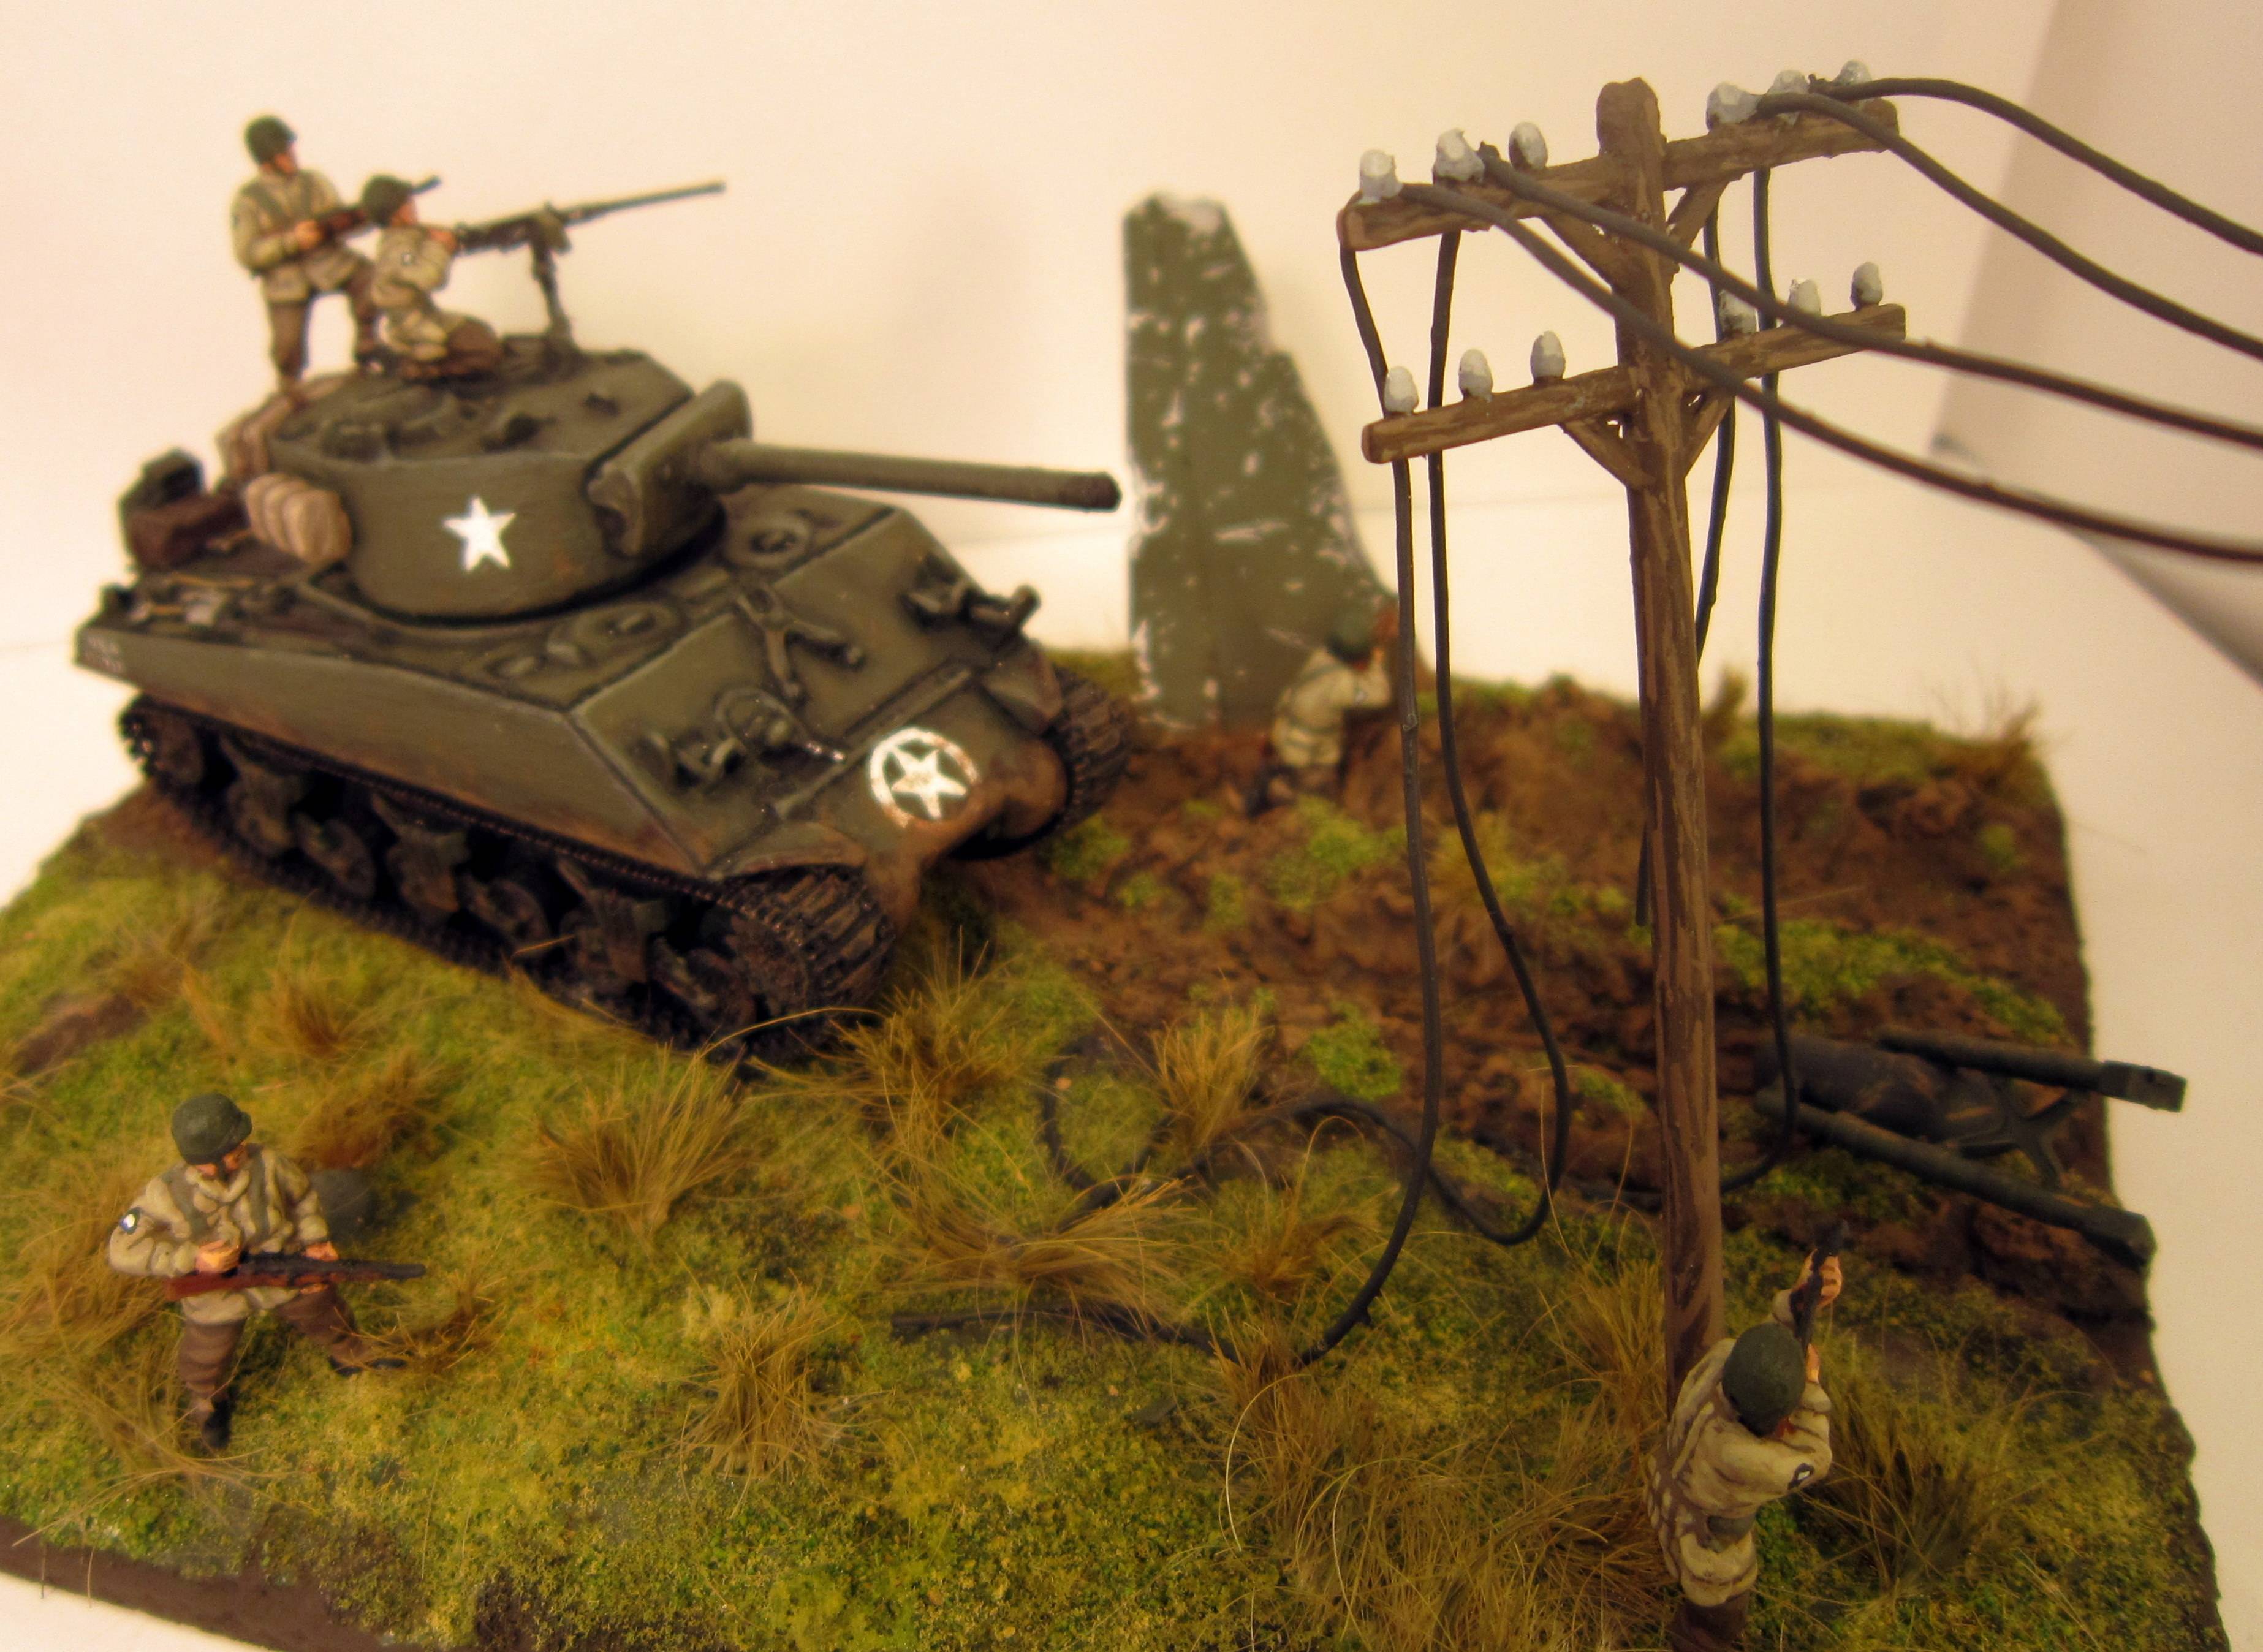
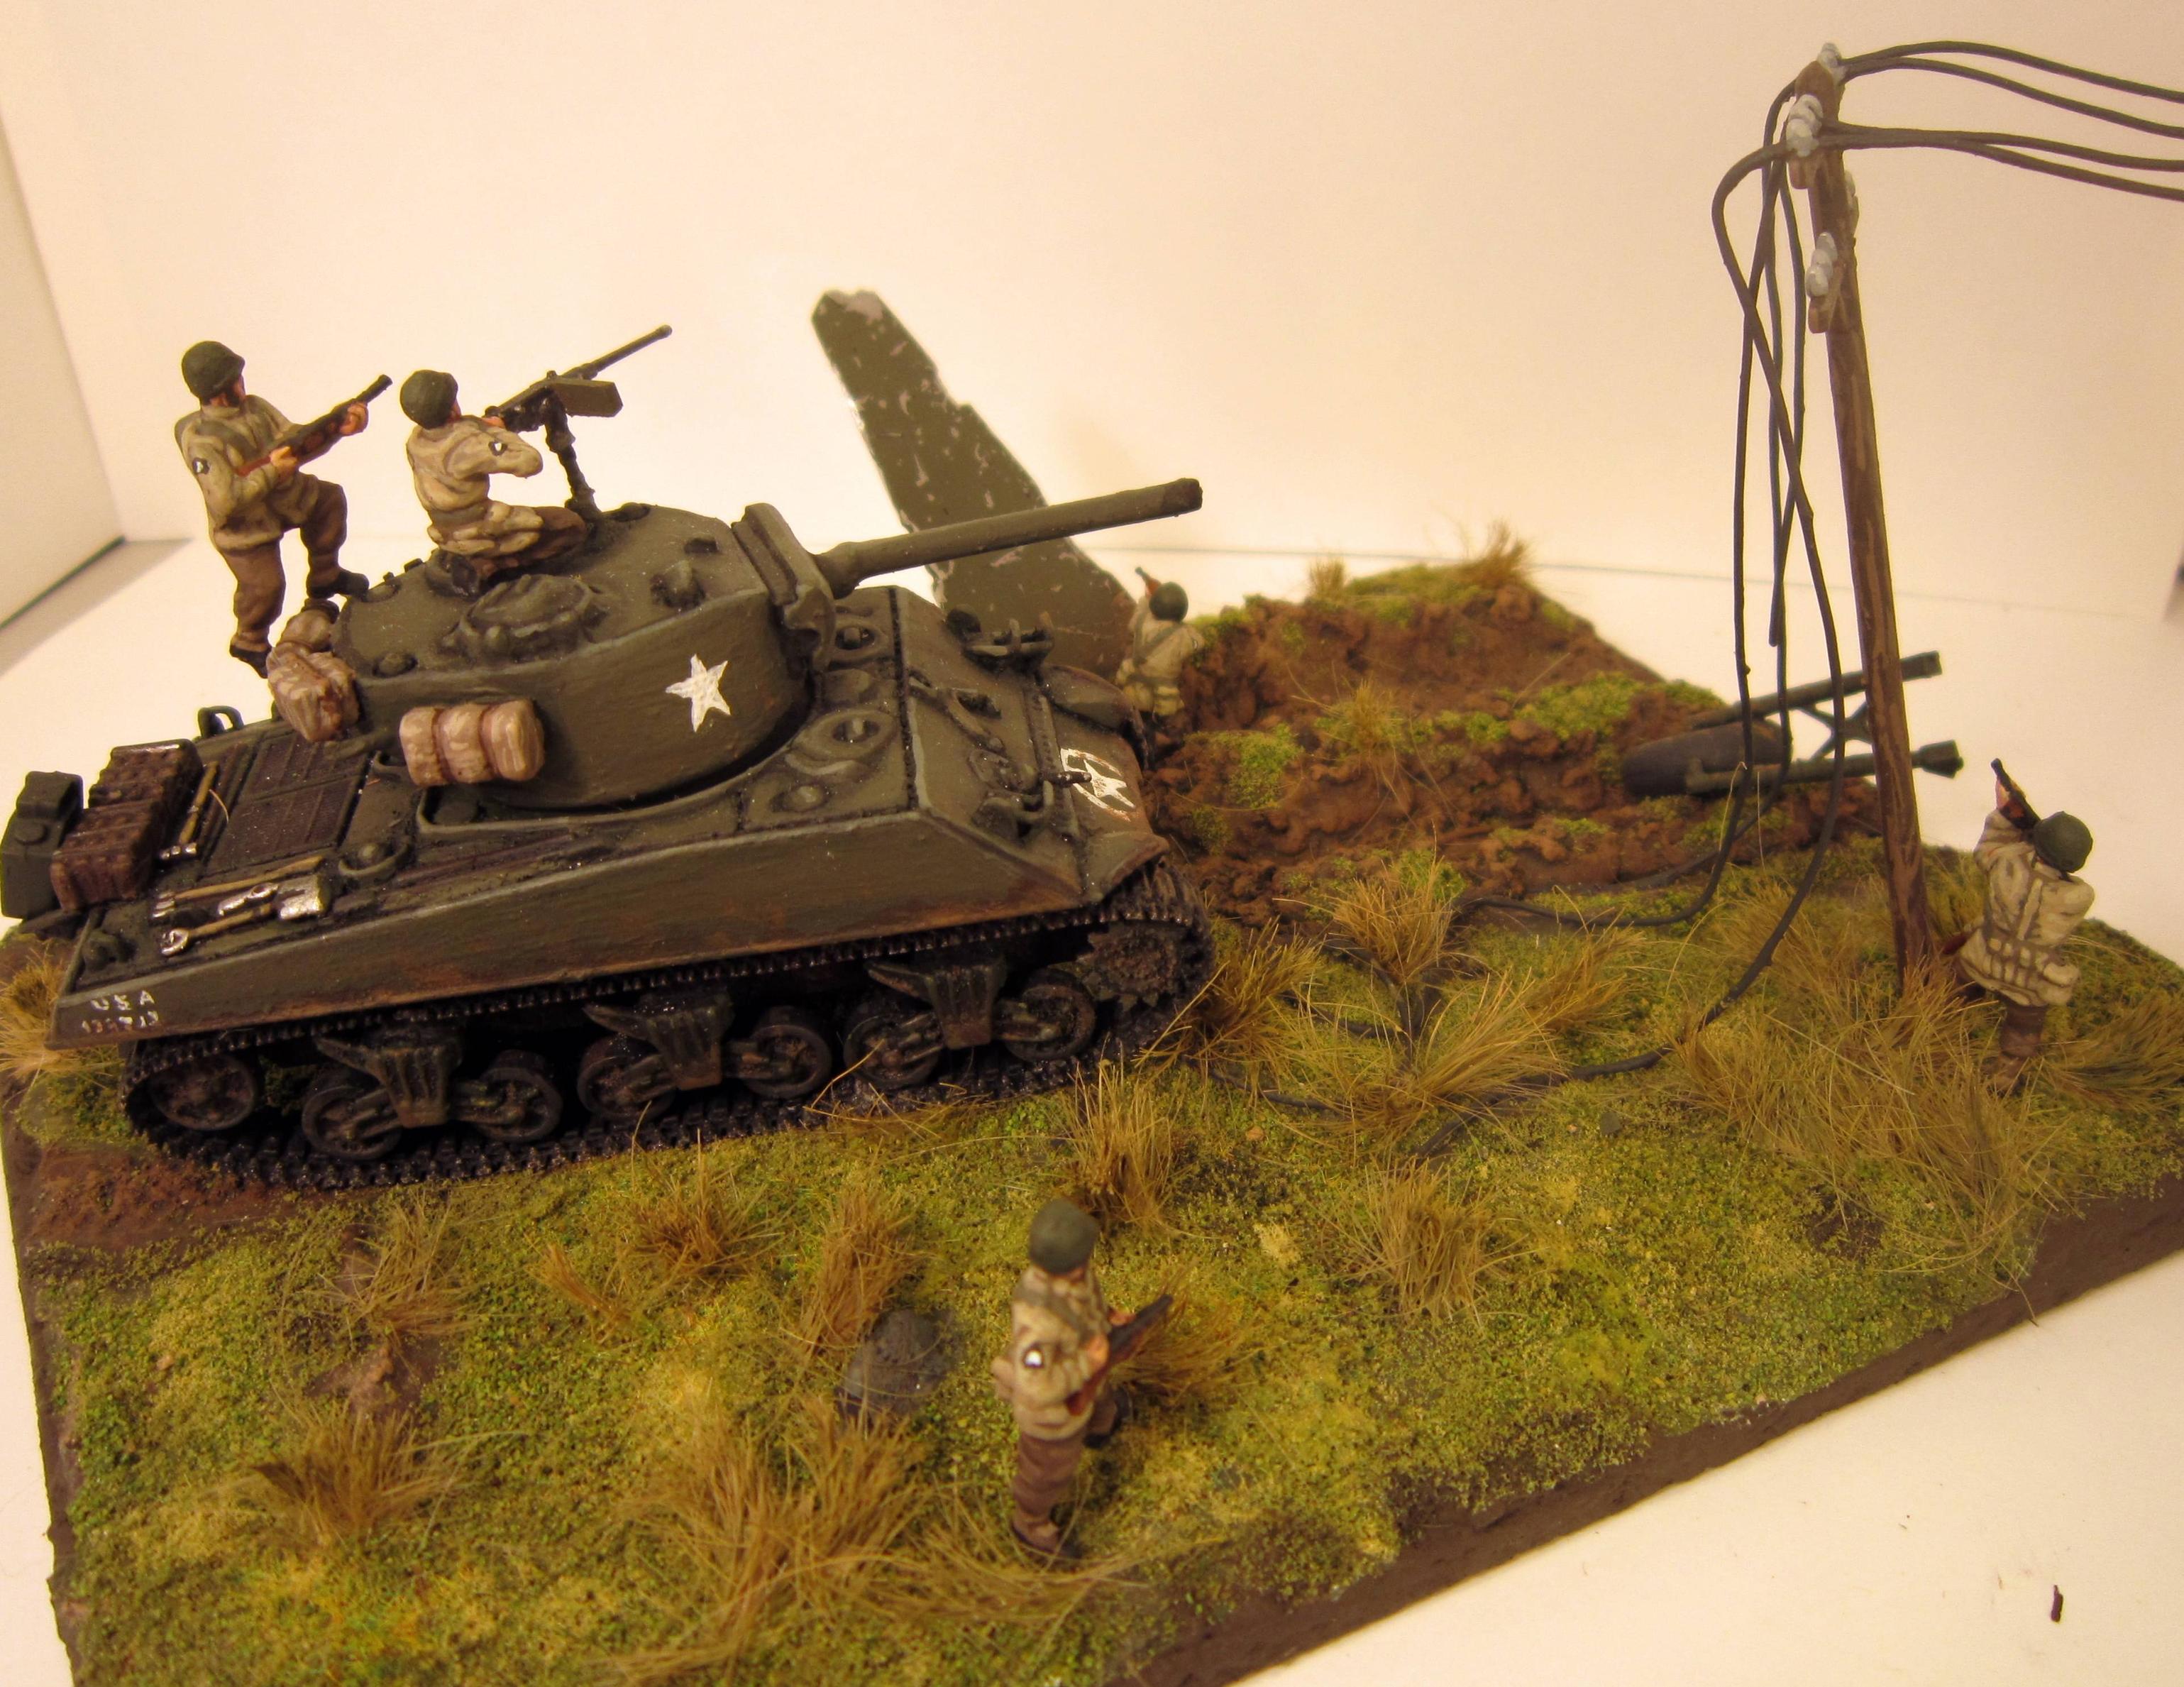
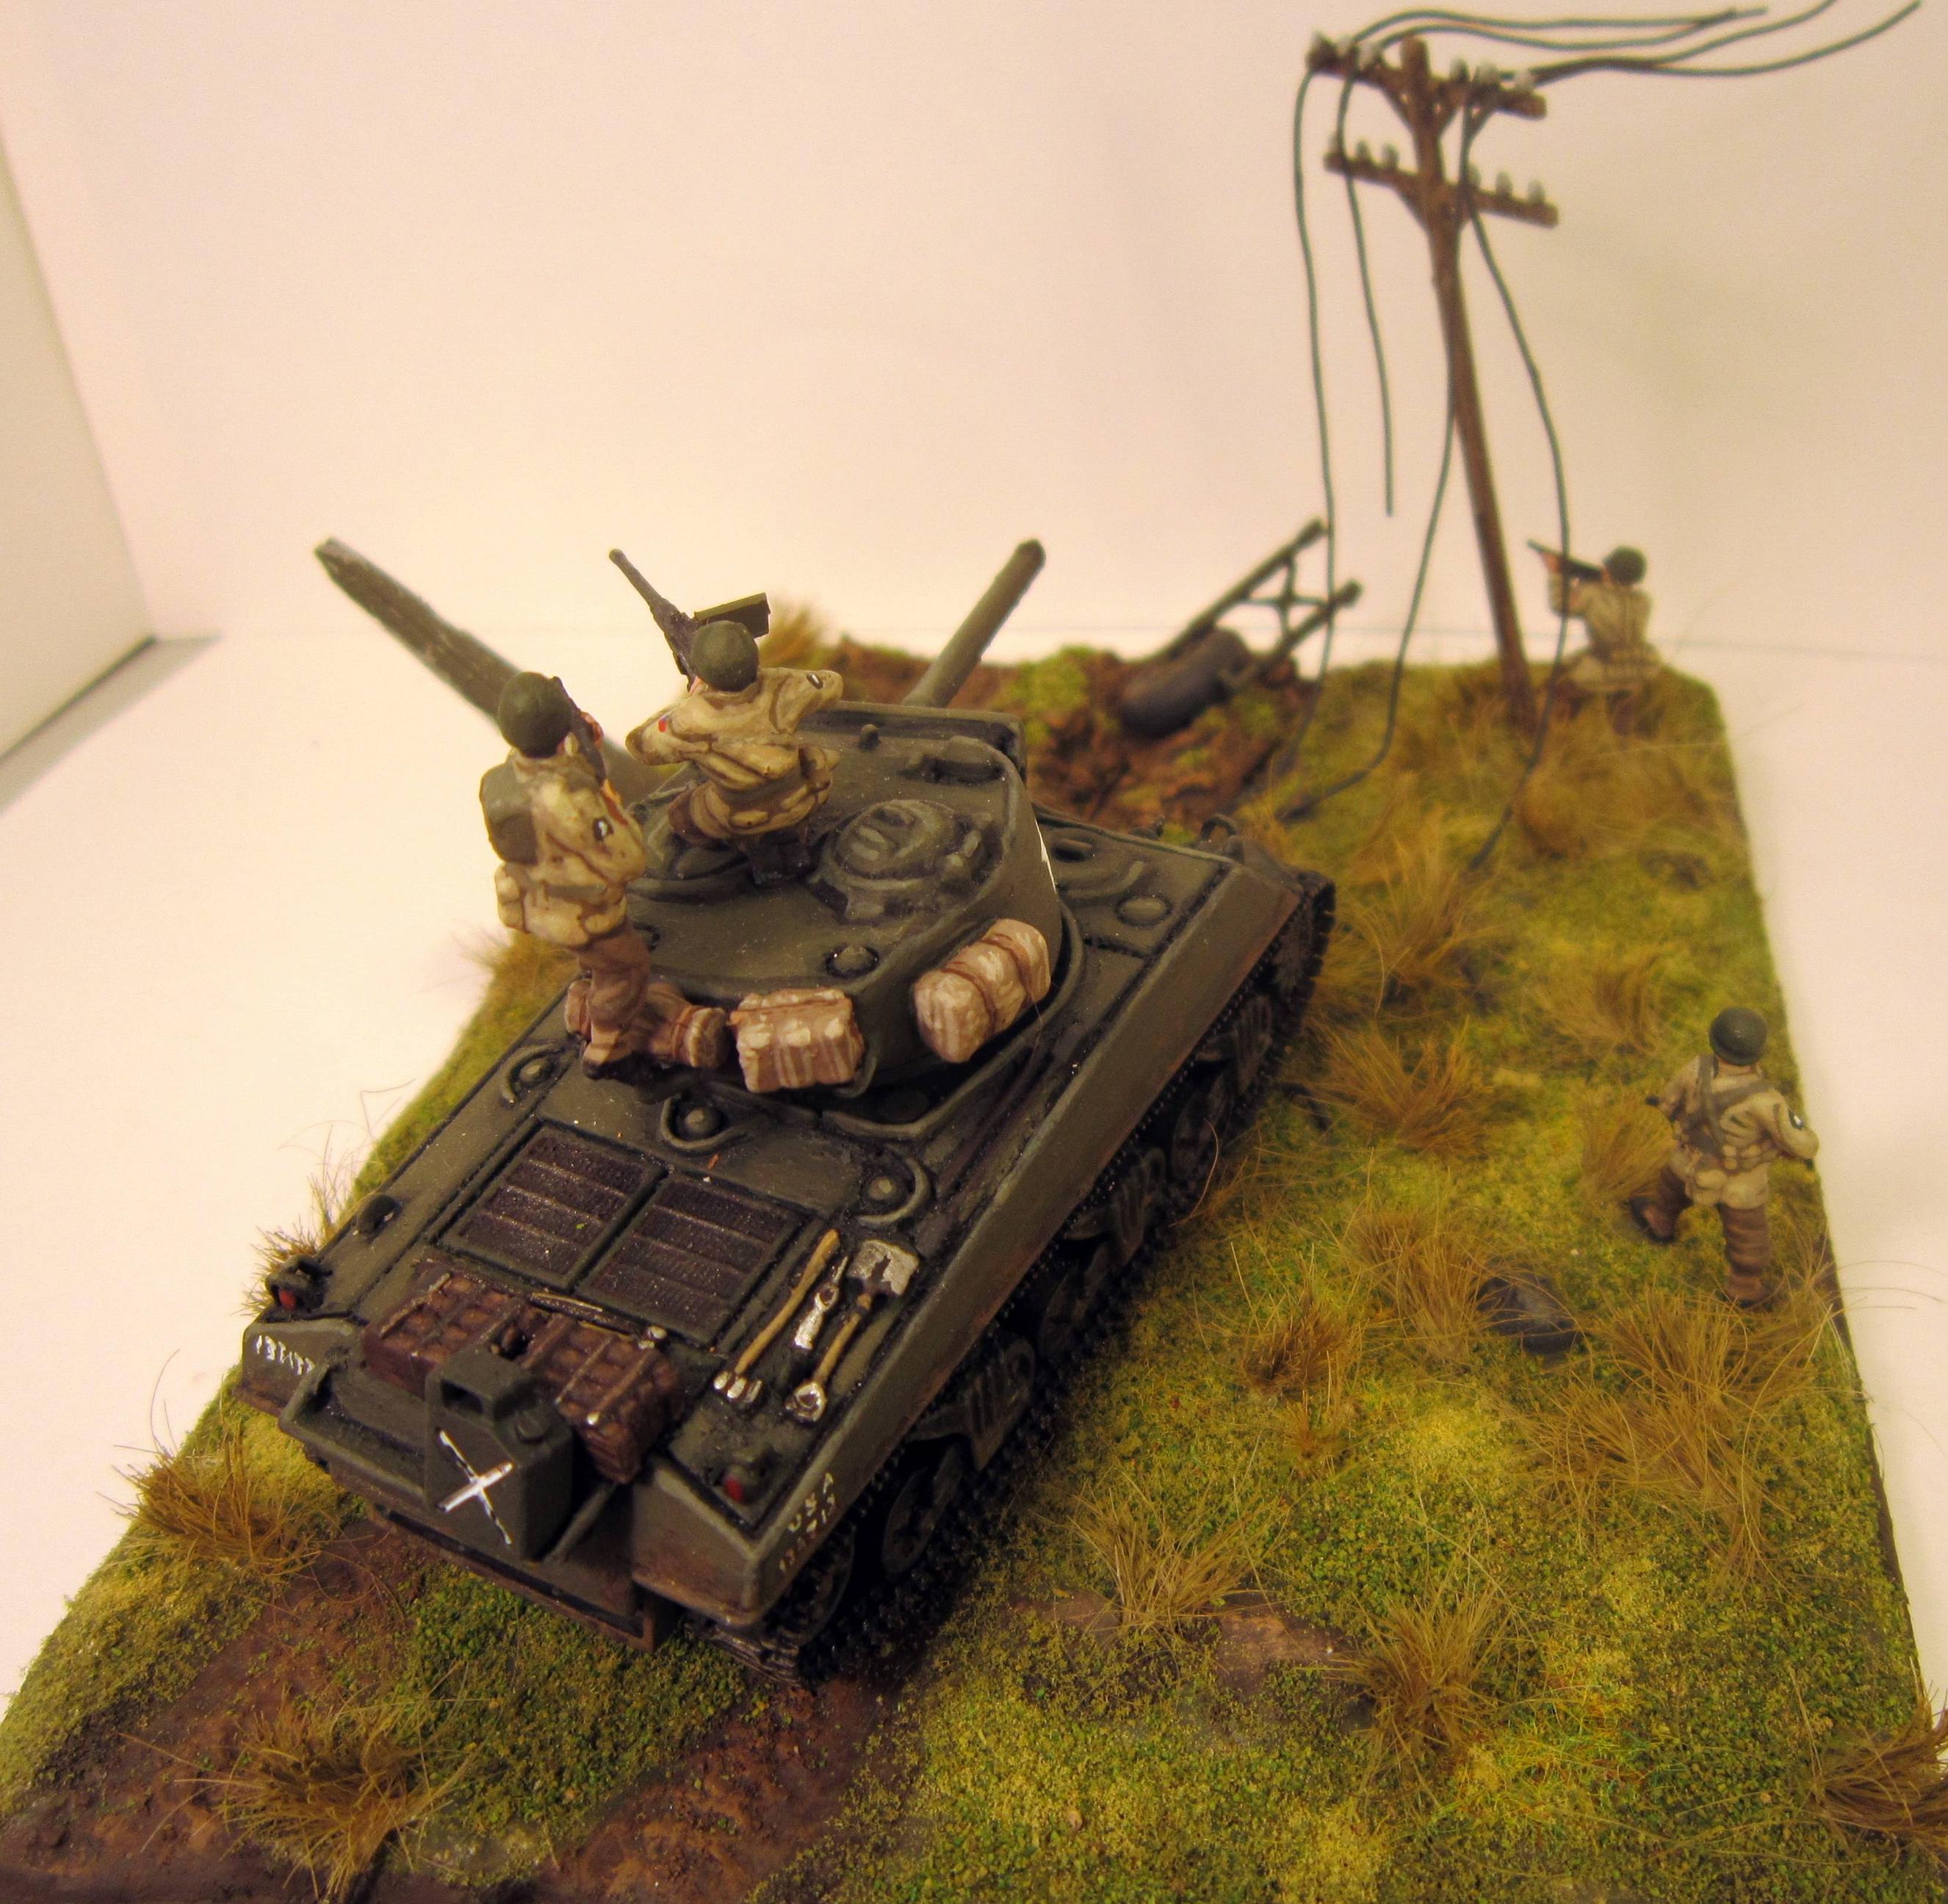
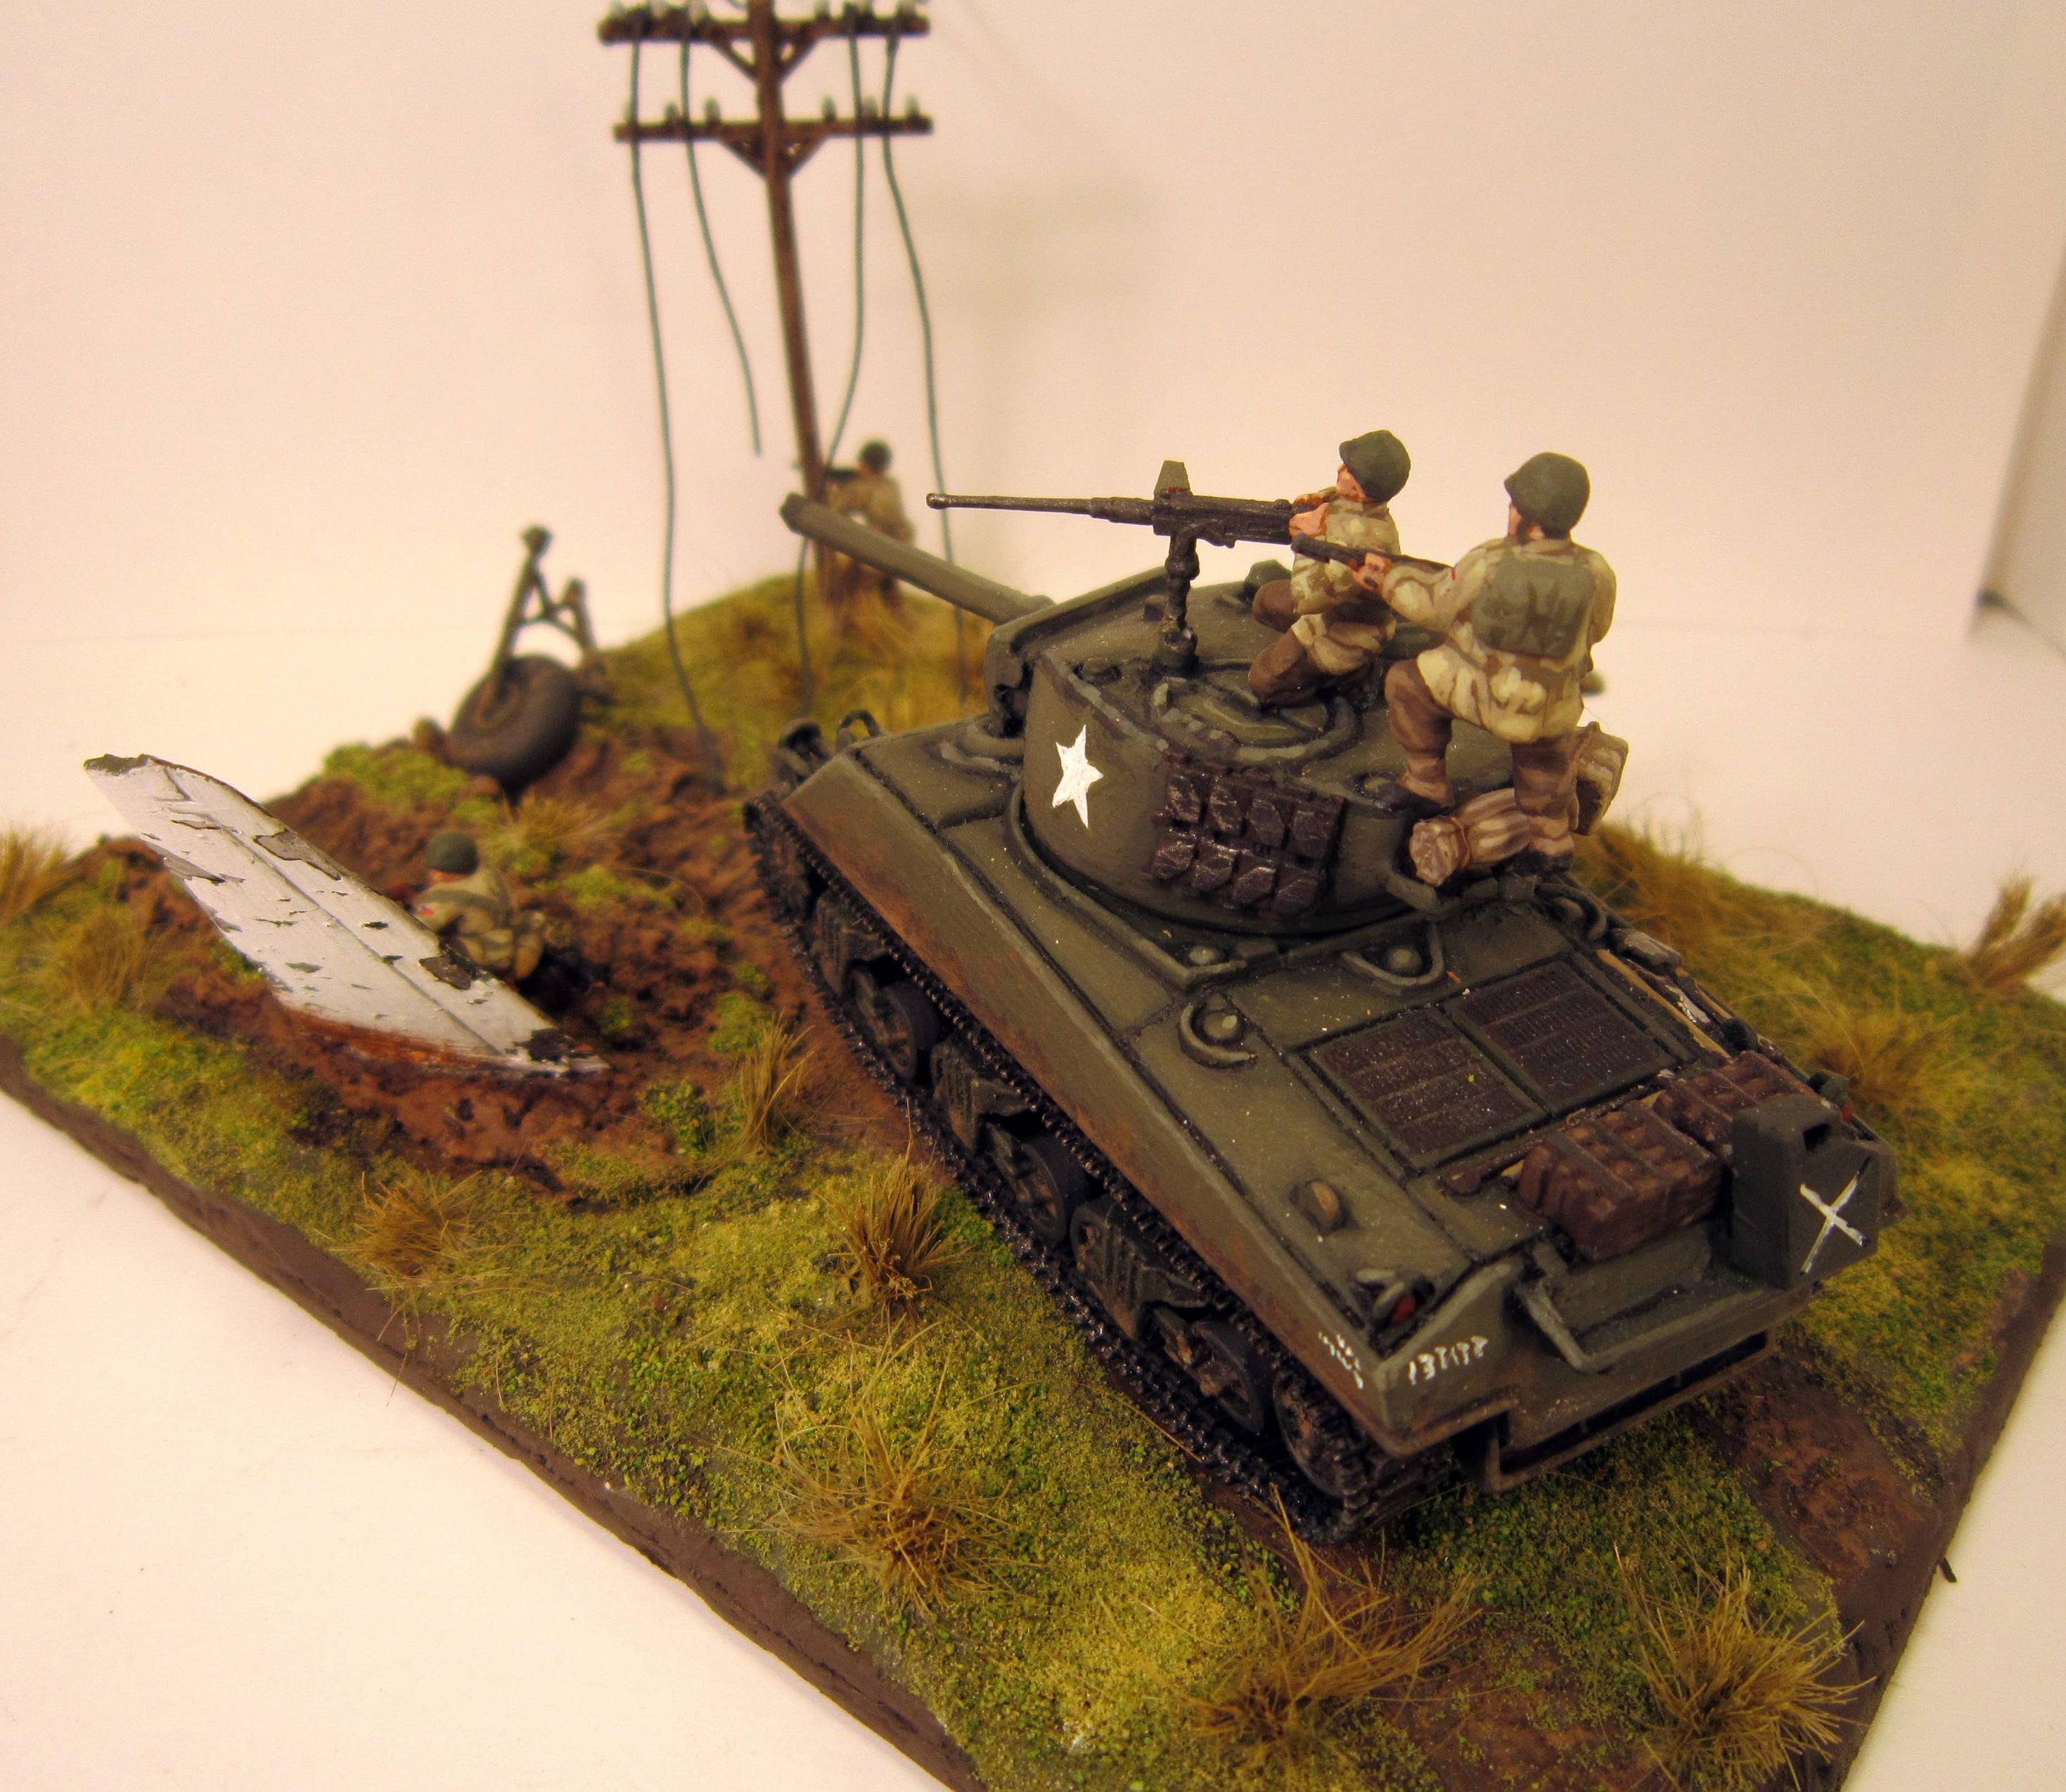
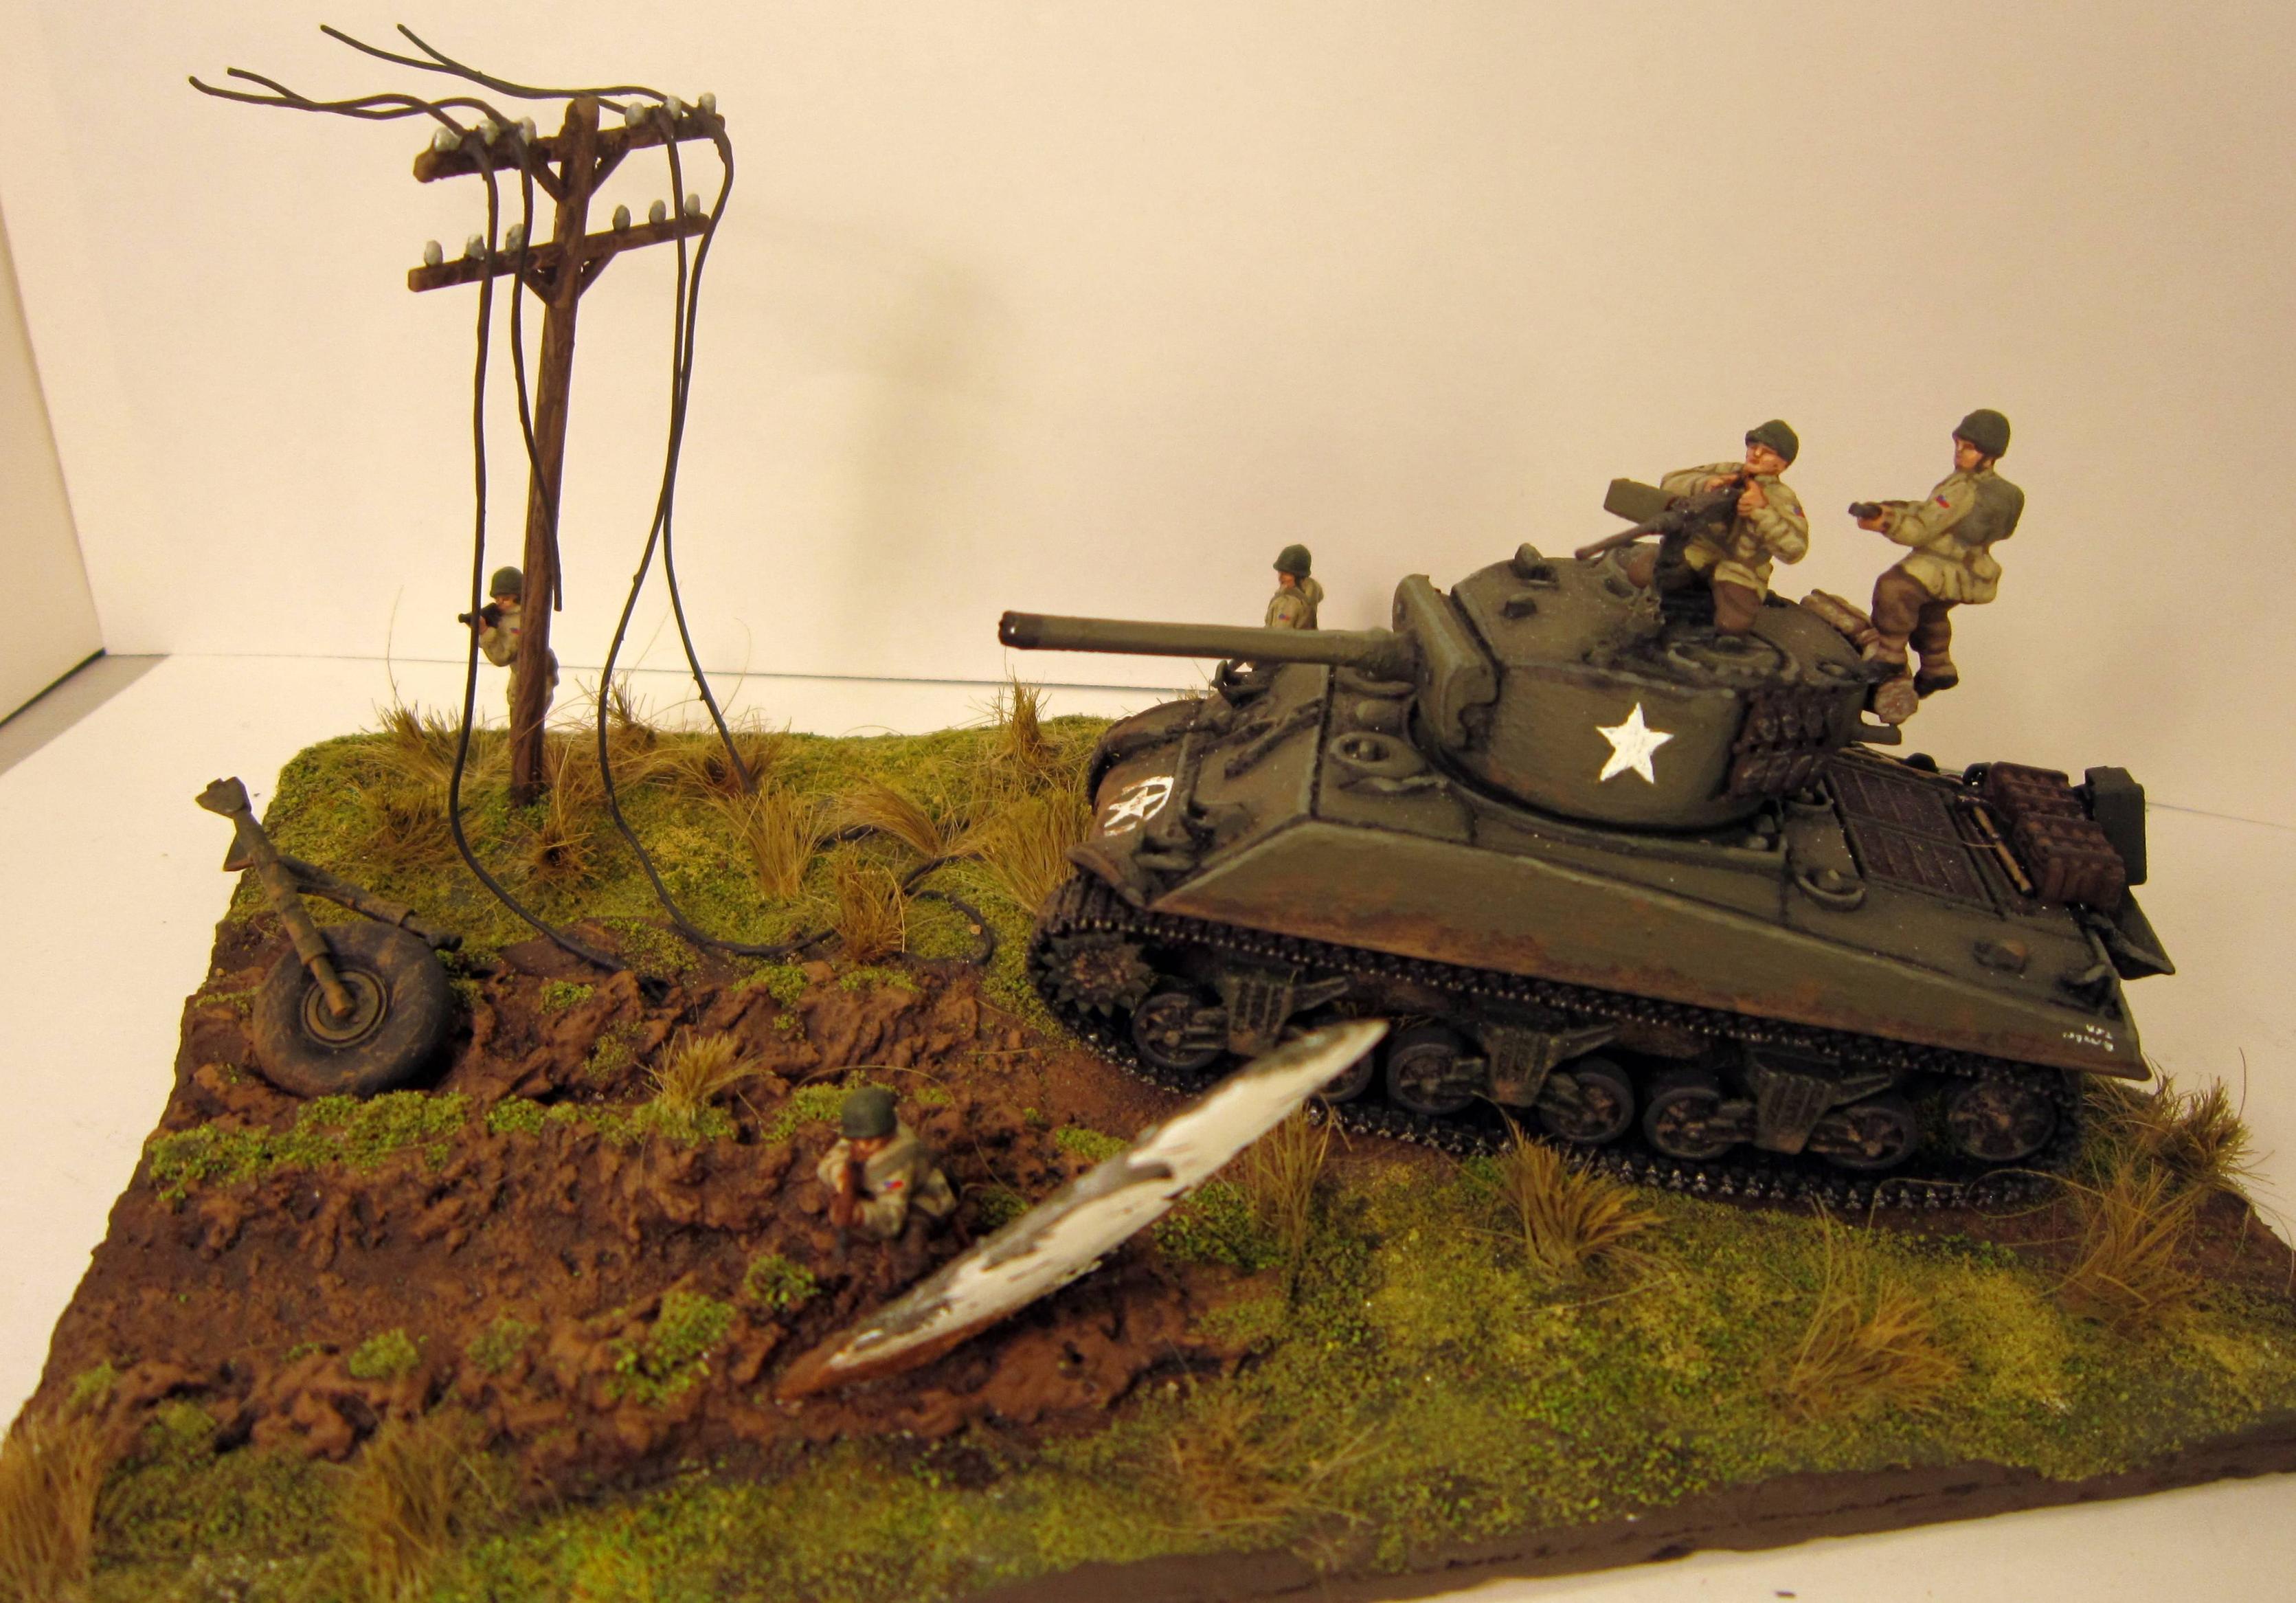
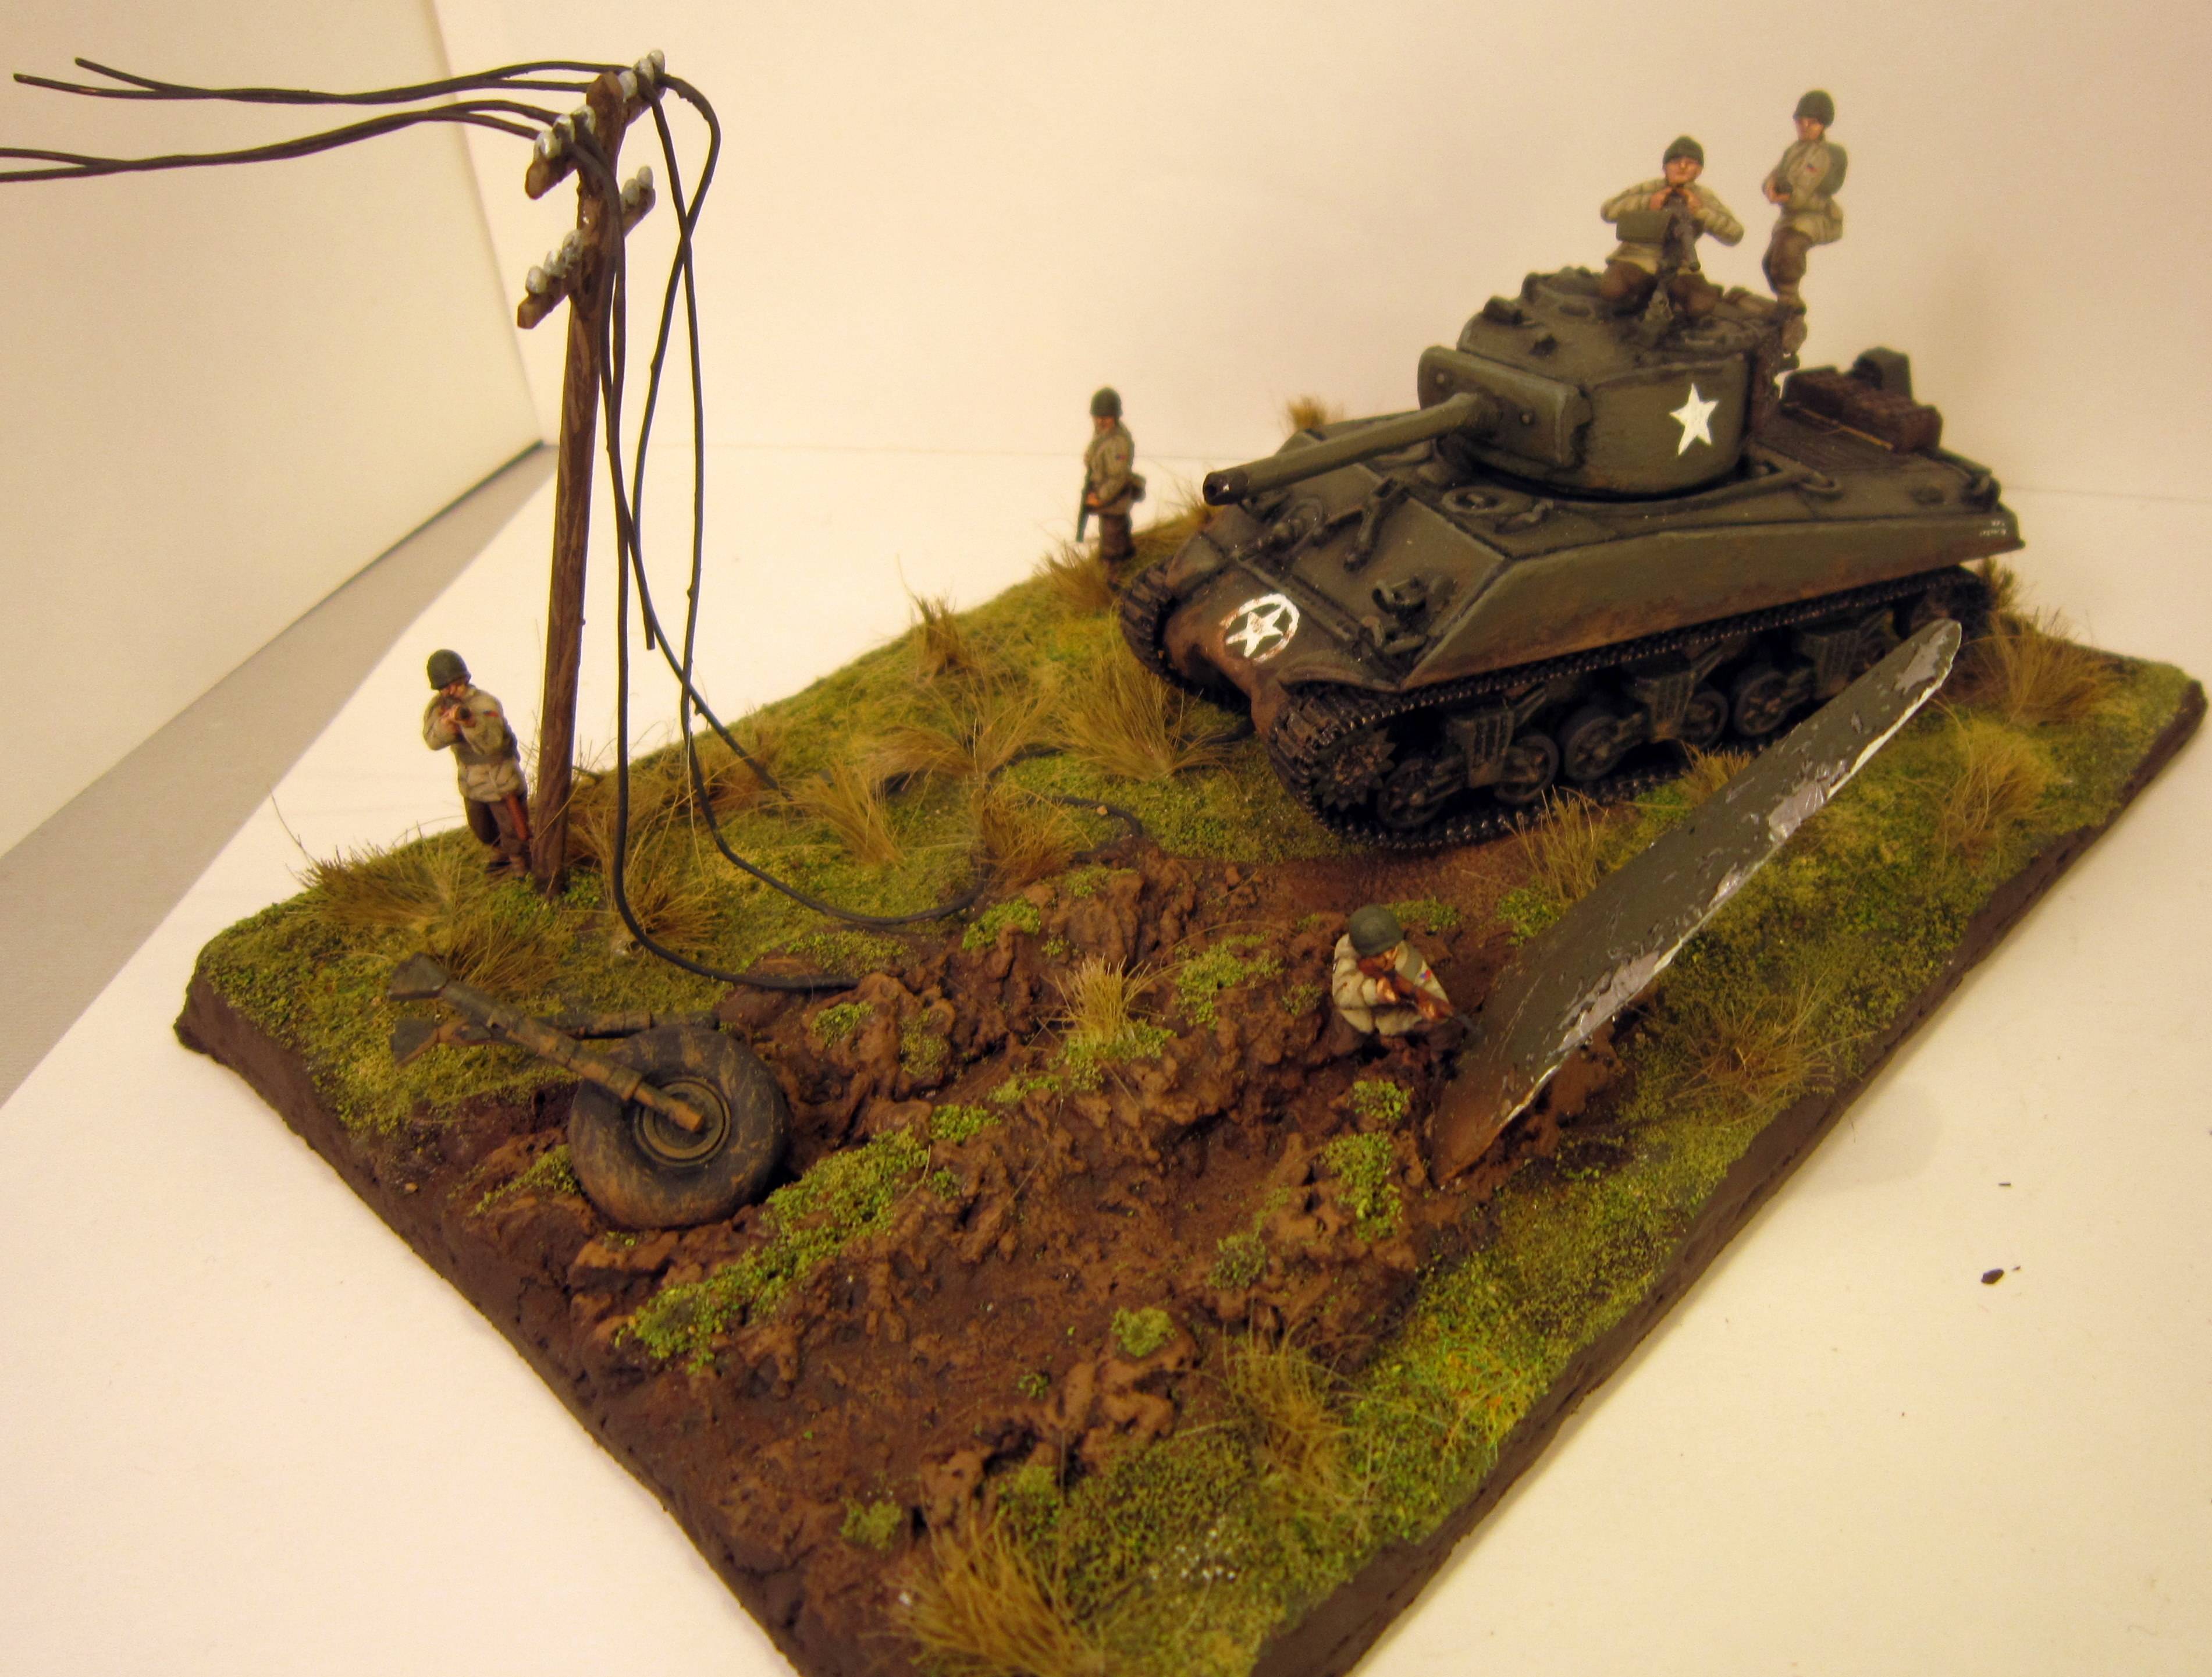
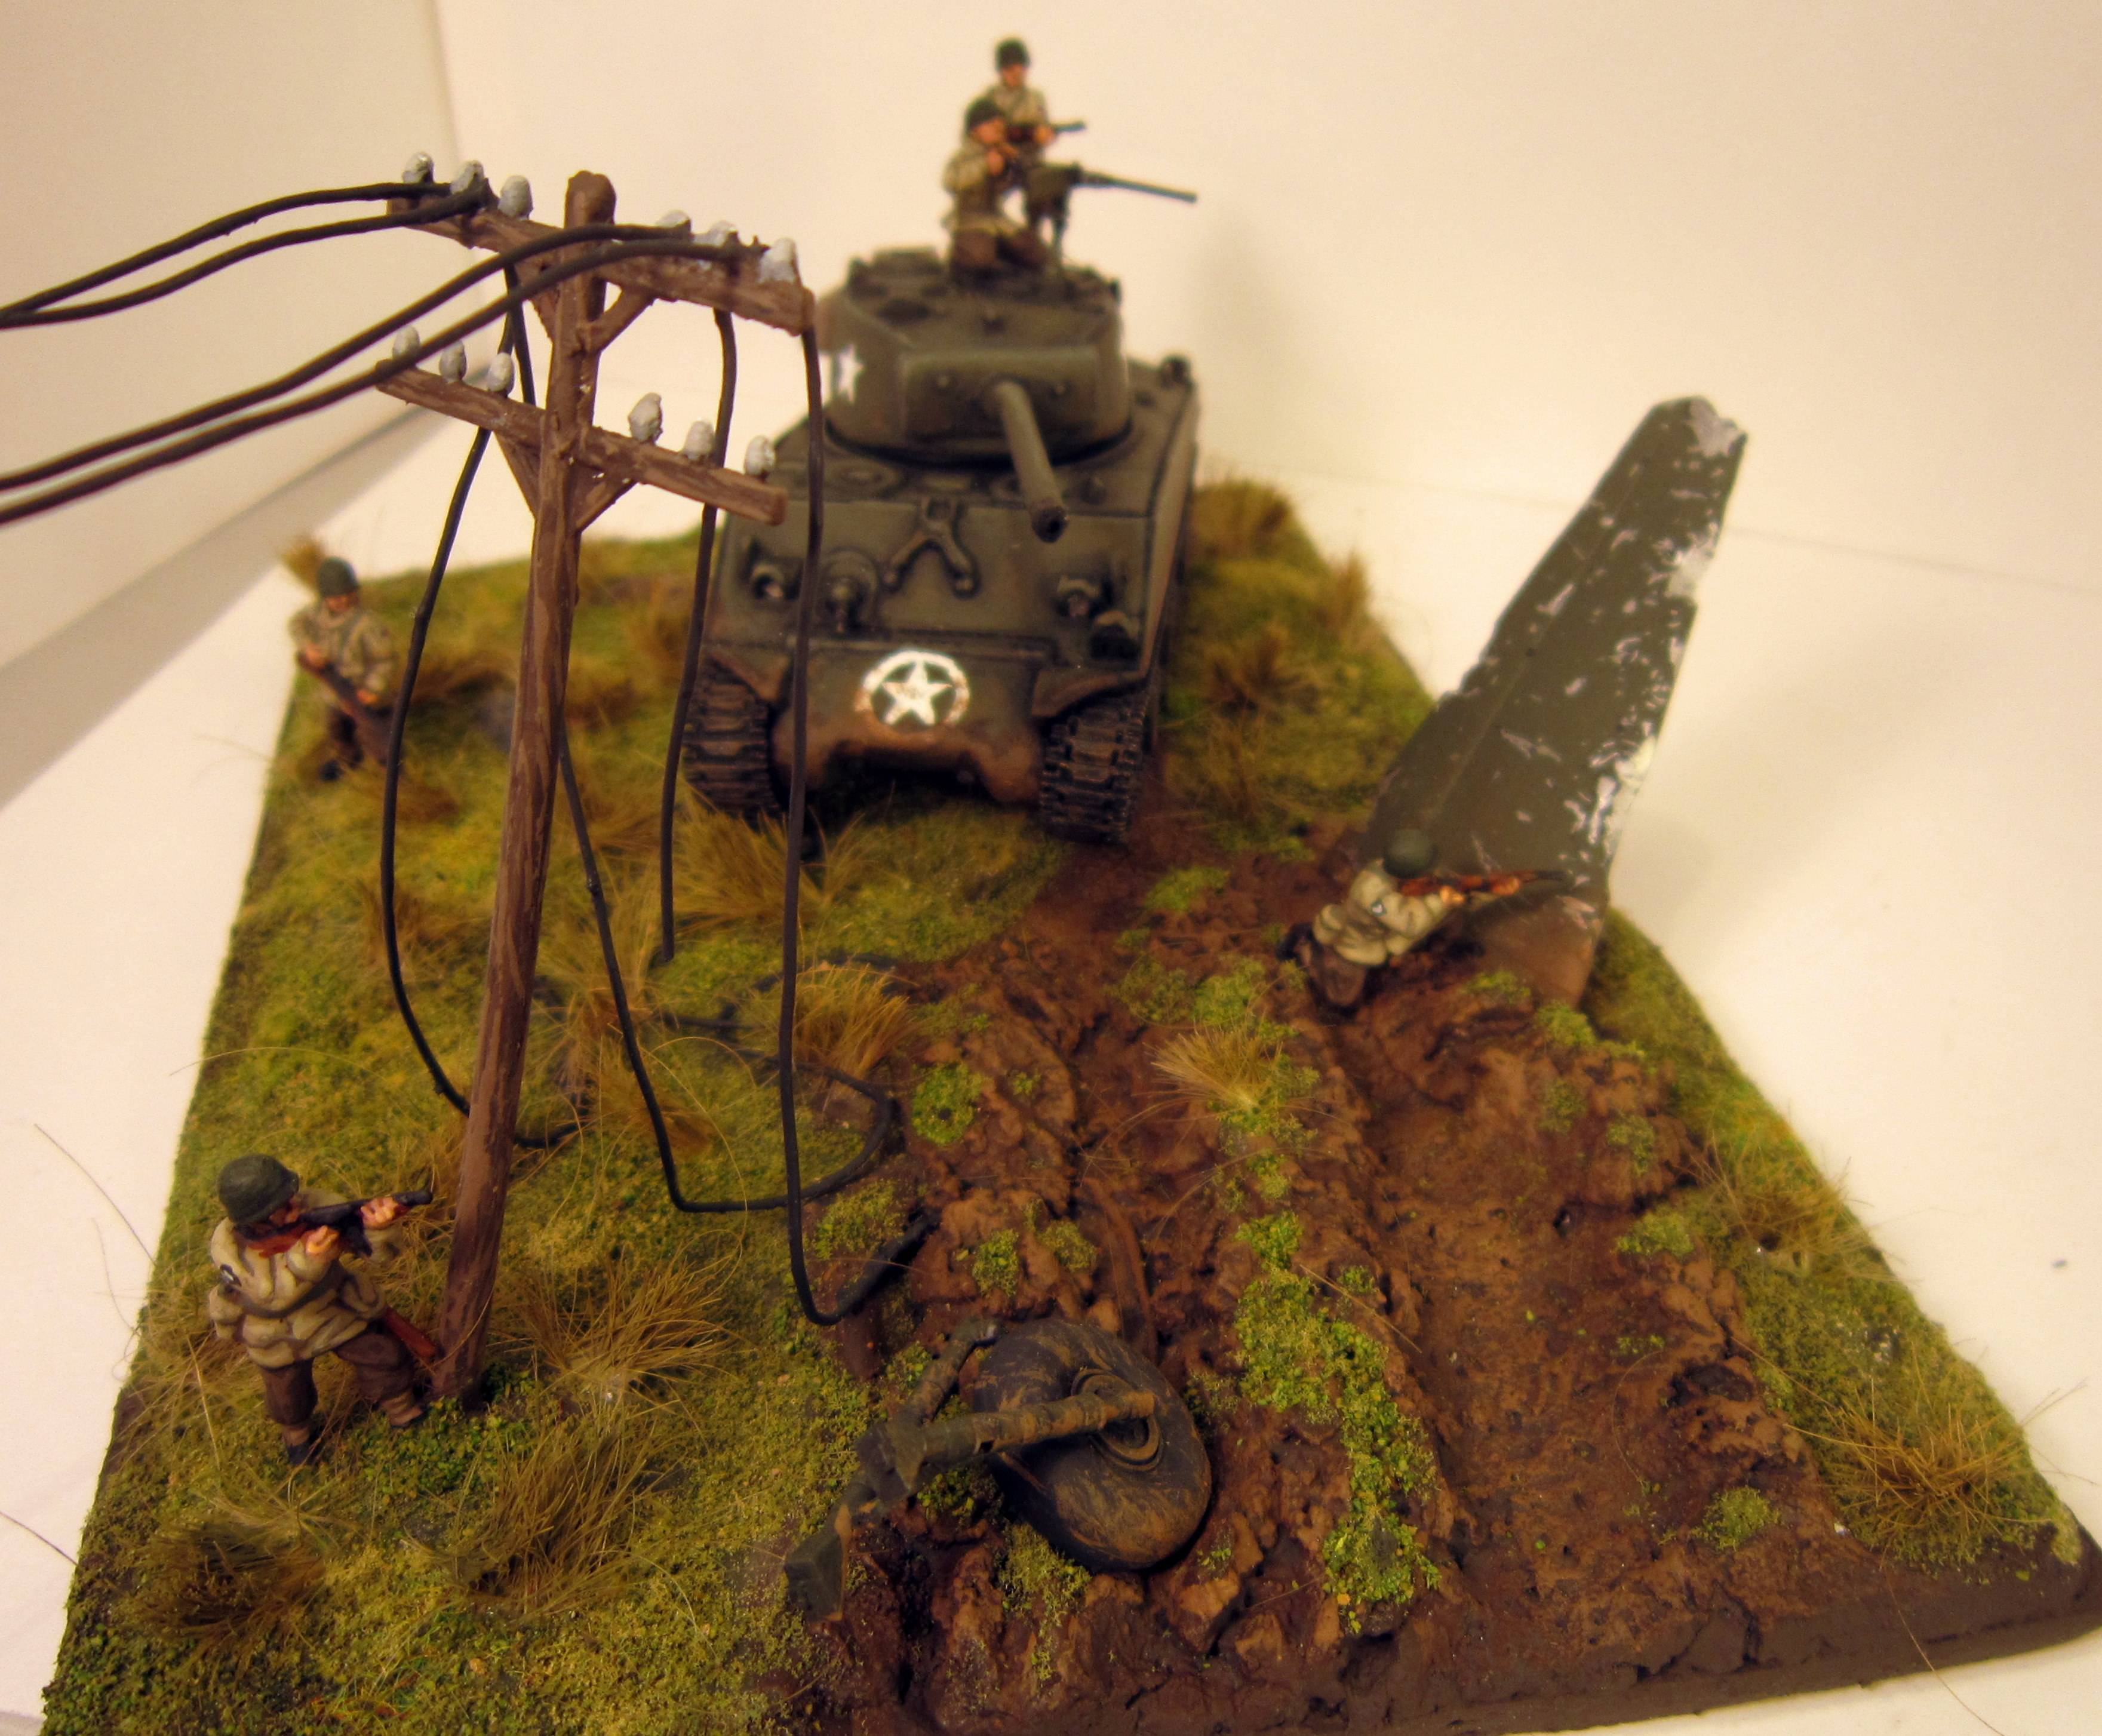
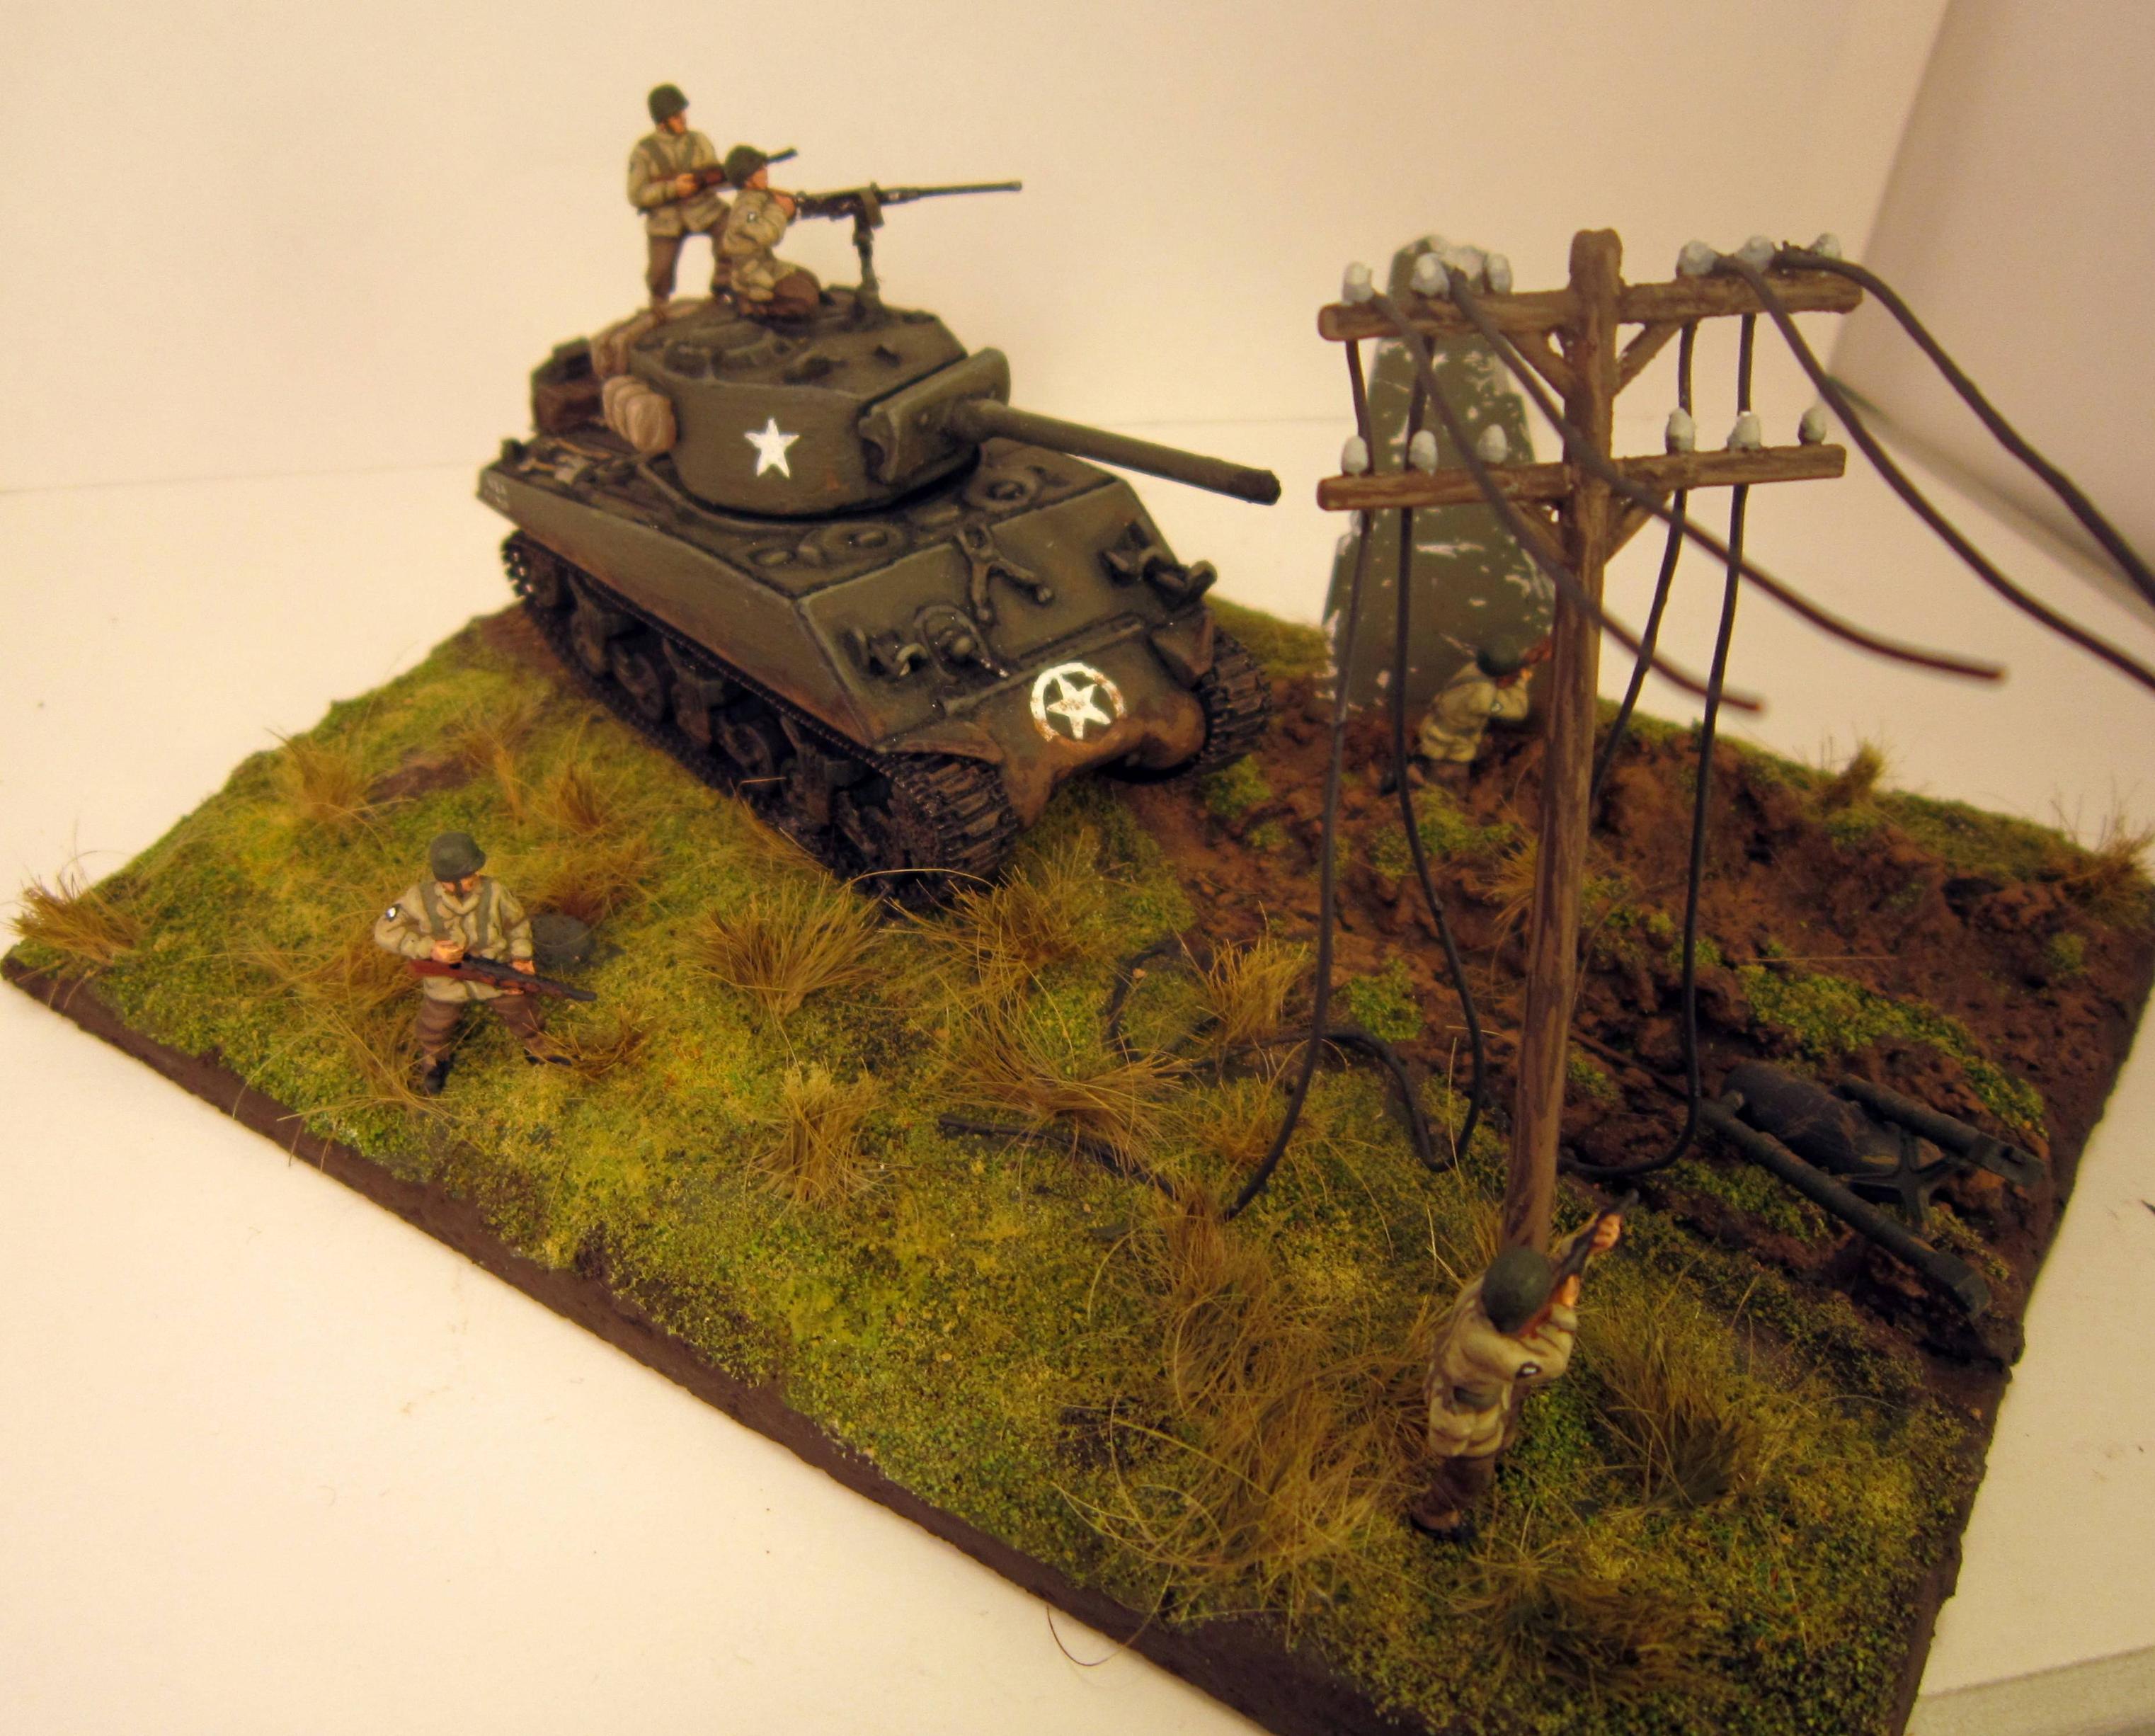
So this is my first model/diorama that I have done since I was a kid. Just got out of college, could only find a part time job giving me plenty of time do pursue some hobbies. However, having so little money, I have gone back and I am repainting old models that I made as a kid.
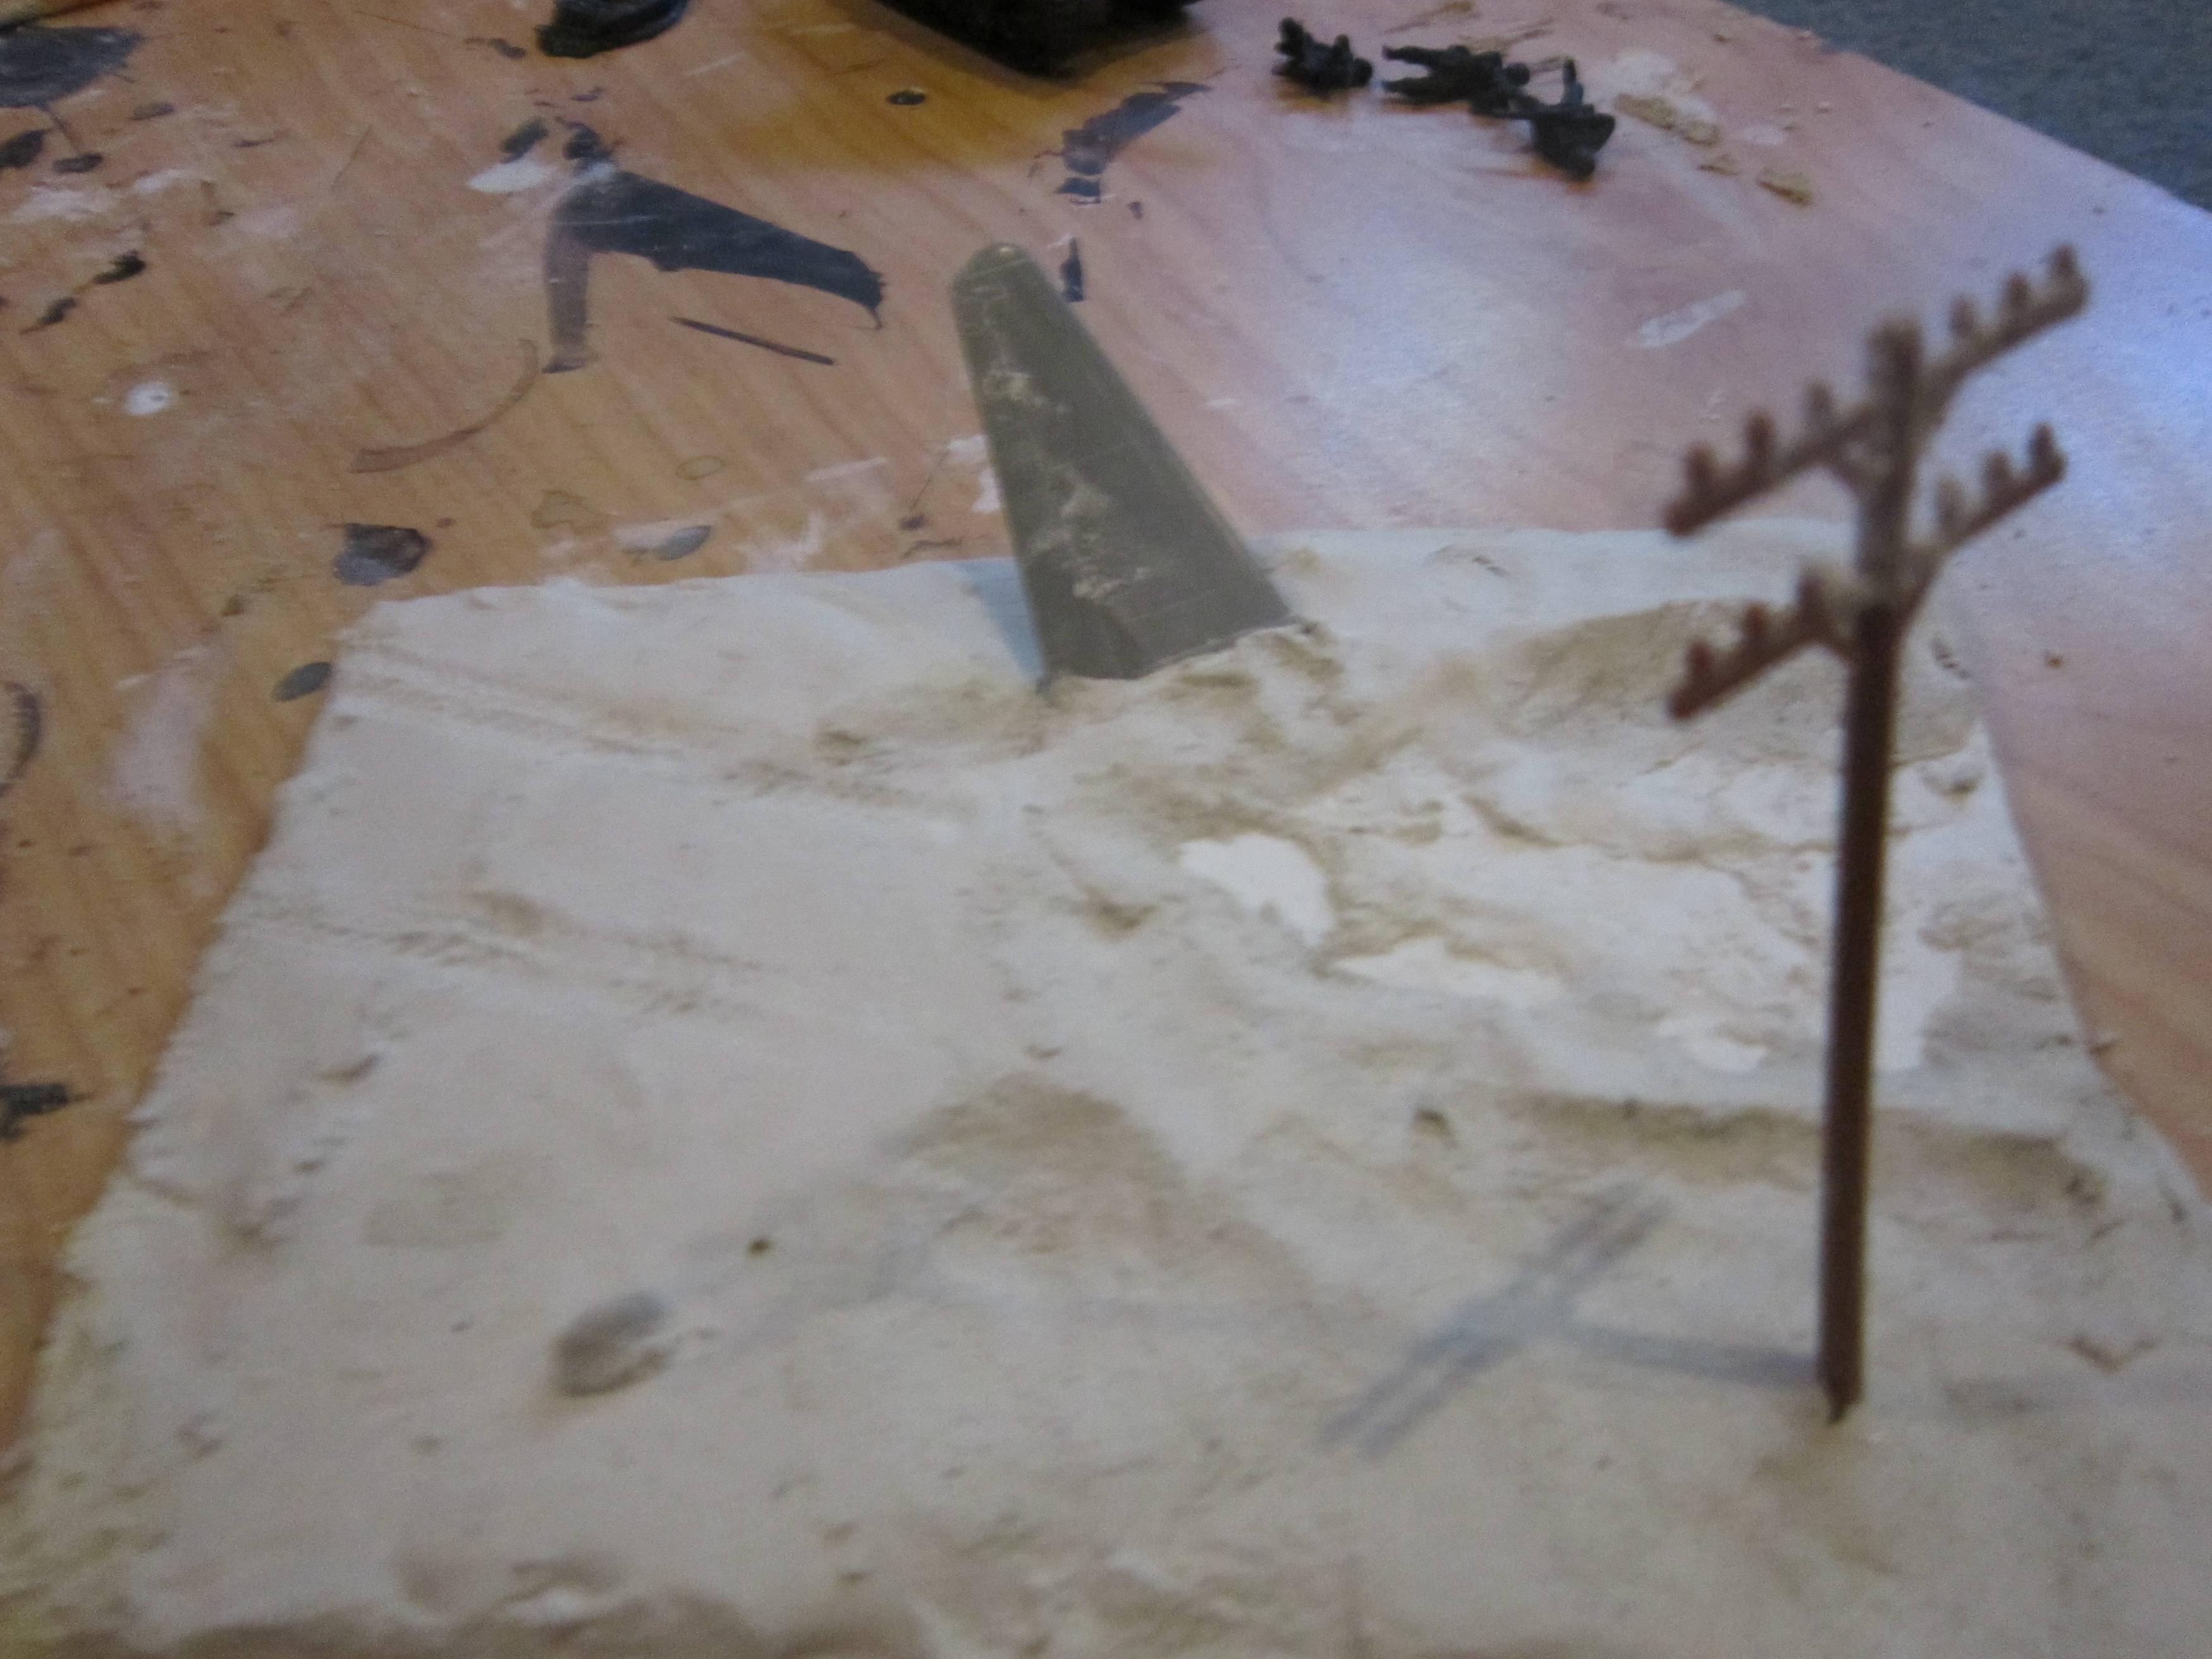
So to begin with the models (soldiers included) are not of high quality. My limited access to parts made me pretty creative. I found some old fine mortar and used it instead of plaster and I got a really cool result in terms of texture.
Luckily I had some old model parts, terrain accessories, and plenty of paint to go along with this project. It took me about 2 weeks, and I put it on a not-so-glorious piece of wood I found. I did a bit of research trying to find good color schemes, but I would like to have any criticism or hints at creating a more realistic model in the future (maybe when I get some money to spend on kits and accessories).
Anyways, without further delay, I present my diorama (searching for survivors).
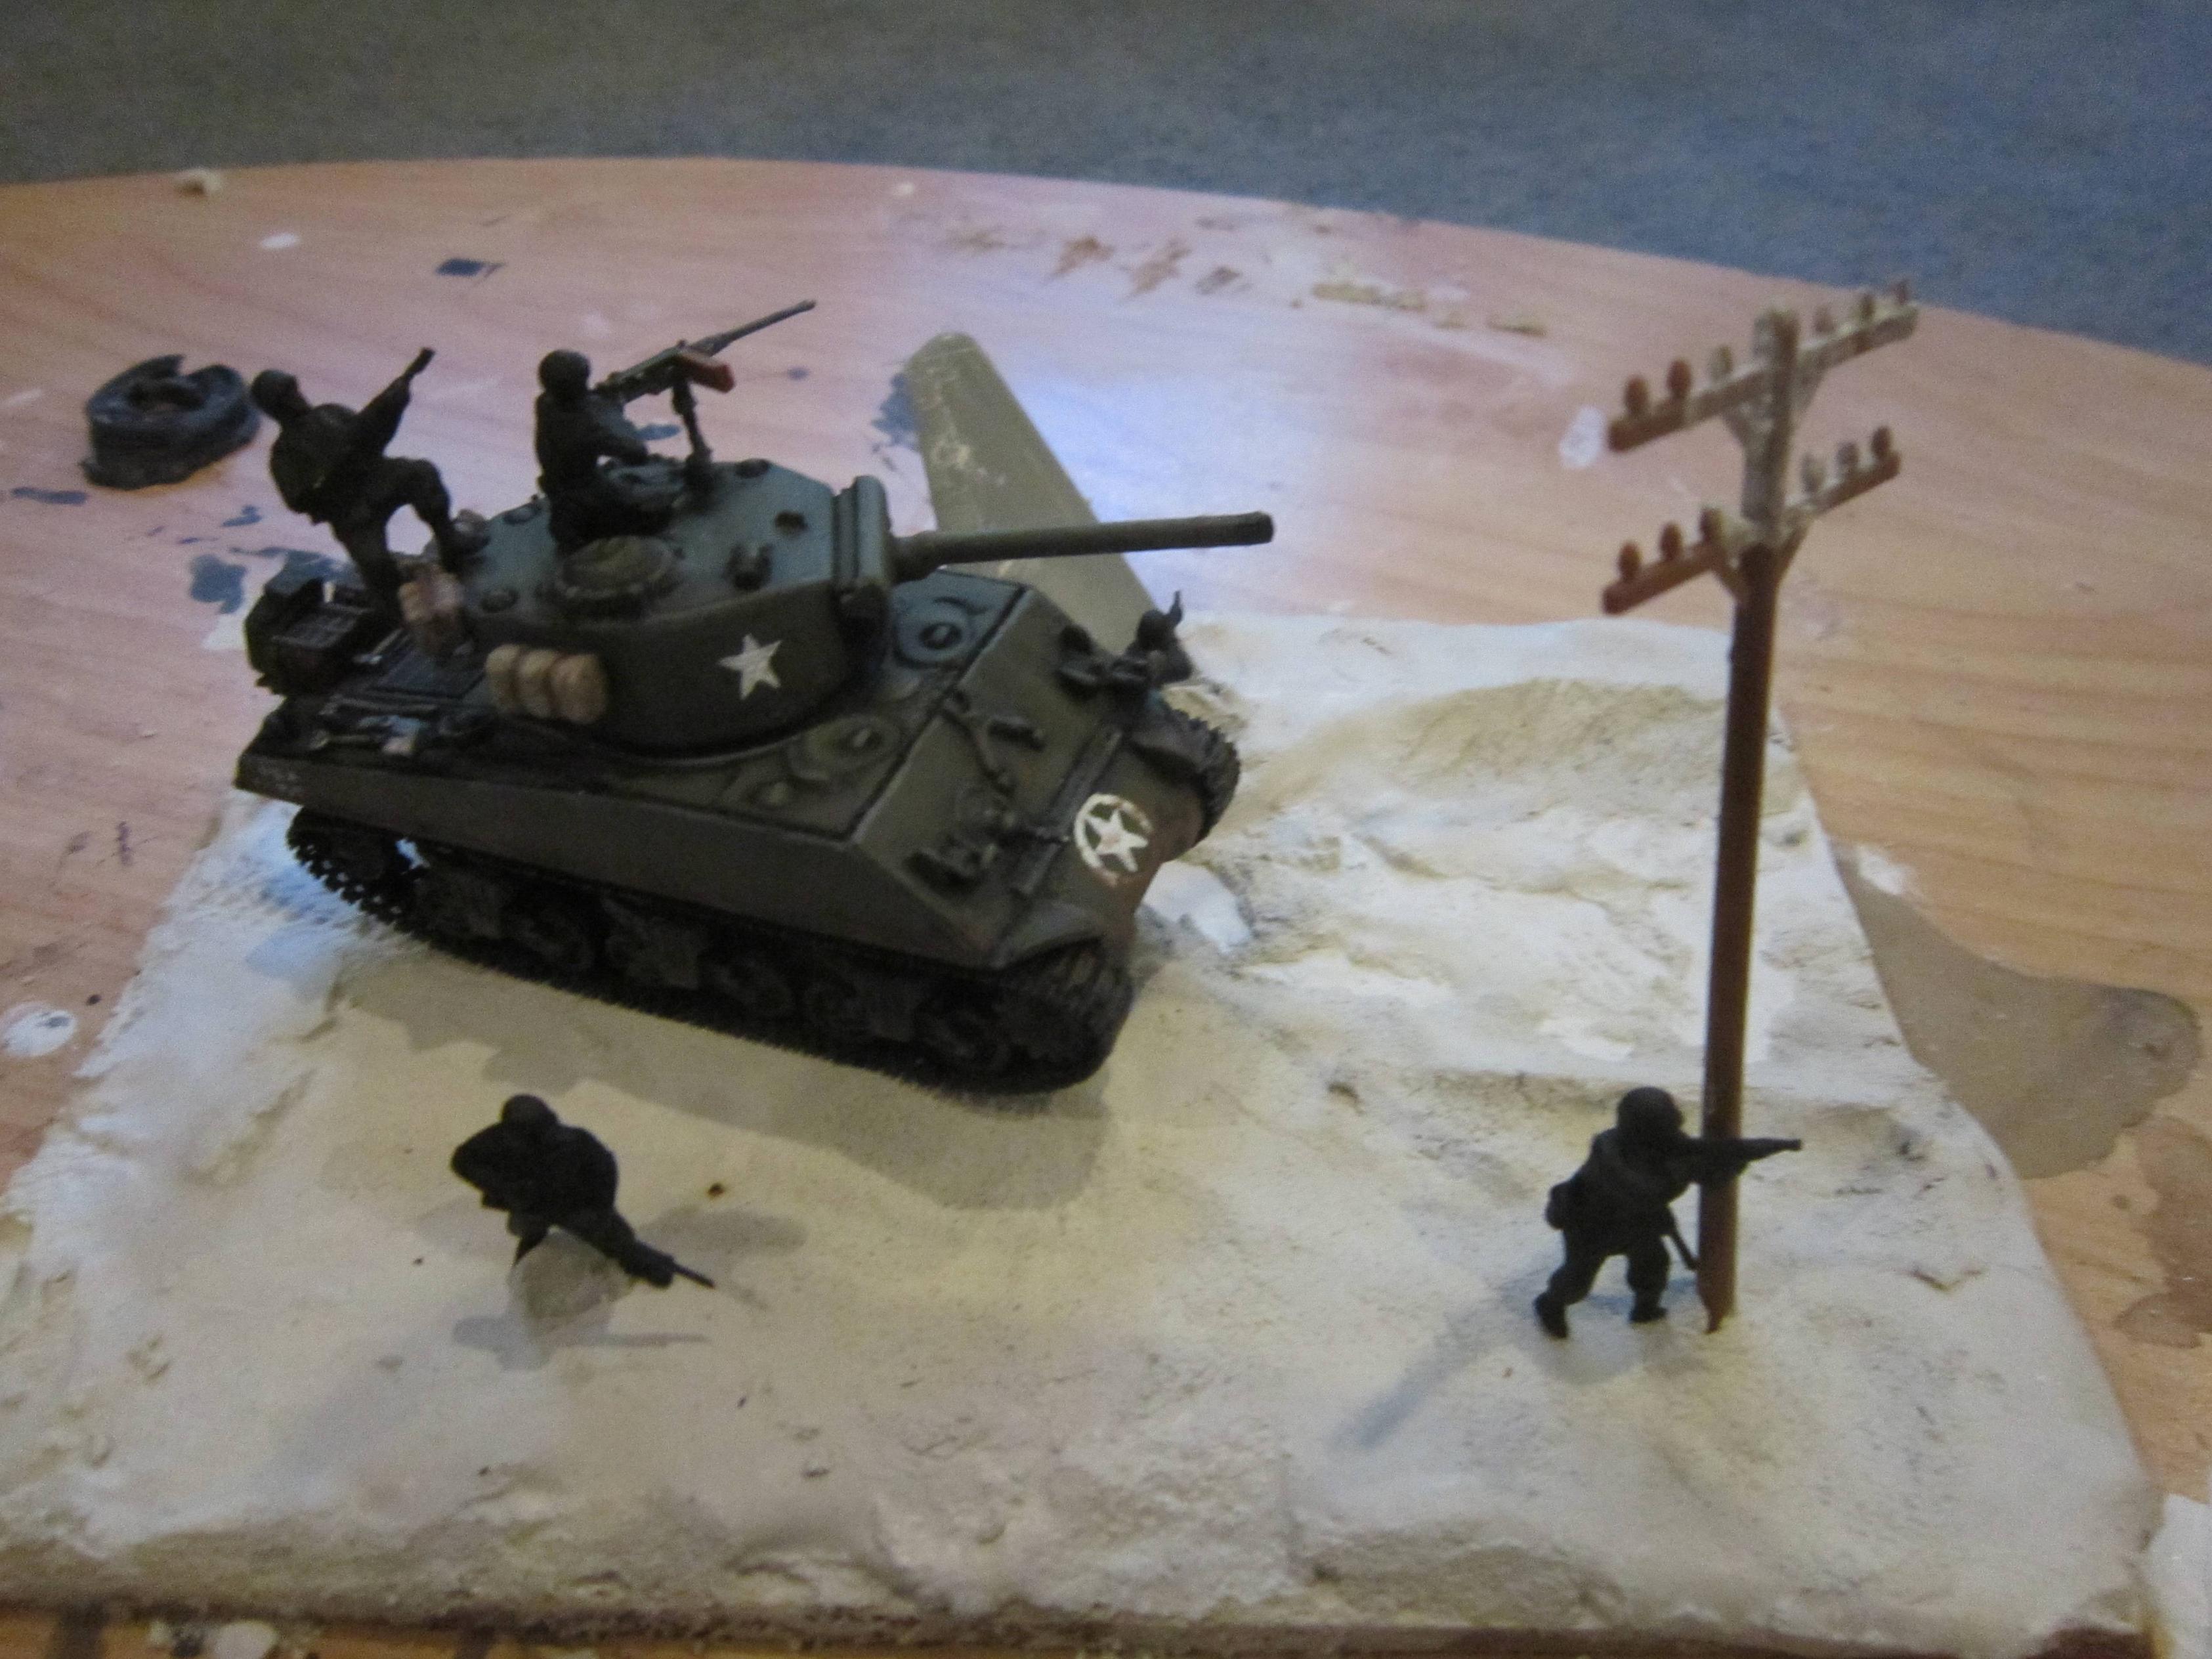
Also for some pics of my diorama before everything was complete:
Hosted by Darren Baker
Looking for survivors diorama
dpeterso
California, United States
Joined: January 15, 2012
KitMaker: 31 posts
Armorama: 30 posts
Joined: January 15, 2012
KitMaker: 31 posts
Armorama: 30 posts
Posted: Saturday, January 14, 2012 - 08:59 PM UTC
meaty_hellhound
Alberta, Canada
Joined: July 23, 2010
KitMaker: 786 posts
Armorama: 753 posts
Joined: July 23, 2010
KitMaker: 786 posts
Armorama: 753 posts
Posted: Sunday, January 15, 2012 - 05:08 AM UTC
nice scene Dane and welcome aboard in your return to the hobby. overall a great refurbish of an old project. small tip i may add is to use thin wire or even thread dipped in diluted white glue for the power lines.
it is nice to read that you are looking for creative ways to improve your diorama from things readily available to you. some of us old timers remember when there wasn't so many aftermarket products out there and we had to improvise to make dioramas.
though i do enjoy buying little goodies for my projects i sometimes think it makes a more unique scene when you fashion your own diorama accessories... also it keeps my credit card from overheating.
thanks for sharing. cheers, bd.
dpeterso
California, United States
Joined: January 15, 2012
KitMaker: 31 posts
Armorama: 30 posts
Joined: January 15, 2012
KitMaker: 31 posts
Armorama: 30 posts
Posted: Sunday, January 15, 2012 - 06:53 PM UTC
Thanks BD, I do realize that the size of the wires were a bit too big, but in the future I will try to use a smaller size wire. At the moment I am making some barbed wire for a future diorama and I managed to find a great link on this site to make some.
Anyways, thanks for the advice and encouragement. The main thing that I am learning from returning to this hobby is patience.
slodder
North Carolina, United States
Joined: February 22, 2002
KitMaker: 11,718 posts
Armorama: 7,138 posts
Joined: February 22, 2002
KitMaker: 11,718 posts
Armorama: 7,138 posts
Posted: Monday, January 16, 2012 - 02:52 AM UTC
Nice jump back into the hobby. It looks to be a 1/72 scale build. For that scale it's pretty good overall. Can you improve - sure (we all can).
The one thing that my eye catches is the figure on the back of the turret. He seems to be at an odd angle and position.
Things I always ask myself when building are : could I do that (stand like that), how did this person/vehicle arrive where they are (ingress/egress realism), does that make sense
Keep these in mind and it will make the composition fall into place a little smoother.
Personally I'm a fan of neat alternate color base edges. I like to dress mine up with a neat trim or sand them smooth. Then paint them a very different color, black, blue, green. That way there is a separation of the groundwork and a base.
dpeterso
California, United States
Joined: January 15, 2012
KitMaker: 31 posts
Armorama: 30 posts
Joined: January 15, 2012
KitMaker: 31 posts
Armorama: 30 posts
Posted: Friday, January 20, 2012 - 11:19 AM UTC