Recently I reviewed Trumpeters ChTZ S65 tractor. Review can be found here
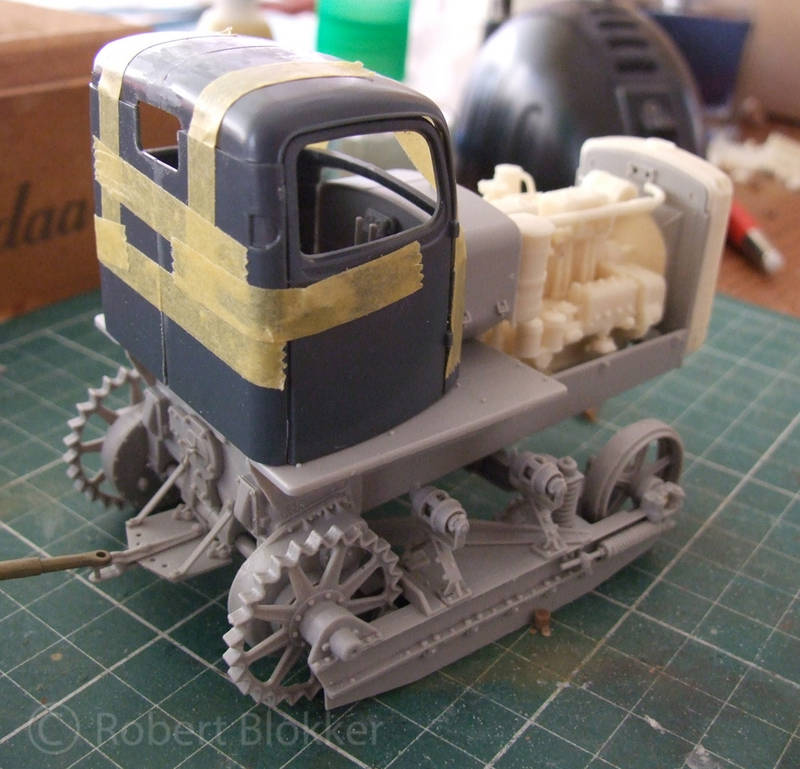
Now of course as follow up here is the Built log which I can do since all my other projects are stalled for a multitude of reasons. So here goes. It actually is builtlog not only for the Trumpeter kit but also for LZ models engine and Radiator set.
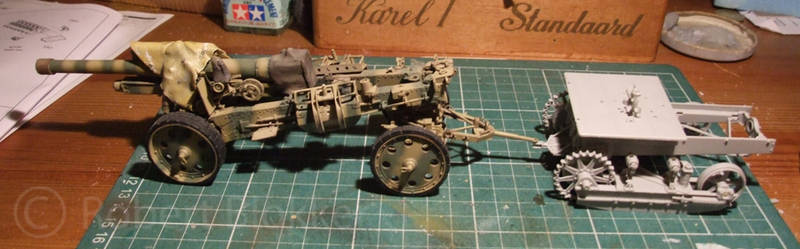
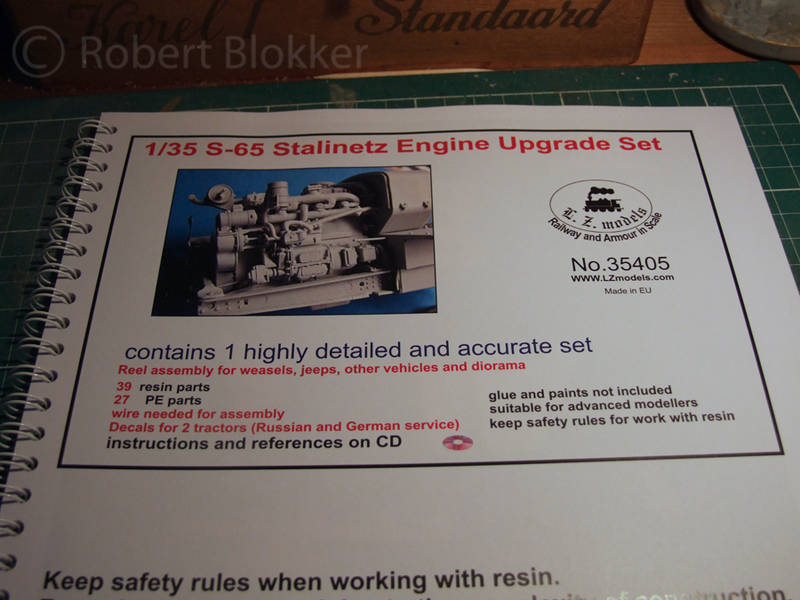
This is the box, Battledamaged and all.

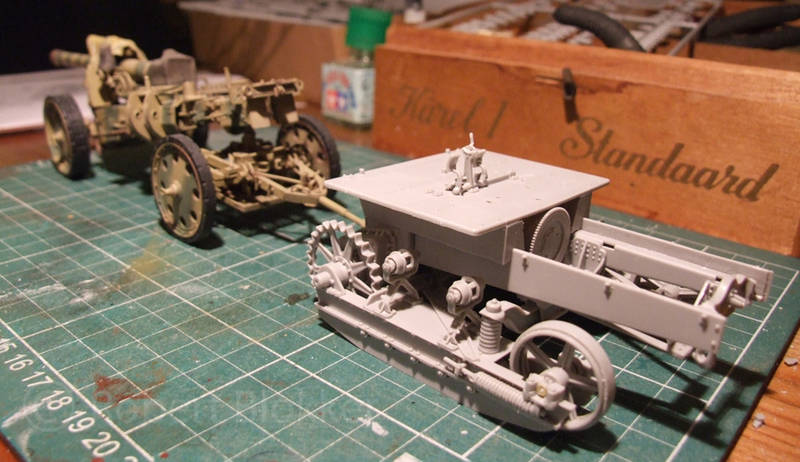
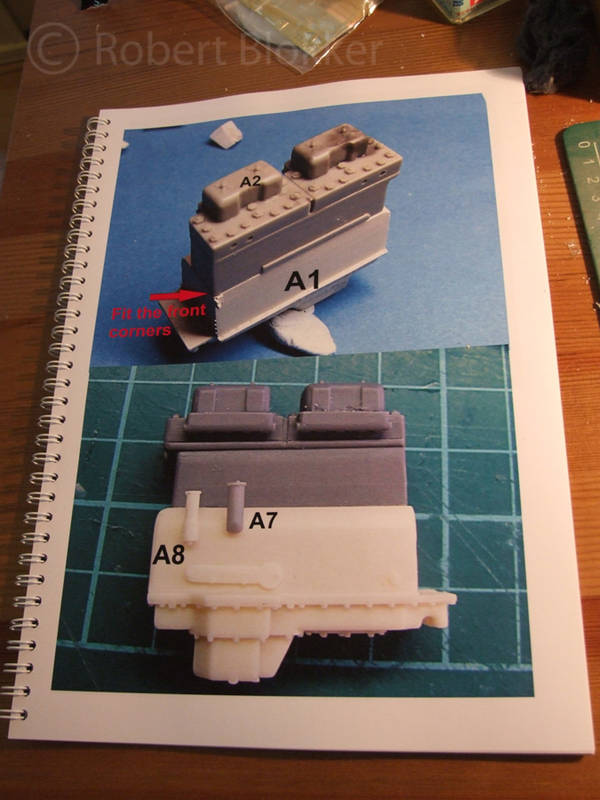
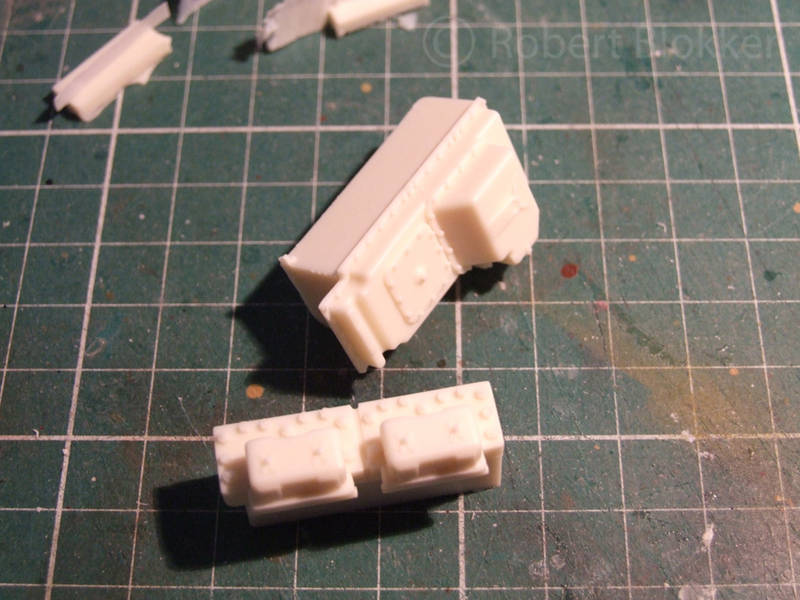
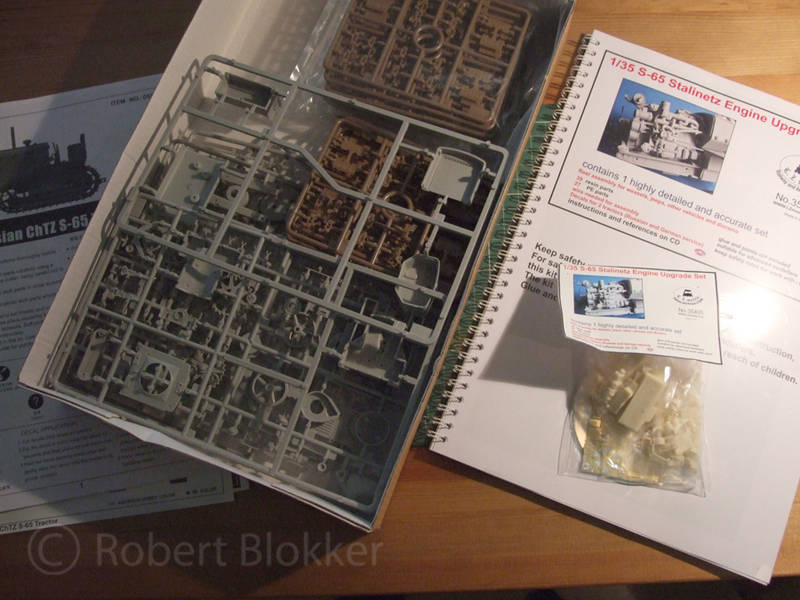
The Contents
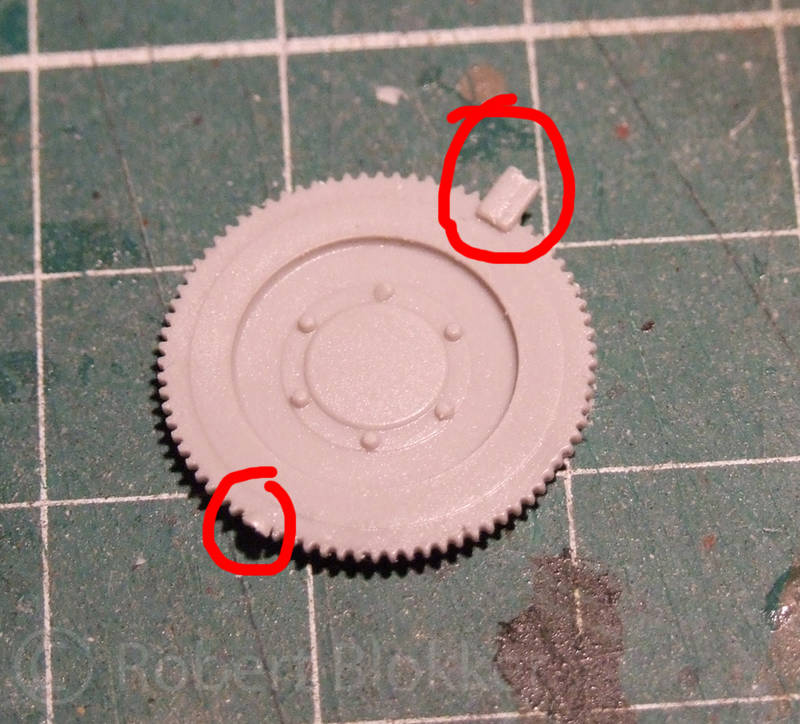
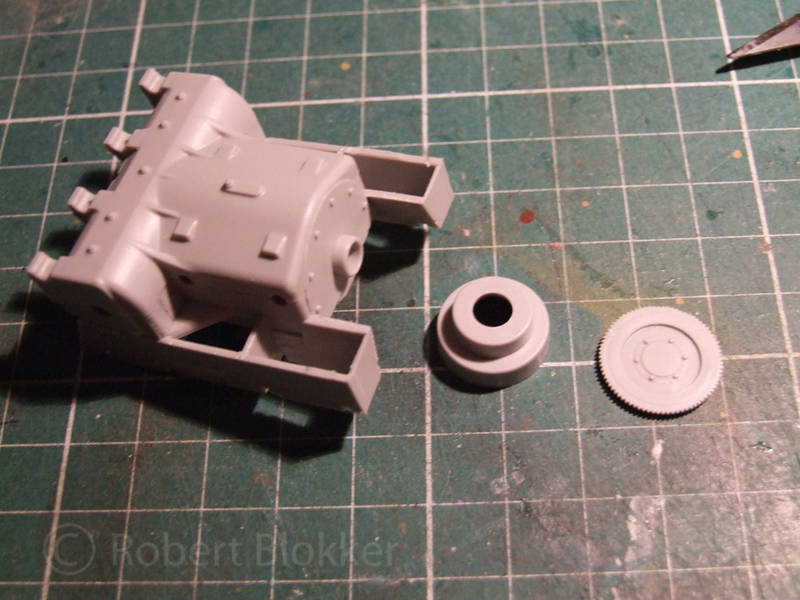
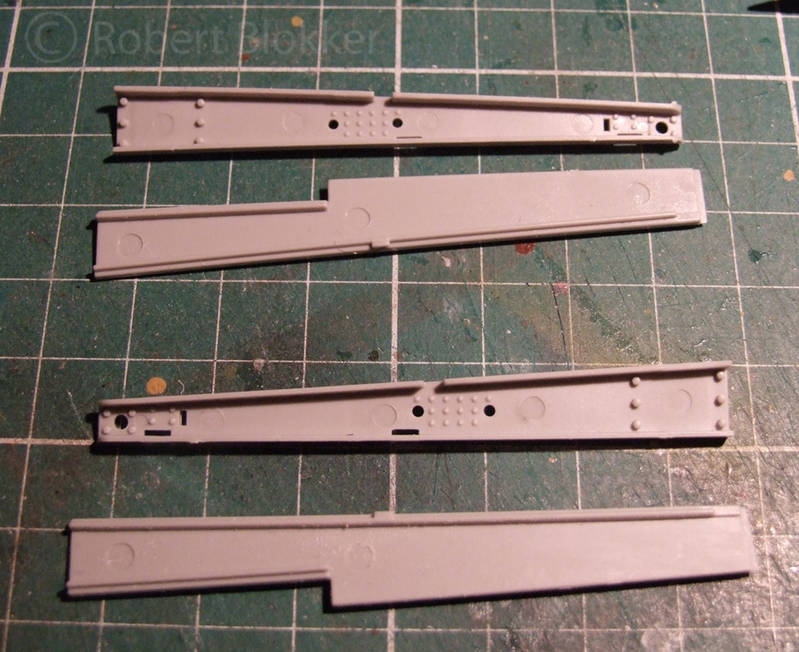
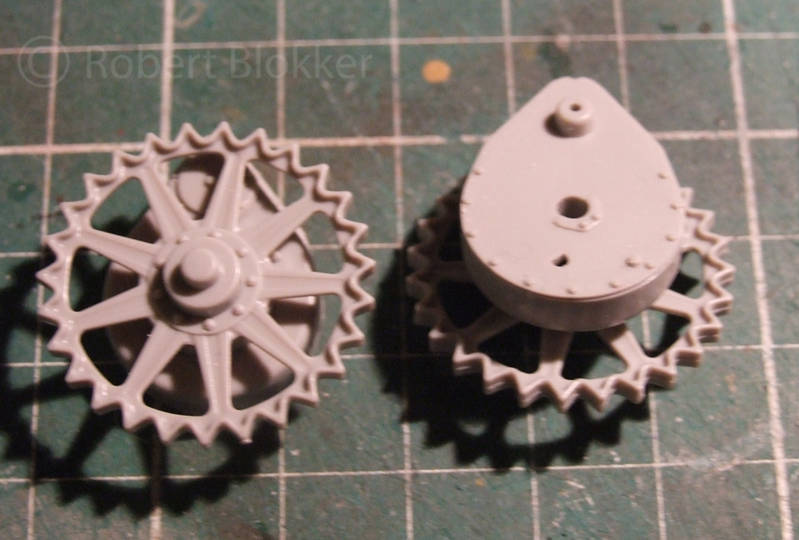
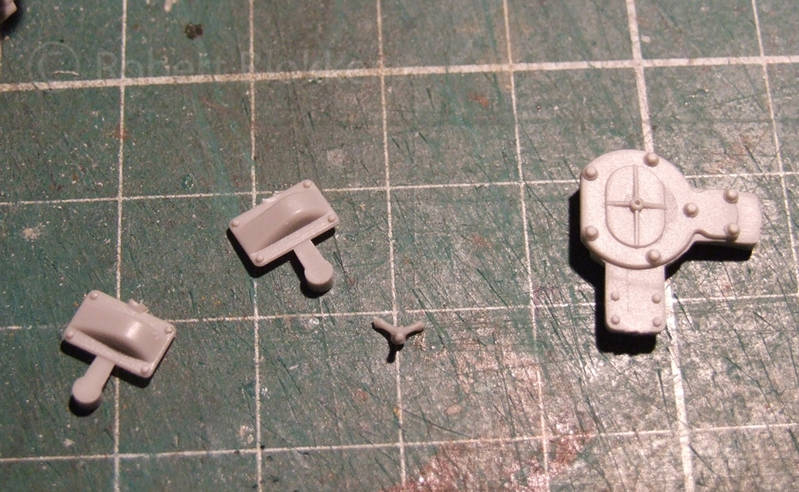
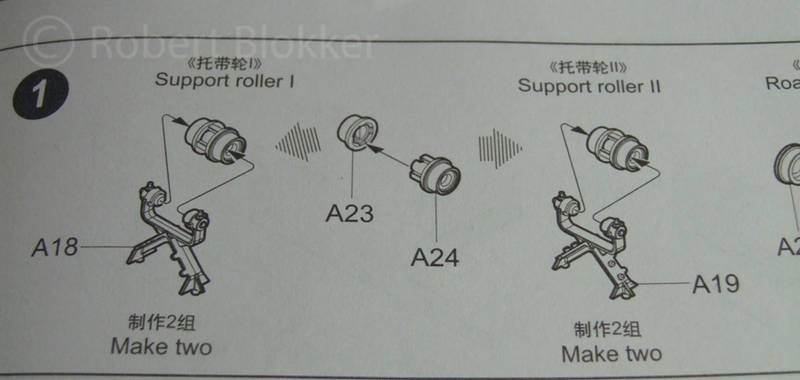
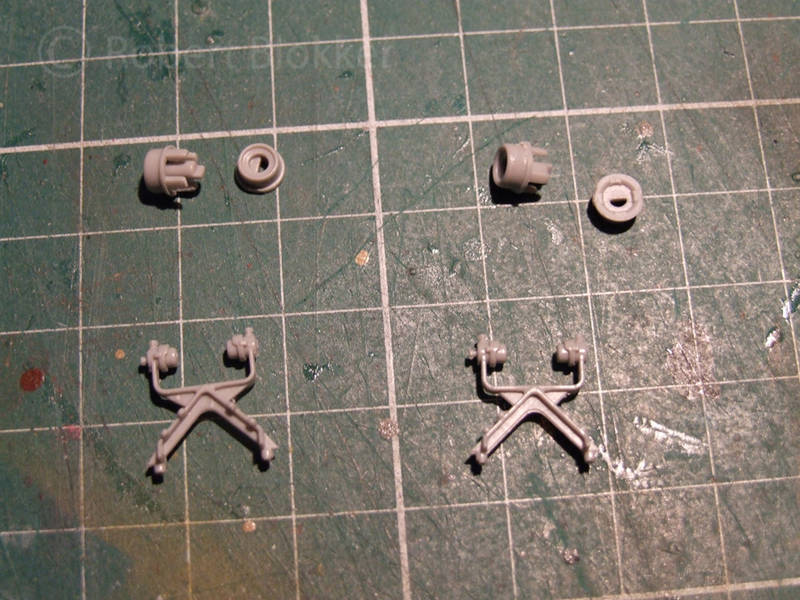
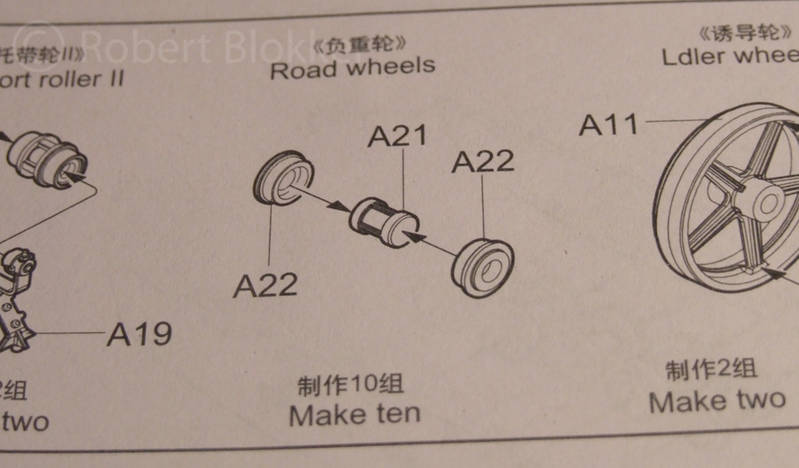
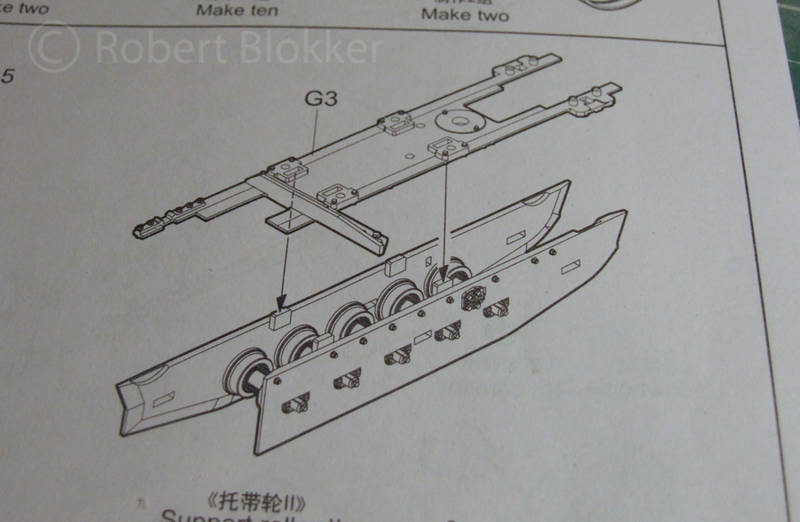
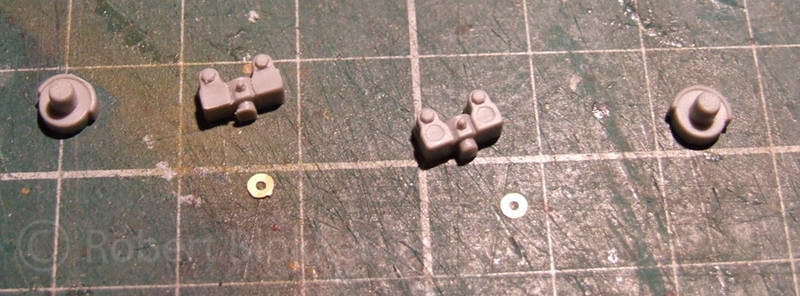
On to step 1. As you can see the holders for the guidewheels are not similar. One has little nubs on it the other hasn't. Each running gear needs one of both. Keep this in mind when you assemble them not to mix them up.

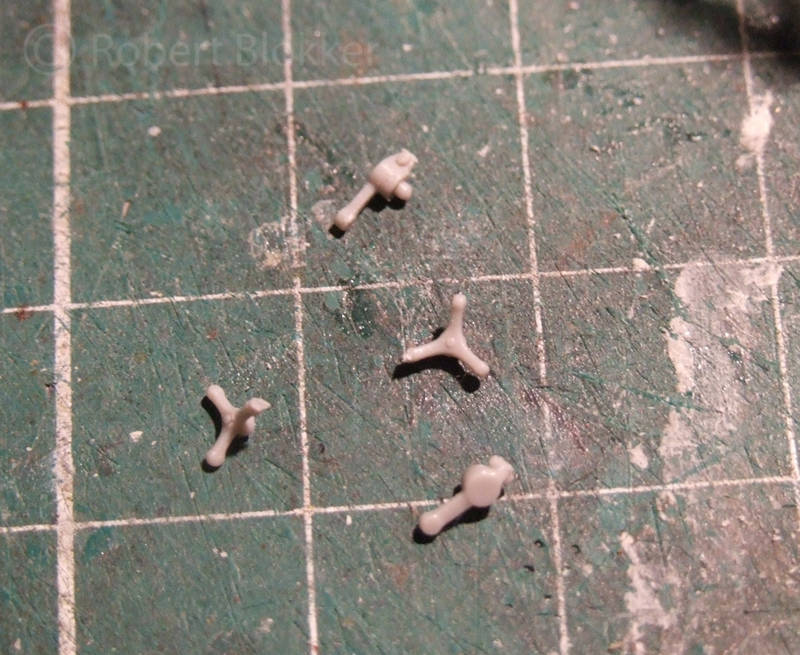
Further on in step 1 ten small wheels that go inside the running gear. I spend some time sanding all the parts clean before finding out they are not visible at all in the end so you could save yourself some time there

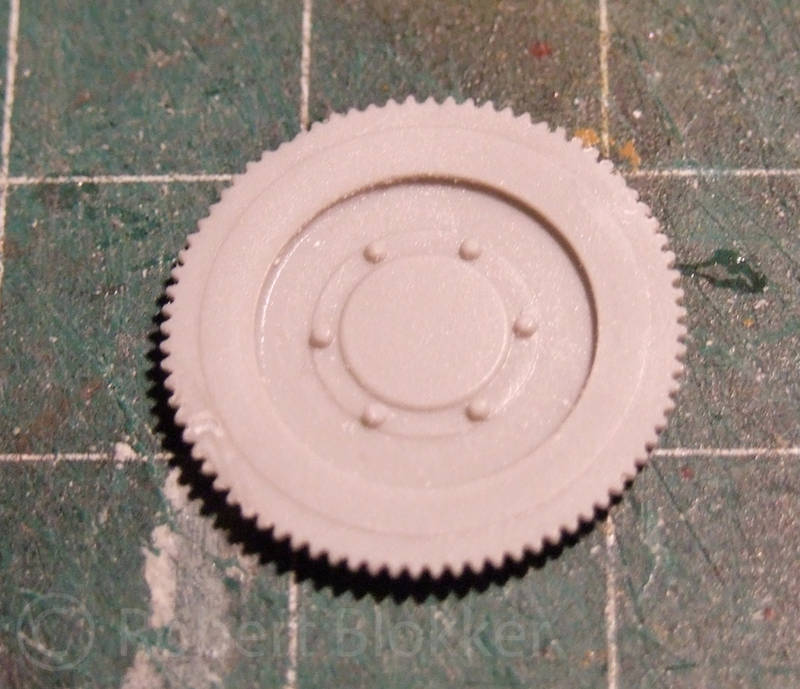
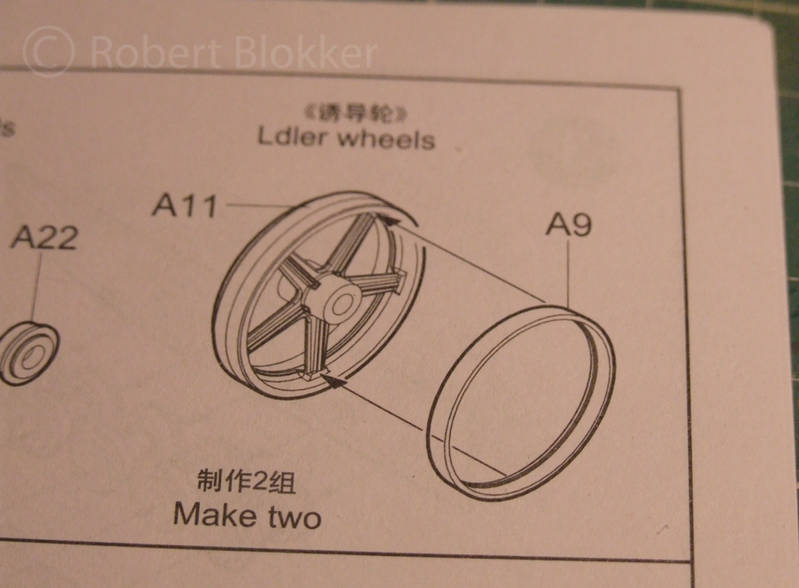
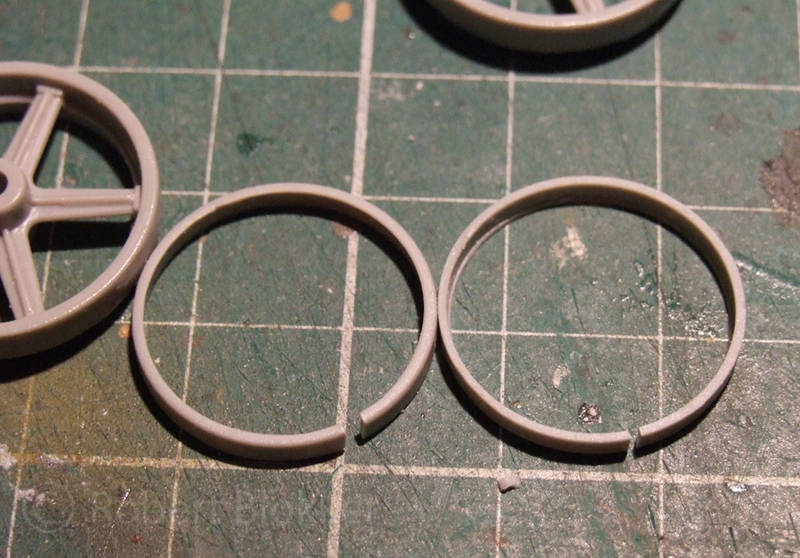
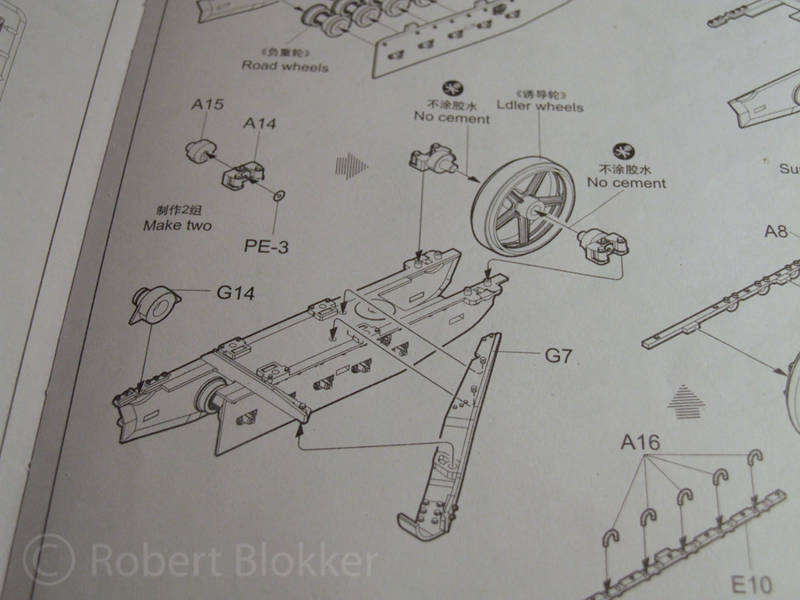
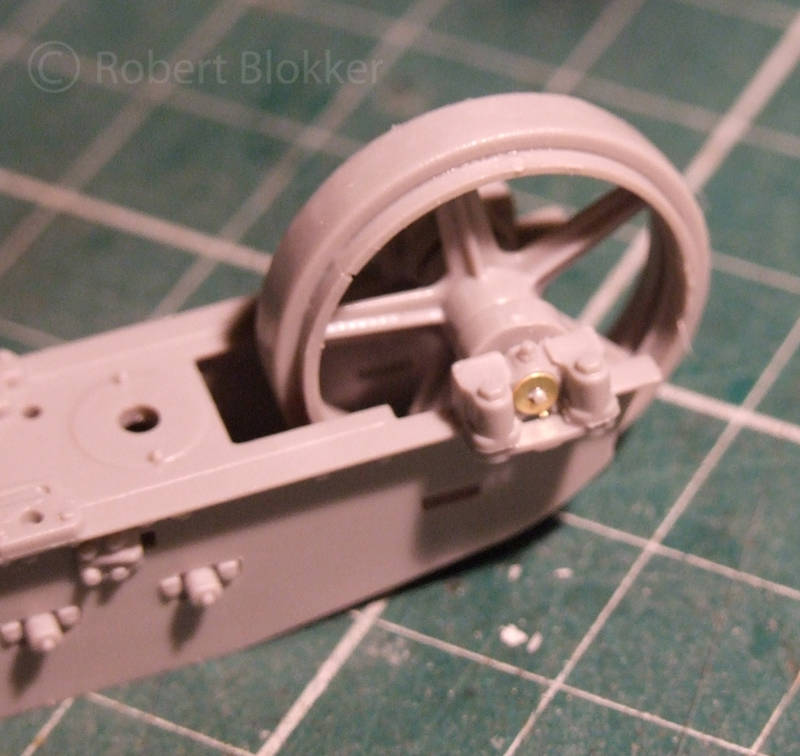
Last part of step 1. The Idler wheel (or Ldler as Trumpeter likes to call it) Install a ring on the inside of the Idler. Sounds easy enough except that it doesn't since the ring doesn't fit. It is too big. You probably can sand it so that it fits. I simply cut a millimeter out of it and glued it in. The point with the gap in it will be turned till it is hidden by the running gear. Easy peasy

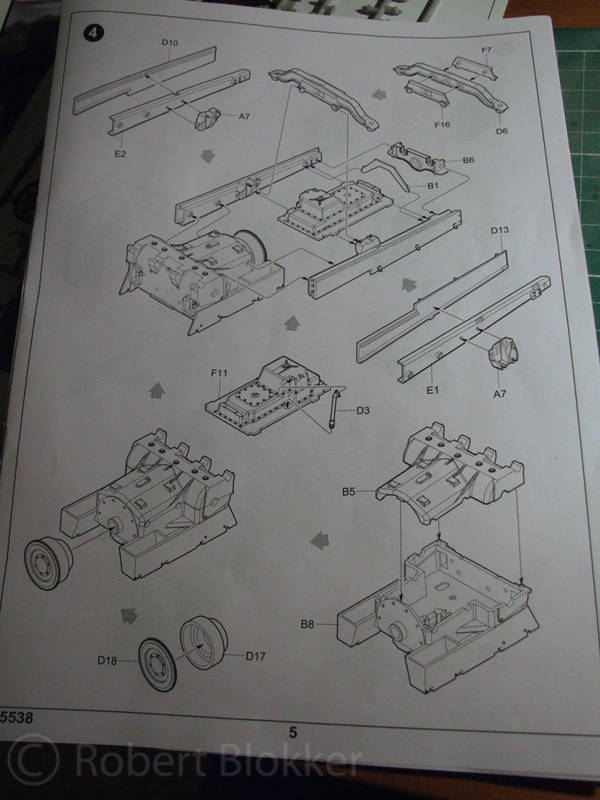
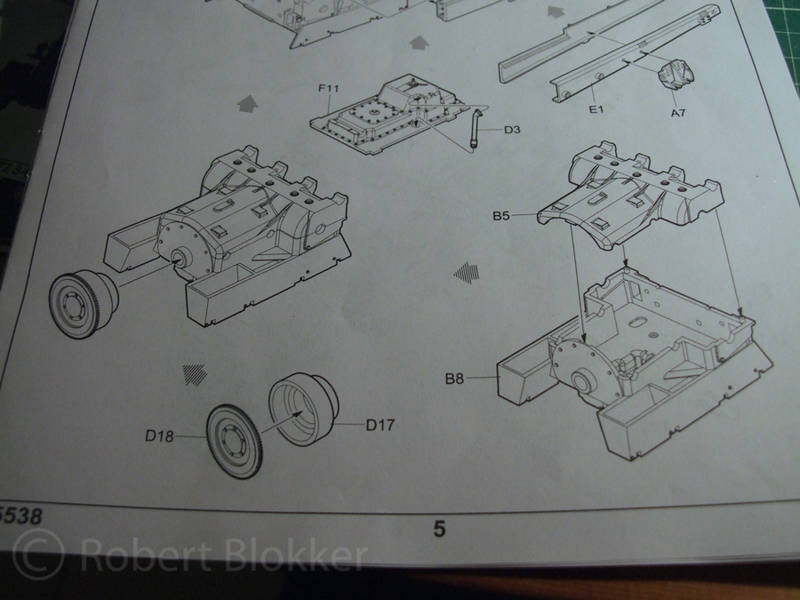
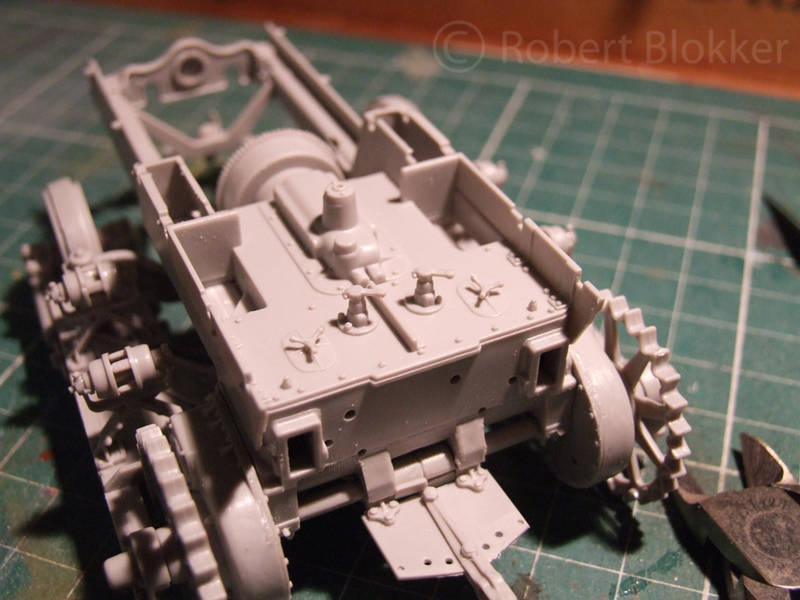
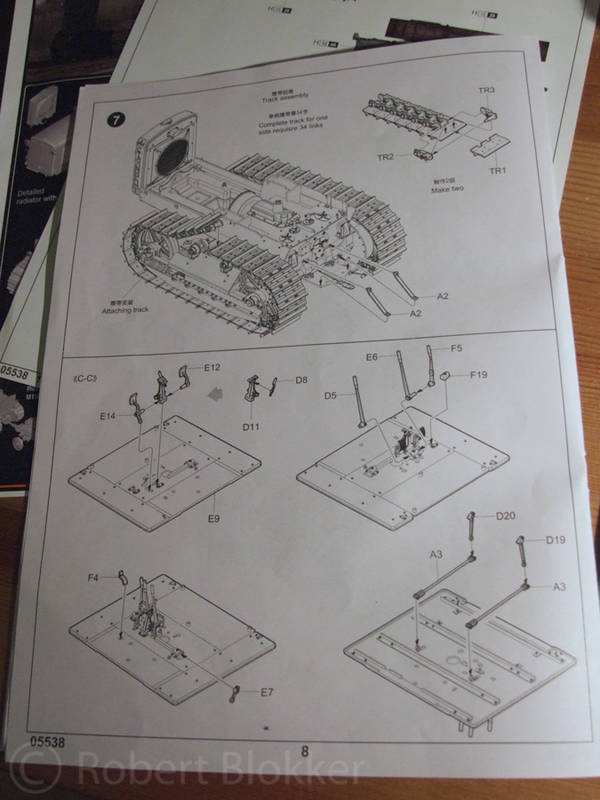
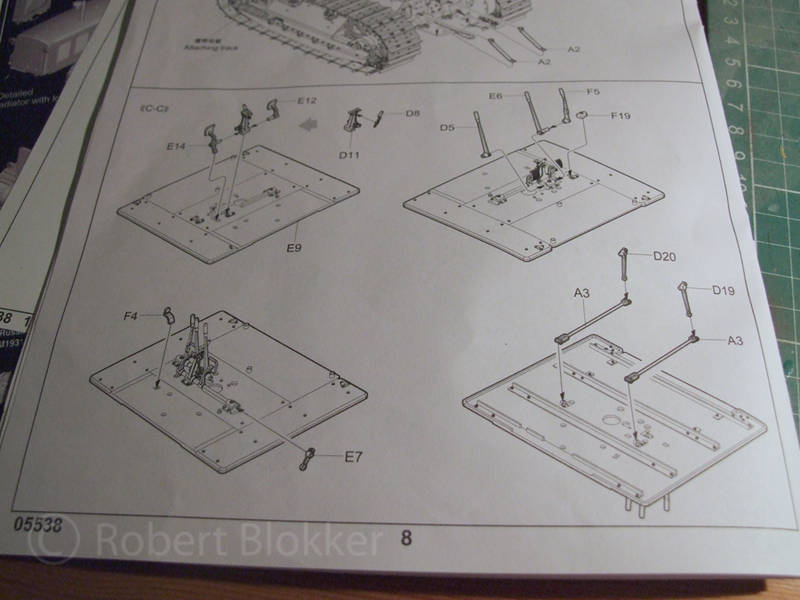
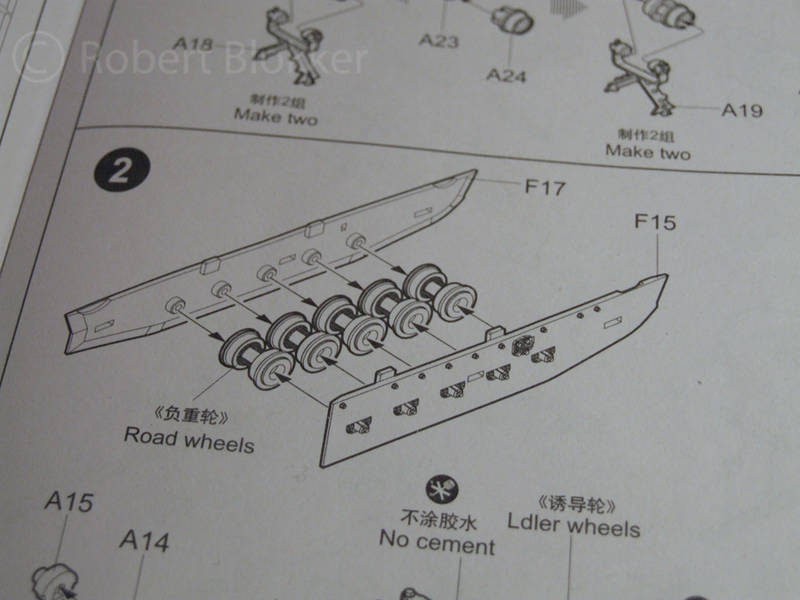
Next up Step 2
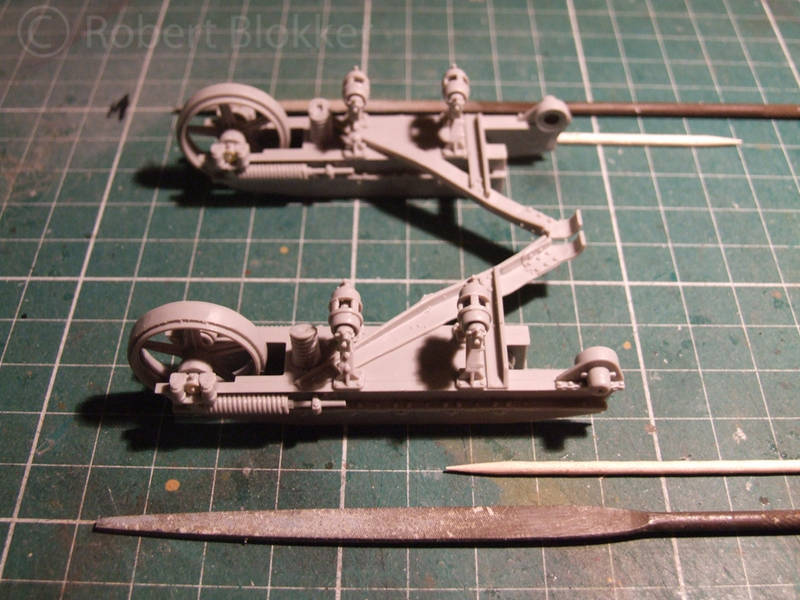
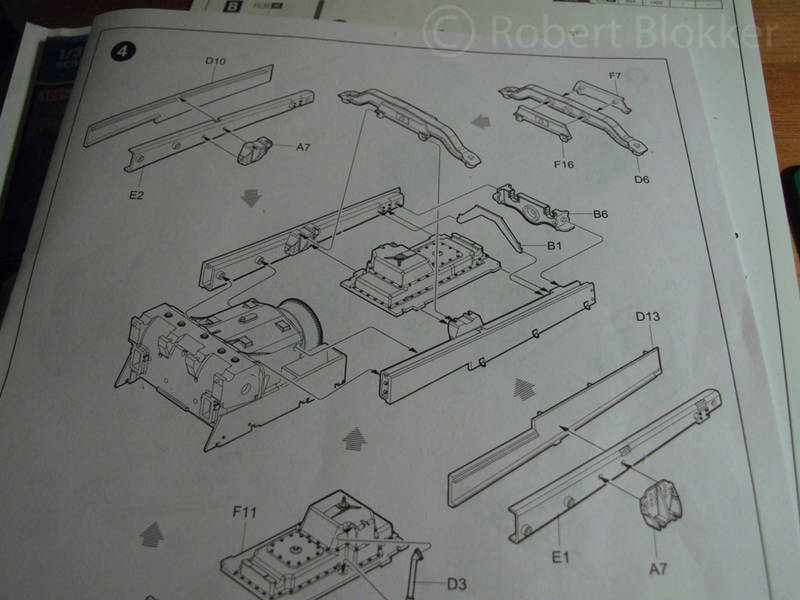
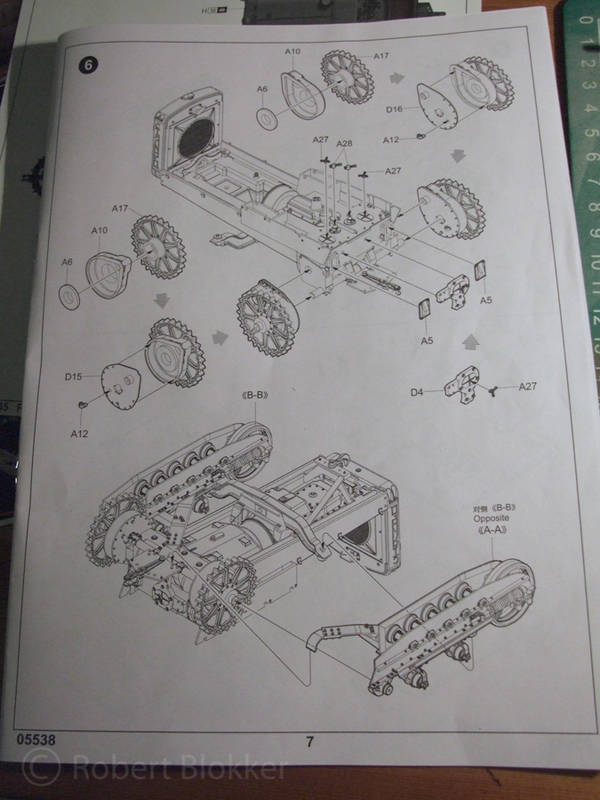
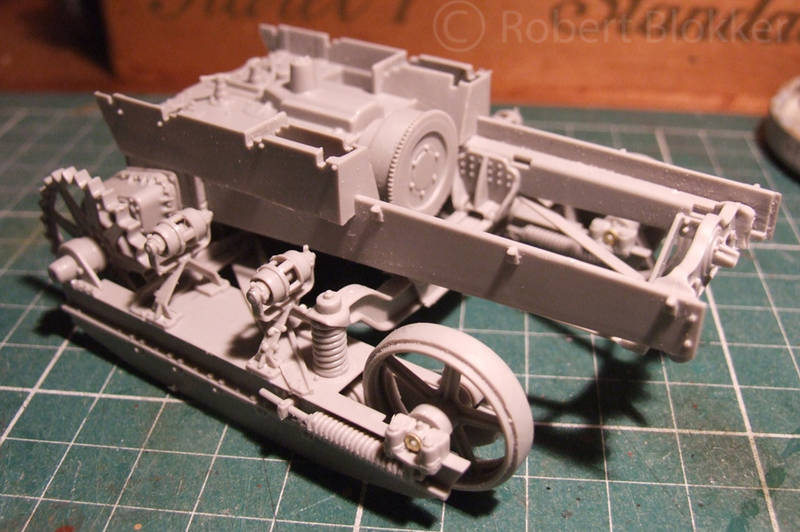
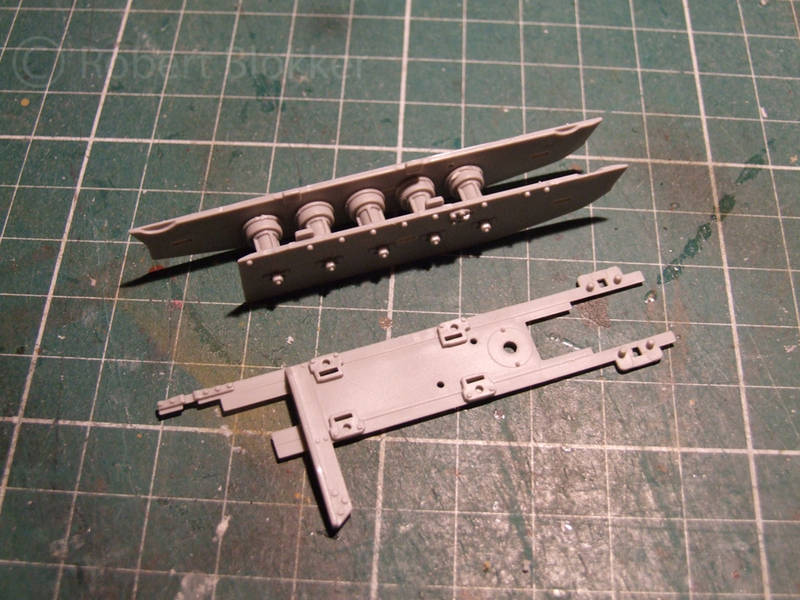
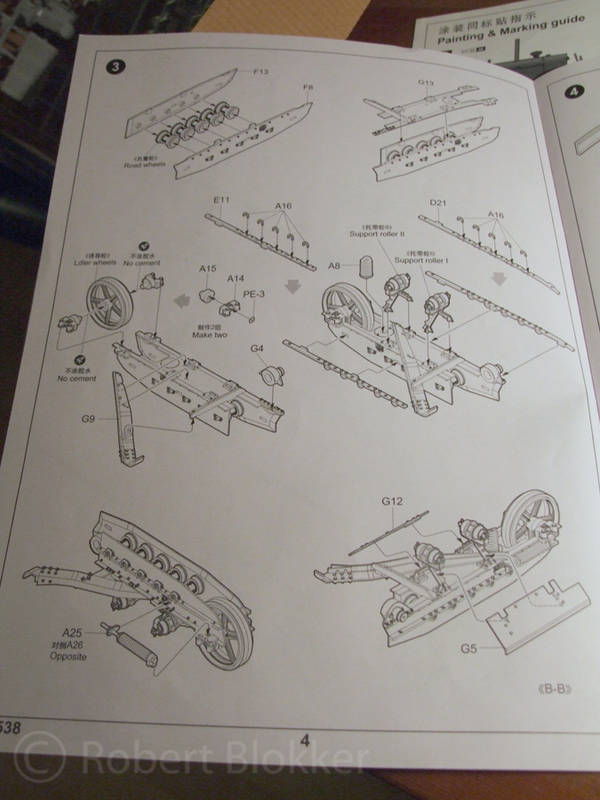
In the following diagrams you can see how the ten roadwheels from step 1 are going to be hidden in the Running gear.
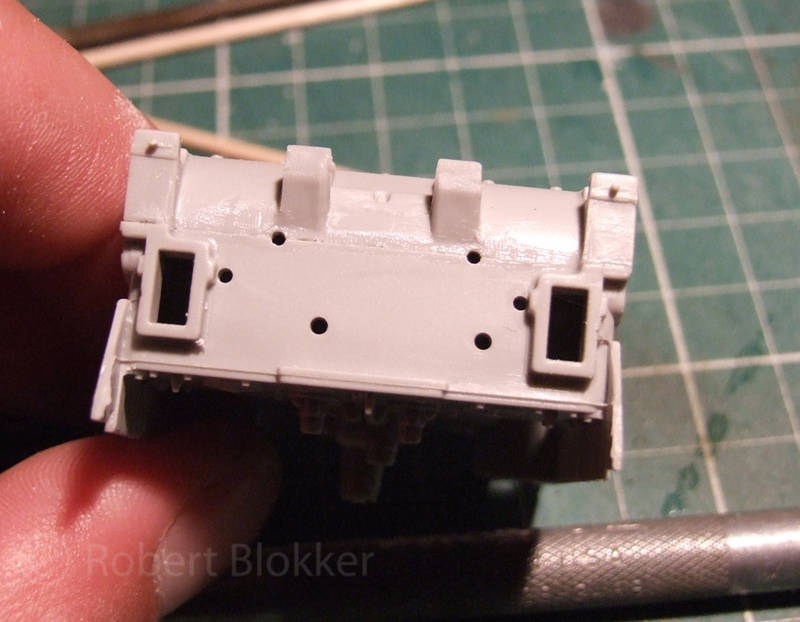
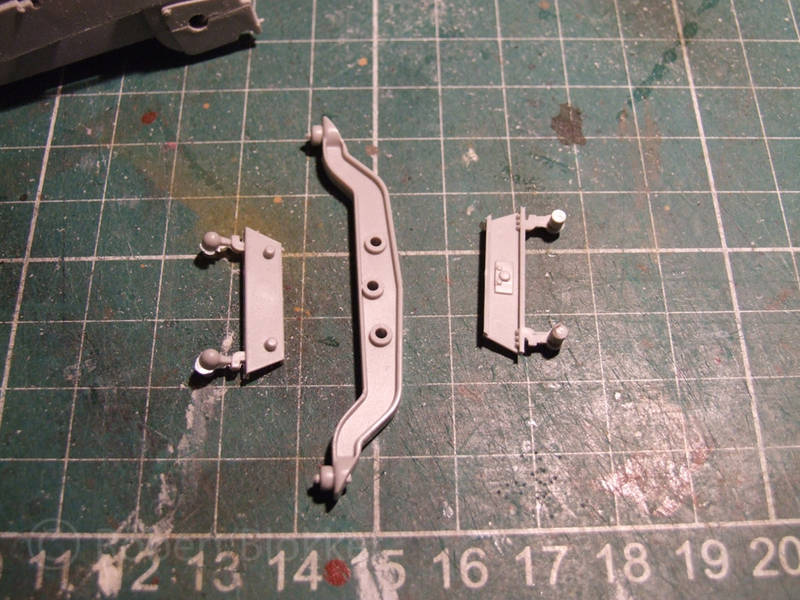
Then on to the axle holders for the Idler wheel. As you can see the Parts that go on the runninggear casing have two pushout marks right on top and in view. You can fill them I decided to scrape that layer off with a hobbyknife.
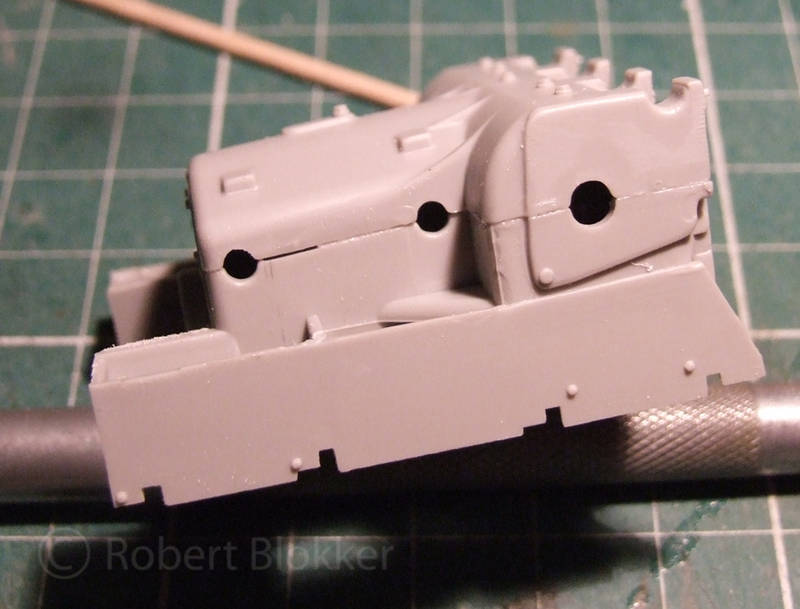
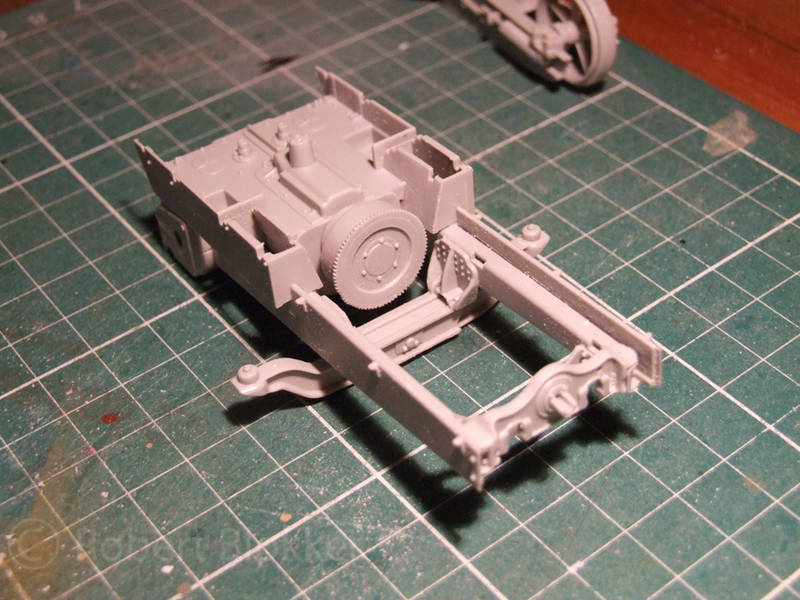
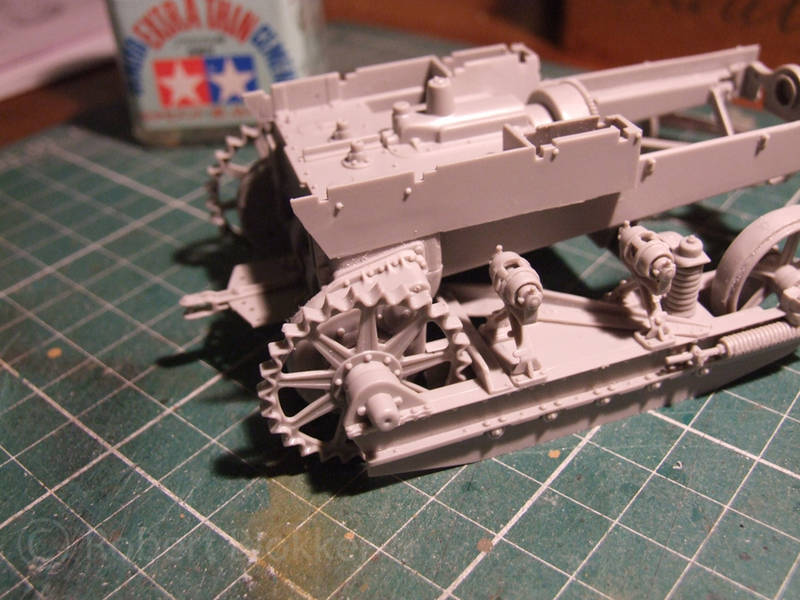
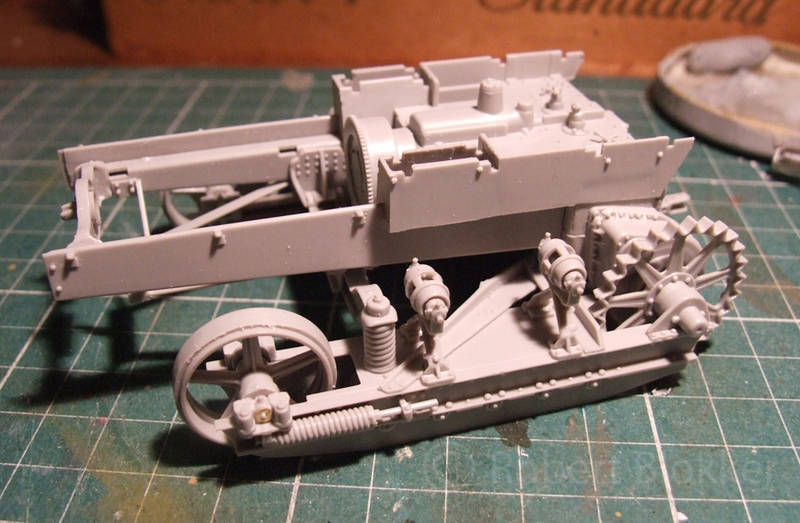
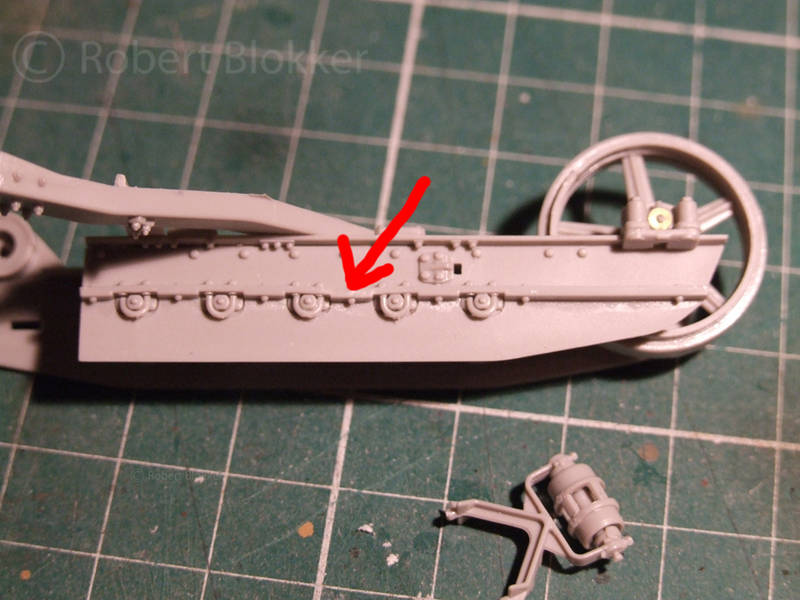
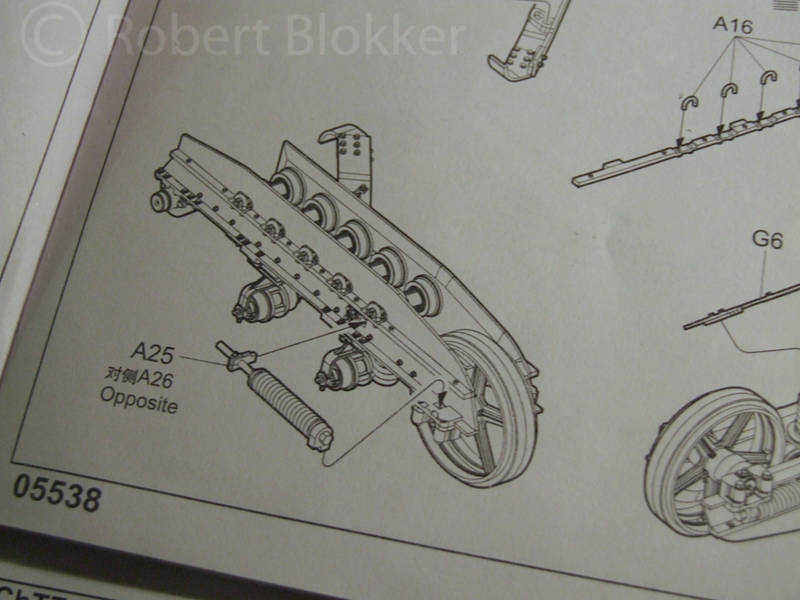
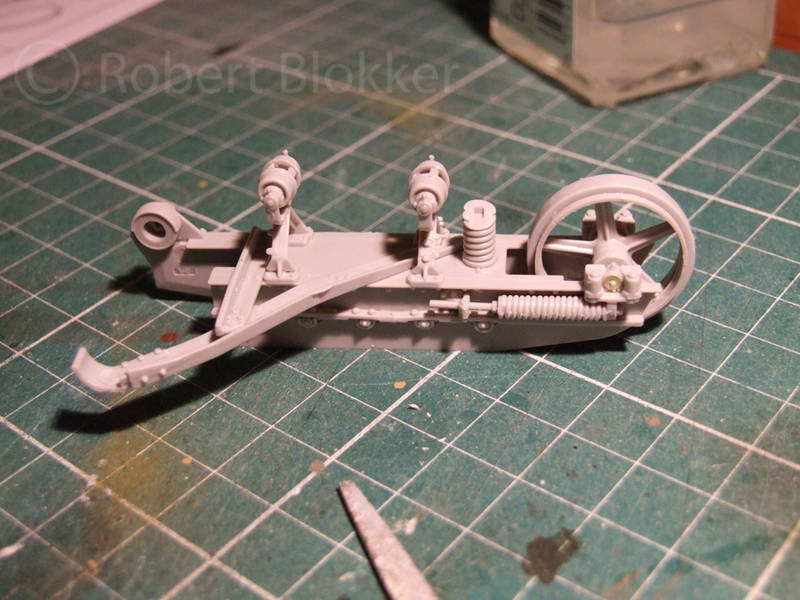
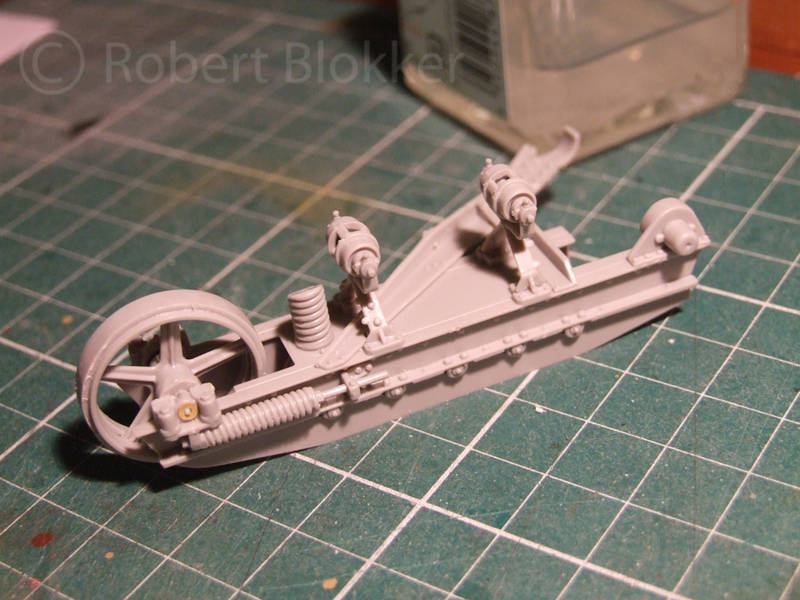
Also in step 2 you have to add some ridges with metal loops that go around the axles for the roadwheels. The short one on the inside of the runninggear does not fit that awefully well and I had to use some violence to get it in place. Which results in it not being completely straight. (will not be visible when the vehicle is finished. The long one on the outside no problemo. Also in this step you add the Guidewheels and a big coilspring. Check out the drawings well as it is cut at an angle on one side and it needs to be on the inside.
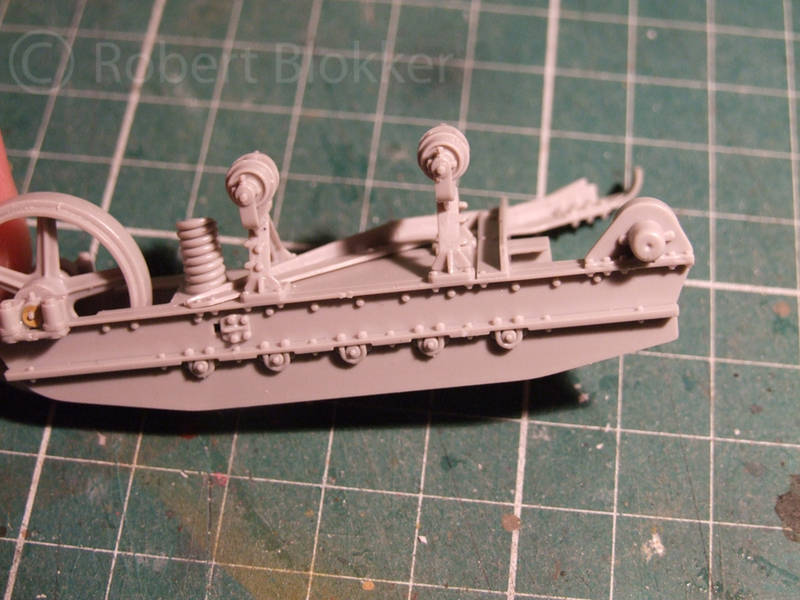
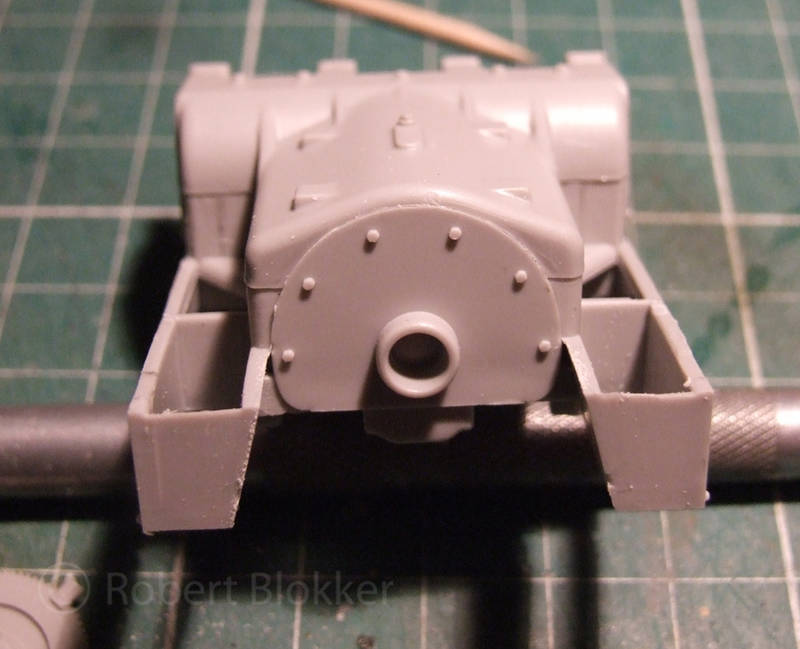
Last part of step 2 for my built is adding the adjusting springs for the Idler wheel. This is where the drawing can be a bit confusing as they turn the Runninggear upside down. You can only put the spring in one way.. the other side has it's own spring. But it takes a good look.
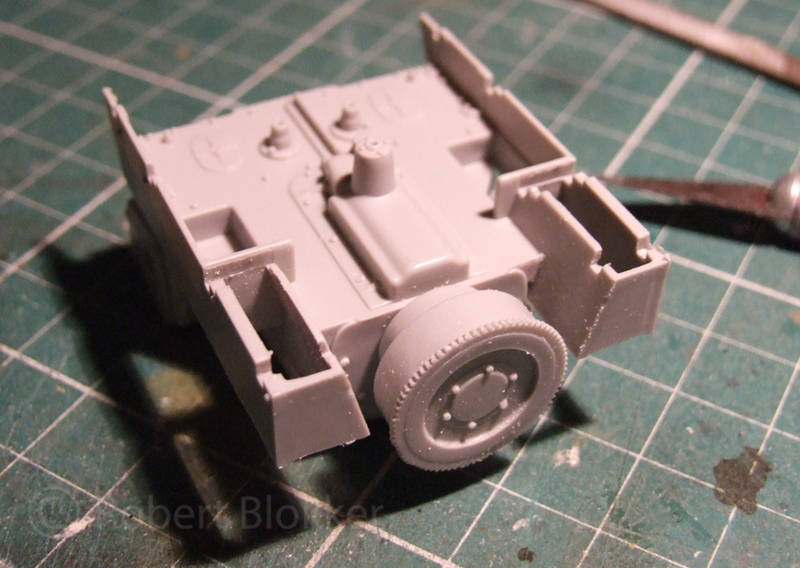
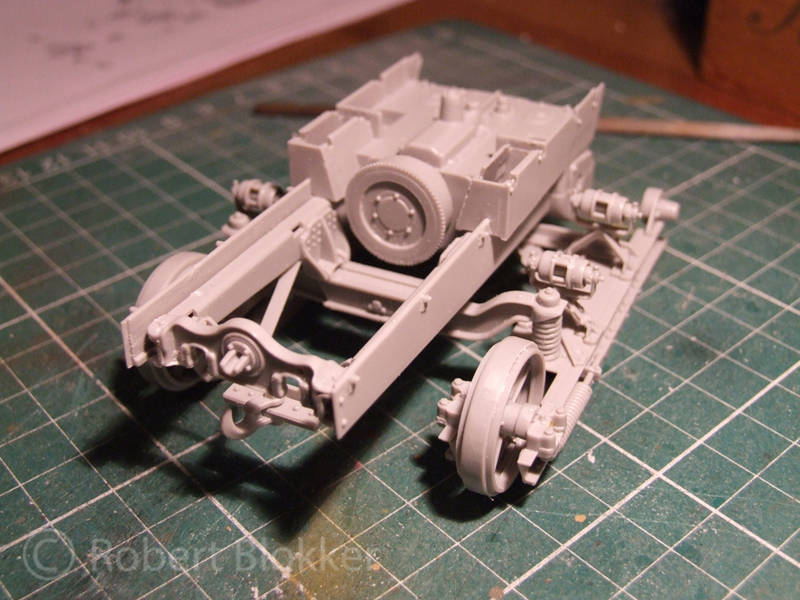
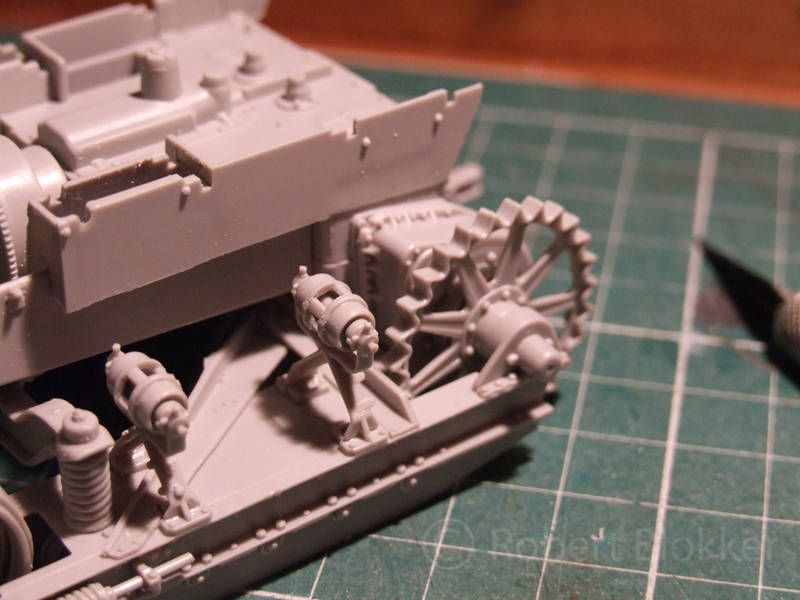
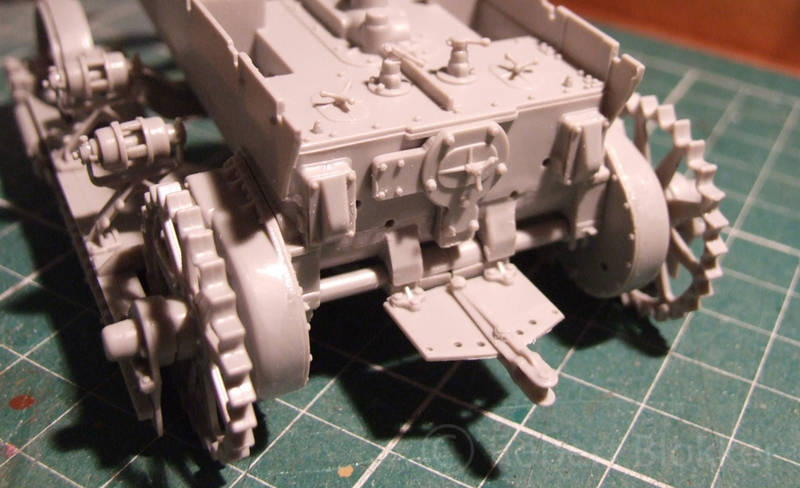
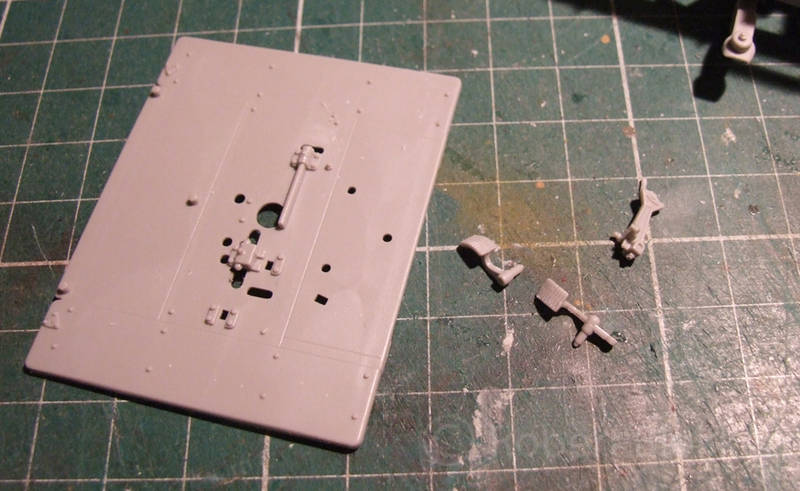
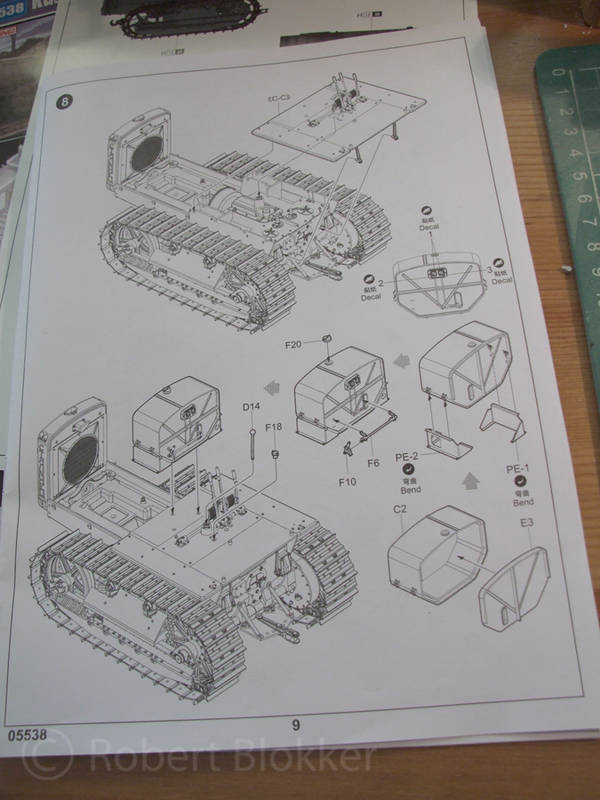
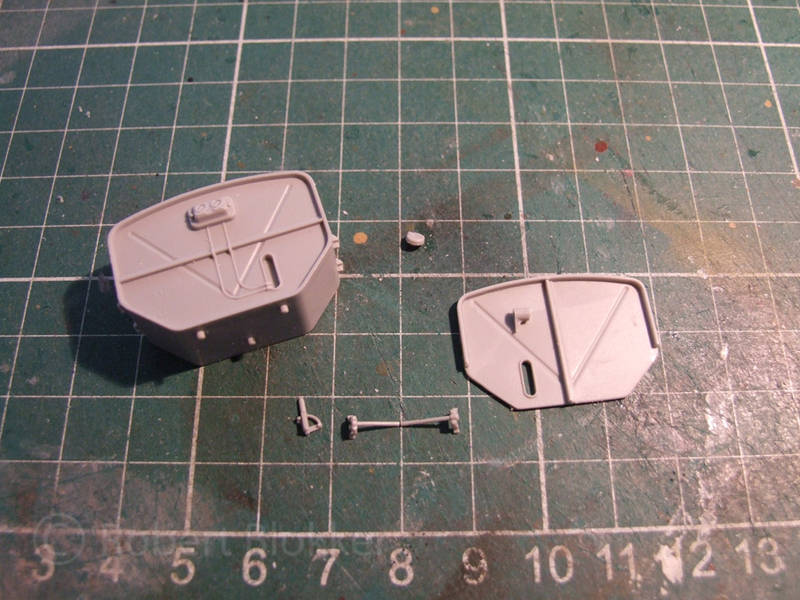
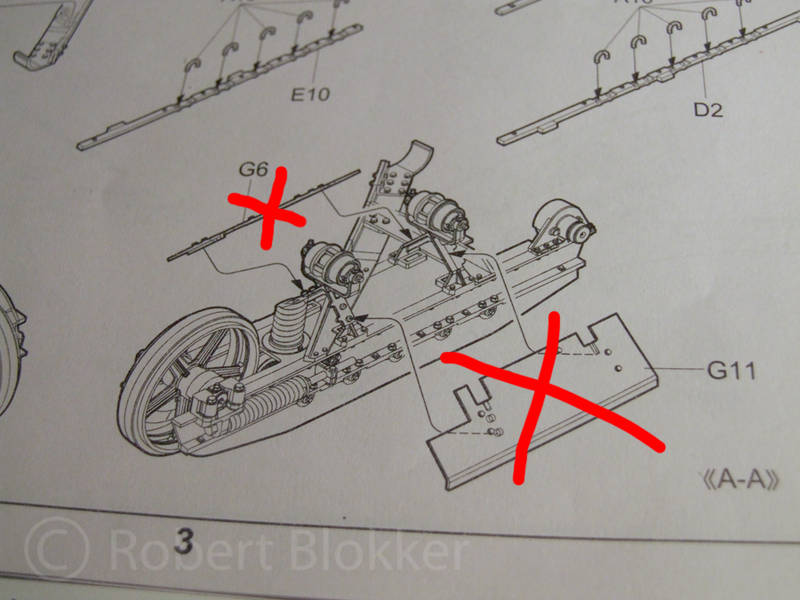
The following diagram shows the real last part of step 2 but the protection boards are not used as the LZ models Engine set comes with PE replacements for this. And here you also can see the reason why you have to keep an eye out which of the Guidewheels holders from step 1 goes where as you glue the protection boards on the one with the nubs.
Then on to step 3 which shows how to built the right side of the running gear but since it is a mirrored assembly from step 2 there is not much use in showing it.
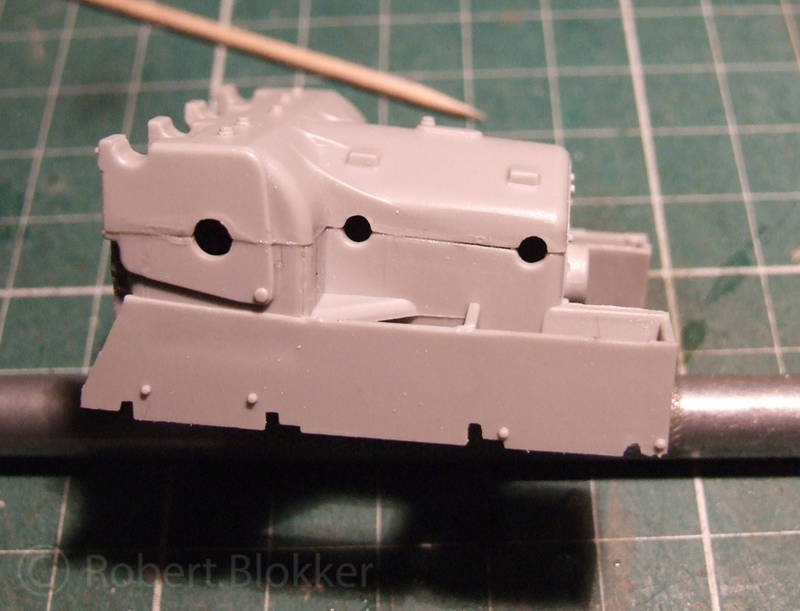
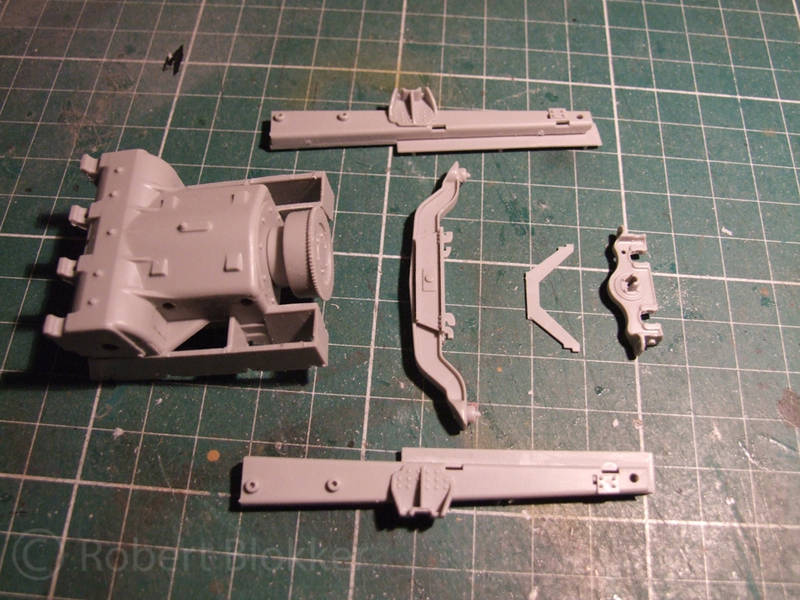
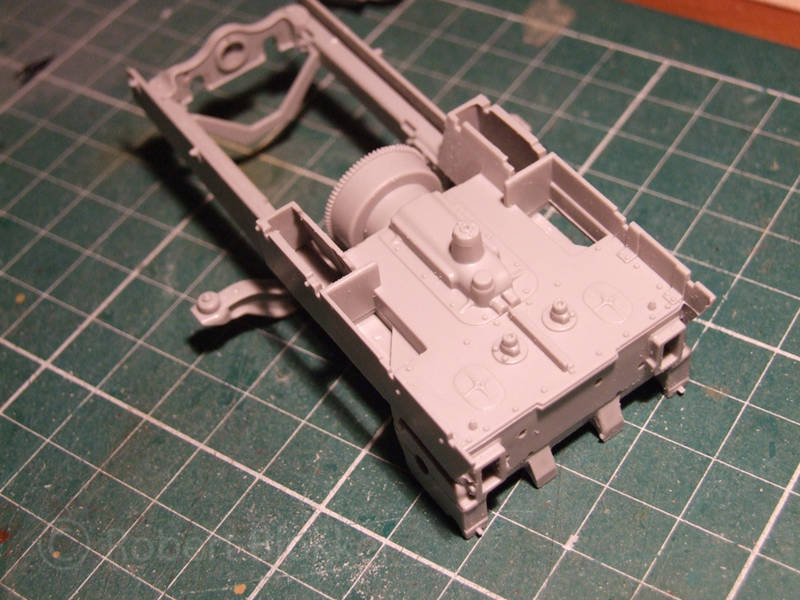
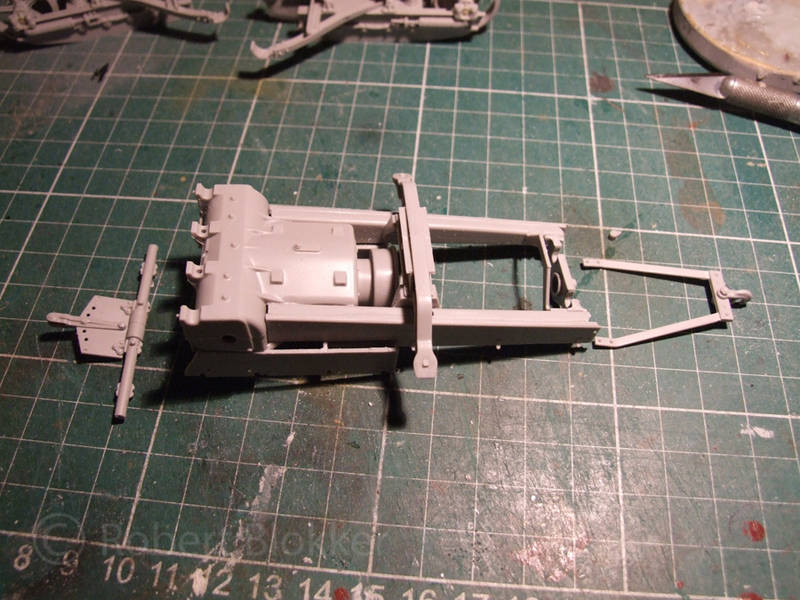
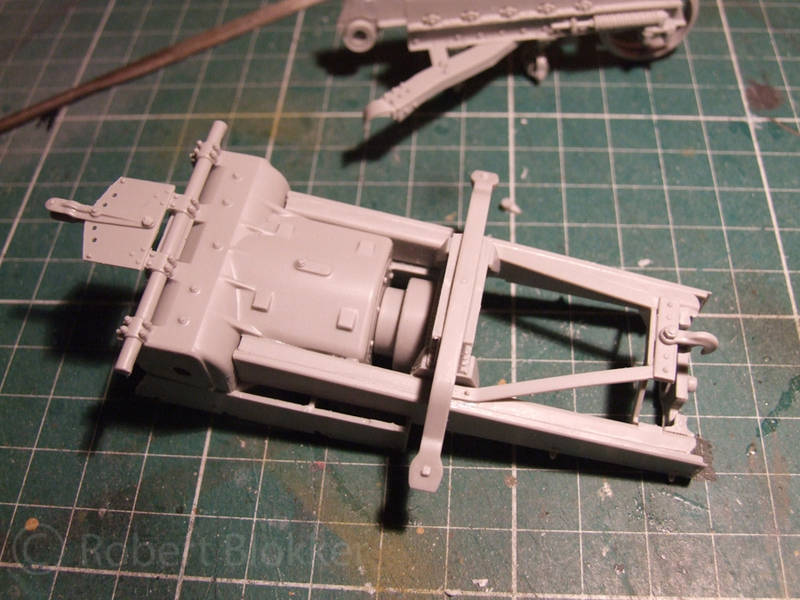
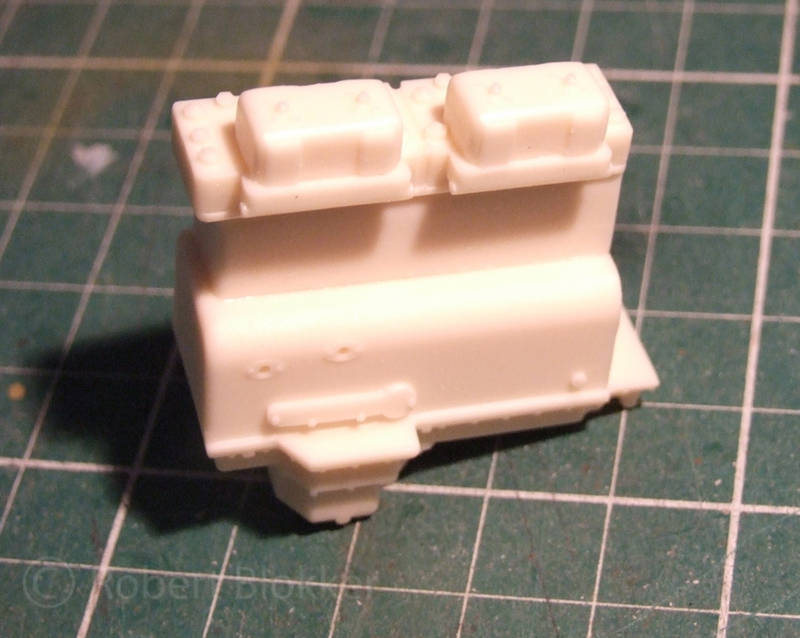
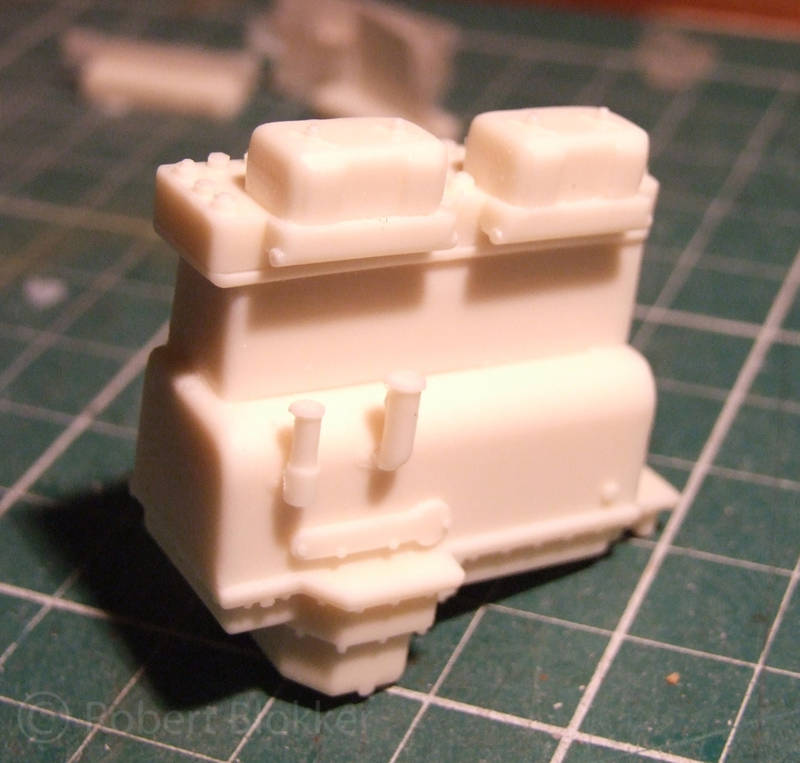
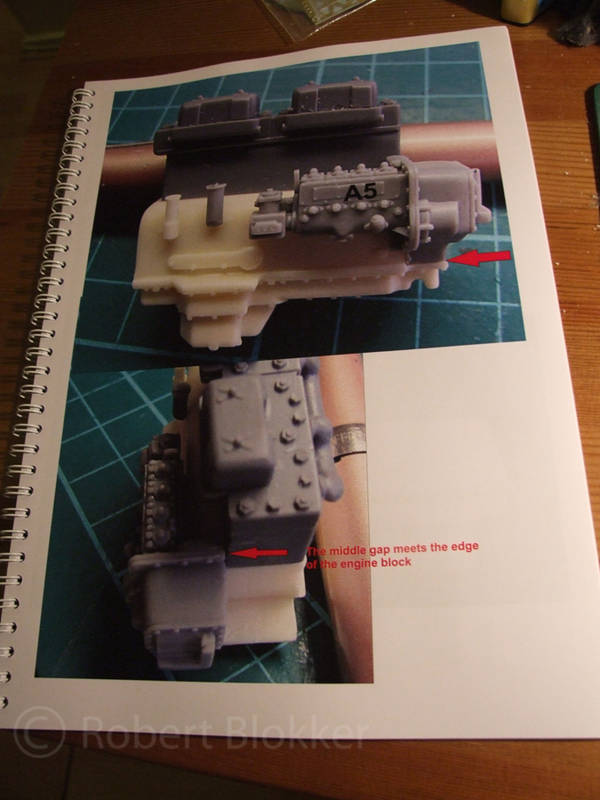
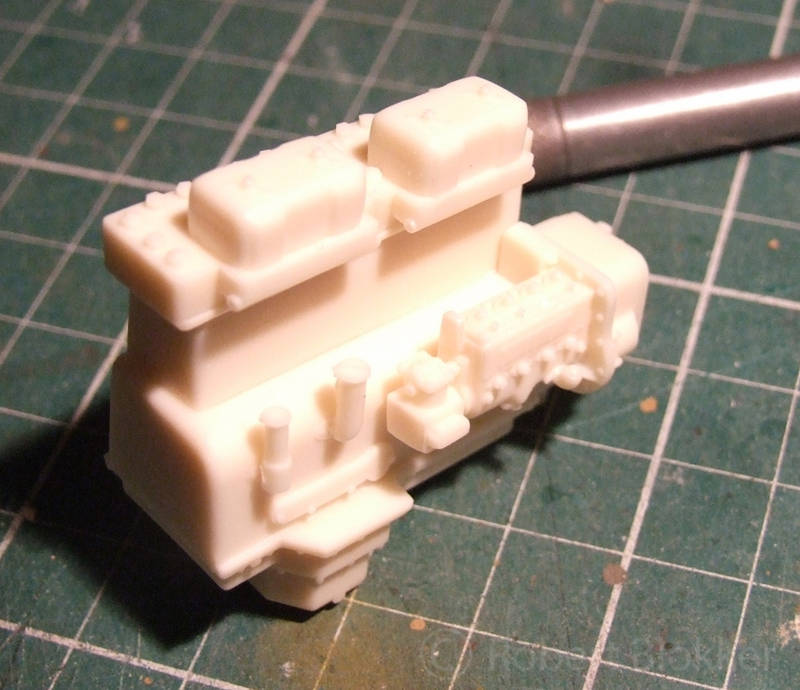
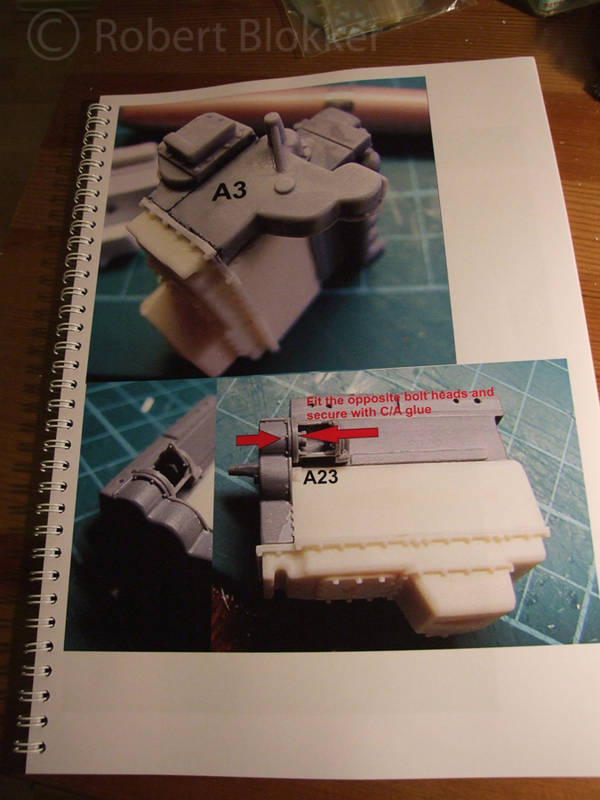
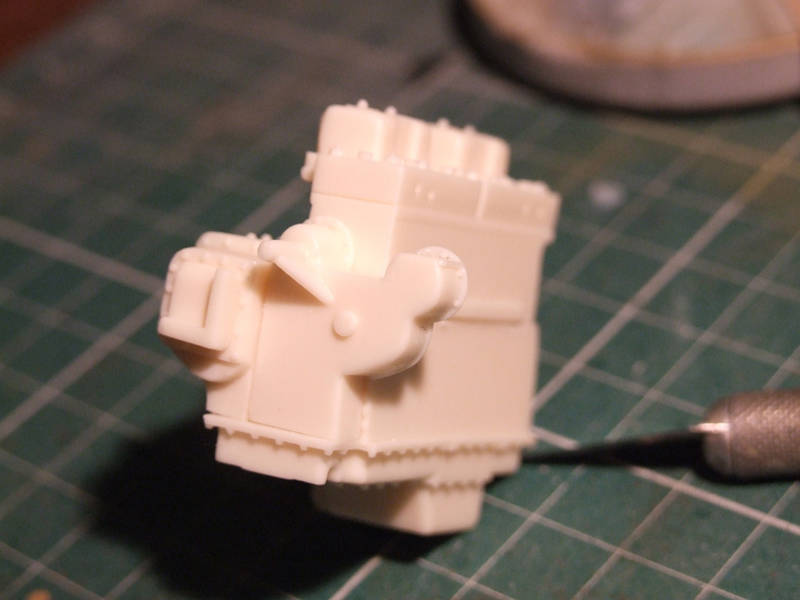
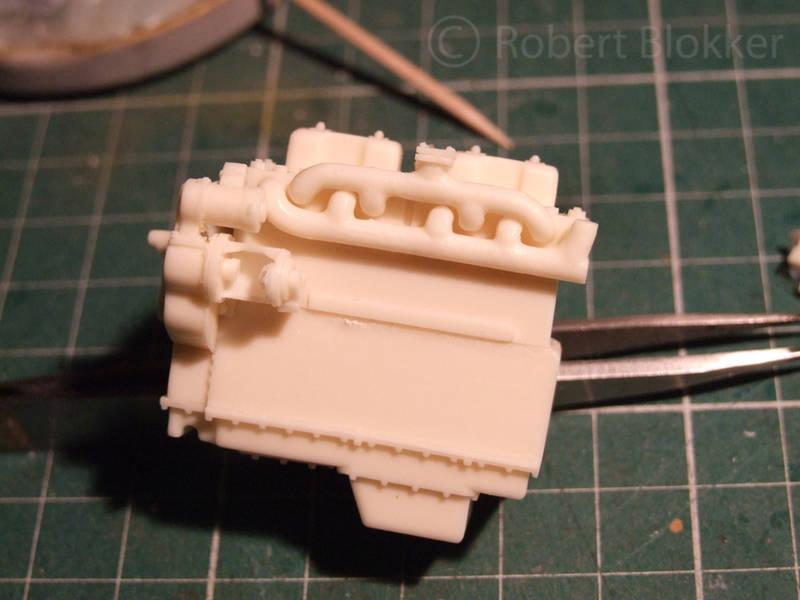
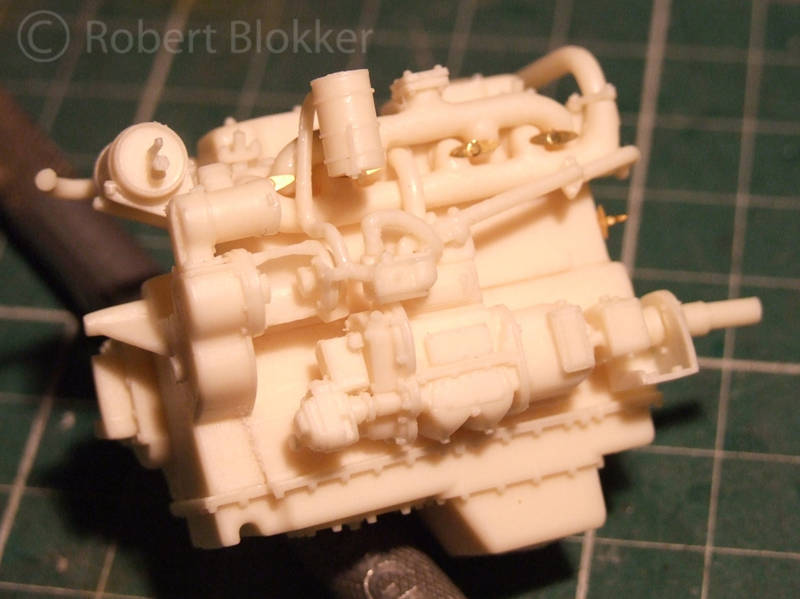
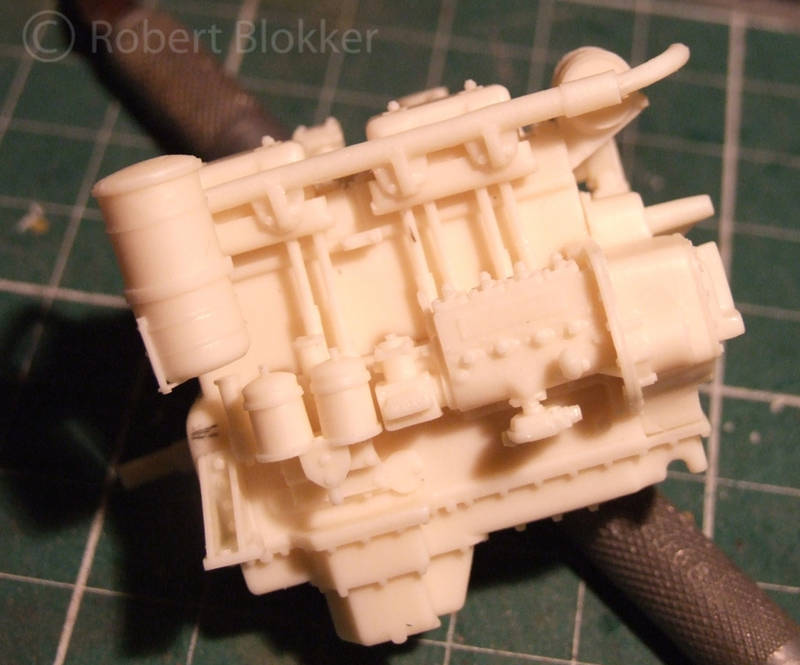
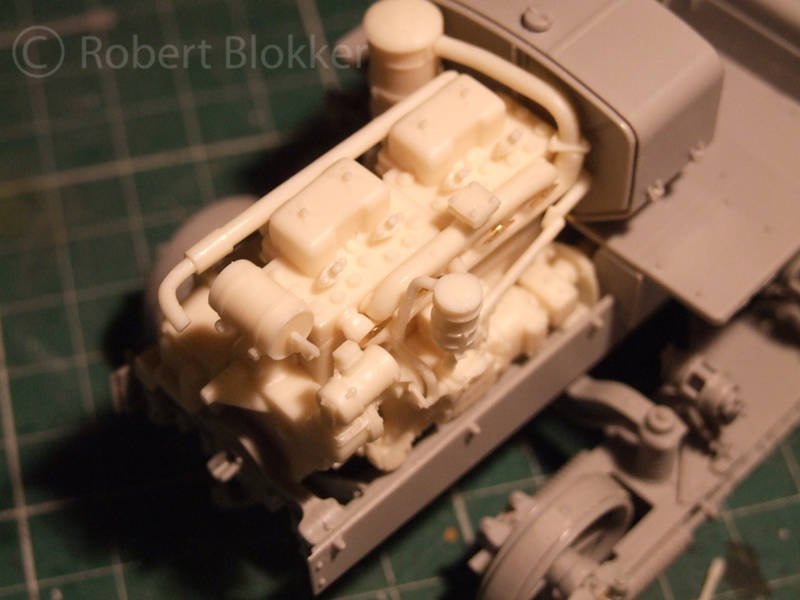
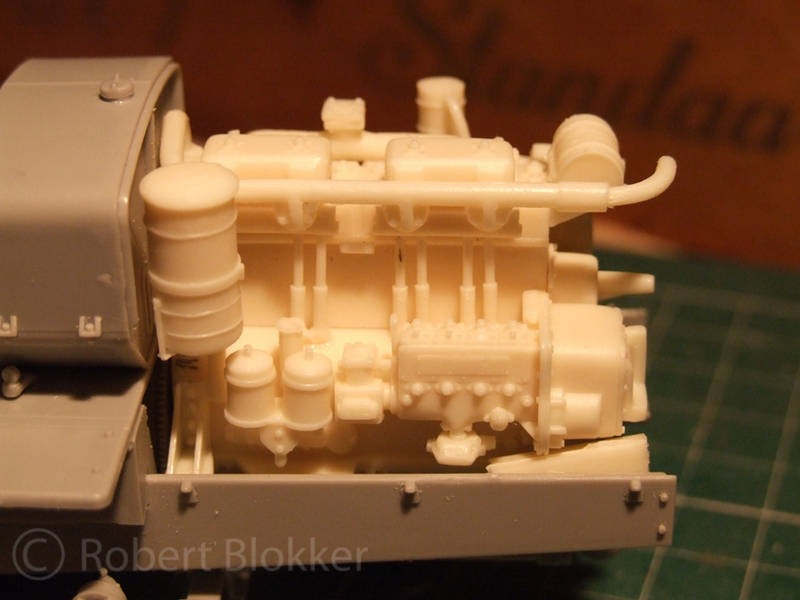
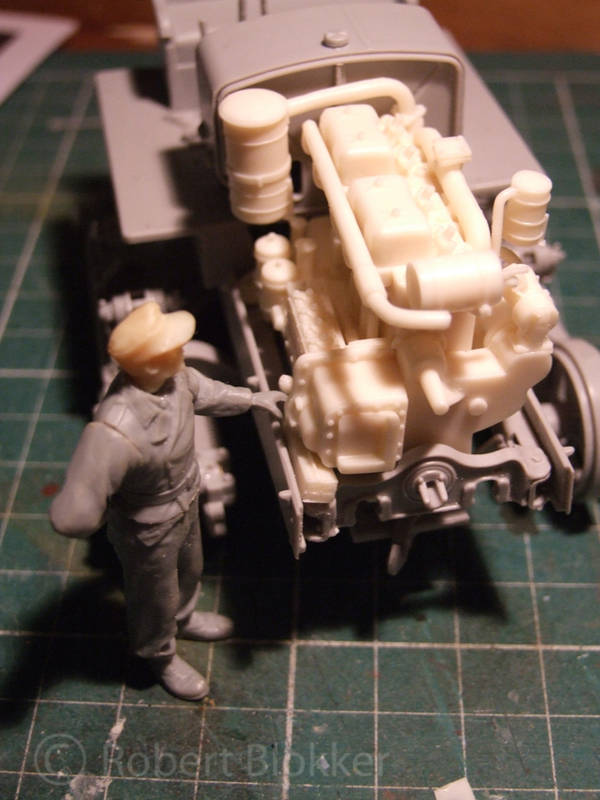
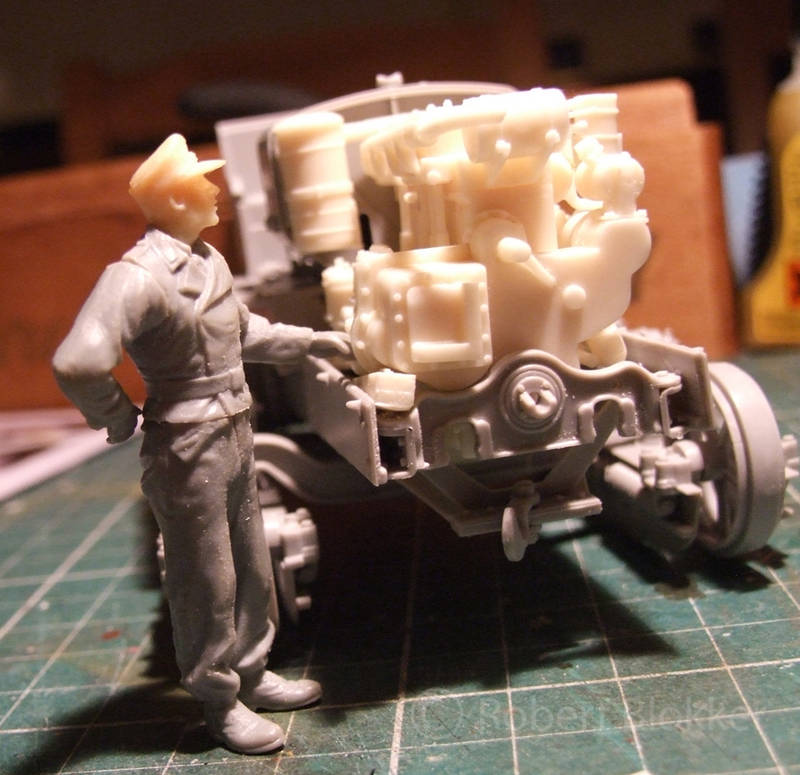
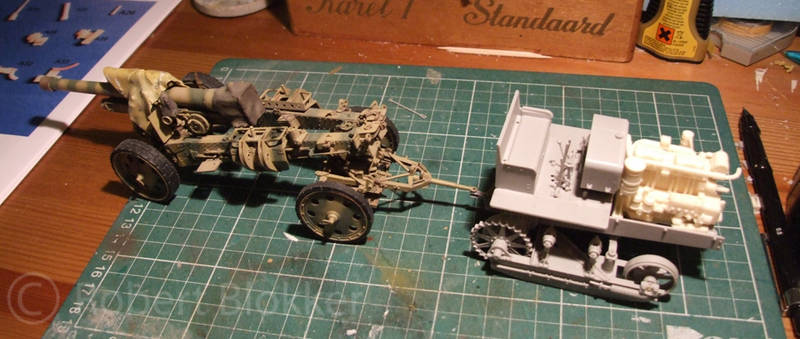
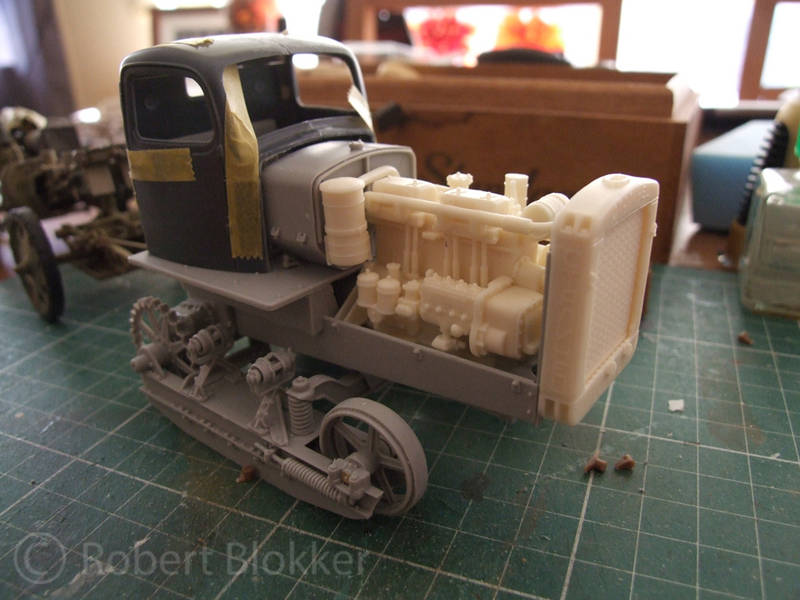
Next up. Dealing with the transmission and the start of the LZ models engine set.
With friendly greetz
Robert Blokker