_GOTOBOTTOM
Dioramas: Techniques
Diorama techniques and related subjects.
Hosted by Darren Baker
Fossil 3
Jenseits
Visit this Community
Indre-et-Loire, France
Joined: February 14, 2010
KitMaker: 224 posts
Armorama: 213 posts
Posted: Thursday, May 10, 2012 - 04:15 AM UTC

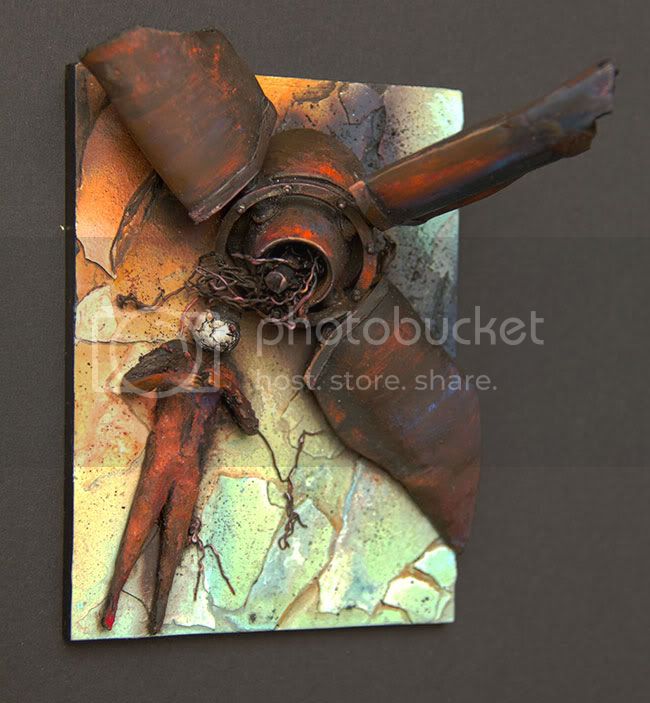
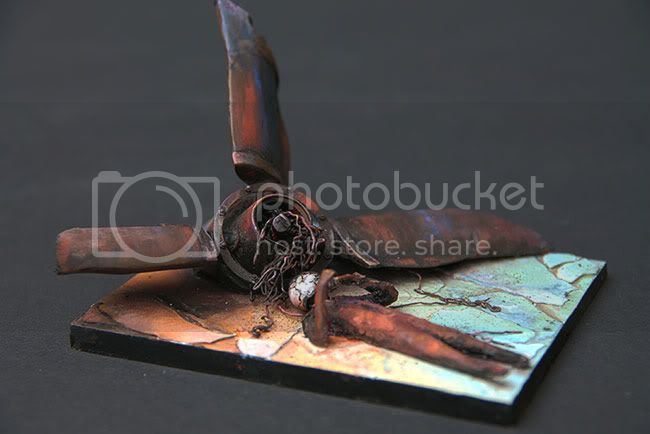
Following the tremendous popular success of my Fossil 2 diorama, here is.. Fossil 3! the last of the triptych. I still have to find a setting idea for the 3 of them.

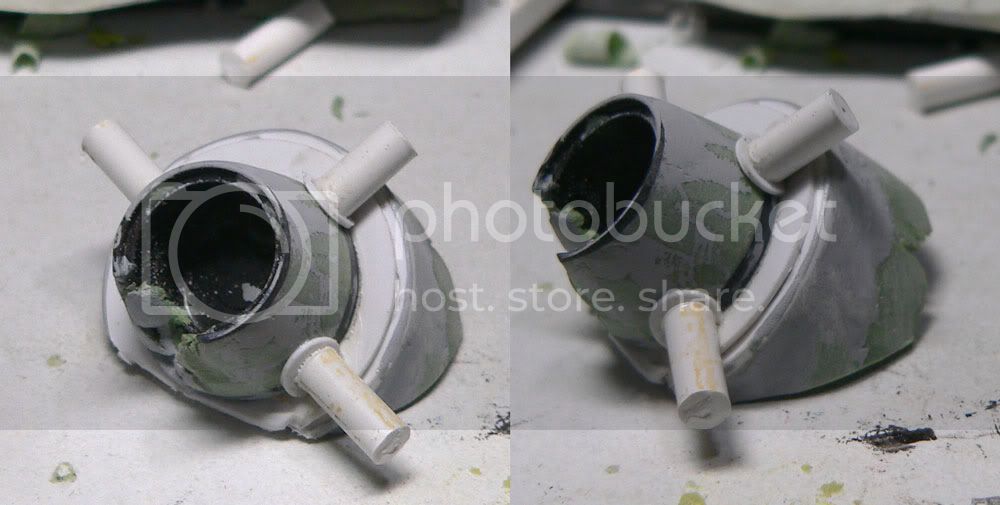
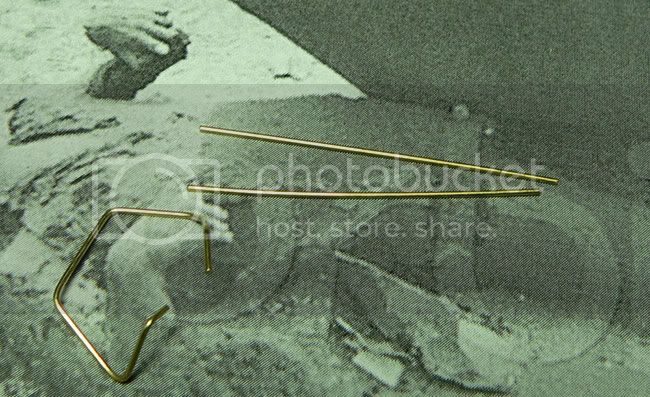
Anyway, here we go again, another figure sculpting beginning by twisting a few brass wires


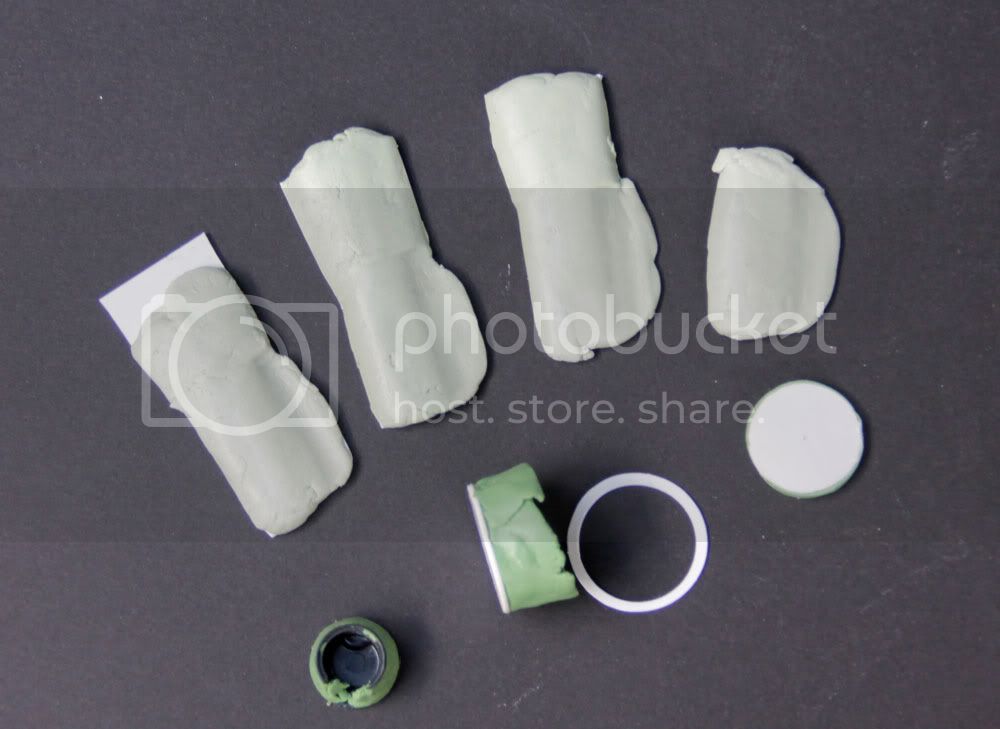
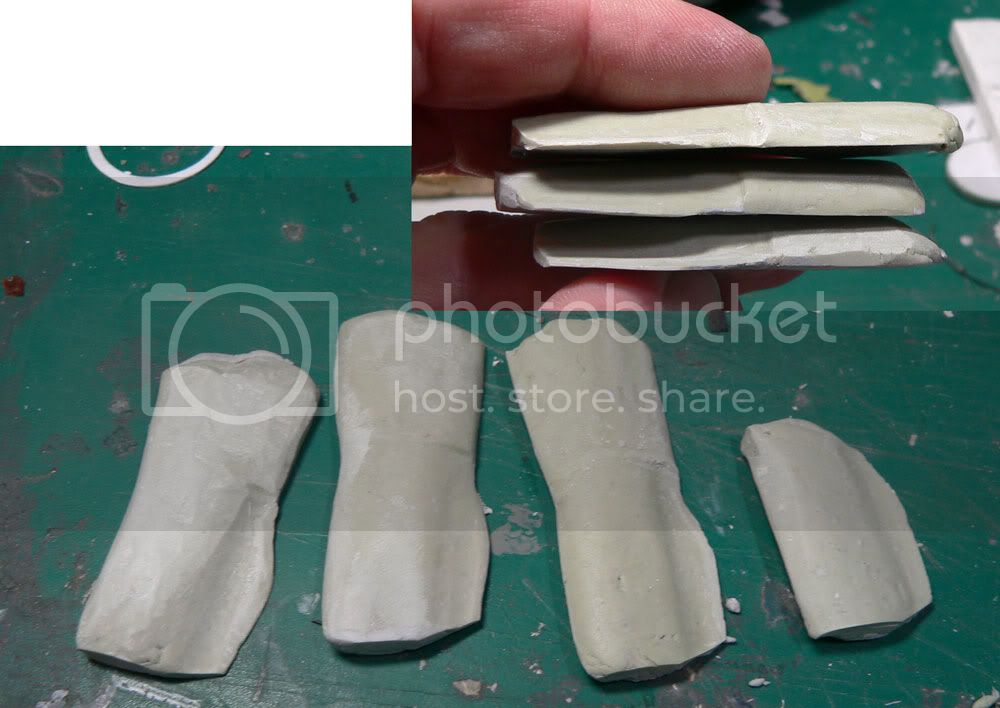
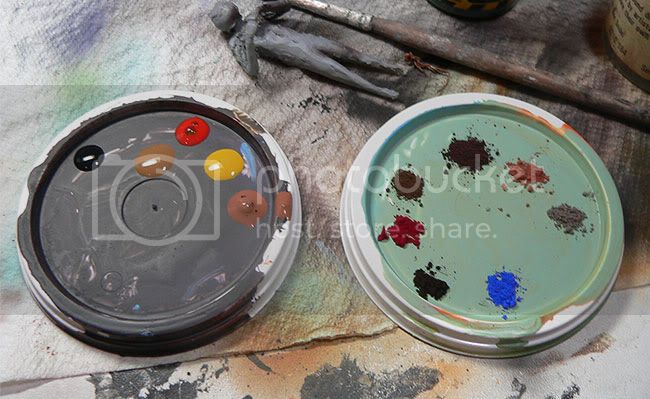
That I cover with MS+Duro..


some MS + Duro..


Then I added some Hornet hands. I can actually sculpt hands but hands have less "personality" than heads so I prefer using Hornet's and therefore save some time.
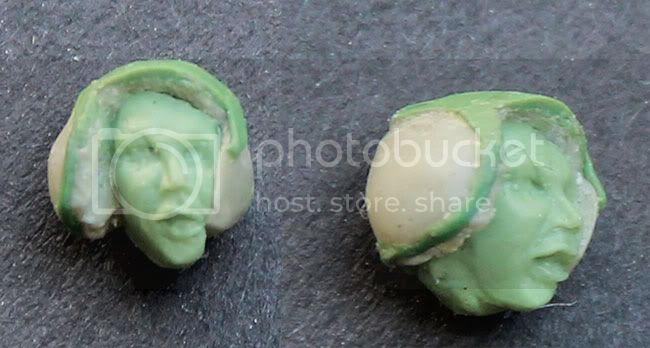
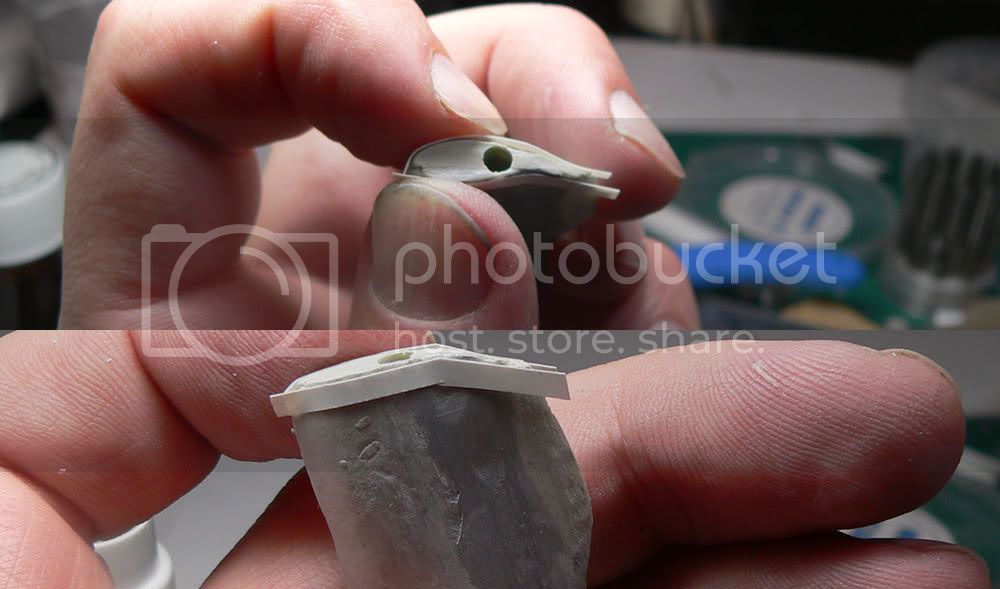
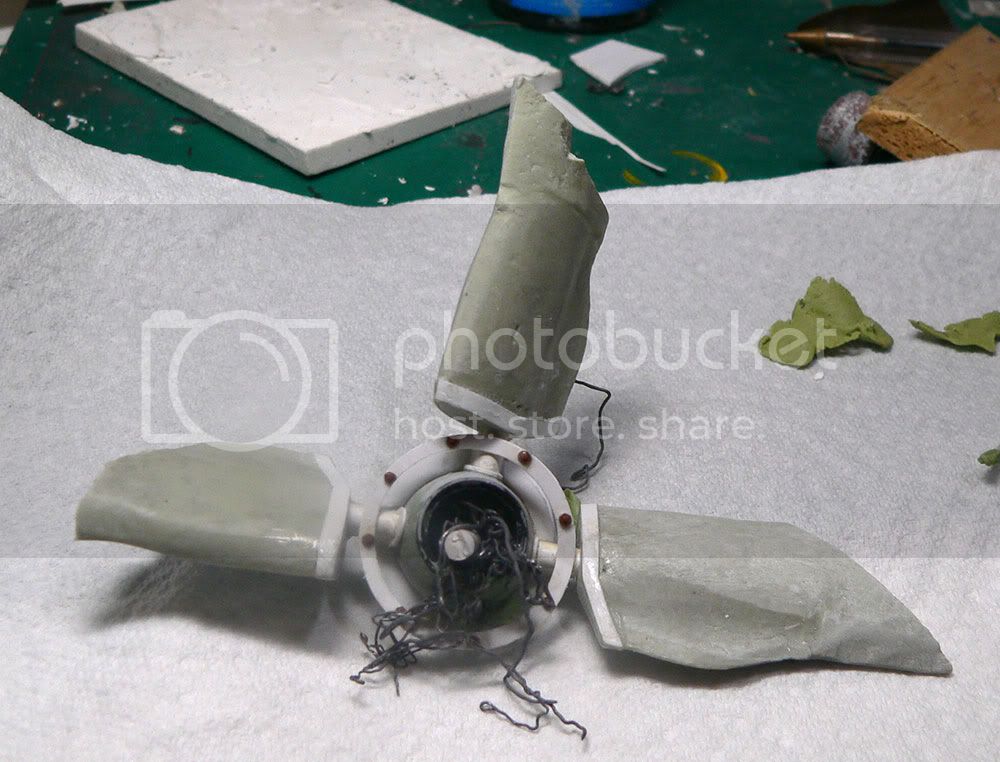
Strangely enough those were not as destroyed as the rest of the body

the head + helmet (AFH-1), all Duro and MS, work in progress but in the end, there will probably be more blurred features for the face as well as a better hollowed helmet
Jenseits
Visit this Community
Indre-et-Loire, France
Joined: February 14, 2010
KitMaker: 224 posts
Armorama: 213 posts
Posted: Friday, May 11, 2012 - 03:40 AM UTC
And now for something completely different.
A badass US flying thing made in USA.. let me think.. C-130 looks pretty cool, how to cram a 1/35 C-130 on a 10x6cm base?
ah well, only one of the engines now

What's cool when you begin to master (more or less) figure sculpting is that scratchbuilding really appears so very simple to me.
So here we are and let's do the blades as well as some other stuff. I was fortunate enough to have an access to the great Lock-On on C-130 as well as used the Prime Portal references for global shape.

so, some old kit parts, other parts cut from a round cutter, MS covered plastic for the blades, Duro for the crumpled metals bits, here is the engine after 2 hours job :


refining, trimming sanding ..


the base of the engine

let's hole the blades to insert the bits..

Add a few extra details, trim the blades and here we are
Karl187
#284
Visit this Community
Northern Ireland, United Kingdom
Joined: October 04, 2006
KitMaker: 3,094 posts
Armorama: 2,942 posts
Posted: Friday, May 11, 2012 - 03:48 AM UTC
A C-130 engine? Now that is a surprise! I must say it is a masterfully built engine- the putty for the rotors looks very convincing.
bill1
Visit this Community
West-Vlaaderen, Belgium
Joined: August 14, 2005
KitMaker: 3,938 posts
Armorama: 520 posts
Posted: Friday, May 11, 2012 - 10:30 PM UTC
Yo Nicolas,

Well...next on, number tree in the row...

Yeah, the sculpting look like child play to you...a gift...when I thinking of sculpting something the communication between my brain and hands are still in the stone age...

Good job on the rotors and motor...looks realistic!

Keep up!

Greetz Nico
Jenseits
Visit this Community
Indre-et-Loire, France
Joined: February 14, 2010
KitMaker: 224 posts
Armorama: 213 posts
Posted: Monday, May 14, 2012 - 09:12 PM UTC
Thanks Karl, this kind of scratchbuilding work always takes more time than one expects.

Hey Nico, thanks for the comment! You know I used to be quite bad at doing this myself, then I DECIDED I wanted to be good and finally managed an OK level! that's all a question of will -and also accepting to have some early dioramas whose figs are not exactly Alpine or Hornet worth

here is the last instalment of this short blog (for a short diorama), completed pics soon

I have been doing a plaster base like I did for the 2 previous versions and started airbrushing the colours (remember, no seal!)


Here is the more finished base, you may notice the quite hysterical colours, thank you that's an experiement notice the shadows as well, the places where the crew member and the engine will stay

The engine was painted in quite a peculiar way: after airbriushing some blue, brown, orange and black hues, most of the subsequent tones where mostly pigments with very few paint


Indeed here are the colours I used for both the engine and the crew member. This light red Valejo hue is quite bizare to work with I thought, quite great for screening effects


Here is the pilot now mostly done (stay the helmet to work and a few highlights)

...
roudeleiw
Visit this Community
Luxembourg
Joined: January 19, 2004
KitMaker: 2,406 posts
Armorama: 2,224 posts
Posted: Monday, May 14, 2012 - 10:54 PM UTC

Quoted Text

Following the tremendous popular success of my Fossil 2 diorama, here is.. Fossil 3


LOL, most here don't dare to comment, either because they do not feel qualified or it's simply difficult to find some correct words.


I really like your scratchbuilding. Very efficace :-)

Claude

Karl187
#284
Visit this Community
Northern Ireland, United Kingdom
Joined: October 04, 2006
KitMaker: 3,094 posts
Armorama: 2,942 posts
Posted: Tuesday, May 15, 2012 - 03:27 AM UTC
Nicolas- I am loving the colors on the base along with those on the body too- especially the area on the base you have colored for where the body will be- very effective indeed.
Jenseits
Visit this Community
Indre-et-Loire, France
Joined: February 14, 2010
KitMaker: 224 posts
Armorama: 213 posts
Posted: Tuesday, May 15, 2012 - 06:02 PM UTC
Aha thanks Claude, indeed you are right, this is why I mostly now choose other communication means than just forums, but still, people are seeing this if they are not commenting and that's alright really!

Thank you Karl! really I had a great comment yesterday evening about it -the body should have had a more wet look, and sadly I heard that AFTER I took the pictures! Oh never mind..


afv_rob
Visit this Community
England - East Anglia, United Kingdom
Joined: October 09, 2005
KitMaker: 2,556 posts
Armorama: 2,199 posts
Posted: Tuesday, May 15, 2012 - 08:32 PM UTC
Thats some superb work Nicholas! I really like the red and orange highlights around the upper part of the vignette, this really gives an impression of intense heat.

I have to say that I very much 'like' the subject as well, I think when many people (be it the modeller or general public observing the work) tend to forget that when they see a model of a nice burnt out tank with great rust effects etc, the crew of the real vehicle where roasted to death inside the thing.
Karl187
#284
Visit this Community
Northern Ireland, United Kingdom
Joined: October 04, 2006
KitMaker: 3,094 posts
Armorama: 2,942 posts
Posted: Tuesday, May 15, 2012 - 10:22 PM UTC
I think Rob really nailed one of the reasons why this piece is so engaging.

He also mentioned the colors really do give an impression of intense heat- I especially like the blue-ish hues and the brighter areas of rust- the areas where the burning has continued on the ground is also very effective.

exer
Visit this Community
Dublin, Ireland
Joined: November 27, 2004
KitMaker: 6,048 posts
Armorama: 4,619 posts
Posted: Tuesday, May 15, 2012 - 11:09 PM UTC
Great modelling. It is a difficult subject for a lot of people which might explain the lack of comments
Jenseits
Visit this Community
Indre-et-Loire, France
Joined: February 14, 2010
KitMaker: 224 posts
Armorama: 213 posts
Posted: Wednesday, May 16, 2012 - 05:20 AM UTC
thanks for your great comment Rob!

Indeed Karl, the colours are rather violent which was the purpose to map the death of the guy in the best possible way. Thanks as usual

Well Pat, I didn't want to sound like I was complaining Easy subject or not, I would have had few comments anyway because that's the way it goes.
firstcircle
Visit this Community
England - South East, United Kingdom
Joined: November 19, 2008
KitMaker: 2,249 posts
Armorama: 2,007 posts
Posted: Wednesday, May 16, 2012 - 11:02 AM UTC
Marvellous sculpting and painting - I would not, I don't think, have considered the sculpting of the machine parts in that way.

This time it reminds me of one of those crucifixion sculptures... something about the shape of the prop blades. Strange to look back on how for centuries a dead man was one of the main subjects of western art.
rodrigo_sartori
Visit this Community
Sao Paulo, Brazil
Joined: January 16, 2007
KitMaker: 160 posts
Armorama: 159 posts
Posted: Wednesday, May 16, 2012 - 02:58 PM UTC
Hey Nicolas.
This is a very, very good job.

Congratulations!
jvazquez
Visit this Community
New Jersey, United States
Joined: September 26, 2006
KitMaker: 857 posts
Armorama: 811 posts
Posted: Wednesday, May 16, 2012 - 04:19 PM UTC
Sorry for asking this question and I only ask it because nobody has posted it anywhere, but is this a mini diorama of the failed Operation Eagle Claw in 1980?
Spiderfrommars
Visit this Community
Milano, Italy
Joined: July 13, 2010
KitMaker: 3,845 posts
Armorama: 3,543 posts
Posted: Wednesday, May 16, 2012 - 06:23 PM UTC
You've made a job which is very close to an artwork and I'm not referring only to the execution quality
If it was exhibited in an artgallery, there wouldn't be nothing strange

Thanks a million for sharing
Jenseits
Visit this Community
Indre-et-Loire, France
Joined: February 14, 2010
KitMaker: 224 posts
Armorama: 213 posts
Posted: Wednesday, May 16, 2012 - 07:05 PM UTC
Thanks Matthew -C-130 engine blades are rather thick, there would be no way to sculpt them out of plastic. wood would have been another option but I feared not being able to get the right bending which is quite intricate indeed.
Crucifixion you are pretty right on that one, very well seen indeed as it was one of the points. Either plane engines or boat screws do the trick pretty well, it sort of adds another dimension to the diorama.

Thanks Rodrigo!

Well James, those figs from the Fossil series were indeed sculpted from reference pictures the Iranian power let slip around 1980 about some failed rescue operation, air filters not fixed on helicopters, a desert storm etc. but if those dioramas were *about* Eagle Claw, I would have call the dioramas Eagle Claw just like I did for Rolling Thunder etc. But here no, it's merely a live study on colour and dead bodies.

Thanks for this Mauro

Well next diorama soonish now.
 _GOTOTOP