By "pouring tower" I take it you mean the metal pour point in the casting? If so, you have been looking at an extremely clean and smooth vehicle. Most had much more texture & uneveness in their surfaces. I'm attaching several photos I took of how I achieved the casting texture on my M47.

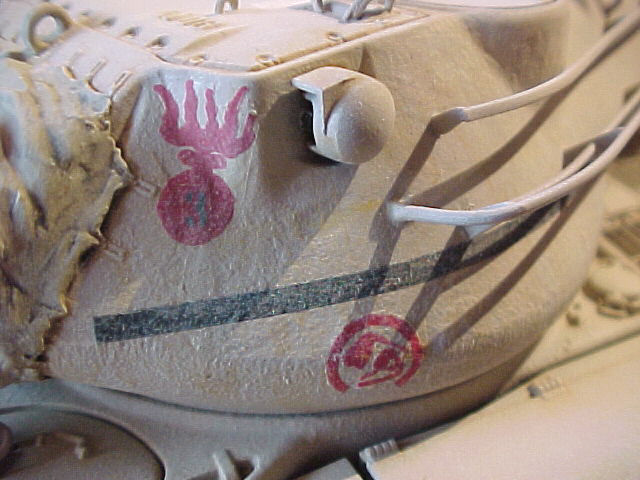
The white line is approximately where the seam was in the turret casting. These were generally roughly flame cut or ground down to an acceptable surface.

A detail of how the seam was made plus you can see that I have gone over the entire turret surface with my Dremel using a broad leaf-shaped bit to produce shallow indentations to represent the trowel marks in the sand of the sand mould of these castings. Most of these turrets had their moulds partially shaped by hand prior to pouring the metal.

Here's the turret coated with Mr. Surface 500. The Mr. Surfacer is stippeled while still wet until stiff peaks form in the filler and it's nearly dry. It takes practice, but you can get good at it quite quickly on a practice model or piece of plastic. After it's completely dry, I gently sand it down to achieve the amount of cast tecture of the original.

The whole turret ready for the rest of the assembly.

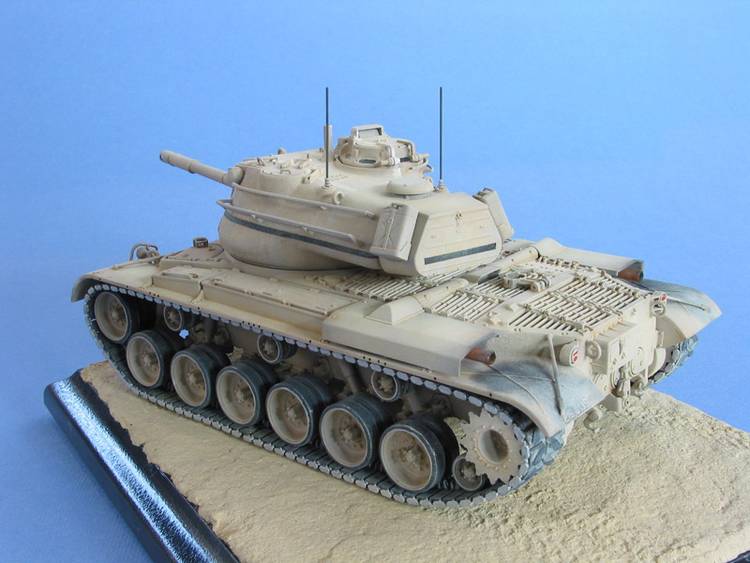
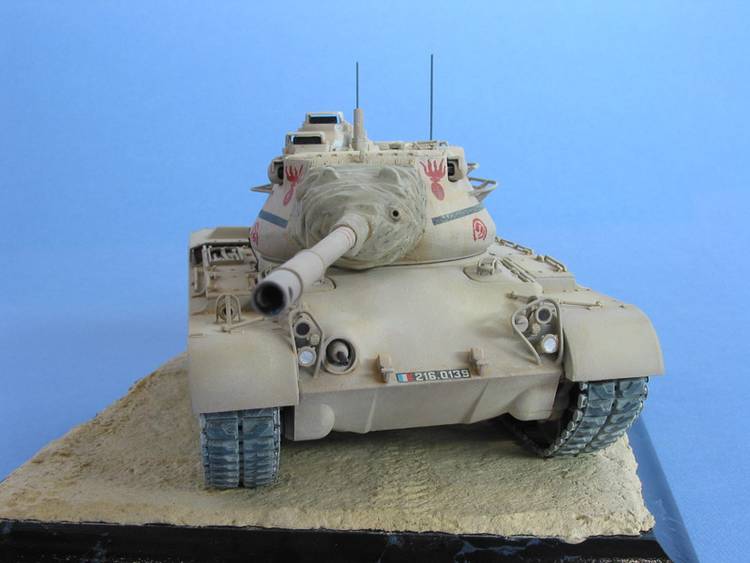
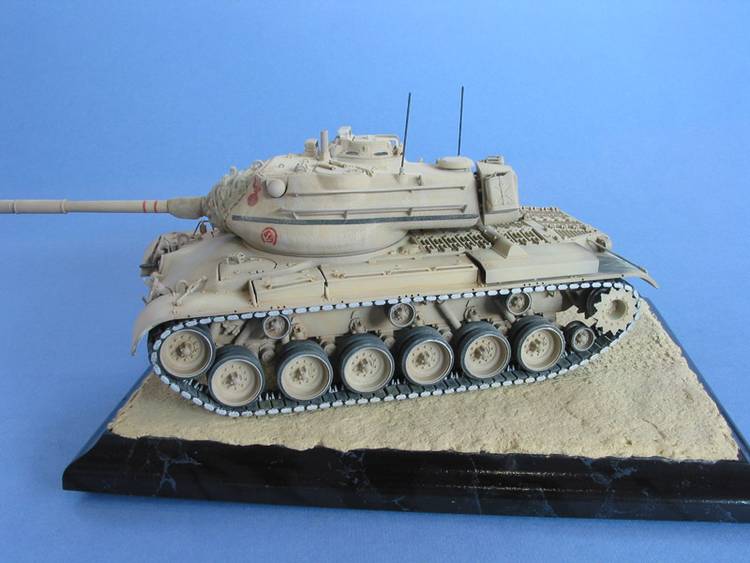
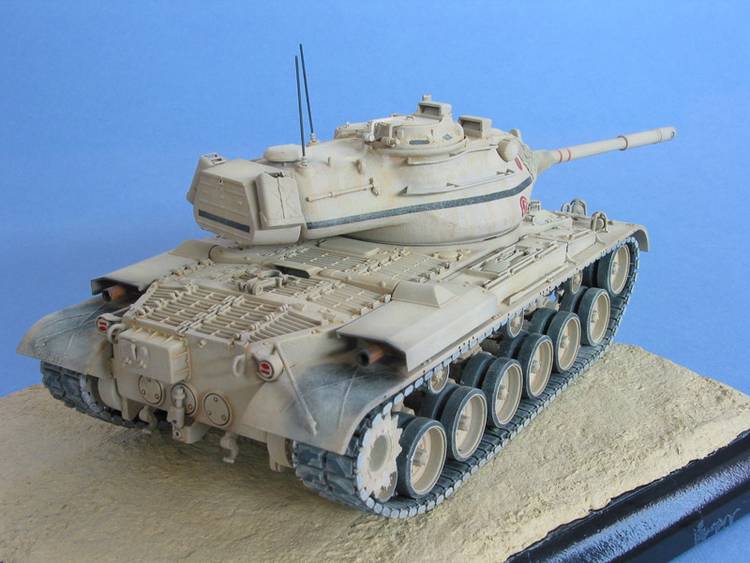
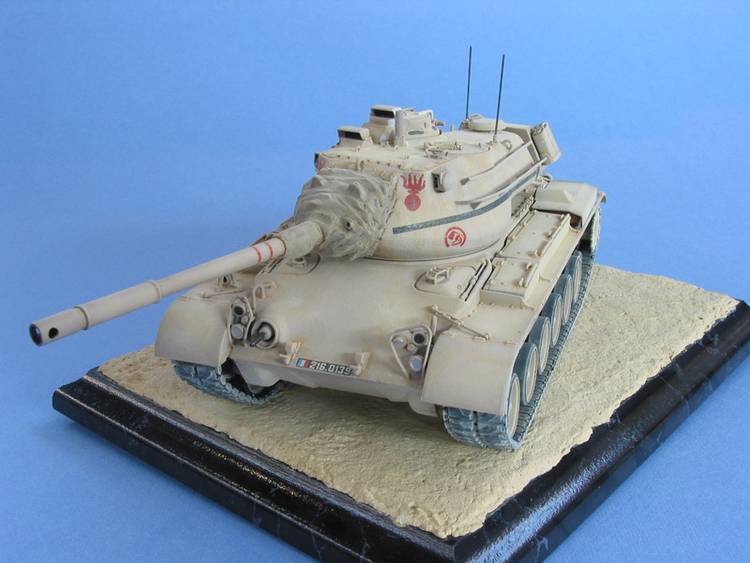
After paint & decals (hence the shine). You can still see the file marks at the casting seam representing the flame cut surface and that the main surface is not too rough. American sand castings are generally relatively smooth, but the surface is slightly undulating due to the trowelling.

The epoxy putty dust cover in place prior to painting it.
The finished turret after weathering. It's hard to make out in the photo, but on the real thing you can still see the small amount of waviness in the surface even after all of the paint & weathering. I was really pleased with how well it turned out.
This kit was a built as a quick OOB project to give me a break from some intense scratchbuilding I had been doing on another project. Got me another M47 kit and next time I'm gonna pull out all the stops on this great model.