Hello Rob,
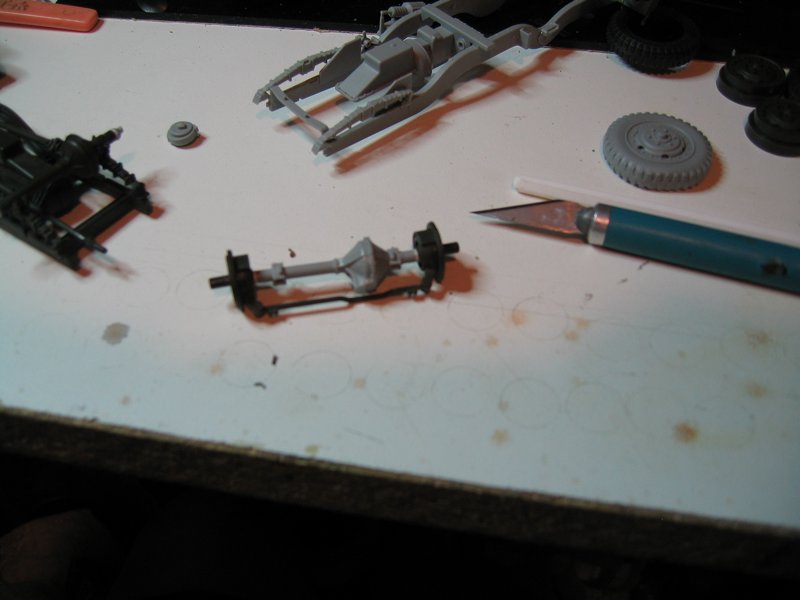
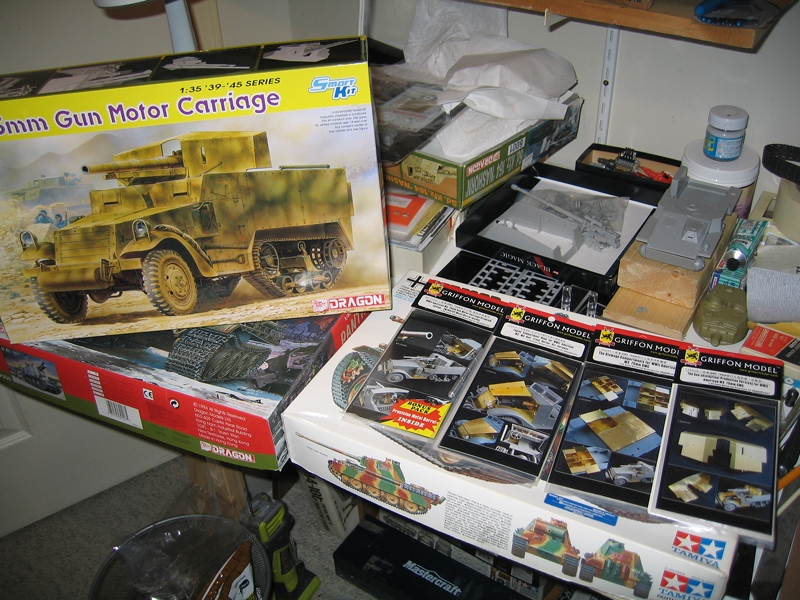
I am very curious about this project. I thought about buying this kit before because of the decal option for the british two-tone camouflage with the colourful air recognition-roundel on the front hatches. Which marking will you use on your model? I have not seen the campaign thread yet so please excuse me, if this answer has allready been answered there. I look forward to see how you handle the PE update-set. Looks like a lot of work. One special point of interest: you cannibalized the old Tamiya-Halftrack to get parts for the front wheel suspension. Did you use these to avoid a bigger work load to achieve movable wheels or at least wheels which can be shown in a turned position OR did you use them because you didn`t see a way to achieve this by using the original Dragon parts even if these are going to be reworked? I am asking this because I am, as I`ve stated above, also interested in this kit and thing that some details like angled wheels add a great part of realism. So I wonder if one can get this by working with the Dragon-Kit only? Did you change the wheels because the Tamiya ones just had a better fit on the Tamiya axles or didn`t you like the bulged ones Dragon provided? How do you feel about these?
So, enough talking about my problems and questions. At least, this is your build, so you deserve the attention...

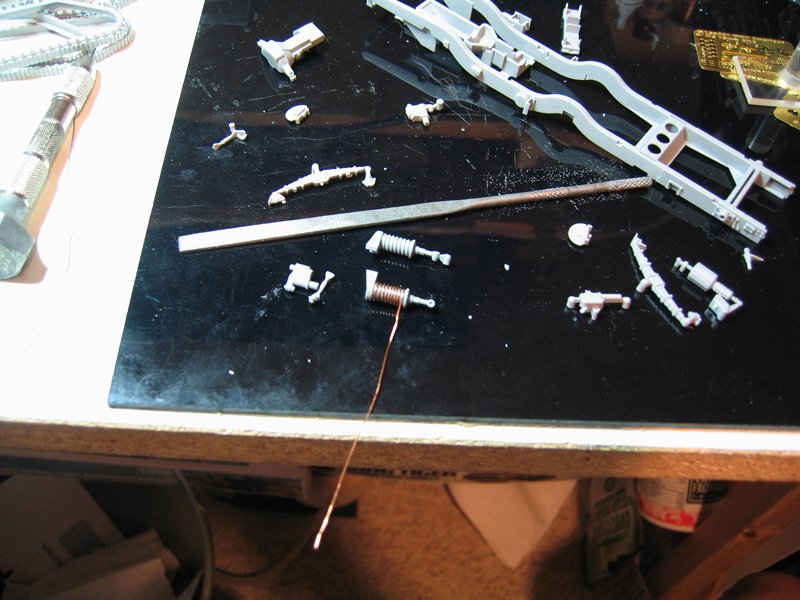
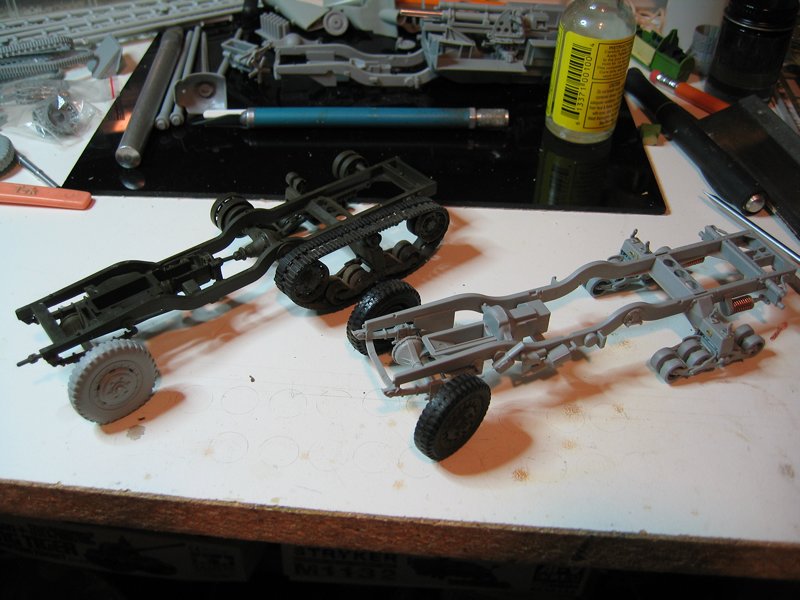
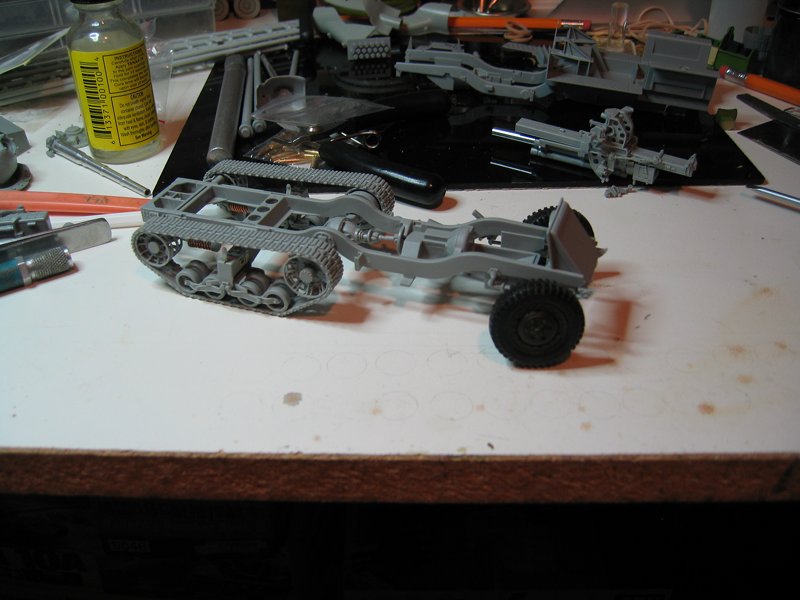
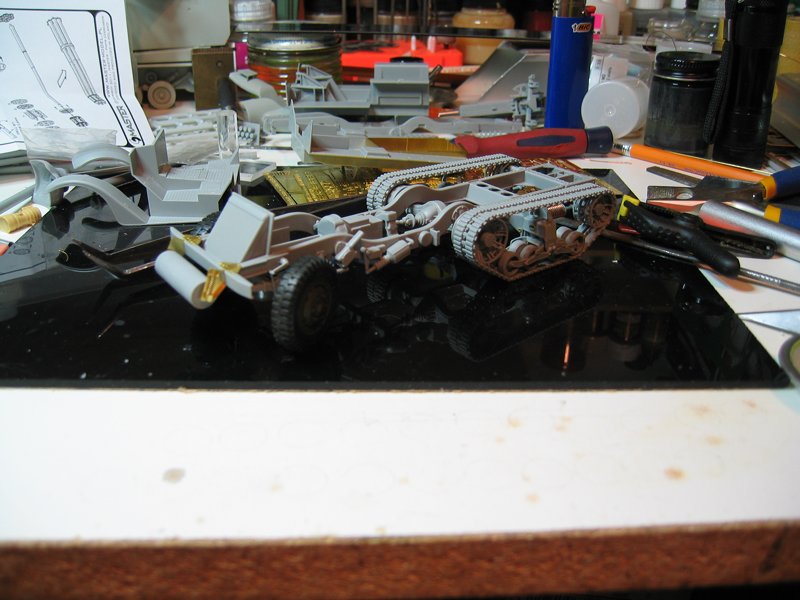
I like your build so far and will definitely check for updates. I like you taking the challenge of the photo-etch orgy. Good luck there. Are you going to solder bigger parts? I also like your clean build so far and your first self-made details like the brass springs. Very nice done.The effort with the wheels was also worth it`s work.
I hope, you will enjoy the future build.
Best Regards from Germany
Dennis


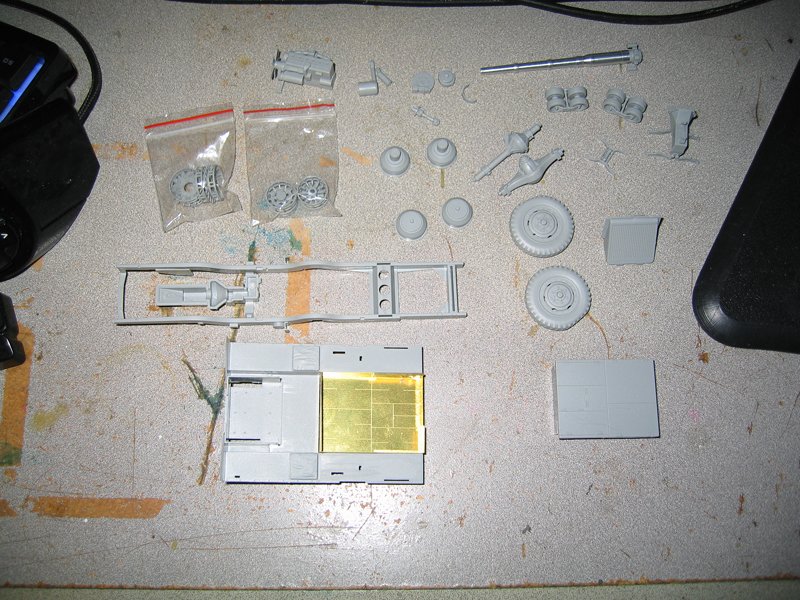
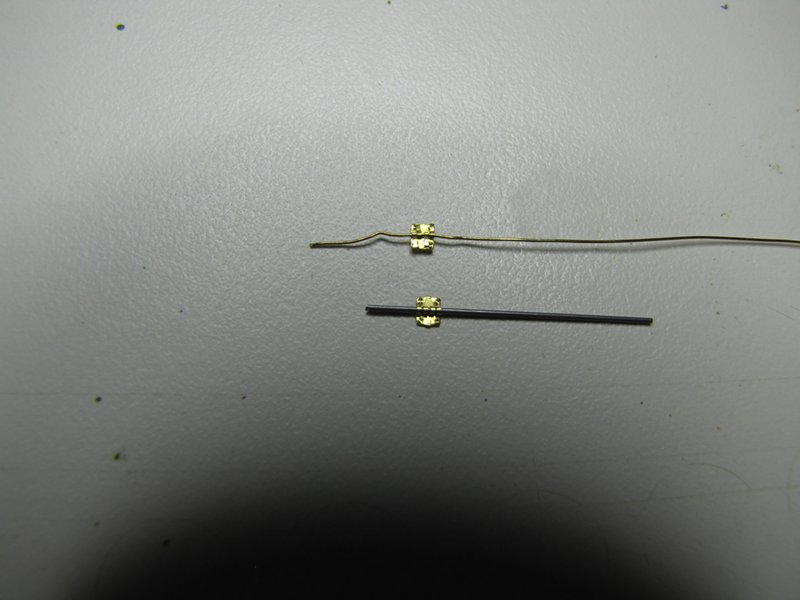
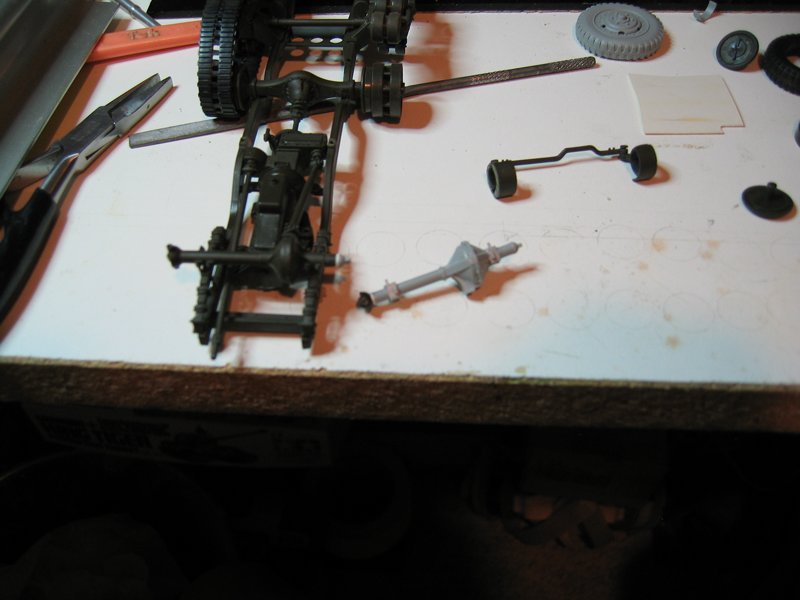
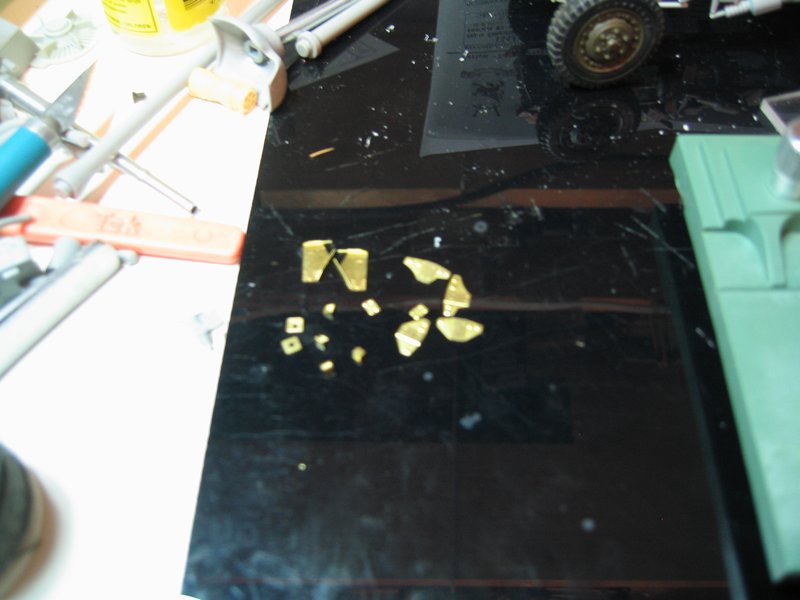
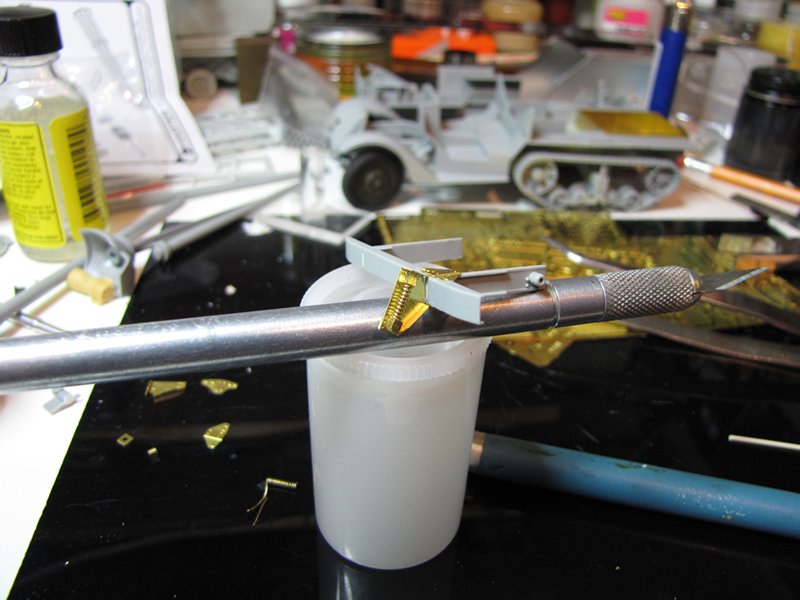
 Griffon on top piano wire on the bottom.