_GOTOBOTTOM
Armor/AFV: Braille Scale
1/72 and 1/76 Scale Armor and AFVs.
Hosted by Darren Baker
LVT(A)2
CPL-Overby
Visit this Community
Maryland, United States
Joined: September 12, 2005
KitMaker: 190 posts
Armorama: 192 posts
Posted: Wednesday, September 05, 2012 - 01:42 PM UTC
Well I have been putting this off long enough.
This will be a conversion for the Dragon LVT(A)1 (kit #7387)
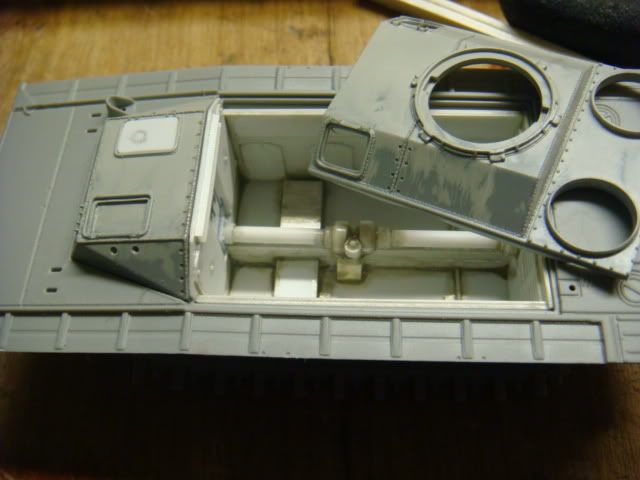
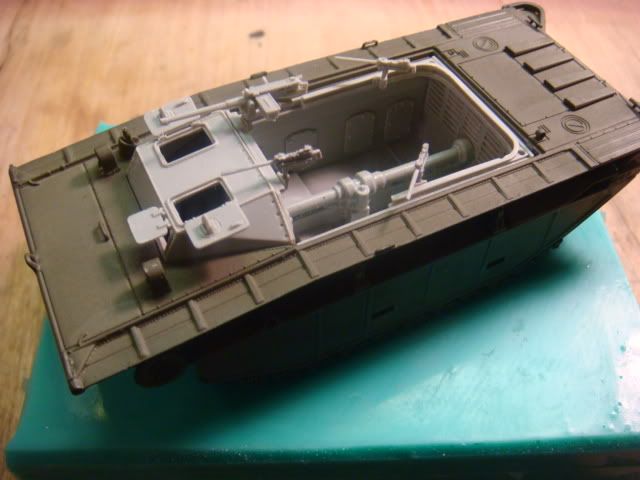
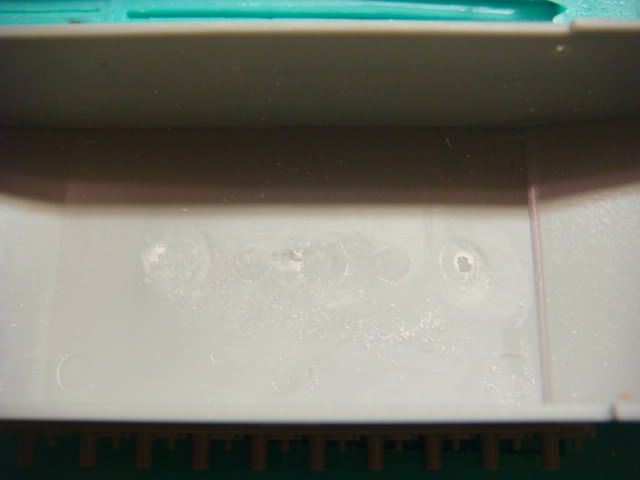
First I removed the 3 screw pegs in the bottom.


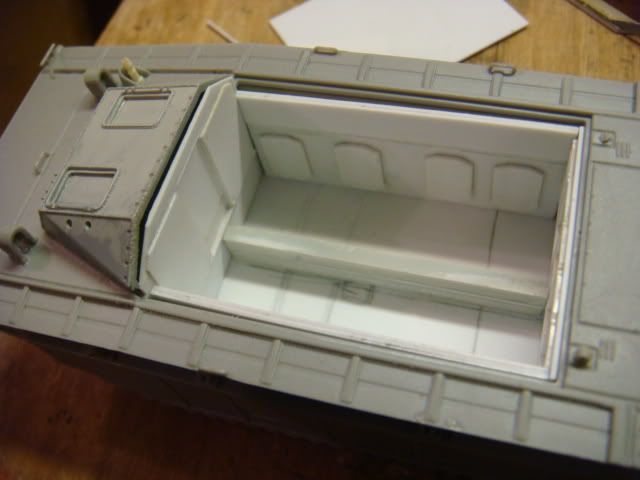
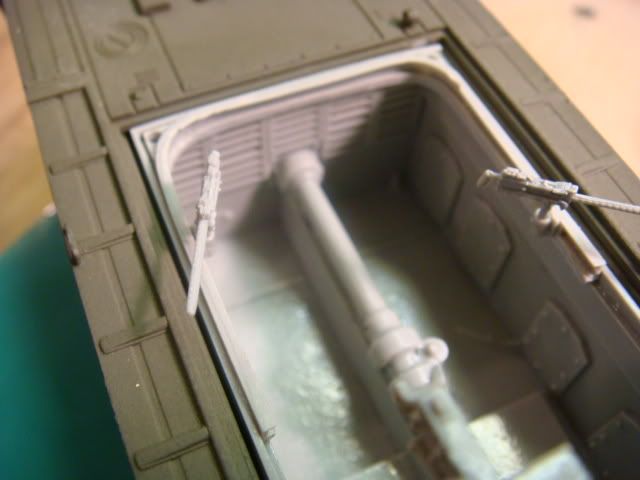
Then I placed a floor in it.


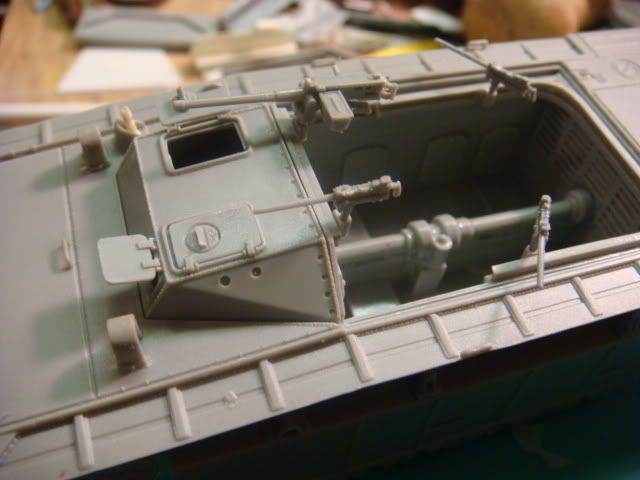
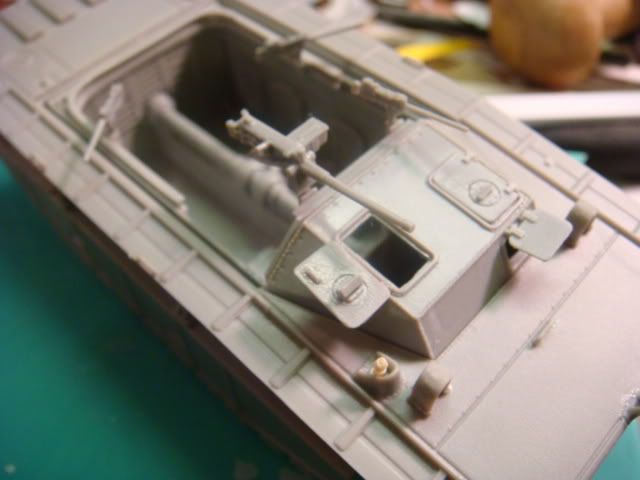
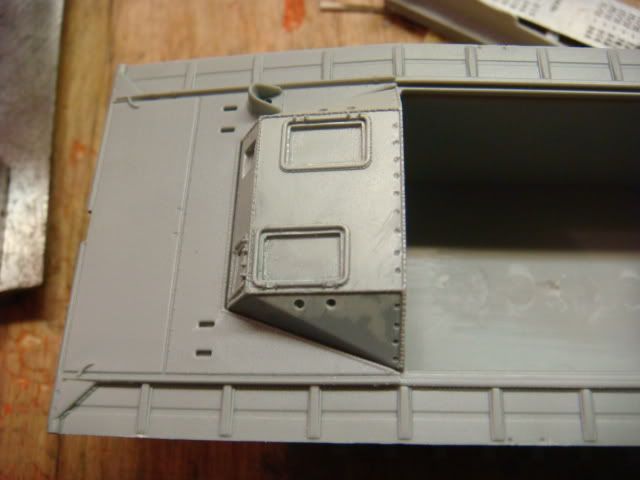
Then I took one of my casts of the LVT(A)1 and cut off the cab,
here it is placed for fit.


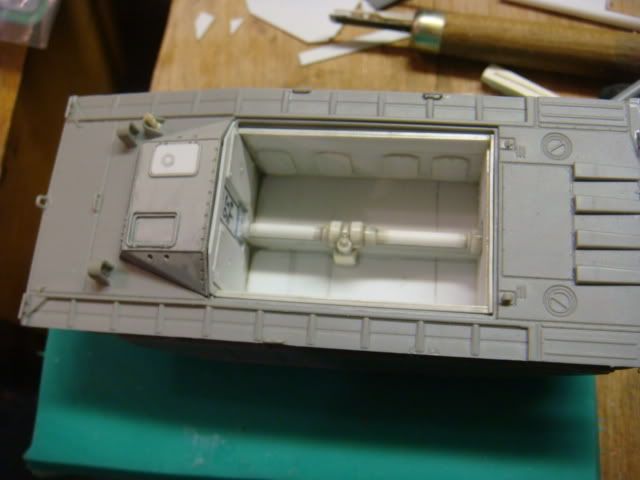
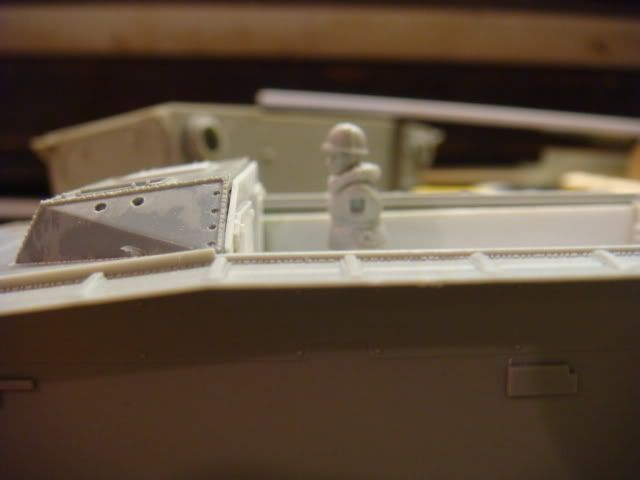
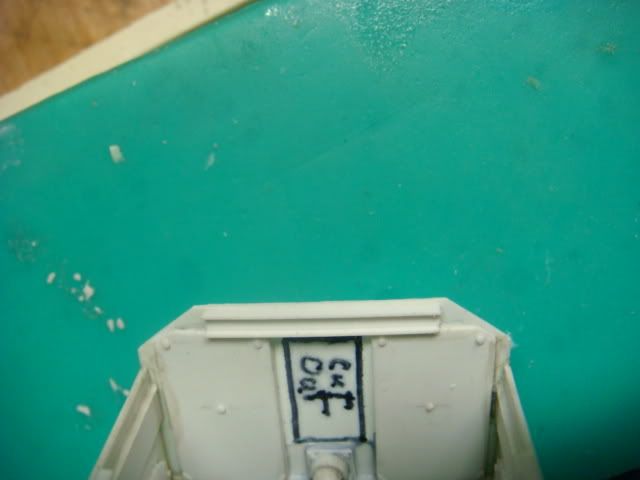
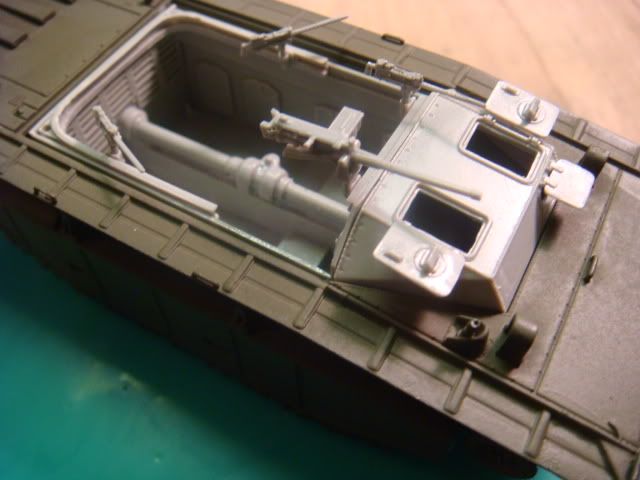
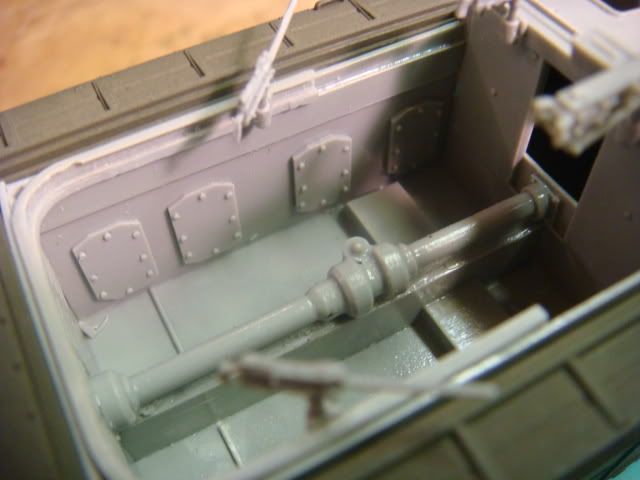
I then made the rear and front Bulkheads.


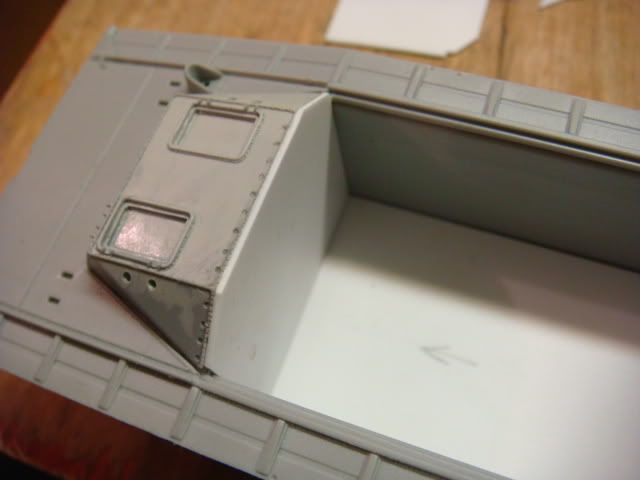
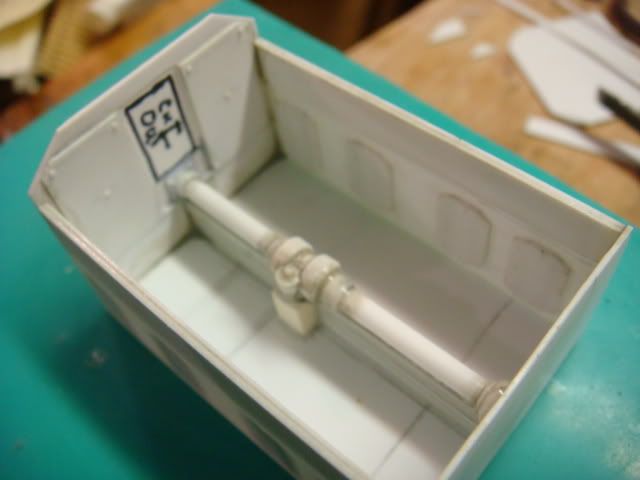
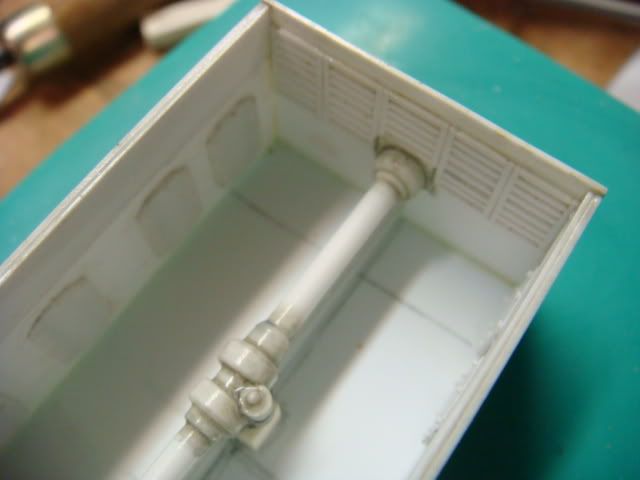
Next I'll start the Port and Starboard bulkheads, and start detailing the insides.
tread_geek
Visit this Community
Ontario, Canada
Joined: March 23, 2008
KitMaker: 2,847 posts
Armorama: 2,667 posts
Posted: Thursday, September 06, 2012 - 03:28 AM UTC
Ken,

Oooooh, now this conversion looks VERY interesting. You're off to a great start and I'll definitely have to follow this one. Can't wait to see the interior of the cargo area come together and thanks for sharing this with us.

Cheers,
Jan
CPL-Overby
Visit this Community
Maryland, United States
Joined: September 12, 2005
KitMaker: 190 posts
Armorama: 192 posts
Posted: Thursday, September 06, 2012 - 03:33 AM UTC
Well I started off first thing this morning.
Now due to the small size,
small details will omitted,
while others will need to be exaggerated
So here are a couple more pic's.


Braille
#135
Visit this Community
California, United States
Joined: August 05, 2007
KitMaker: 1,501 posts
Armorama: 1,485 posts
Posted: Thursday, September 06, 2012 - 06:39 PM UTC

Quoted Text

Ken,

Oooooh, now this conversion looks VERY interesting. You're off to a great start and I'll definitely have to follow this one. Can't wait to see the interior of the cargo area come together and thanks for sharing this with us.

Cheers,
Jan


I second that thought and will be following along. Good progress on your scratch made interior. Looking forward to seeing this one come together.

~ Eddy
CPL-Overby
Visit this Community
Maryland, United States
Joined: September 12, 2005
KitMaker: 190 posts
Armorama: 192 posts
Posted: Thursday, September 06, 2012 - 10:35 PM UTC
Well I've gotten a little farther since yesterday.
The tuffest part is doing the slats in the back,
but I got the rivet detail (at least some of it) done.
Dont let the gaps turn your heads,
Once through, they'll be gone.
When I'm done this will be a "drop in" tub for converting the Dragon LVT.


Forgot to mention, started to putty over the front Gun Port.
This model didn't have them yet.
Also thinking of doing the earlier version of the LVT2 as well.
CPL-Overby
Visit this Community
Maryland, United States
Joined: September 12, 2005
KitMaker: 190 posts
Armorama: 192 posts
Posted: Friday, September 07, 2012 - 03:53 AM UTC
Well again since this "early" morning I have been hard at work.
I have finished the vents at the back,
and did the drive shaft "housing".


Once I glue this in place I'll glue the 4 bulkheads together.
CPL-Overby
Visit this Community
Maryland, United States
Joined: September 12, 2005
KitMaker: 190 posts
Armorama: 192 posts
Posted: Friday, September 07, 2012 - 11:01 AM UTC
Ok here is the progress for today.
Here I filled in the front Gun Port, and Fabbed a new hatch.


Here is the tub "dropped" down into the LVT hull.


Here is the "tub" outside the hull:


Tub facing from the back:


Tub facing from the front:


I still have some inside details to work out, things like the skate rail, Gunner's platforms, etc.
And I still have some other little bits to finish as well, IE.... Hatches.
But it will soon be ready for the rubber.
HeavyArty
Visit this Community
Florida, United States
Joined: May 16, 2002
KitMaker: 17,694 posts
Armorama: 13,742 posts
Posted: Friday, September 07, 2012 - 12:25 PM UTC
Looks good.

But why are you updating two identical posts? It doesn't make sense.
CPL-Overby
Visit this Community
Maryland, United States
Joined: September 12, 2005
KitMaker: 190 posts
Armorama: 192 posts
Posted: Friday, September 07, 2012 - 10:43 PM UTC
Because some don't read the other
CPL-Overby
Visit this Community
Maryland, United States
Joined: September 12, 2005
KitMaker: 190 posts
Armorama: 192 posts
Posted: Saturday, September 08, 2012 - 12:16 PM UTC
Well....ran into small trouble....
Needed "channel" to do the skate rail....didn't have any....
so I "made" it.


While that dried I did some more floor details,
IE the gunners platforms and a rib towards the rear.


I checked it for the gunner's hieght.


Then I mounted the foward skate rail,added the gun mounts,
and "test" fitted the rear skate rail.


Then I double checked the gun mount posisions with the crew.


Due to "casting" issues, the foward gun mounts will be a seprate piece.


I also did a little more fiddling with the rear skate rail.


After all this I was looking at the rest of the LVT(A)-1 that I had cut for the foward cab.


I thought hmmmmmmmm....and tried this.


This might work for future projects.
HeavyArty
Visit this Community
Florida, United States
Joined: May 16, 2002
KitMaker: 17,694 posts
Armorama: 13,742 posts
Posted: Saturday, September 08, 2012 - 12:22 PM UTC

Quoted Text

Because some don't read the other


Whatever, a waste of bandwidth for two identical threads if you ask me.
CPL-Overby
Visit this Community
Maryland, United States
Joined: September 12, 2005
KitMaker: 190 posts
Armorama: 192 posts
Posted: Sunday, September 09, 2012 - 02:37 PM UTC

Quoted Text


Quoted Text

Because some don't read the other


Whatever, a waste of bandwidth for two identical threads if you ask me.


Well it's done now .....
so you won't have anything to criticize anymore.
CPL-Overby
Visit this Community
Maryland, United States
Joined: September 12, 2005
KitMaker: 190 posts
Armorama: 192 posts
Posted: Sunday, September 09, 2012 - 02:40 PM UTC
well at last this is done.....
I worked day and night.
But here it is!!!


Unfortunatly the resin is the same shade as the plastic kit,
so it's a little hard to see.
CPL-Overby
Visit this Community
Maryland, United States
Joined: September 12, 2005
KitMaker: 190 posts
Armorama: 192 posts
Posted: Sunday, September 09, 2012 - 11:23 PM UTC
I wanted a way of being able to see these parts better so I painted the hull OD Green.
Remember this is a "conversion" for the Dragon LVT
(the LVT(A)-1 Kit# 7387 or the LVT(A)-4 Kit# 7388)
It will fit either one.


If interested, please feel free to contact me direct.
Or it can be found on Ebay.
 _GOTOTOP