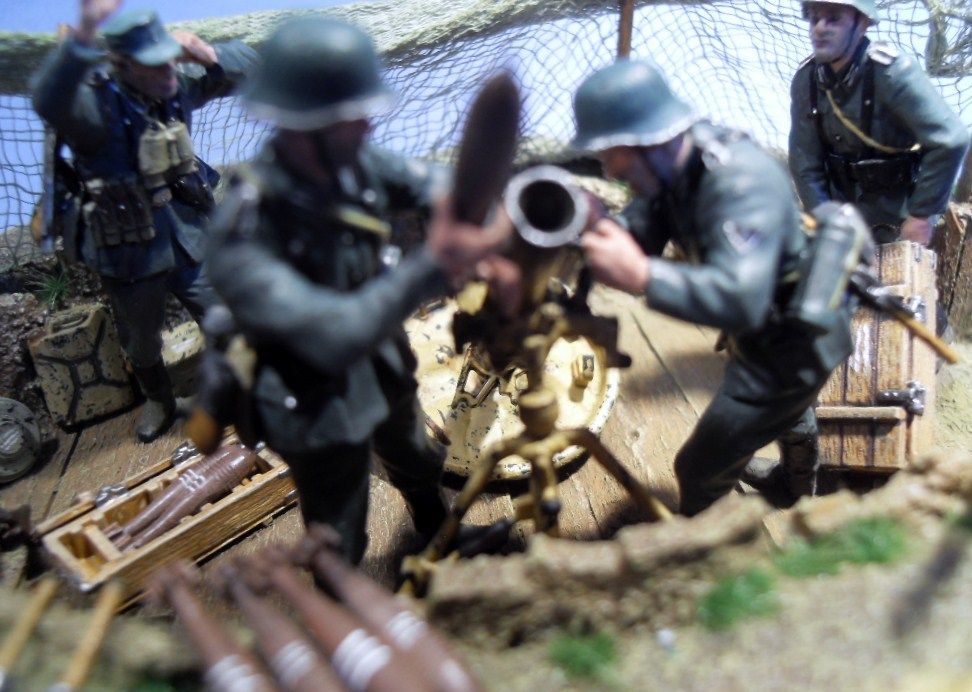
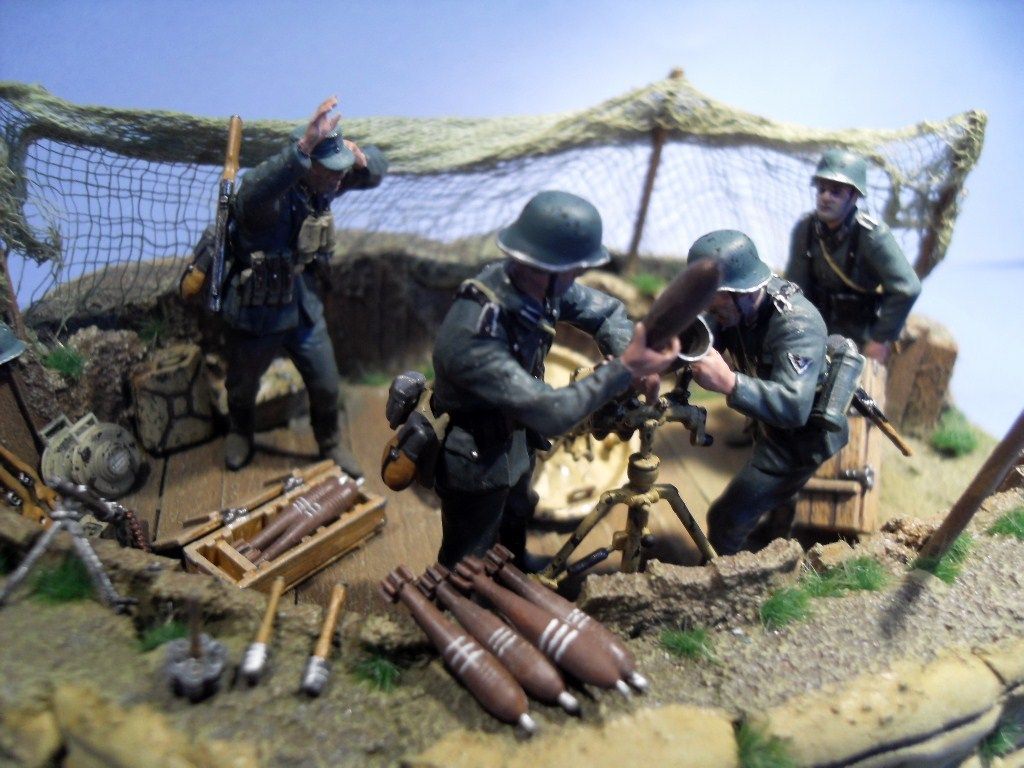
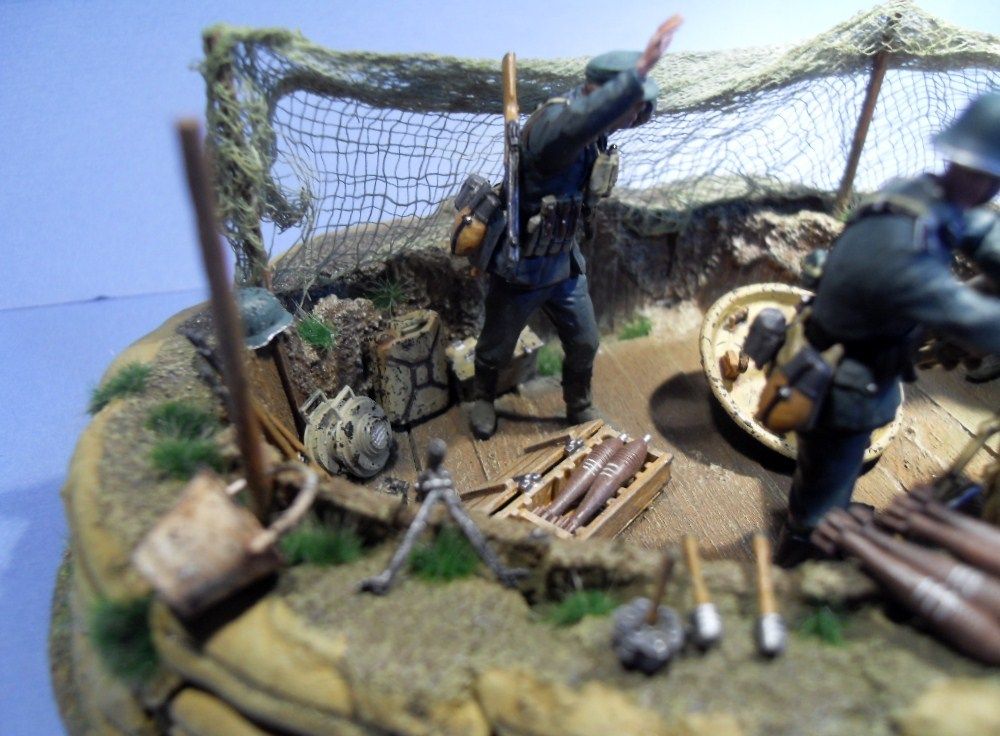
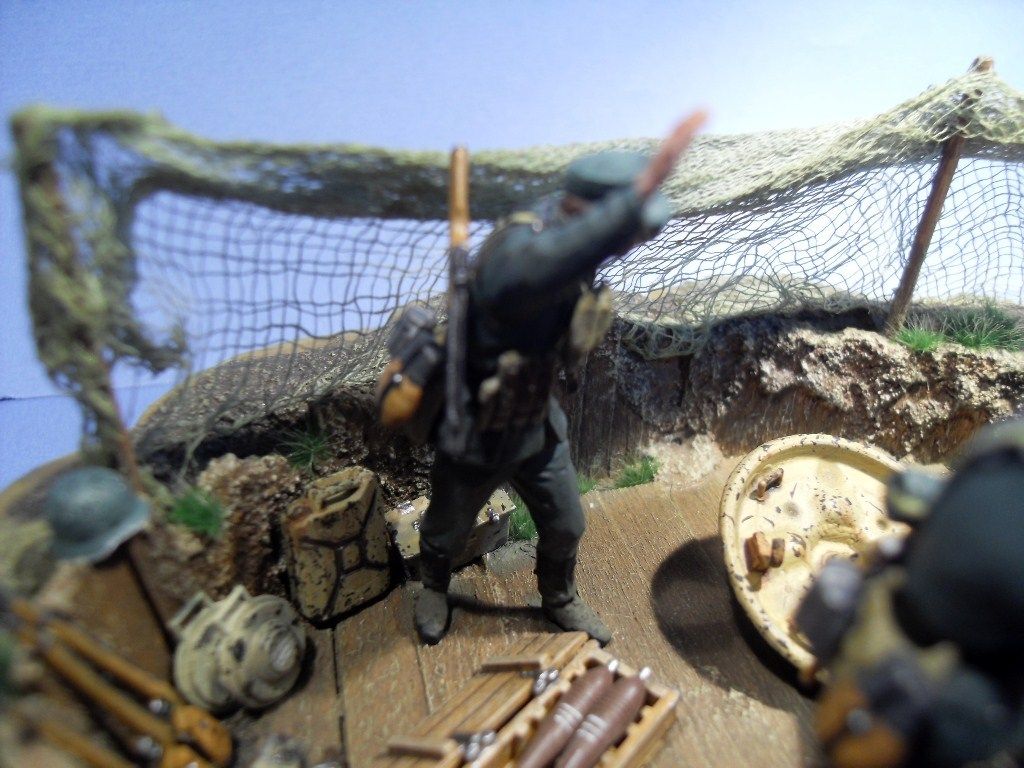
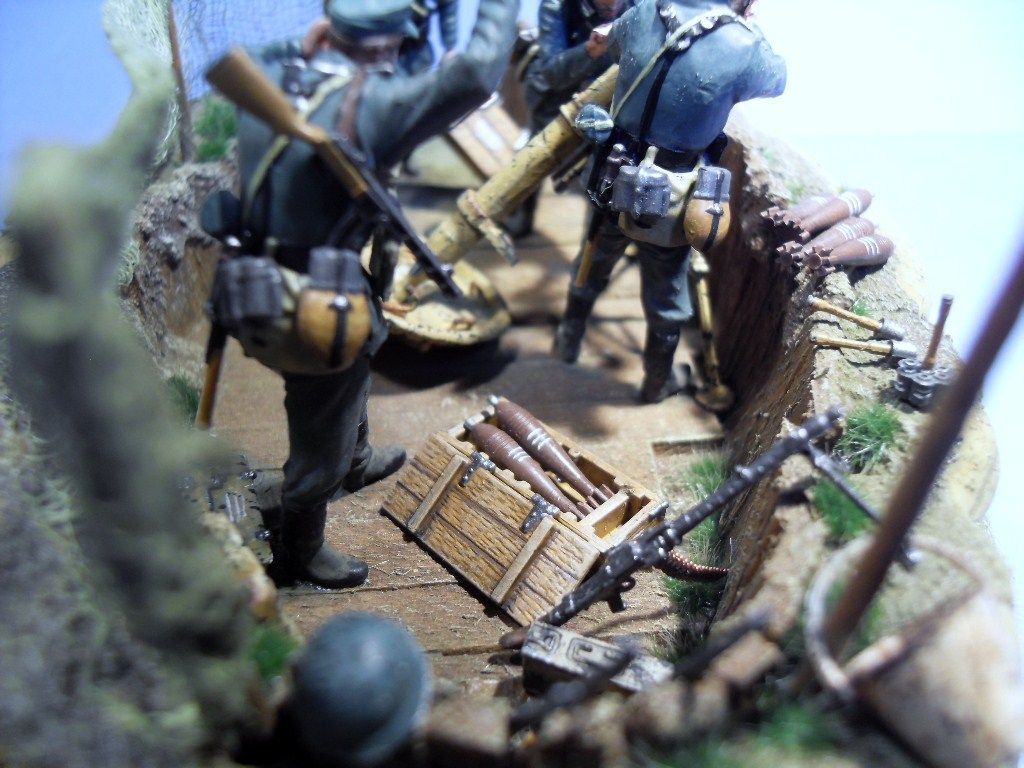
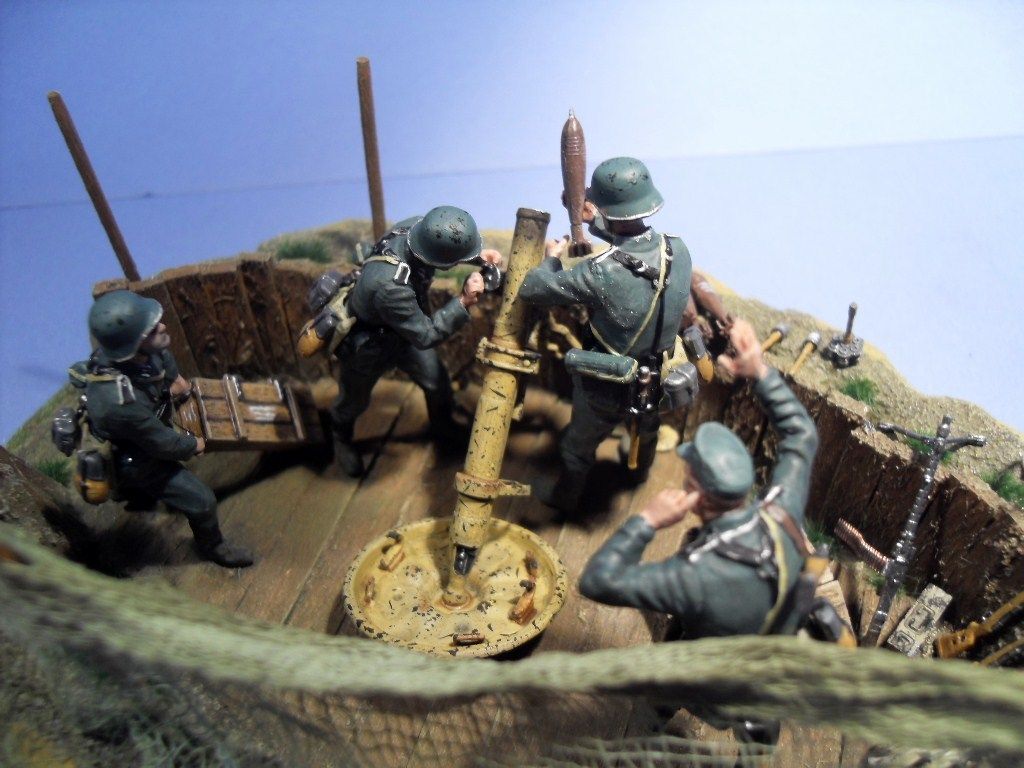
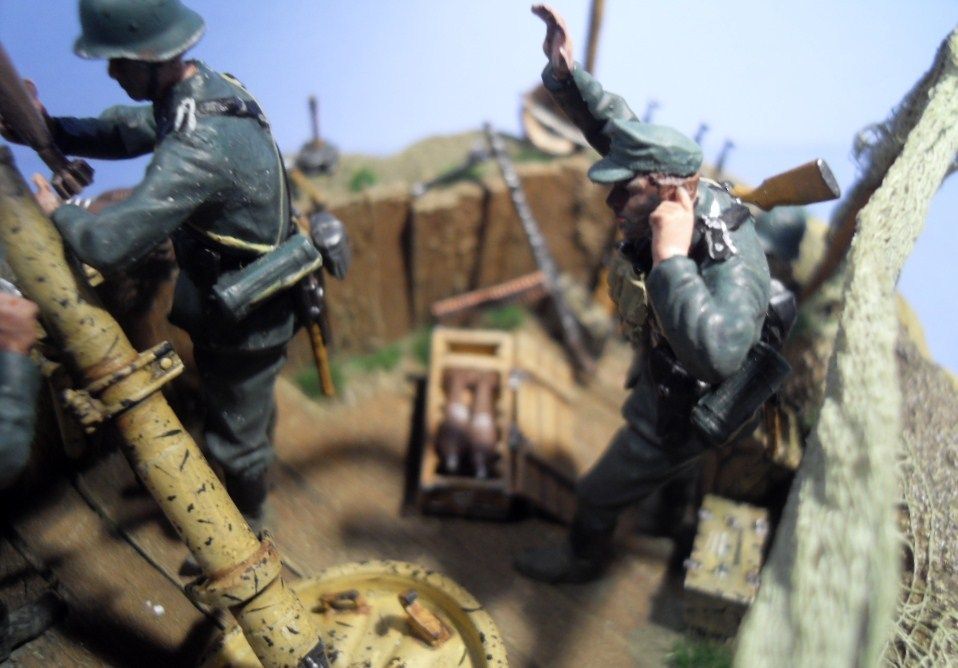
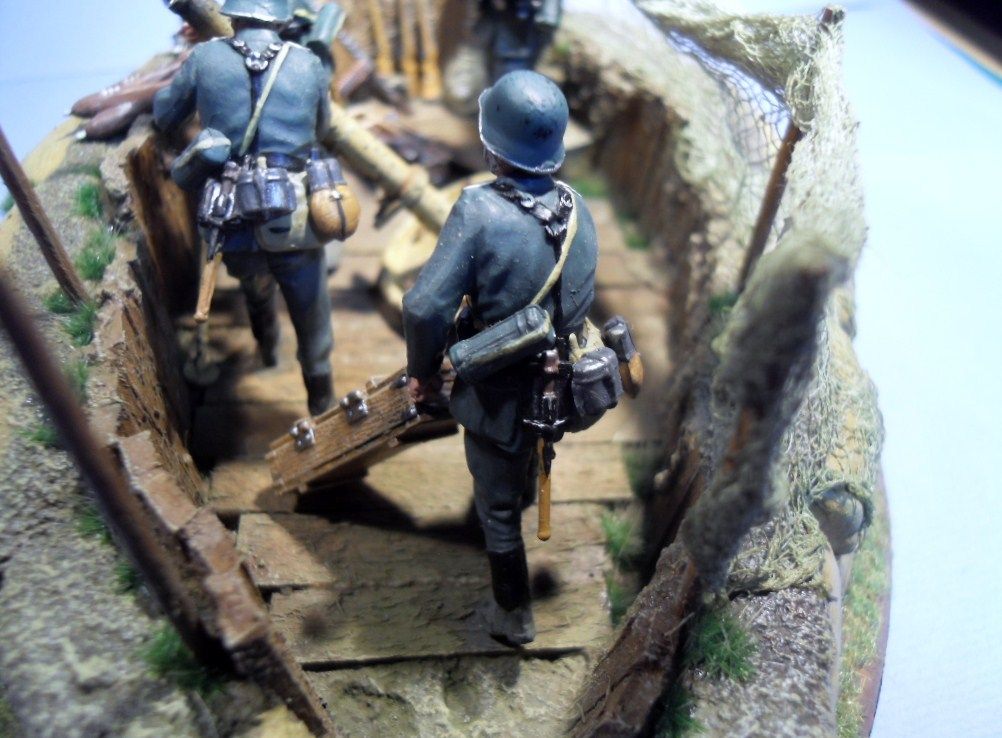
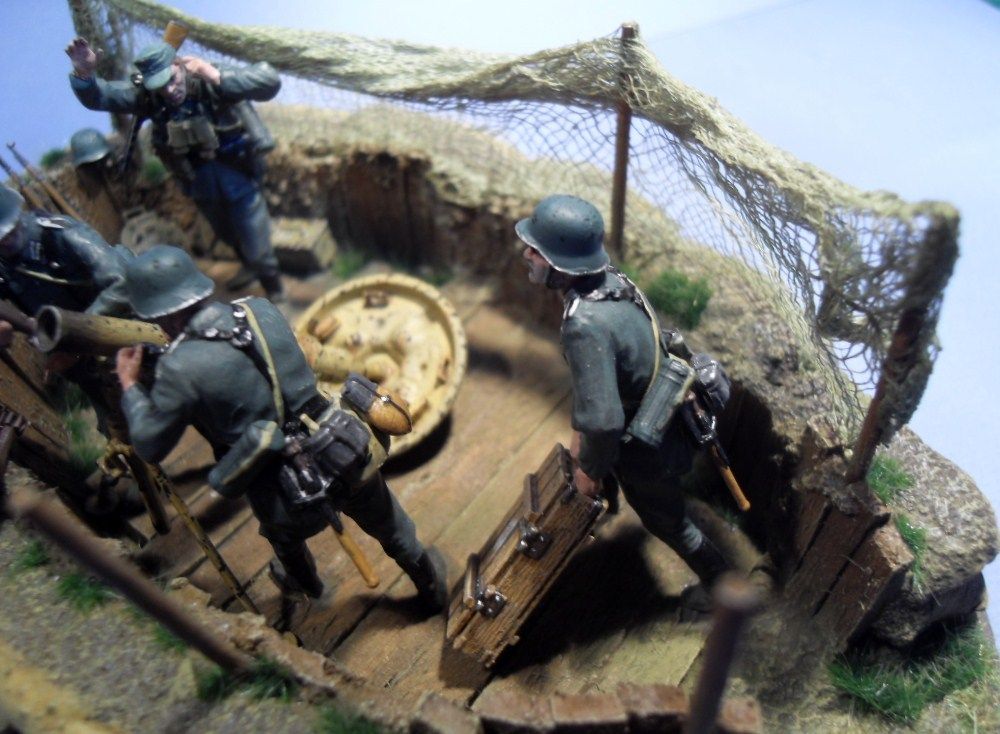
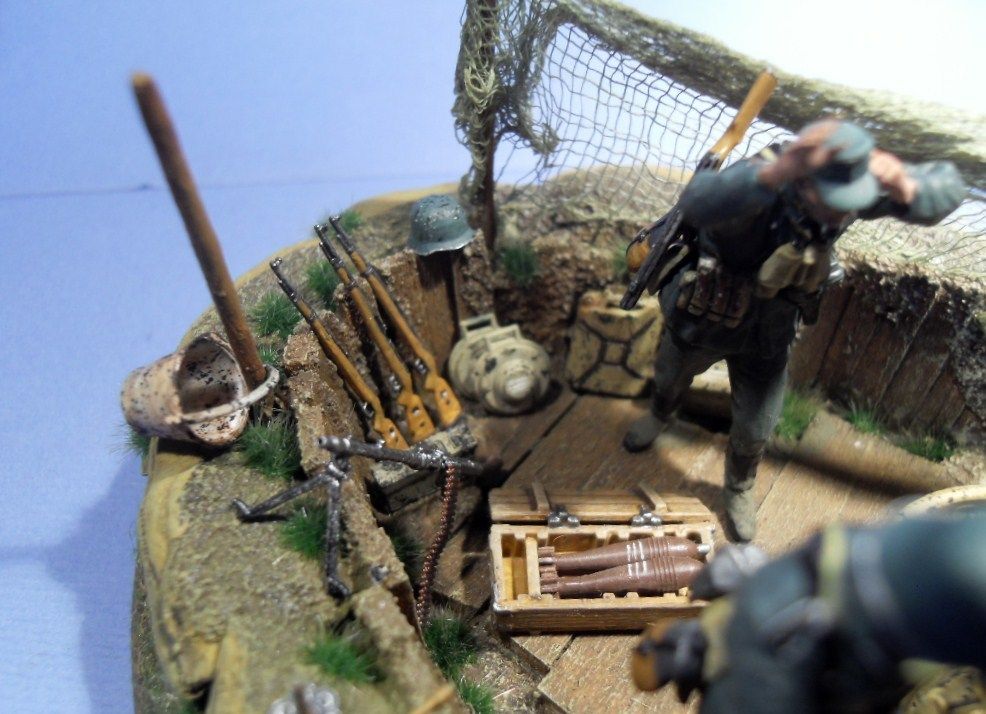
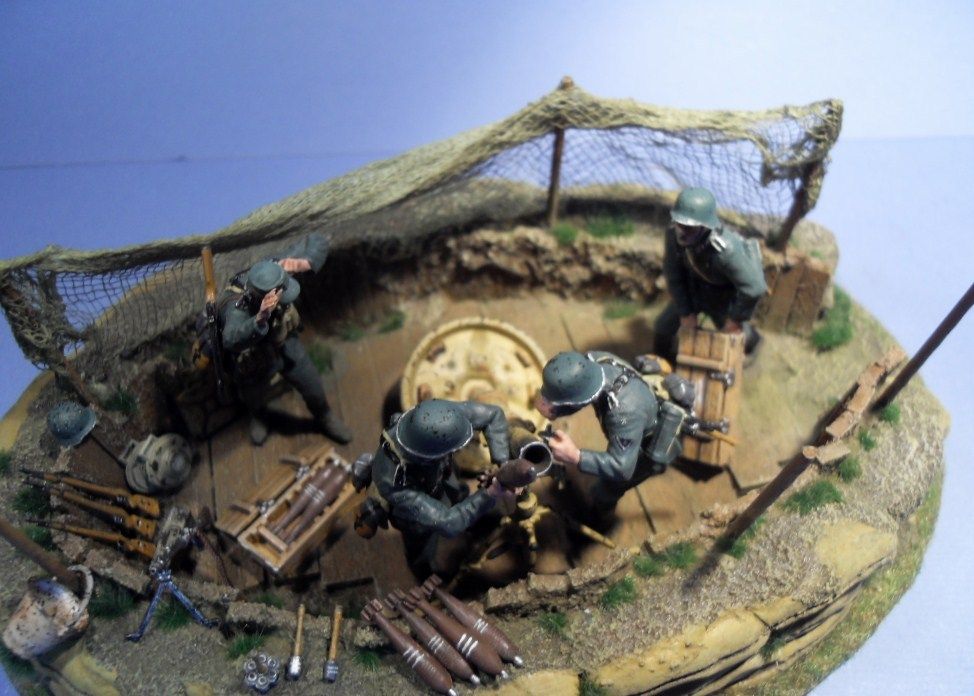
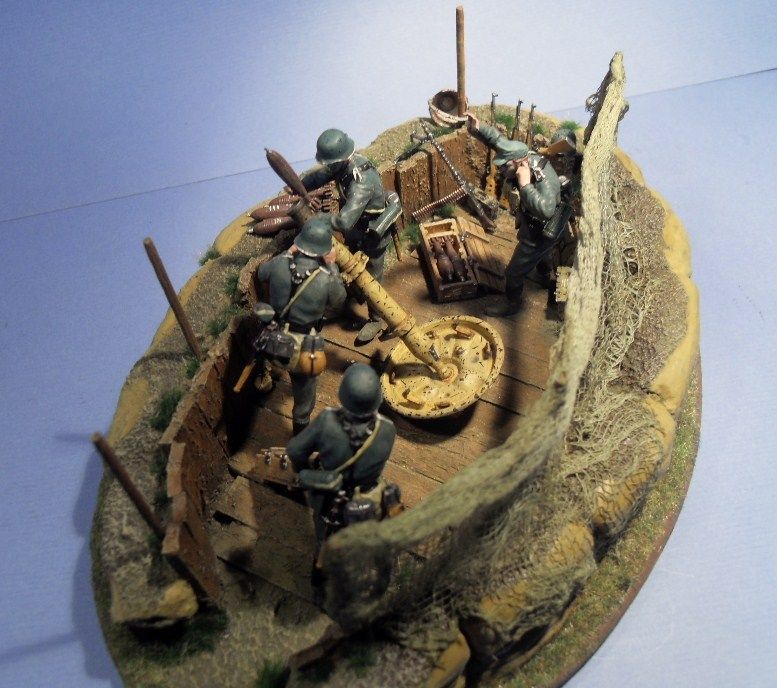
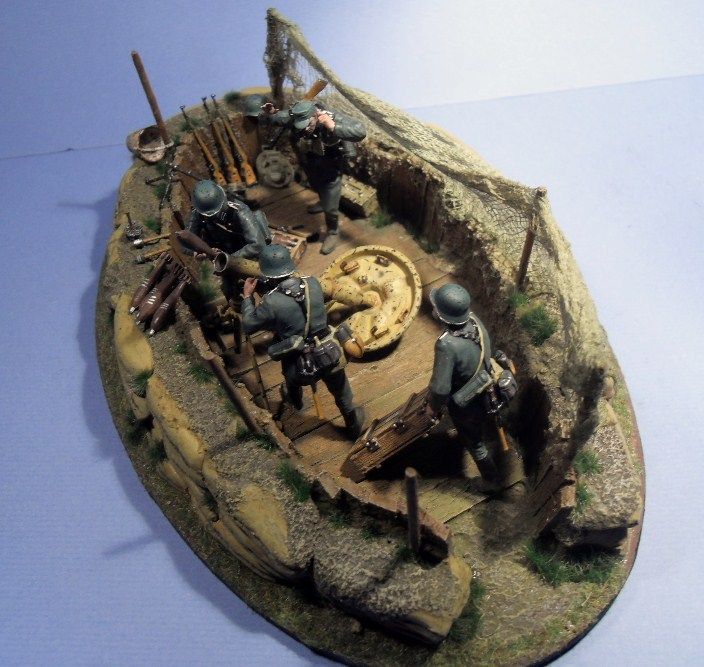
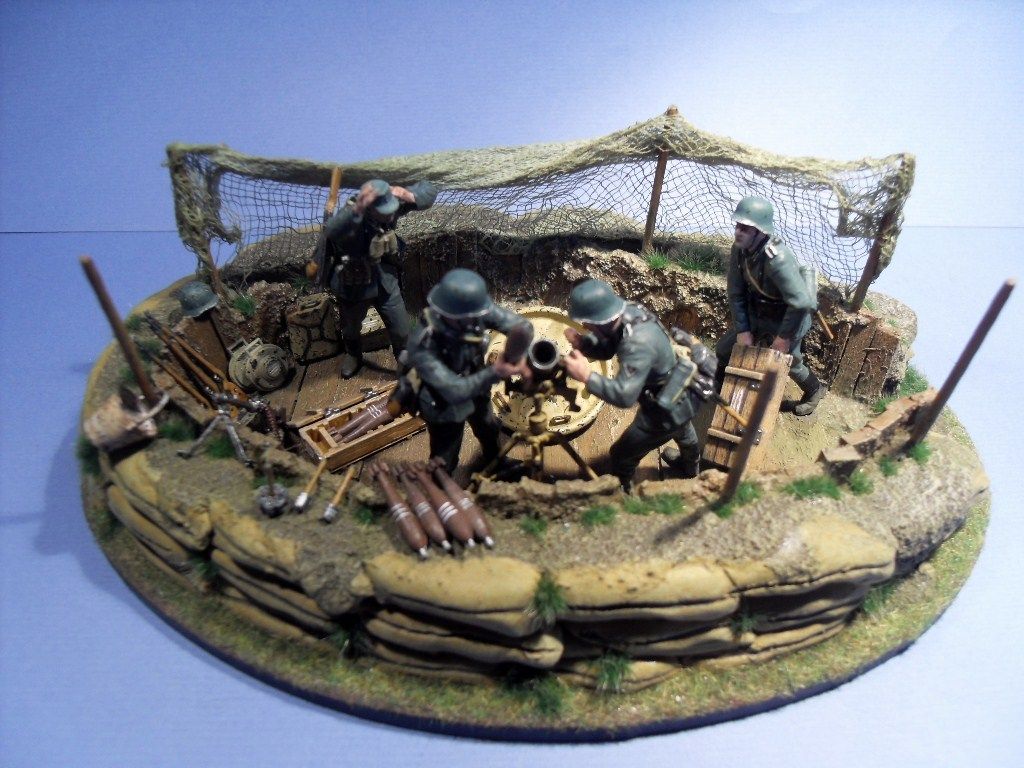
A 1/35 dio showing a German 81mm mortar in action.
Dioramas
Do you love dioramas & vignettes? We sure do.
Hosted by Darren Baker, Mario Matijasic
81mm mortar
gerrysmodels
Scotland, United Kingdom
Joined: September 13, 2012
KitMaker: 441 posts
Armorama: 429 posts
Joined: September 13, 2012
KitMaker: 441 posts
Armorama: 429 posts
Posted: Saturday, September 29, 2012 - 04:24 AM UTC
AgentG
Nevada, United States
Joined: December 21, 2008
KitMaker: 1,109 posts
Armorama: 1,095 posts
Joined: December 21, 2008
KitMaker: 1,109 posts
Armorama: 1,095 posts
Posted: Saturday, September 29, 2012 - 08:57 AM UTC
It looks pretty good except for the wood floor under the baseplate. You don't want to do that, accuracy suffers. It's dangerous as all get out too.
G
G
retiredyank
Arkansas, United States
Joined: June 29, 2009
KitMaker: 11,610 posts
Armorama: 7,843 posts
Joined: June 29, 2009
KitMaker: 11,610 posts
Armorama: 7,843 posts
Posted: Saturday, September 29, 2012 - 10:26 AM UTC
Very nice. The base, except for the wood planking, is excellent as are the figures. I think they would be a bit dirtier, but that depends on the back story. Moving on to the K98, they should have a browner stock. Here is a photo of a few mausers from different companies:
The top rifle is a long-barreled Turkish Mauser.
The next two are Model 24/47 Mausers.
The next is a Yugo 48, and the bottom one is a German WWII K98.
from http://www.theboxotruth.com/docs/edu72.htm
The top rifle is a long-barreled Turkish Mauser.
The next two are Model 24/47 Mausers.
The next is a Yugo 48, and the bottom one is a German WWII K98.
from http://www.theboxotruth.com/docs/edu72.htm
gerrysmodels
Scotland, United Kingdom
Joined: September 13, 2012
KitMaker: 441 posts
Armorama: 429 posts
Joined: September 13, 2012
KitMaker: 441 posts
Armorama: 429 posts
Posted: Saturday, September 29, 2012 - 01:46 PM UTC
Guys
Thanks for the feedback. Not being from a military background it is always good to learn how things should be and not as I assumed they were.
Cheers
Gerry
Thanks for the feedback. Not being from a military background it is always good to learn how things should be and not as I assumed they were.
Cheers
Gerry
srmalloy
United States
Joined: April 15, 2012
KitMaker: 336 posts
Armorama: 298 posts
Joined: April 15, 2012
KitMaker: 336 posts
Armorama: 298 posts
Posted: Tuesday, October 02, 2012 - 04:37 AM UTC
Quoted Text
It looks pretty good except for the wood floor under the baseplate. You don't want to do that, accuracy suffers. It's dangerous as all get out too.
I was thinking myself that they'd have the base plate heavily sandbagged if they had to set it up on a wood floor like that.
Paulinsibculo
Overijssel, Netherlands
Joined: July 01, 2010
KitMaker: 1,322 posts
Armorama: 1,239 posts
Joined: July 01, 2010
KitMaker: 1,322 posts
Armorama: 1,239 posts
Posted: Tuesday, October 02, 2012 - 05:11 AM UTC
Dear Gerry,
From an artillery guy!
At the bottom of the mortar base plate you can see ribs. These ribs avoid the movement of the base plate due to the force, created by the fired mortar grenade.
Furthermore, you have modeled the soldier who takes care about the adjustment of the mortar. He uses a sight which is, optically, connected to a fixed point ( in most cases a (red/white) pole ). The position of the mortar is known to its crew ( found on a grid map), with the help of calculations ( or tables ) the mortar is set in the right position, both by adjusting the angle to the ground and side ward direction. By taking of gun powder rings the charge for the calculated flight is defined. This leads to the calculated landing point of the grenade.After setting the fuse ( detonation some meters above ground level, at ground level or delayed (which is used by eg. fox holes etc ) the grenade is dropped into the barrel and off she goes!
To make it possible to repeat an effective and quick fire after just more than one grenade it is necessary to fix the mortar as good as possible. A wooden floor would allow the base plate to shift, even if packed with sand bags.
I hope you accept my, positive intended, lectures!
Nice model anyway!
Kurmark
Canada
Joined: February 28, 2010
KitMaker: 27 posts
Armorama: 23 posts
Joined: February 28, 2010
KitMaker: 27 posts
Armorama: 23 posts
Posted: Tuesday, October 02, 2012 - 05:47 AM UTC
Nicely done,but the mortar you have modeled is a 120mm Grw 42,not an 81mm. Cheers..Murray McLennan
gerrysmodels
Scotland, United Kingdom
Joined: September 13, 2012
KitMaker: 441 posts
Armorama: 429 posts
Joined: September 13, 2012
KitMaker: 441 posts
Armorama: 429 posts
Posted: Tuesday, October 02, 2012 - 06:24 AM UTC
Guys
Thanks for the feedback. This is why this forum is good as it allows people with a greater knowledge in these things to share them. I was not aware of the wooden floor issue and am grateful for the heads up. I don't know where I got 81 mm from of course it's 120mm must have been under pressure from "she who must be obeyed".
Cheers
Gerry
Posted: Tuesday, October 02, 2012 - 09:11 AM UTC
Another nice project. Very compact scene. I especially like the cluttered floor of the mortarpit. Gives it a lot of life. Am I save to assume that the dio's you show here are projects over the course of maybe several years? As there is a bit of quality and skill difference throughout the works you show here? I mean this of course in the positive sense of the word. You are doing a great job.
gerrysmodels
Scotland, United Kingdom
Joined: September 13, 2012
KitMaker: 441 posts
Armorama: 429 posts
Joined: September 13, 2012
KitMaker: 441 posts
Armorama: 429 posts
Posted: Tuesday, October 02, 2012 - 11:25 AM UTC
Robert
Yes you are right I have been modelling for several years and have accumulated quite a large collection of dios and vignettes.
I tend to build kits and have quite a large pool of builds to include in dios when the motivation,time,money, and she who must be obeyed allows.
Cheers
Gerry
Yes you are right I have been modelling for several years and have accumulated quite a large collection of dios and vignettes.
I tend to build kits and have quite a large pool of builds to include in dios when the motivation,time,money, and she who must be obeyed allows.
Cheers
Gerry