Matthew,
A very concise and also entertaining build review.

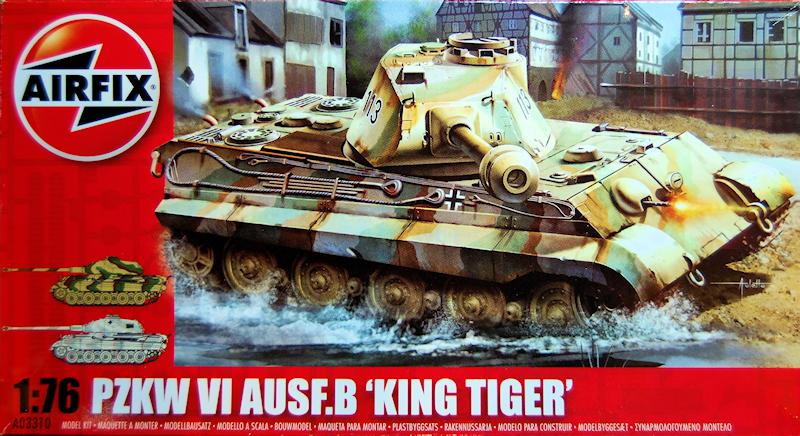
I must say that it's very nice to see a "new" Airfix kit reviewed and more than a bit nostalgic in general. One of the very first kits that I ever built (when Velociraptors roaned the earth) was the Airfix Tiger I. It is pleasant to see that the evolution of Airfix's moulding is approaching the standards that one might consider the current norm. While I can appreciate the "audience" these kits might be targeted at, it's still disappointing to see some of the "shortcuts" that were taken (moulded on tools, cables, hatches). With a bit more effort they could have targeted a larger market.
Of course what you say about the tracks is quite disappointing, especially after the nice job they did on the Cromwell. As for the Zimmerit, several sources that I have seen suggest that the use of the paste was discontinued in September 1944 and that there are photos of quite a few Tiger II's without it. As for other "inaccuracies," I have read more than a few articles that mention that, in the latter stages of the war, all manner of jerry-rigging was common on almost all German vehicles. In particular I recall one source stating how a Tiger I was returned to service after having parts replaced from three different versions that were cannibalized. This even went as far as swapping out turrets and even various hull plates.
If it is your intention to coat your beast with Zimmerit then I only see a few options. The most common would be to first sand off moulded on details so that you would have smooth panels to work with and apply a thin coating of some sort of putty that can be textured. Another way I have seen is to use a small jewellers screw driver, heat the blade and apply to the plastic. With this method you could work around the cast on details. Then another option that I have seen involved the use of Zimmerit photo-etch. I know it exists in 1/72 scale but may not in 1/76. Finally there is the use of Humbrol liquid poly cement outlined in an article
HERE.Cheers,
Jan