@CMOT - Darren,
You're making good progress on your contribution build.
The item in the red squared area is a fuel can. The field workshop may have affixed metal bracing to support this fuel can, this was not an installed production line item. Water could also be carried in these fuel cans but the can would have had a white cross painted across both sides of the can and this is missing in the photograph. However this can appears neatly painted in both a dark color and black? (the dark color appears to match the color of some items affixed to the rear of the turret - note the colors evenly divided down the center of the can. what this represents in terms of what may be in the can is unknown and not mentioned on any of the captions concerning this photograph. This can and the colors are almost always missed by modelers rendering this particular Tiger II.
You'll also note that a spare track link (sometimes a side fender) is wedged between both exhaust pipes. This practice of placing parts there was quite common and can be seen in many of the Tiger II photographs but no conclusive explanation has been found to date on any of the original documents concerning this practice by the German Tiger II tank crews. Many good guesses abound like; keeping the pipes from vibrating thus extending the life of the exhaust pipe and muffler gaskets?
Hope this answers your question Darren?
~ Eddy
Hosted by Darren Baker
Sd.Kfz. 182 KINGTIGER Porsche turret
Posted: Tuesday, November 06, 2012 - 05:14 PM UTC
Posted: Wednesday, November 07, 2012 - 02:15 AM UTC
Thank you all for your suggestions and help.
Eddy I note that this vehicle has 1 of each track link joined and positioned behind both of the exhaust pipes which is possible and is what is indicated by the picture. On the subject of the item at the rear could it be some sought of gas field stove as that is what I would want to hand. I remember seeing an item of equipment that was an oblong box with a circle at least on one end with what looked like spokes radiating from the centre to this circle, almost like a German air drop container that has been cut down in size and welded back up. Your thoughts?
I know British tank crew used to place buckets and sacks over the exhausts of their tanks when starting them up to cut down on the smoke generated giving away their position along with the noise, is it known if the Germans used anything similar for the same reasons?
Eddy I note that this vehicle has 1 of each track link joined and positioned behind both of the exhaust pipes which is possible and is what is indicated by the picture. On the subject of the item at the rear could it be some sought of gas field stove as that is what I would want to hand. I remember seeing an item of equipment that was an oblong box with a circle at least on one end with what looked like spokes radiating from the centre to this circle, almost like a German air drop container that has been cut down in size and welded back up. Your thoughts?
I know British tank crew used to place buckets and sacks over the exhausts of their tanks when starting them up to cut down on the smoke generated giving away their position along with the noise, is it known if the Germans used anything similar for the same reasons?
ccfrccfr
Hunan, China / 简体
Joined: November 07, 2012
KitMaker: 6 posts
Armorama: 6 posts
Joined: November 07, 2012
KitMaker: 6 posts
Armorama: 6 posts
Posted: Wednesday, November 07, 2012 - 02:44 AM UTC
great work!i like Kingtiger,hope you can finish soon
retiredyank
Arkansas, United States
Joined: June 29, 2009
KitMaker: 11,610 posts
Armorama: 7,843 posts
Joined: June 29, 2009
KitMaker: 11,610 posts
Armorama: 7,843 posts
Posted: Wednesday, November 07, 2012 - 03:16 AM UTC
Is the KT an early, mid or late version?
Posted: Wednesday, November 07, 2012 - 03:43 AM UTC
Thank you for the comment George.
Matt as it has 1 of the 50 Porsche turrets it has to be early, so what are you thinking
Posted: Wednesday, November 07, 2012 - 09:53 AM UTC
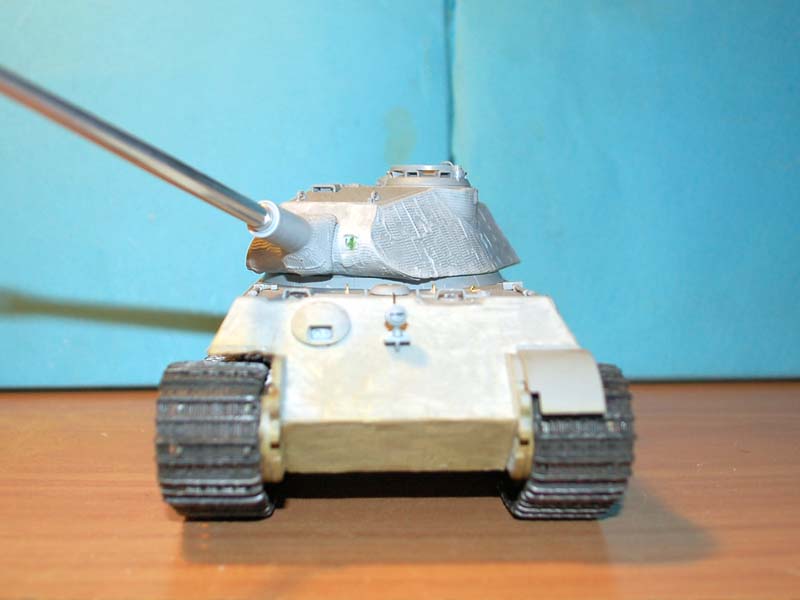
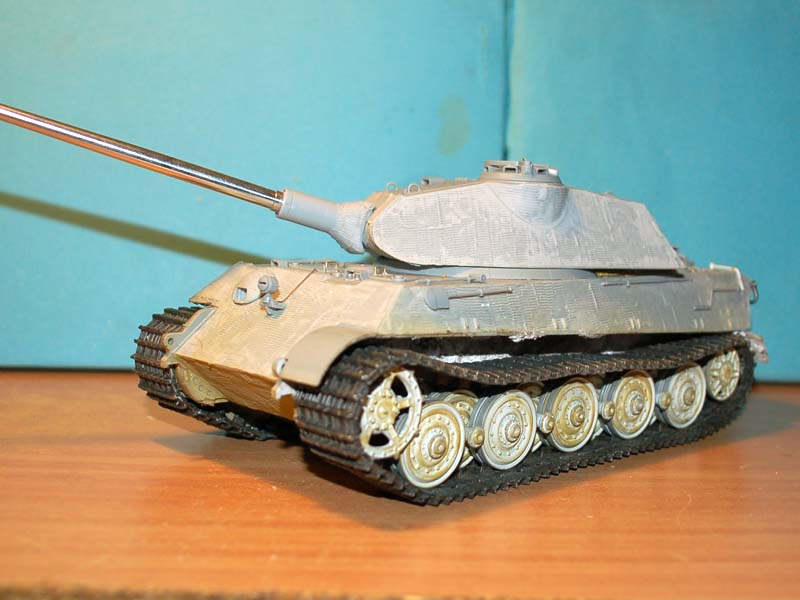
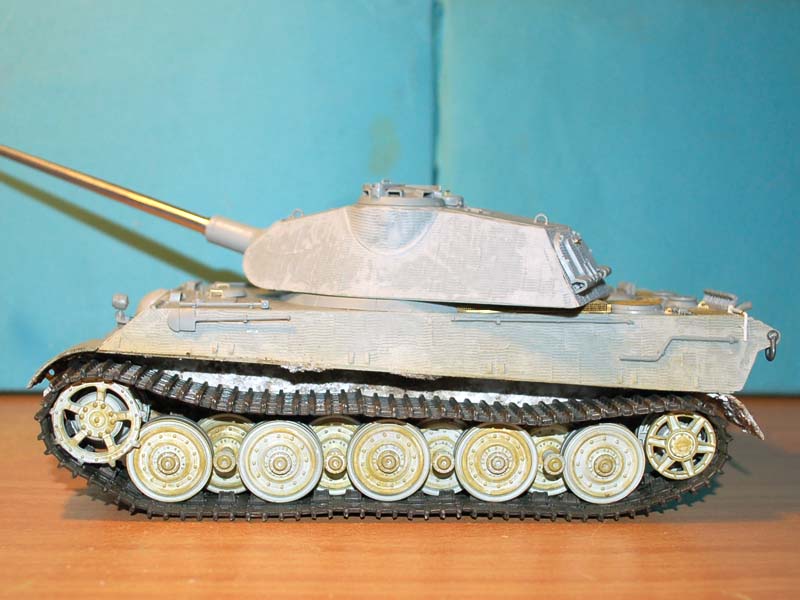
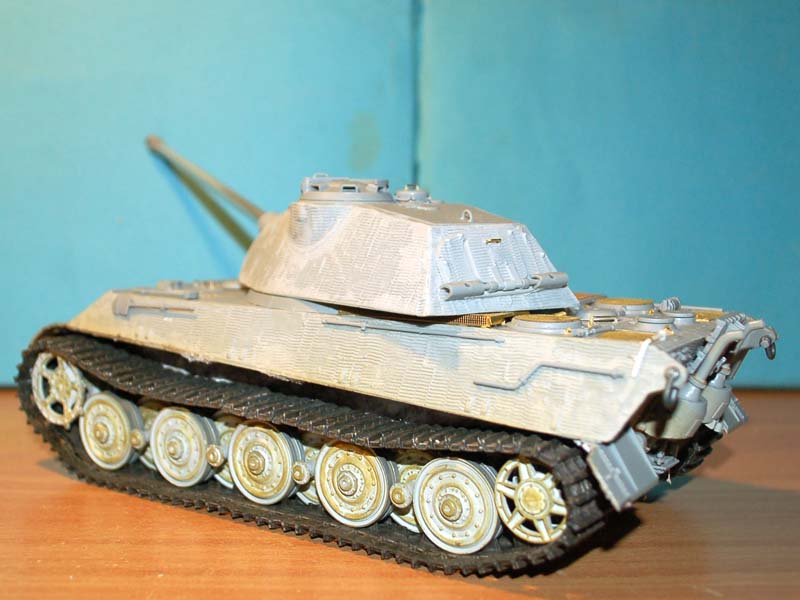
Here is a quick walk around of where I am at.
retiredyank
Arkansas, United States
Joined: June 29, 2009
KitMaker: 11,610 posts
Armorama: 7,843 posts
Joined: June 29, 2009
KitMaker: 11,610 posts
Armorama: 7,843 posts
Posted: Wednesday, November 07, 2012 - 10:05 AM UTC
I was just double checking. Trying to find the correct barrel for it. I have the Dragon version, in my stash. I love kits that come with interiors, though. Seems to just fall together.
Posted: Sunday, November 11, 2012 - 08:04 AM UTC
I have been looking at a lot of completed models of Annellise and all of them depict this tank minus its side skirts. Now I noted that the pictures of Annellise show the tank I believe during a track change which I also believe means the skirt would be removed and replaced after the track change; am I right? The only thing I can see against using the skirts is that I do not believe they would be removed for the application of the white wash which looks solid.
spitfire303
Vendee, France
Joined: December 22, 2006
KitMaker: 1,437 posts
Armorama: 1,406 posts
Joined: December 22, 2006
KitMaker: 1,437 posts
Armorama: 1,406 posts
Posted: Sunday, November 11, 2012 - 08:50 AM UTC
I think there's no clear answer here. The side skirts were very often lost in combat. A lot of wartime pictures shows Tigers II without them (there is also a lot with...). German troops in Hungary in 1945 had limited supply and the side skirts wouldn't be the priority. You can take a look at a pictures in one of the books I sent you a photo of TII (Henshel turret) transporting a coffin and soldiers on it. The tank doesn't have any side skits (at least on the visible side). I took a look on the site I posted link to on the beginning of the post. The tank has it tracks on and it seems to me the side skirt are at least not fixed I would say:
However it is extremely difficult to say what was the true about them.
spit
However it is extremely difficult to say what was the true about them.
spit
Posted: Sunday, November 11, 2012 - 09:01 AM UTC
Thank you again Pawel for your input I have looked at the pictures online and in the data you supplied which I do believe were taken during the same period of time. The only evidence I can think of that tells me to leave off the side skirts is that the white wash looks to be solid including the area where the skirts would obscure an area of the vehicle, and I cannot come up with any reason for this unless the white wash was applied prior to or during the track change and the skirts re-applied once all work was complete.
Posted: Wednesday, November 14, 2012 - 04:12 PM UTC
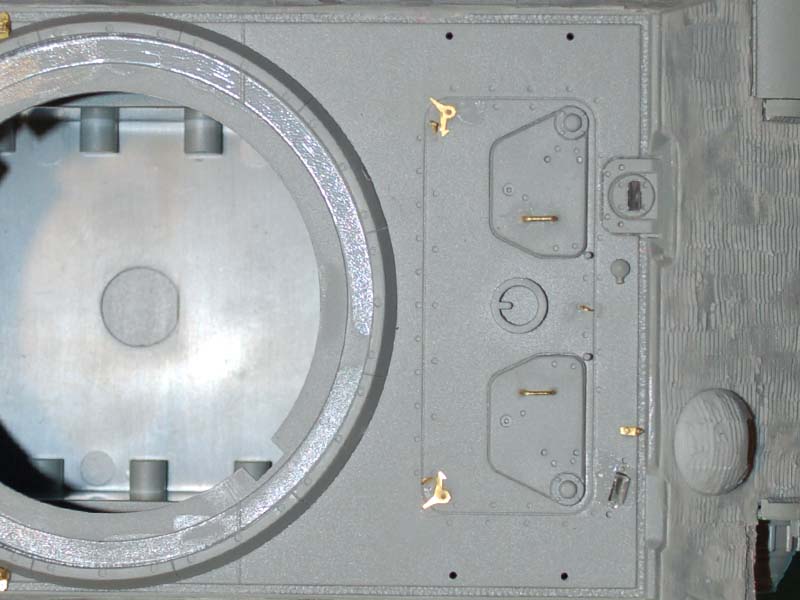
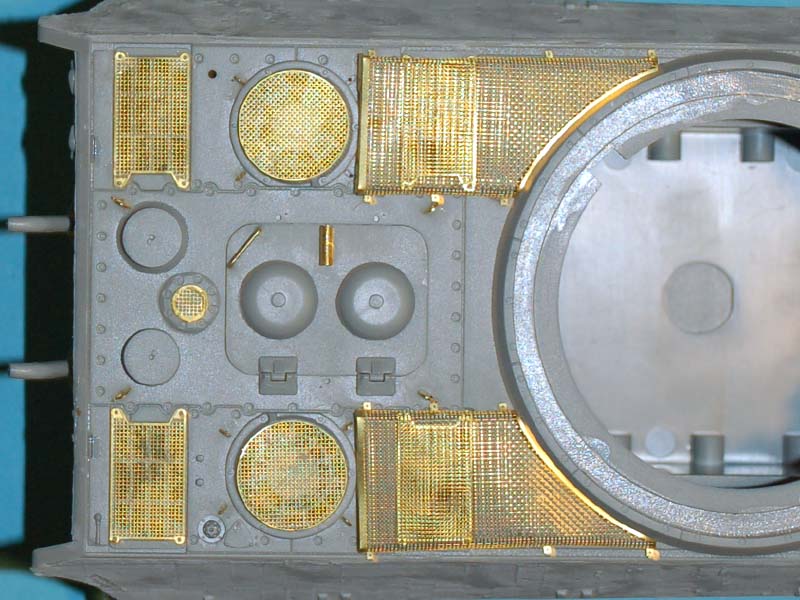
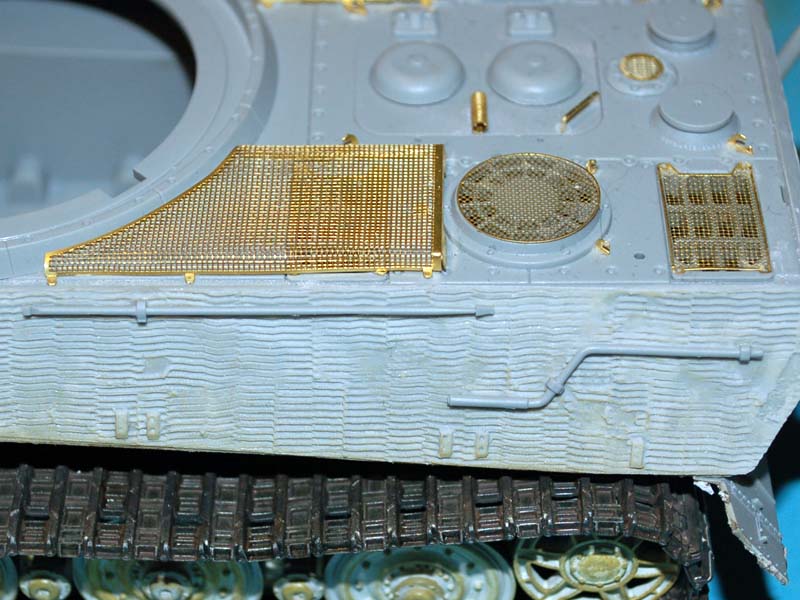
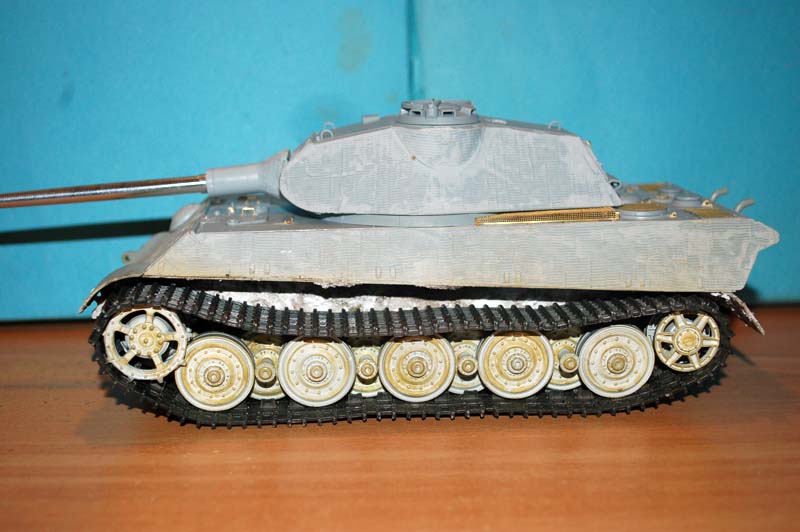
Quick update for you as my eyes hurt from looking at brass.
TMikeCurry
Missouri, United States
Joined: June 02, 2009
KitMaker: 128 posts
Armorama: 97 posts
Joined: June 02, 2009
KitMaker: 128 posts
Armorama: 97 posts
Posted: Thursday, November 15, 2012 - 05:19 AM UTC
The photo etch work looks great!
Posted: Sunday, November 25, 2012 - 08:04 AM UTC
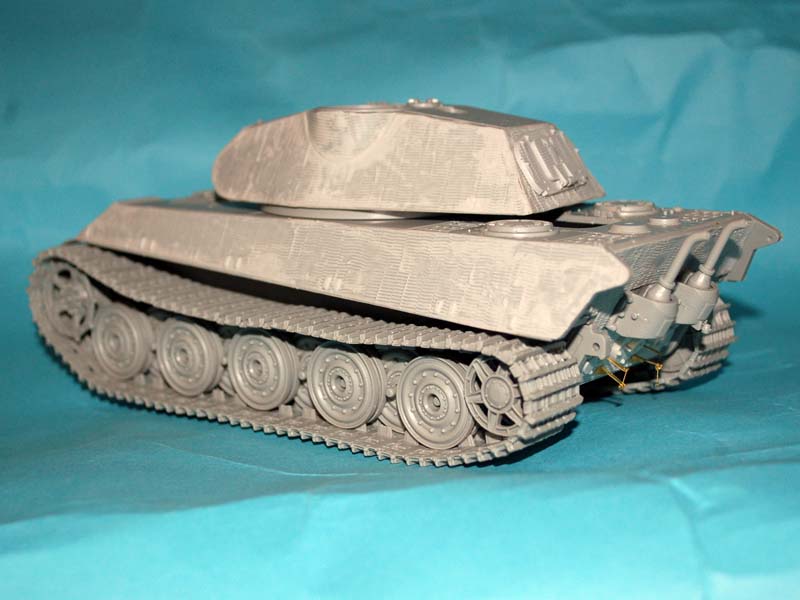
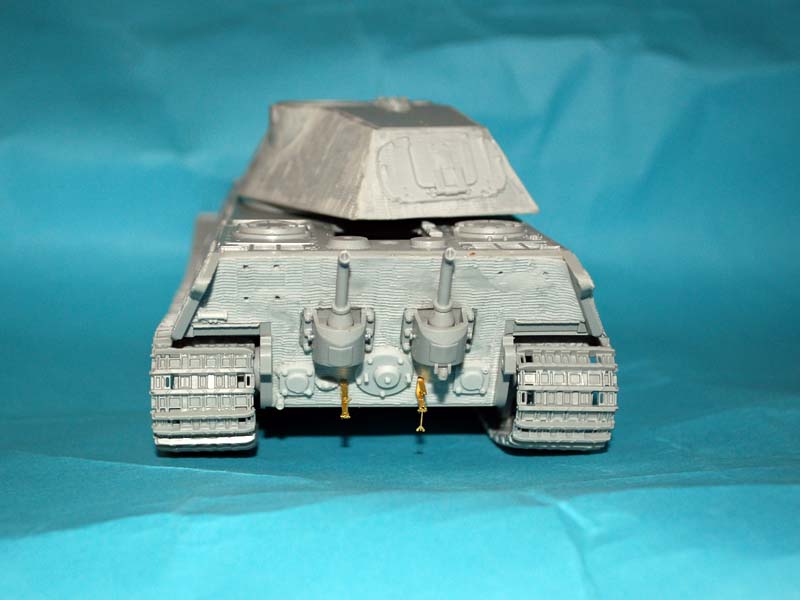
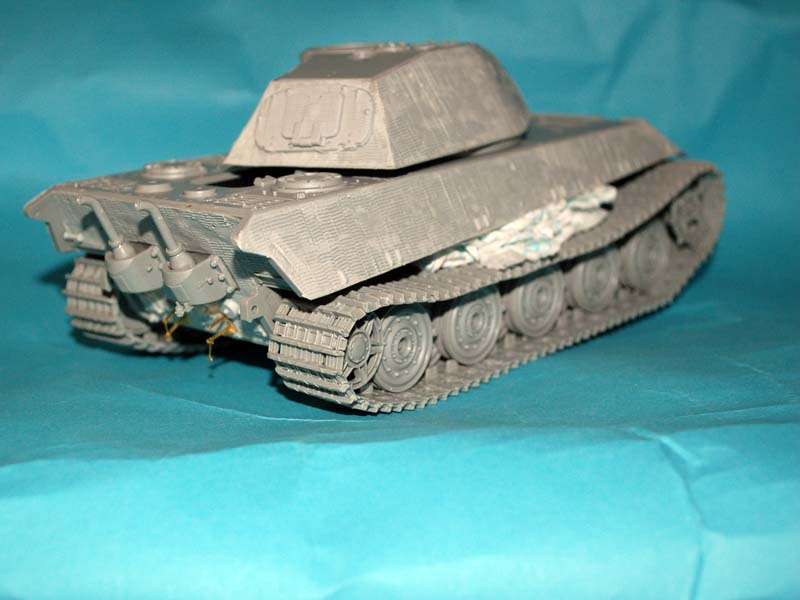
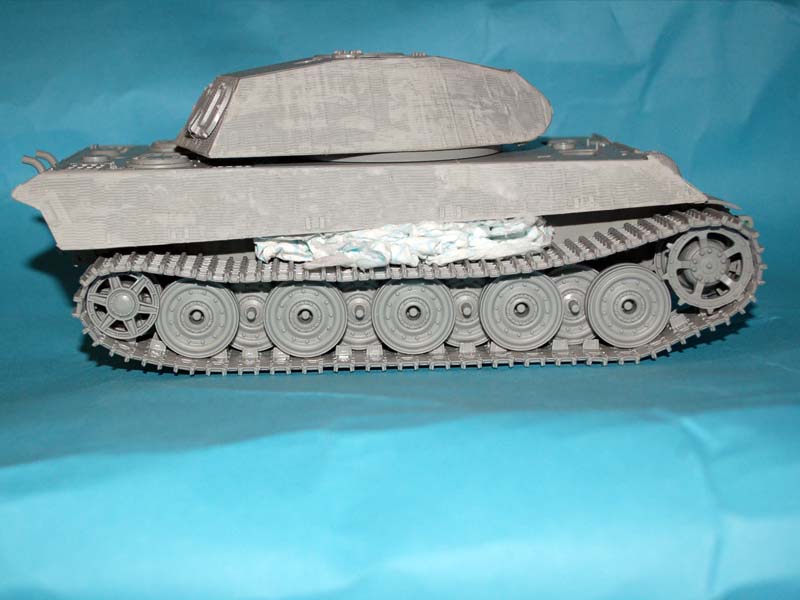
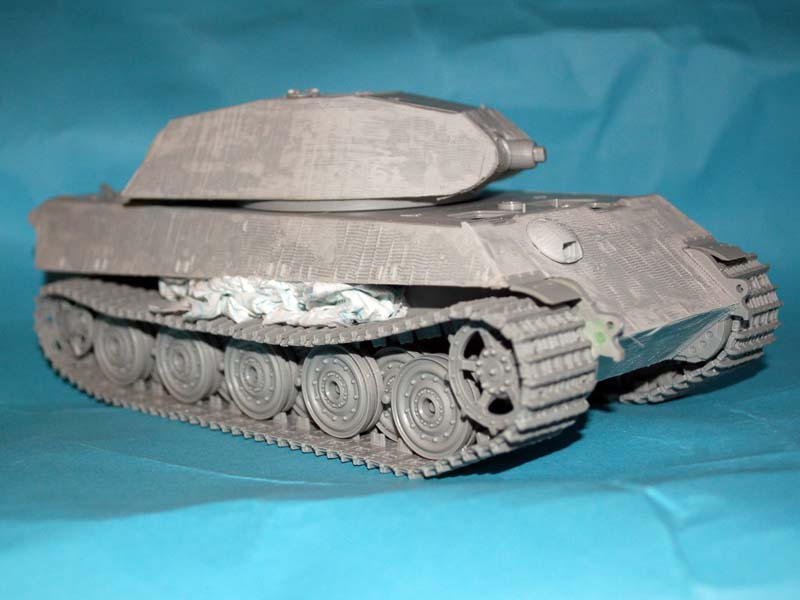
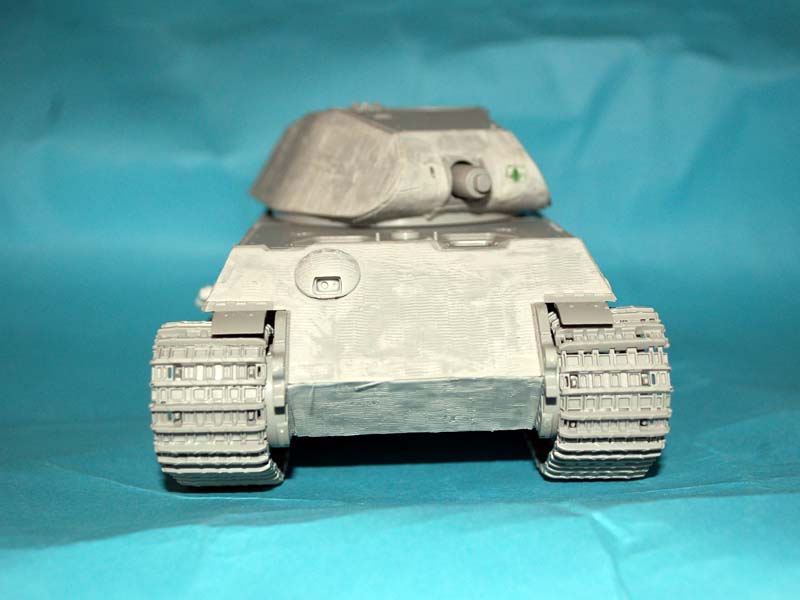
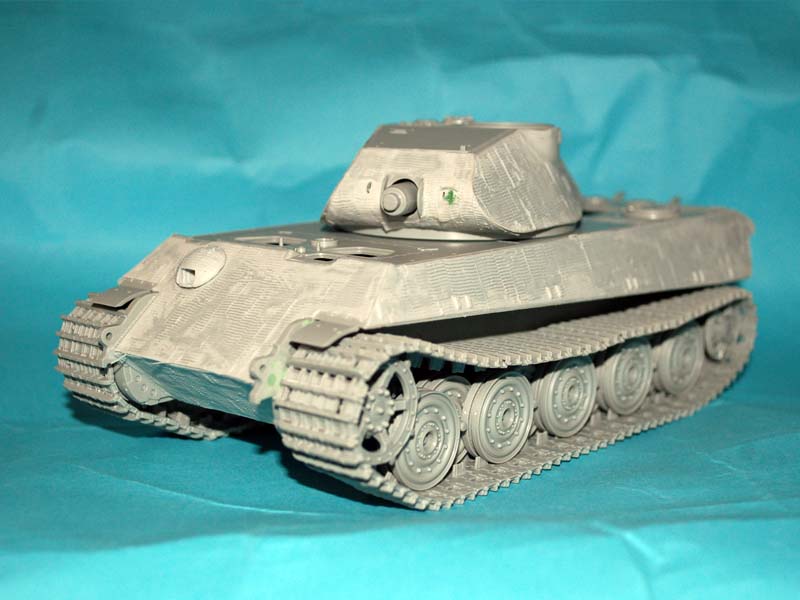
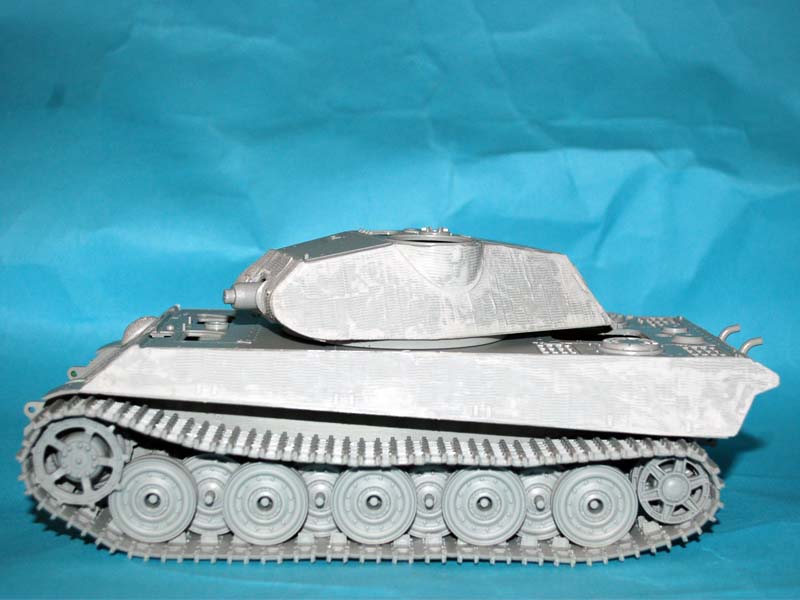
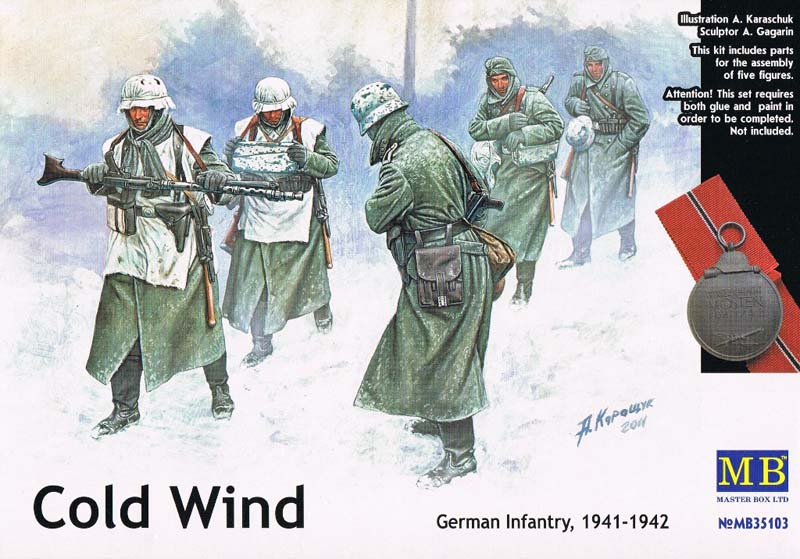
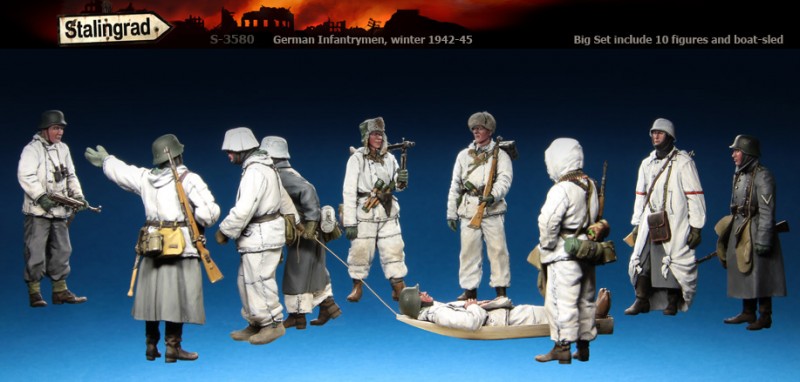
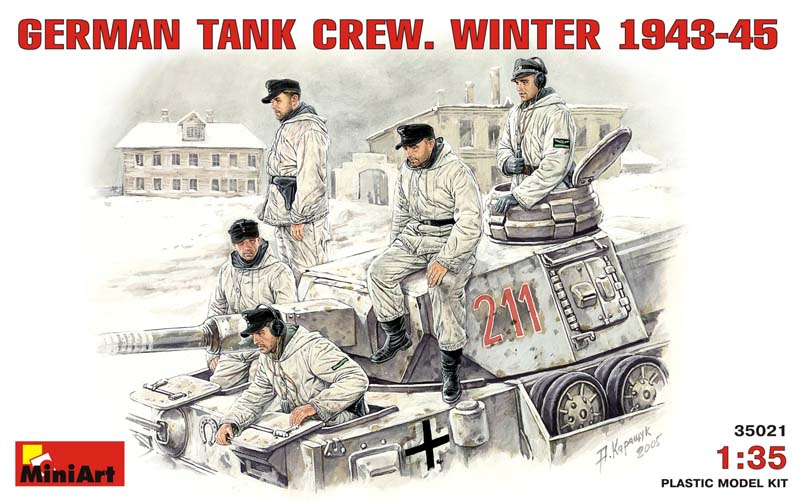
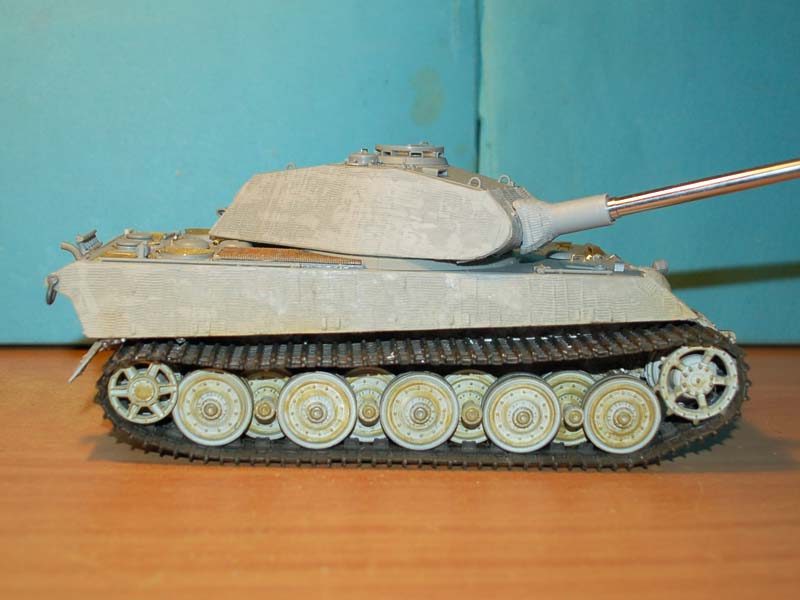
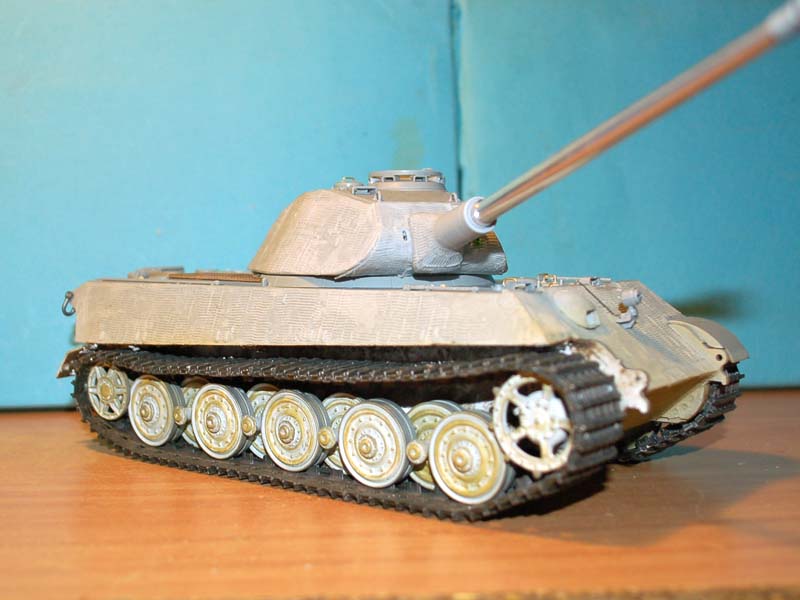
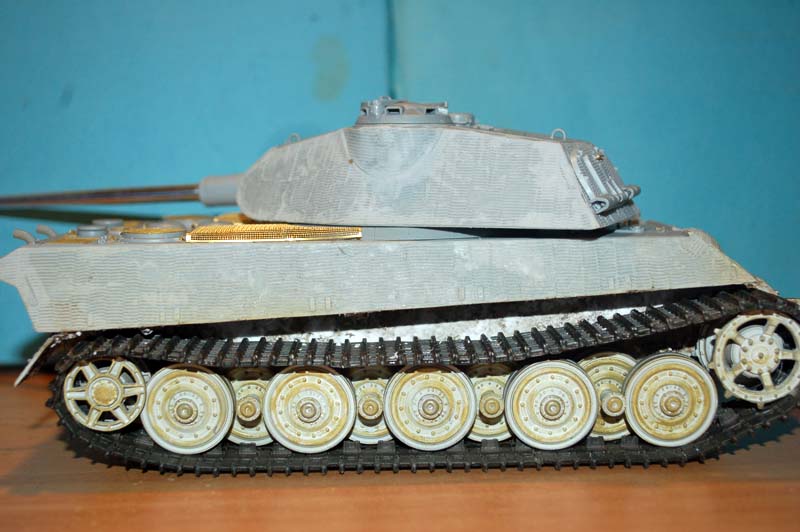
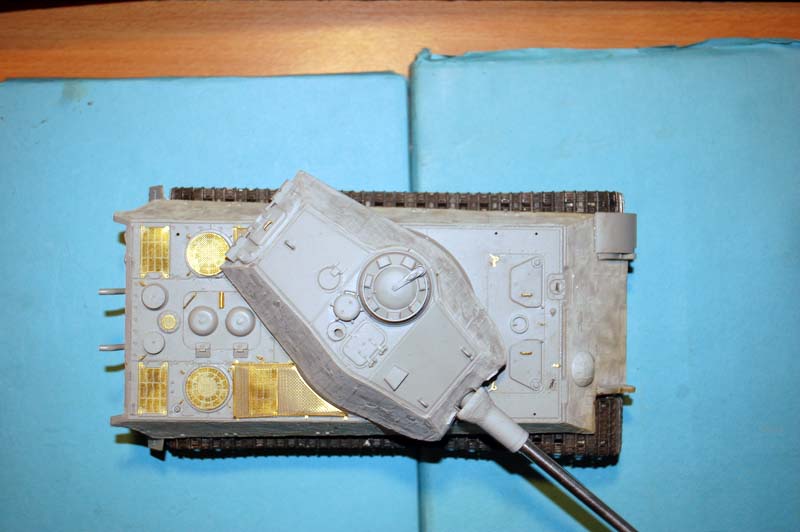
Well it’s been a while but I have been a busy lad with the Kingtiger mostly with work on the wheels and tracks, you will notice I have already done a little painting using the hairspray technique and I have also added some of the muck that accumulates in the areas around the wheels and tracks as it was easier to start when the wheels were off. I have added some small parts to the tank in general which I am sure you will be able to see. Here are the first lot of pictures of the Kingtiger and I have included some figures I am looking to use in a cold weather diorama, the “Cold Wind” figure set from MasterBox are excellent in my opinion and I am also looking into Stalingrad’s 3580 - German Infantrymen, Winter 1942-45 Big Set however I am concerned about the cold weather tank crew and would like your thoughts and/or suggestions on them and an alternative preferably in plastic but I am open to suggestions for resin figures. The diorama if I ever get the time will show the kingtiger going into the frying pan while the troops are getting out.
spitfire303
Vendee, France
Joined: December 22, 2006
KitMaker: 1,437 posts
Armorama: 1,406 posts
Joined: December 22, 2006
KitMaker: 1,437 posts
Armorama: 1,406 posts
Posted: Sunday, November 25, 2012 - 08:48 AM UTC
Hi Darren,
Nice work. How about the fit of the RB Model barrel to the mantlet (I have always a lot of issues there).
spit
Nice work. How about the fit of the RB Model barrel to the mantlet (I have always a lot of issues there).
spit
Posted: Sunday, November 25, 2012 - 09:05 AM UTC
Pawel I had to go with the turned barrel supplied in the kit as I didn't have the correct barrel for this kit, all I had to do was drill the resin to take the barrel and I see no reason why the RB Model barrel would have been any more difficult to attach. I did check the other barrel used on king tigers just to see how it fits and while being wrong it went in easily enough, the stem on the RB barrels is ever so frationally bigger than the DML turned barrel stems.
Posted: Monday, December 03, 2012 - 06:22 AM UTC
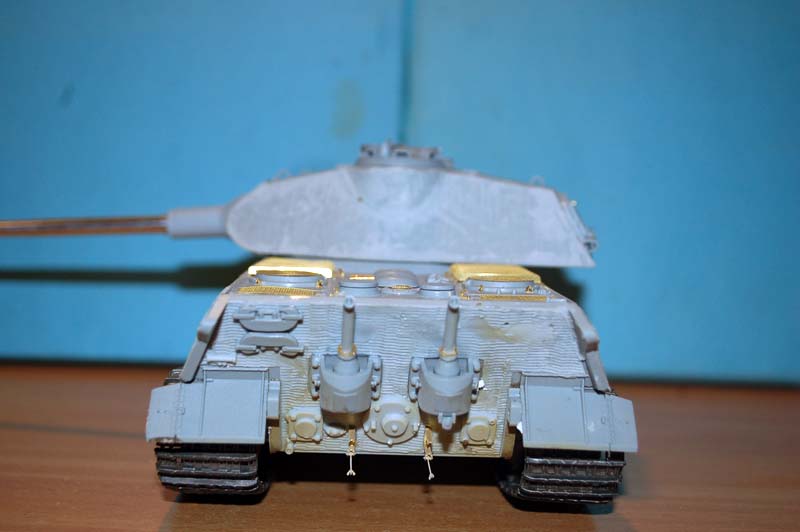
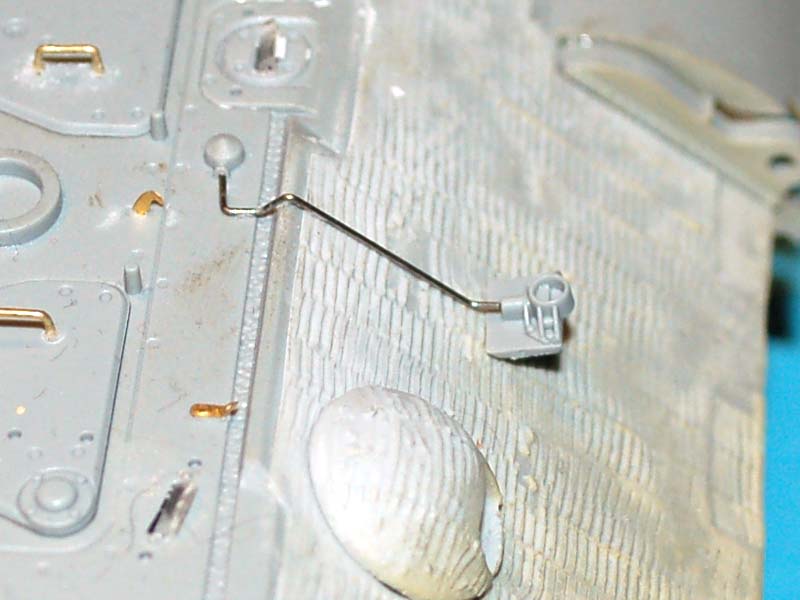
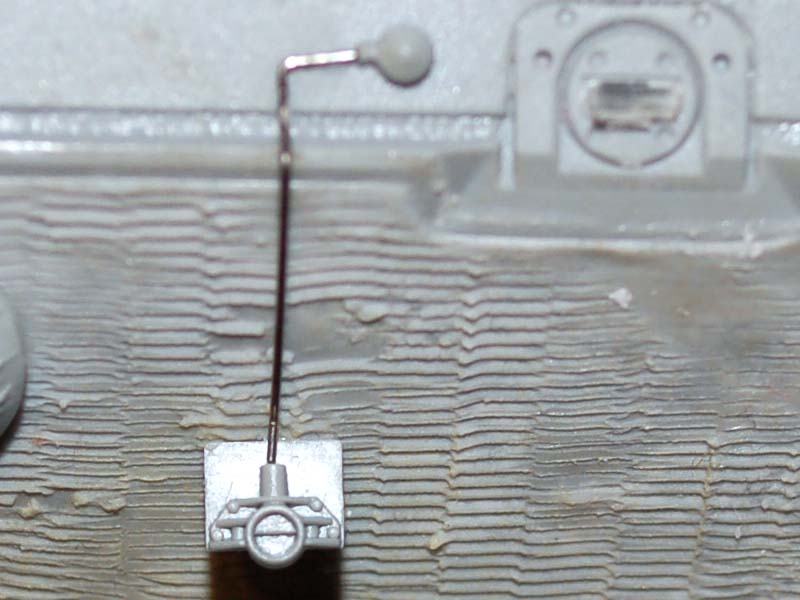
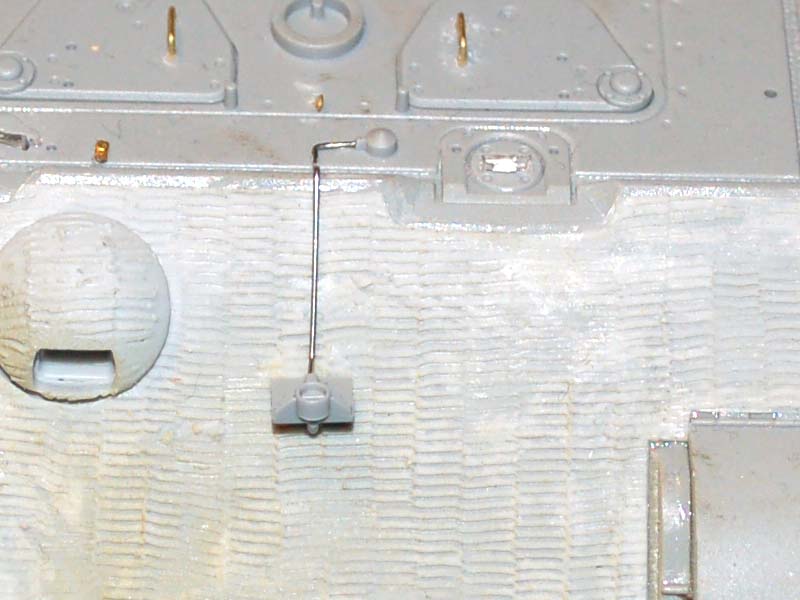
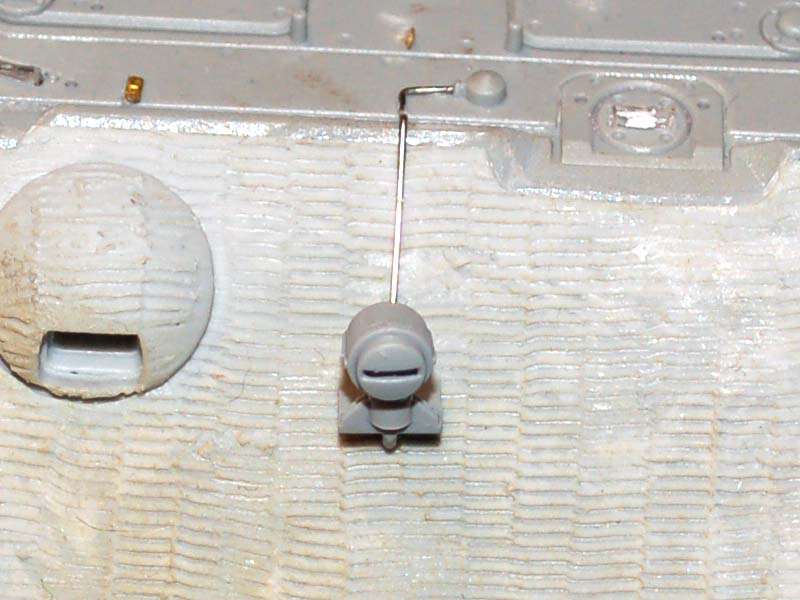
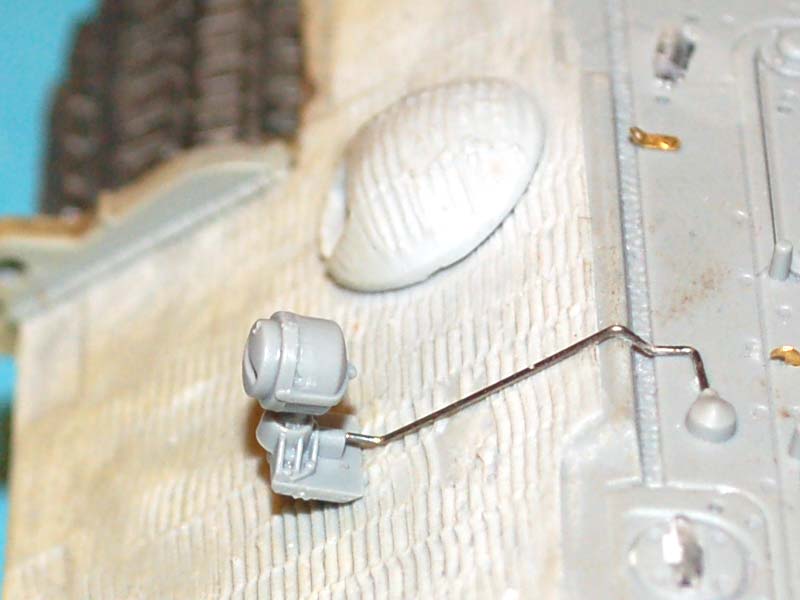
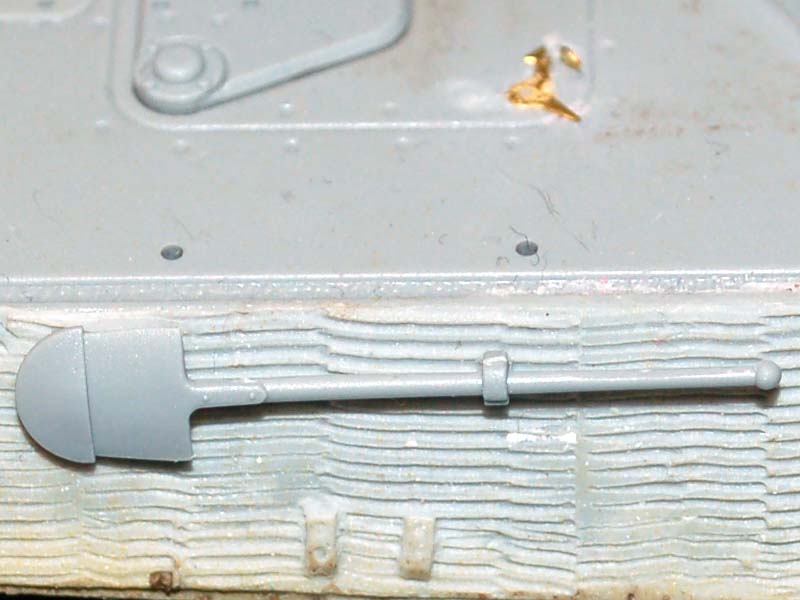
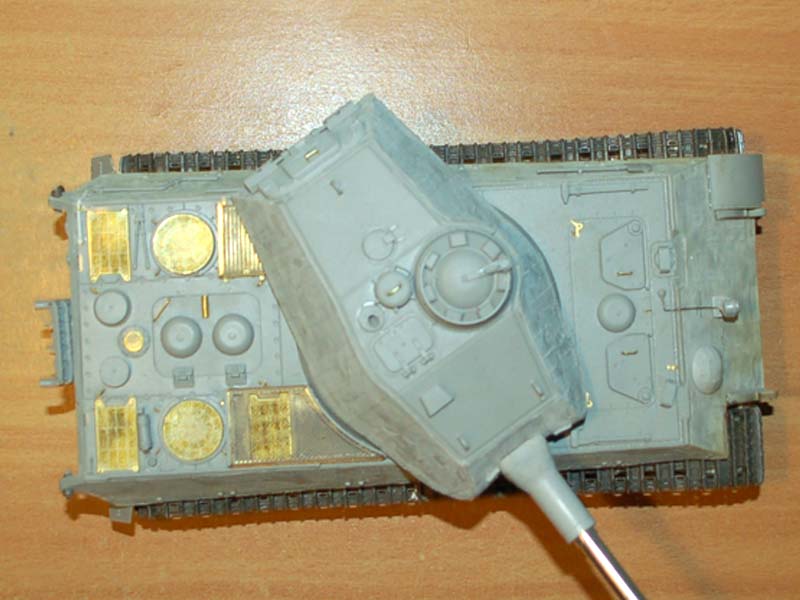
Here is a quick update on the KT; I have added the headlight and I must say I was very impressed with the shaped wire for the power feed and its fit, I have also started adding the tools but you will not that I have not used the brass tool clamps and there is a very good reason for that, as this model will be white washed and then using the hairspray method scrubbed I was concerned they would be damaged and also fly off never to be seen again.
Posted: Tuesday, December 11, 2012 - 05:24 PM UTC
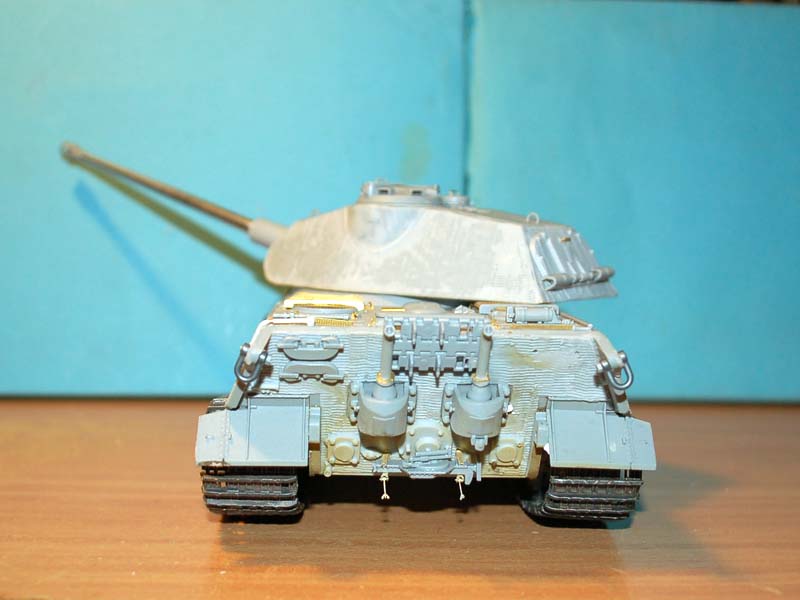
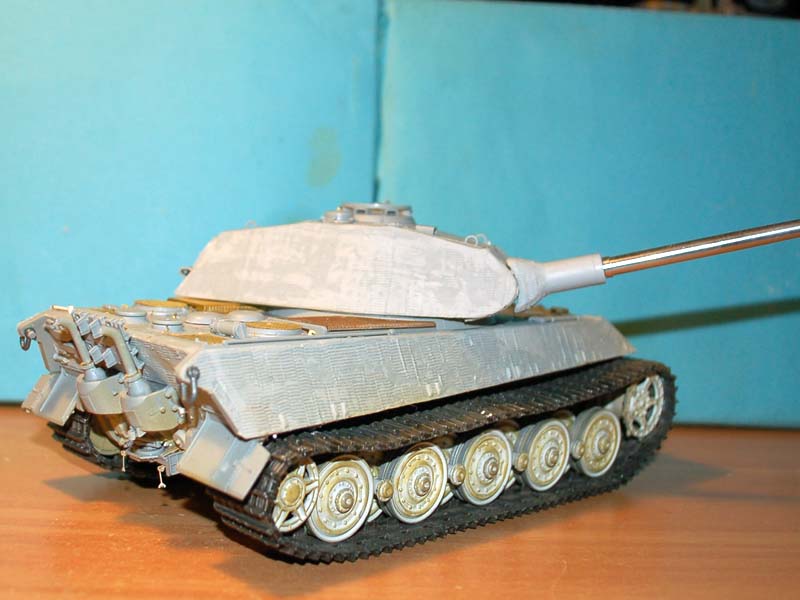
Well I am getting very close to the painting stage at last with the track hangers and cable clasps all that is left, I forgot I have to scratch structure where the jacking block usually resides. I have added a tube at the right rear of the KT as I know it is supposed to be there (just can’t remember why). Well here is a walk around so to speak let me know what you think.
Posted: Sunday, February 03, 2013 - 04:00 PM UTC
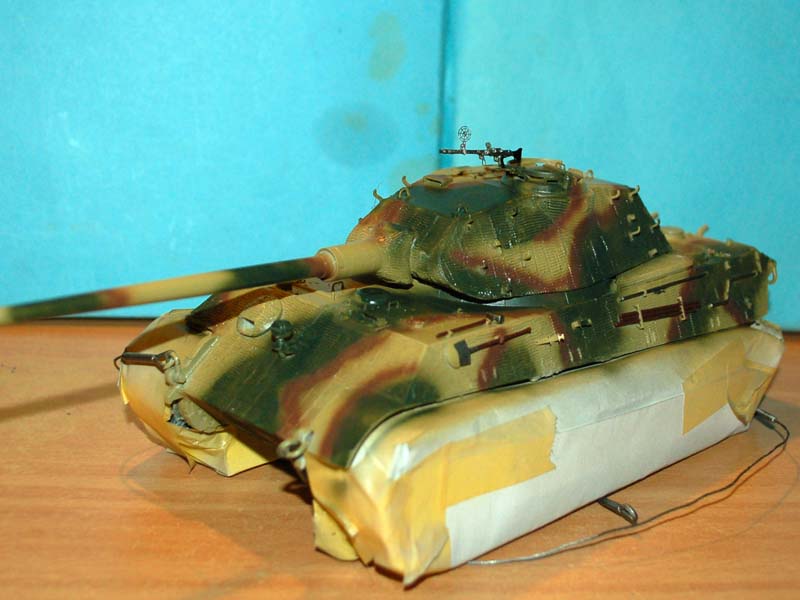
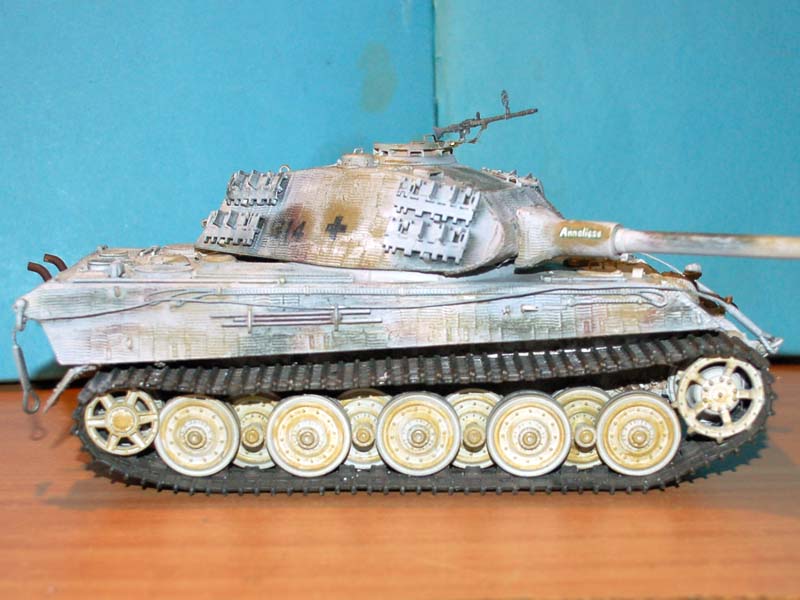
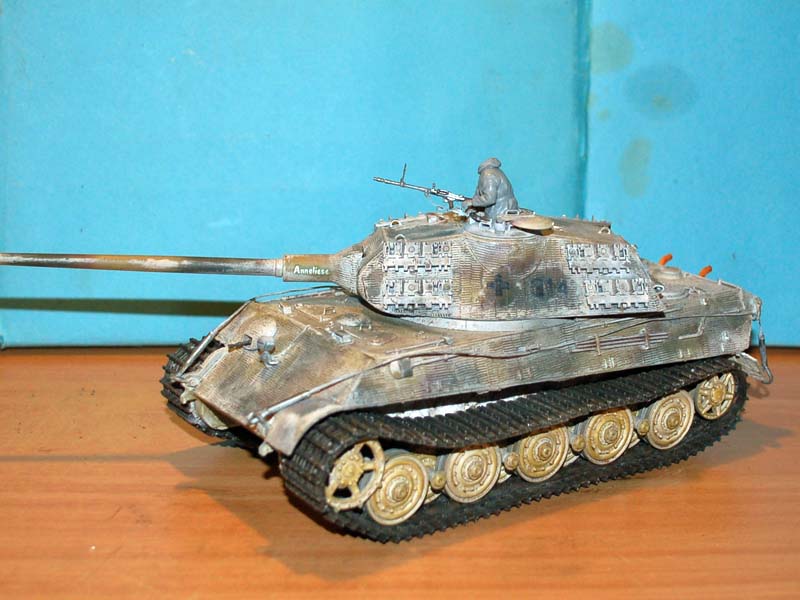
All of the major painting has been completed on this build and here is a quick overview of what has been done. I first gave the kit a paint job using Tamiya paint, I did not use pre shading as firstly it is not a technique I follow or for that matter one I am good at. Secondly as this is getting a worn white wash paint job I see little point in going through the trouble of it. You will note that the model is very glossy which is due to the klear that has been applied for the decals, I could have just done this on the turret as that is the only place decals need to be applied but it could result in a none uniform result.
Next the model was given a coat of matt varnish and then got a random spray of Tamiya white paint over hairspray. I did not want a uniform coat of white as it looks odd because the finish on the real vehicle would only be as good as the person applying it. This next picture shows the model after the white paint got a scrub with a paintbrush and water, I also hit a few areas with Tamiya acrylic paint thinner in order to get into some areas where the white paint was thicker or I wanted a more distressed look.
Finally you see what the model looks like after being given a wash, which on this occasion I used neutral wash from MIG Productions. I hope that the difference between this picture and the previous one shows just what a wash accomplishes.
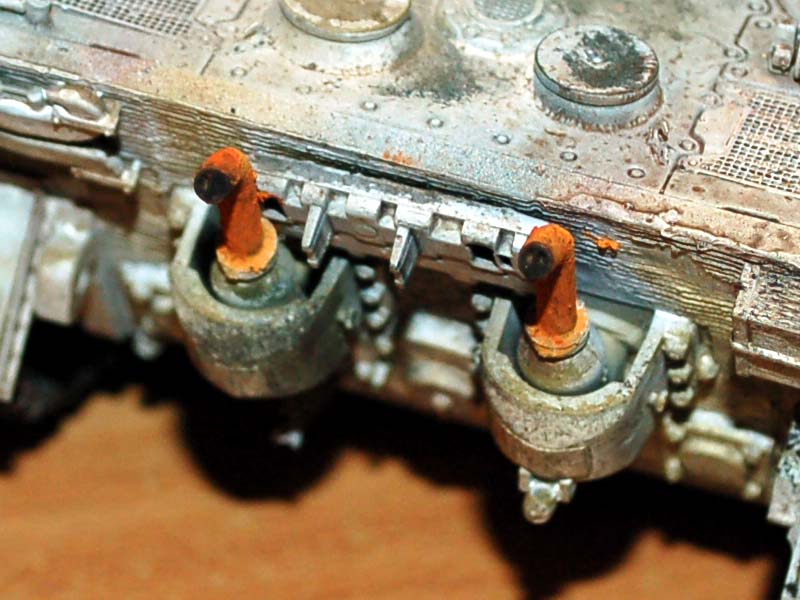
I am really pleased with the result I achieved using three of six shades of rust pigments and exhaust black pigment from Pinnacle modelling supplies.
chriscoolguy
New York, United States
Joined: January 13, 2013
KitMaker: 10 posts
Armorama: 7 posts
Joined: January 13, 2013
KitMaker: 10 posts
Armorama: 7 posts
Posted: Sunday, February 03, 2013 - 04:38 PM UTC
Great job with the zimermint.
I built a tank with zim and i used green putty it came out nice.
Keep us up dated with the pic plz
I built a tank with zim and i used green putty it came out nice.
Keep us up dated with the pic plz
robw_uk
England - North East, United Kingdom
Joined: June 22, 2010
KitMaker: 1,224 posts
Armorama: 1,207 posts
Joined: June 22, 2010
KitMaker: 1,224 posts
Armorama: 1,207 posts
Posted: Sunday, February 03, 2013 - 09:06 PM UTC
very nice - really feels like that one is in an active battle scenario.....