


this is my second build this year....got so busy with work n personal matters until my staff give this kit as my birthday present as well as to remind me how old i am now... haha
ok... to the build...
like others, me too was surprised to see the level of details of the kit. I build two old zvezda kit before and this is like heaven and earth... although there are some forgiven seam lines, pin marks...
i believe there are many in box review for the kit as well as the construction..so i just go straight to my build
the work has begun 3 weeks ago...and my now the construction of the kit has 98% completed ..
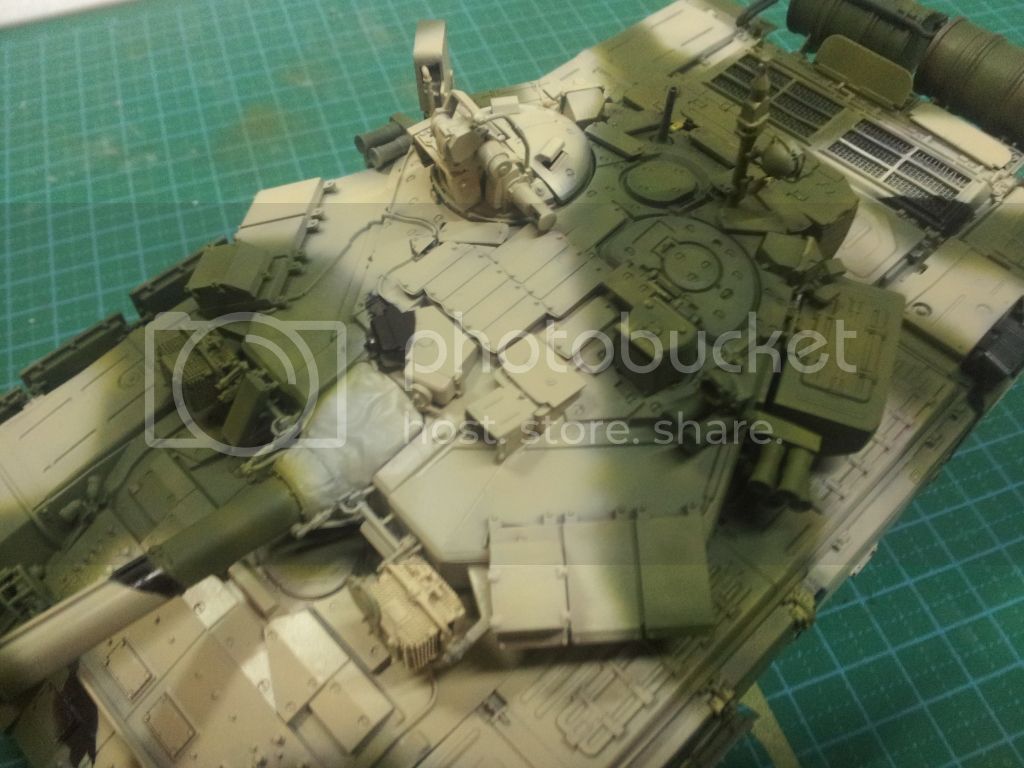
some progress photo
the busy turret...i think most of the parts goes here

some AM goodies that goes with the kit... PE mesh screem, smoke grenades, tow cable.

comparison between kit and AM smoke grenades

There are many seam lines on each of them..since i'm too lazy to clean all of them, i opted for AM.
next, i installed them all


The nylon mesh screen were replaced with PE screen

and also the nylon thread with brass wire

i also replace all the kit transparents plastic headlight with extra MV lenses i collected over the years
hollowed out the MG barrel

i add the ring for the fuel drums.. based on photo on the internet, there are 2 rings each for the drum but i only add one outer ring. There are not perfectly round.... i hate the shape... but since the fuel drum lack of these ring, i just add them for extra realism.

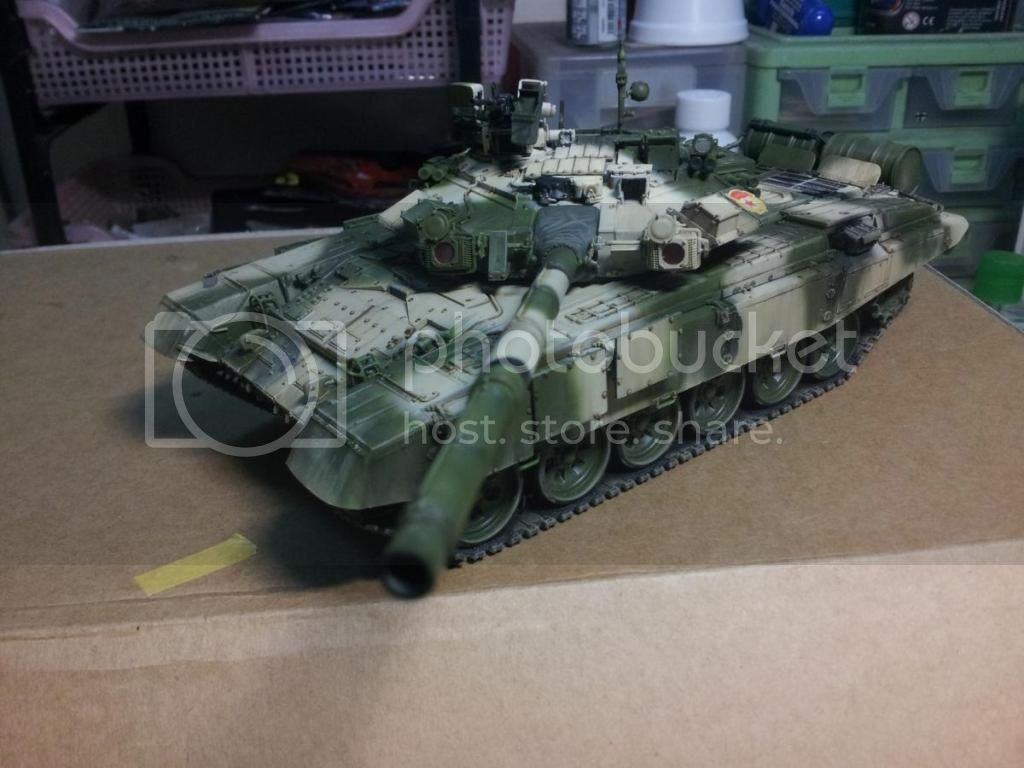
i dry fit every part and now ready for paint job.


that's for now..
cheers
Zaidi


