_GOTOBOTTOM
Dioramas
Do you love dioramas & vignettes? We sure do.
Illuminating MiniArt Street-lamps
velotrain
Visit this Community
Massachusetts, United States
Joined: December 23, 2010
KitMaker: 384 posts
Armorama: 320 posts
Posted: Tuesday, December 11, 2012 - 04:31 PM UTC


I recently bought a bunch of MiniArt building kits, and decided to try illuminating some of their street-lamps. I see that there’s maybe a half-dozen manufacturers producing 1:35 street-lamps, but I don’t think any of them are functional, although MIG makes theirs look like it. None of them are cheap, and although some have glazing, I’m not sure any of them look all that much better than the MiniArt version.

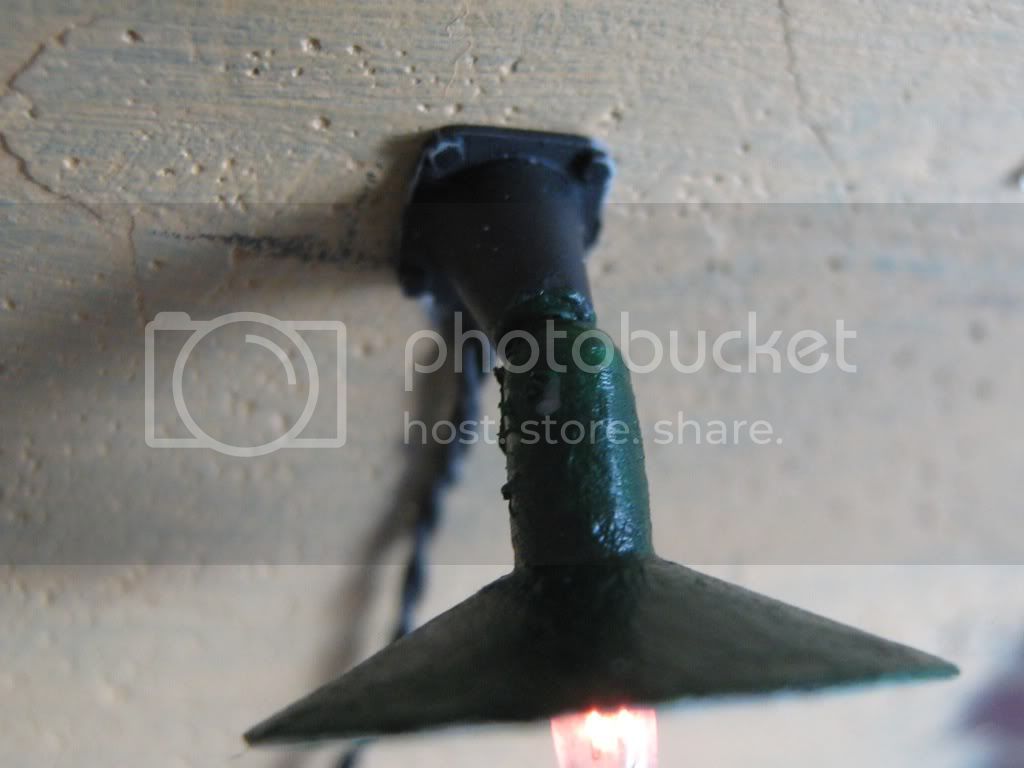
You do need to replace the narrow upper pole section, which is solid. You might be able to use some of their other castings for different versions, such as the ornate bracket to make a wall-mounted light, but would need to hide the wire in heat-shrink tubing - or find another solution. I used the bulbs and parts from Model Power 1:48 scale lamps that I had on hand, but the bulbs are widely available 12-16 watt grain of wheat. These can be bought individually, to bunches of 100, from 50 cents each to several dollars.

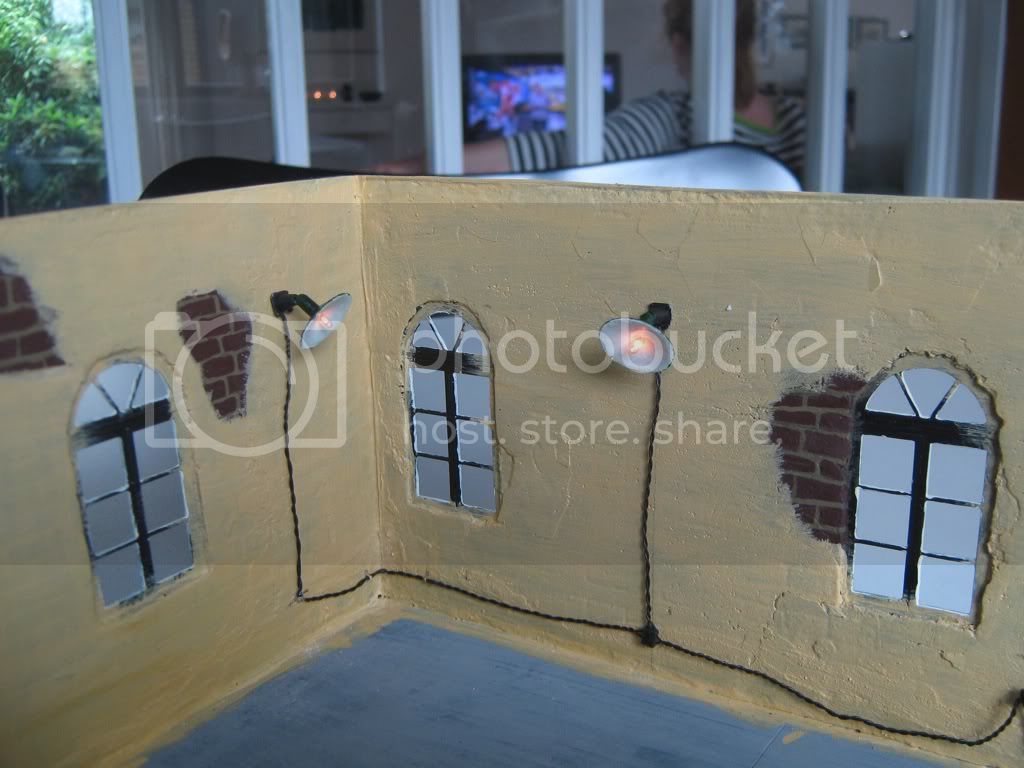
The lamp on the left is a stock MiniArt street-lamp.

The second from the left is the Model Power lamp, very similar to many in Germany during WW2. If you model in 1:48, a place called Model Train Stuff has the best price ($11 for 3).

The third one uses a wider base I found on a MiniArt sprue, but don't know what it was meant to be. The mid-section is from the O-scale lamp – mostly because it’s hollow, but with the MiniArt lamp housing on the top. I cut some glazing for it, and also cut a small square of styrene to go over the ornate supports at the top - I didn’t like the open bottom of the bulb section.

The one on the right uses the MiniArt base, and then a piece of 1/8" O.D. brass rod, and the 1:48 lamp bulb, but I see I forgot to put the housing back on after inserting the bulb. I also realized that there really needs to be some transition from the pole to the lamp. I used the brass as I don’t have any plastic tube, but even a narrow diameter straw would work.


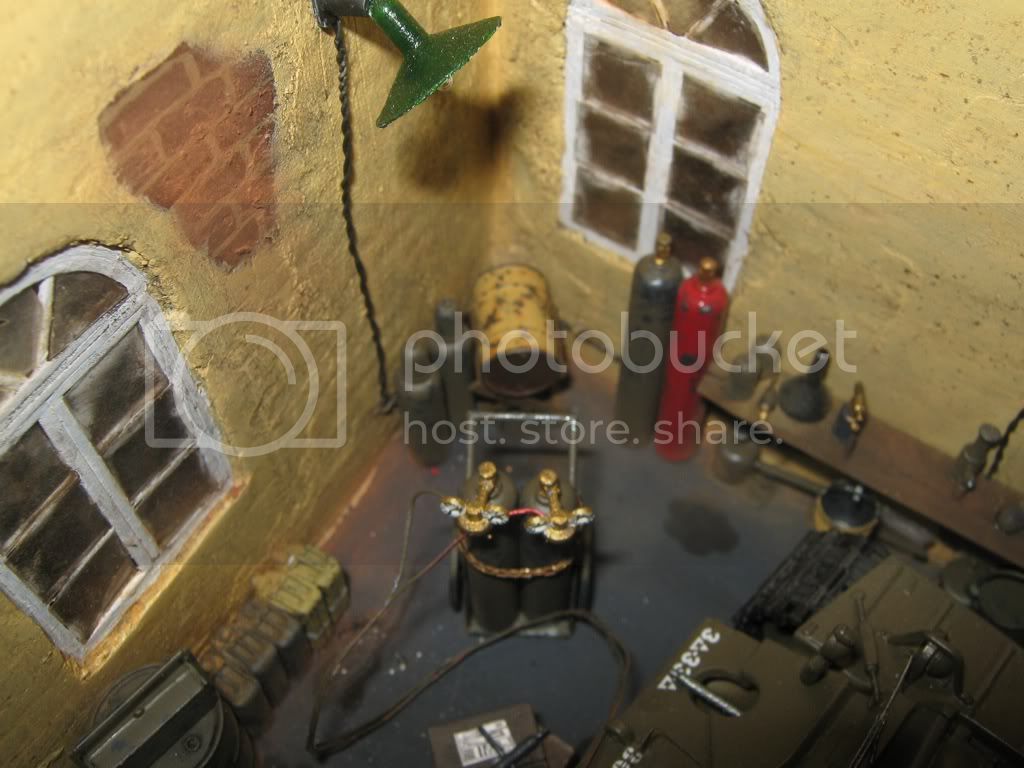
Power was at about 6 volts in the first photo, and I prefer this of the three settings, or possibly between here and the middle setting. The second and third are around 10 and 14 volts respectively, with the last one too harsh for my tastes. I was using a power pack without a voltmeter, so these are estimated based on the setting. For a dio you could use batteries - due to the low drain even a 9-volt battery should last a good while. Running these at less than max voltage also improves service life. You could use L.E.D.’s, but the G-o-W bulbs look more lamp-like to me, and come with 6-8” of very thin wiring attached – which should fit inside a 1/32” I.D. tube.

Charles
18Bravo
Visit this Community
Colorado, United States
Joined: January 20, 2005
KitMaker: 7,219 posts
Armorama: 6,097 posts
Posted: Tuesday, December 11, 2012 - 05:08 PM UTC
Very nice. It always amazes me that all of the current trends in armor modeling started with model railroading decades ago, ie, weathering, scenery, PE...
bill1
Visit this Community
West-Vlaaderen, Belgium
Joined: August 14, 2005
KitMaker: 3,938 posts
Armorama: 520 posts
Posted: Tuesday, December 11, 2012 - 10:39 PM UTC
Nice job!!

Greetz Nico
Biggles2
Visit this Community
Quebec, Canada
Joined: January 01, 2004
KitMaker: 7,600 posts
Armorama: 6,110 posts
Posted: Wednesday, December 12, 2012 - 05:50 AM UTC
Very clever!
berwickj
Visit this Community
Fyn, Denmark
Joined: April 16, 2007
KitMaker: 352 posts
Armorama: 342 posts
Posted: Wednesday, December 12, 2012 - 06:19 AM UTC
Looks really good!
I did something similar a while ago. I needed lights for a workshop and built some out of spare parts from Mini-art and some return roller brackets from a PZ. IV. I used a 16V 30 mA lamp from Viessmann. All the cable you can see comes from the lamps.


This was the hard part!


I connected them to a 9V battery hidden in the base of the dio.

John
clovis899
#155
Visit this Community
California, United States
Joined: May 05, 2002
KitMaker: 774 posts
Armorama: 605 posts
Posted: Wednesday, December 12, 2012 - 06:28 AM UTC
Charles,

Those look great! You have inspired me to give it a try over the Christmas holidays. Do you use any kind of switch, or just a battery?

Rick
Gorizont
Visit this Community
Sachsen, Germany
Joined: November 28, 2007
KitMaker: 1,462 posts
Armorama: 1,289 posts
Posted: Wednesday, December 12, 2012 - 06:51 AM UTC
Nice work!
I like street lights... but real working model-street-lights are great for a real-looking scene!

greetings and thanks for sharing
Soeren
velotrain
Visit this Community
Massachusetts, United States
Joined: December 23, 2010
KitMaker: 384 posts
Armorama: 320 posts
Posted: Wednesday, December 12, 2012 - 01:57 PM UTC
Thanks, Rick.

I was just testing, so used a model railroad power pack. I was thinking it would be nice to be able to control the voltage on a dio with battery power, so you could probably find something at "the Shack", although they're a lot less supportive of parts and people doing projects these days. You could have both a daytime and a night scene, just by powering the lights up. You could also adjust the intensity based on the ambient light where you were exhibiting - many halls have dark spots, especially in the corners.

I'm now on the hunt for an industrial type "shade", similar to what John used for his interior (he must have had fun soldering the junction box), but with a vertical band around the bottom of the flattish white disk on his lamps. Similar in shape - if not proportions - to the black object on the shelf in the shop shot (as opposed to a chop shop ;-) The sort of shade you often see used with the lamp over a side entrance to an industrial building - at least in earlier times.

Since we're discussing electronics: John - several companies make circuits that simulate welding arc light, usually with yellow and blue bulbs that come on intermittently. Woodland Scenics has a G-scale (~ 1:24) set with a couple of guys wearing bib overalls (maybe jumpsuits) and with the equipment you have, but you'd probably have to create your own figure - unless Preiser has a welder. OR - you could use Sasha, when she's back in stock:
http://tinyurl.com/avs64jr
I think the circuits are around $20-30, bulbs included, and a knob to control the speed-intensity - but without a power supply. There are cheaper versions that just use a flickering white bulb - not very convincing. This guy has been in the business for decades; see the middle of the right hand column on page 2 - http://www.circuitron.com/

Charles
 _GOTOTOP