I am going to try a model again it's been 13 months since I got mugged an pistol wiped and had to have 20 staples put in my head an I have tried before this to start one but it didn't work I just couldn't do the tasked it takes to do a model. So my therapist said tried some small kit and maybe you wouldn't feel so overwhelmed so here we go hope it goes well.
OK, the kit is a 1/35 scale Academy M998 kit it is not to complex an it is fun enough to keep me interested an maybe I can put it in a small diorama.
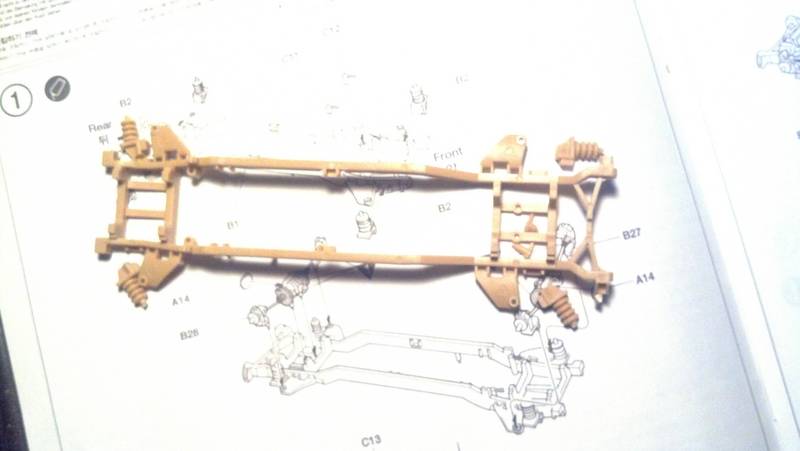
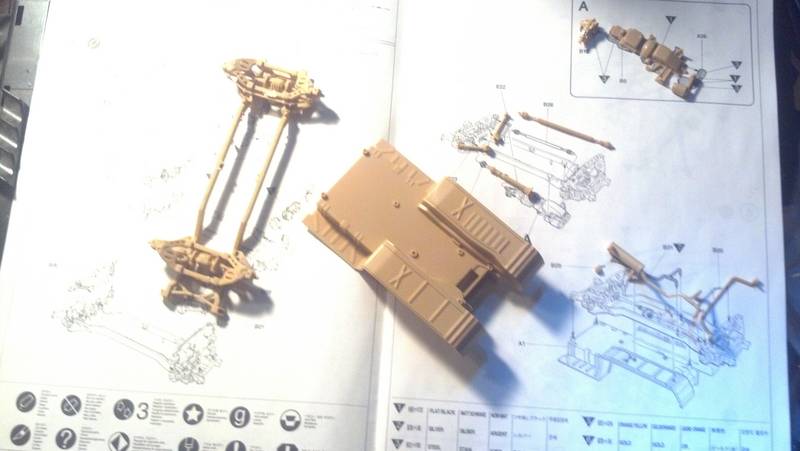
Just a shot of the fist step 1 parts needed to complete it.I will sand them and fill in any imperfections.
Happy Modeling
William DeCicco
Hosted by Darren Baker
Academy M998
Posted: Thursday, January 10, 2013 - 04:47 PM UTC
35th-scale
Kildare, Ireland
Joined: November 21, 2007
KitMaker: 3,212 posts
Armorama: 2,807 posts
Joined: November 21, 2007
KitMaker: 3,212 posts
Armorama: 2,807 posts
Posted: Friday, January 11, 2013 - 12:05 PM UTC
A nice subject to pick William. Hope it goes well for you and really gets you back to your old self. Sounds like you've had a tough year!
bat-213
Canada
Joined: December 30, 2011
KitMaker: 902 posts
Armorama: 788 posts
Joined: December 30, 2011
KitMaker: 902 posts
Armorama: 788 posts
Posted: Friday, January 11, 2013 - 12:31 PM UTC
i feel you dude,i had massiv stoke 10 years ago,have to build all my
kits one handed,buy you will do it.
Posted: Sunday, January 13, 2013 - 11:39 AM UTC
Guys thanks for the encouragement and the enthusiasm as soon as soon it is humanly possible I really want to start modeling again. It helps me relax.
Happy modeling
william DeCicco
Happy modeling
william DeCicco
didgeboy
Washington, United States
Joined: September 21, 2010
KitMaker: 1,846 posts
Armorama: 1,509 posts
Joined: September 21, 2010
KitMaker: 1,846 posts
Armorama: 1,509 posts
Posted: Sunday, January 13, 2013 - 12:12 PM UTC
William, glad you are back,in the saddle and very sorry to hear that happened to you. Kits are a great way to take your mind off of the day to day and a great way to deal with PTSD. Hang in there brother and looking forward to this build. Cheers.
Posted: Monday, January 14, 2013 - 10:10 AM UTC
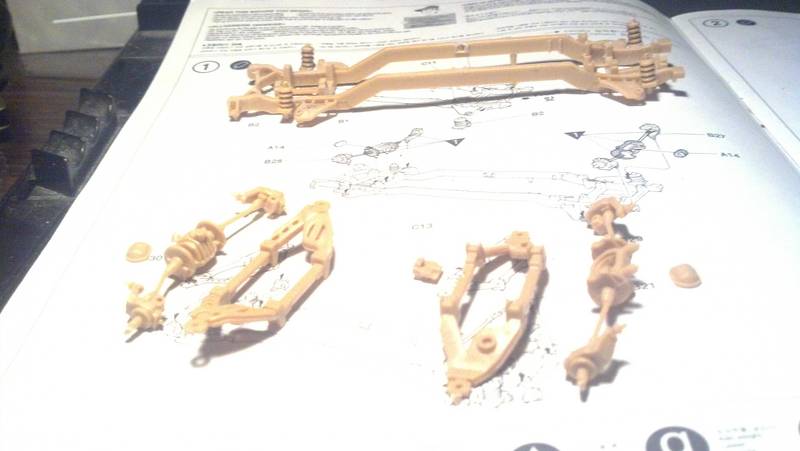
Here is the finished and glued parts and sanded all the parts for step 1 and put on the frame. Also the unfinished parts are going to be sanded and cleaned up for step 2 an put on the frame.
Question; I have is the parts they say to be painted a certain part a certain time in the instructions for step 2. OK on this type of M998 Humvee on the undercarriage is it all sand or should I paint everything first like they said to do or go back and paint the same parts while in sub-assemblies before I paint. I can paint everything in sub-assemblies the base color then paint the parts afterwards before I assemble them into the finished kit. And start to the finishing work on it like weathering an stuff.
Happy Modeling
William DeCicco
PS. Thanks again for all the inspiration to keep going. It's helping me get through the days an keep going on my kit. I have to find my photo booth I have . I am not sure where it is because when my friends an family moved me in to a storage shed or they might have took it or through it out. Sorry about the bad photos. Do you think if I turn off the flash it would be better?
Posted: Monday, January 14, 2013 - 11:40 PM UTC
Sounds like you've had a tough time recently William but its good to see you picking up a kit and going at it.
I did this one myself a while ago and, if I remember correctly, I just painted the underside when I had finished the rest of the build.
JUSTK
Trinidad And Tobago
Joined: December 01, 2005
KitMaker: 91 posts
Armorama: 85 posts
Joined: December 01, 2005
KitMaker: 91 posts
Armorama: 85 posts
Posted: Tuesday, January 15, 2013 - 12:20 AM UTC
Hi William,
All I can say is "where there is life, there is hope - never, never give up". I have started this kit and have about 6 others to build eventually, but I believe the chassis is Olive drab and should be painted first. The kit is kind of tricky in that all the other parts interconnect and are dependent on each other. I say - 1)Assemble suspension and all sub assemblies, 2) Paint sub assemblies, 3) Assemble/paint the body /cab separate, 4) Then combine the two major parts.
As stated before have fun with it.
Posted: Saturday, January 19, 2013 - 05:23 PM UTC
Just a quick update to help myself stay motivated for this kit.
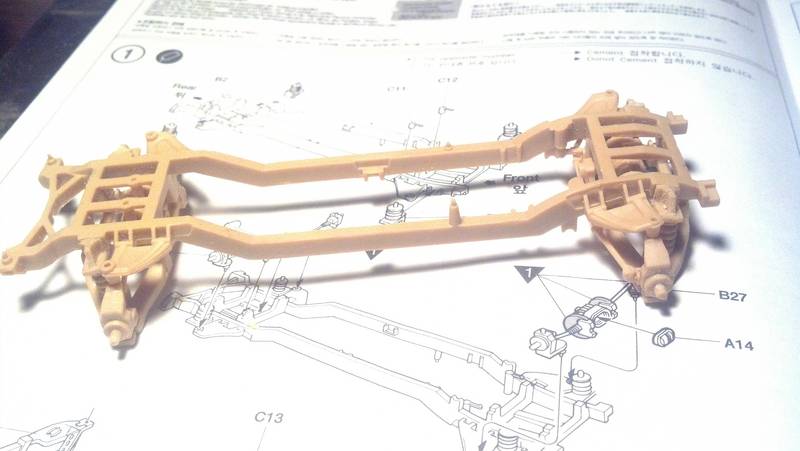
First photo is of the top view of the frame with everything is glued and sanded. I think it needs a little more sanding and filling the gaps that I missed.
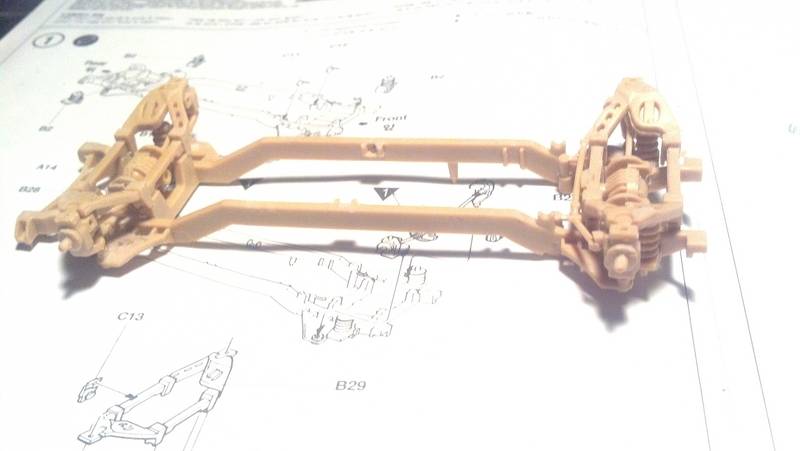
Second photo is of the underneath of the frame glued and sanded an needing some gaps filled also.
Happy Modeling
William DeCicco
First photo is of the top view of the frame with everything is glued and sanded. I think it needs a little more sanding and filling the gaps that I missed.
Second photo is of the underneath of the frame glued and sanded an needing some gaps filled also.
Happy Modeling
William DeCicco
Posted: Wednesday, January 30, 2013 - 12:29 PM UTC
Sorry its been a few days but I have been having real bad headaches and my eyes have been getting blurry, and I was feeling weird and I started to feel a little better today.
So here is a quick update from filling some of the gaps on the frame and all the parts for me to start the next step. I have to clean up the parts and sand some of the stuff I filled with Vallejo plastic putty 401.
Also clean up the other parts and sand them and cut off the injector pins and sand everything that needs to be sanded to look smooth.
Just a quick update to keep myself going even if its a baby step. I am still trying to find the photo booth from micro-mark. So the pictures will look better because I am not satisfied with the quality right now. Trying to get the write lighting is hard.
Happy Modeling
William DeCicco