United Kingdom
Joined: January 21, 2013
KitMaker: 45 posts
Armorama: 43 posts
Posted: Monday, January 21, 2013 - 09:08 AM UTC
United Kingdom
Joined: January 21, 2013
KitMaker: 45 posts
Armorama: 43 posts
Posted: Monday, January 21, 2013 - 09:17 AM UTC
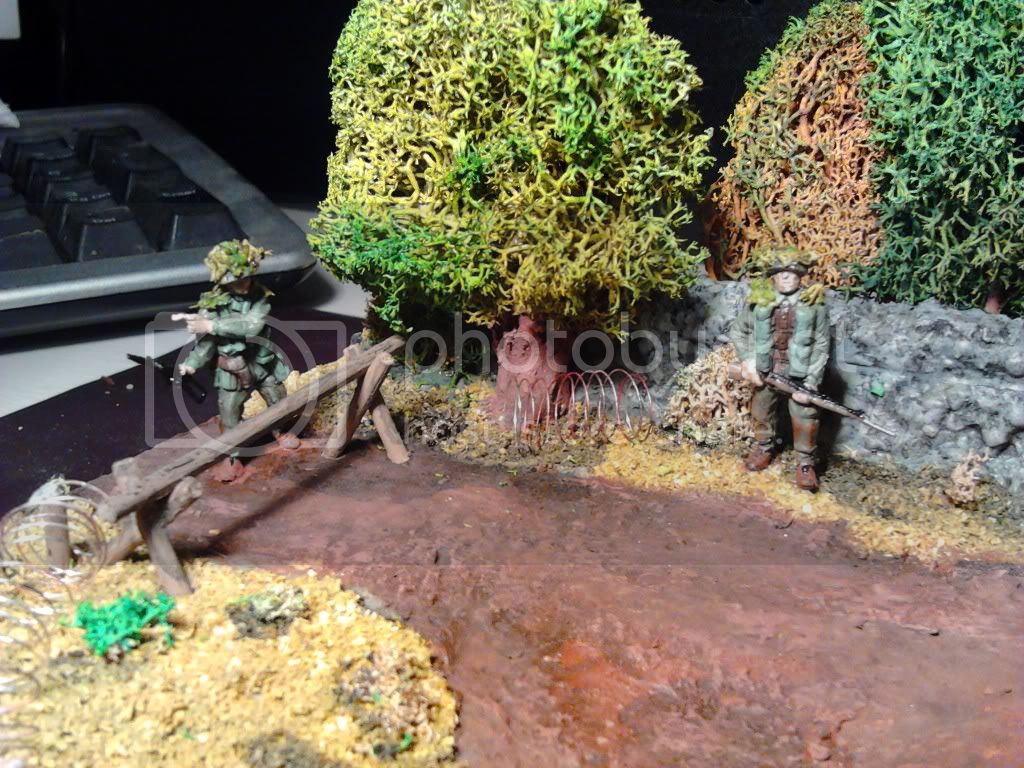
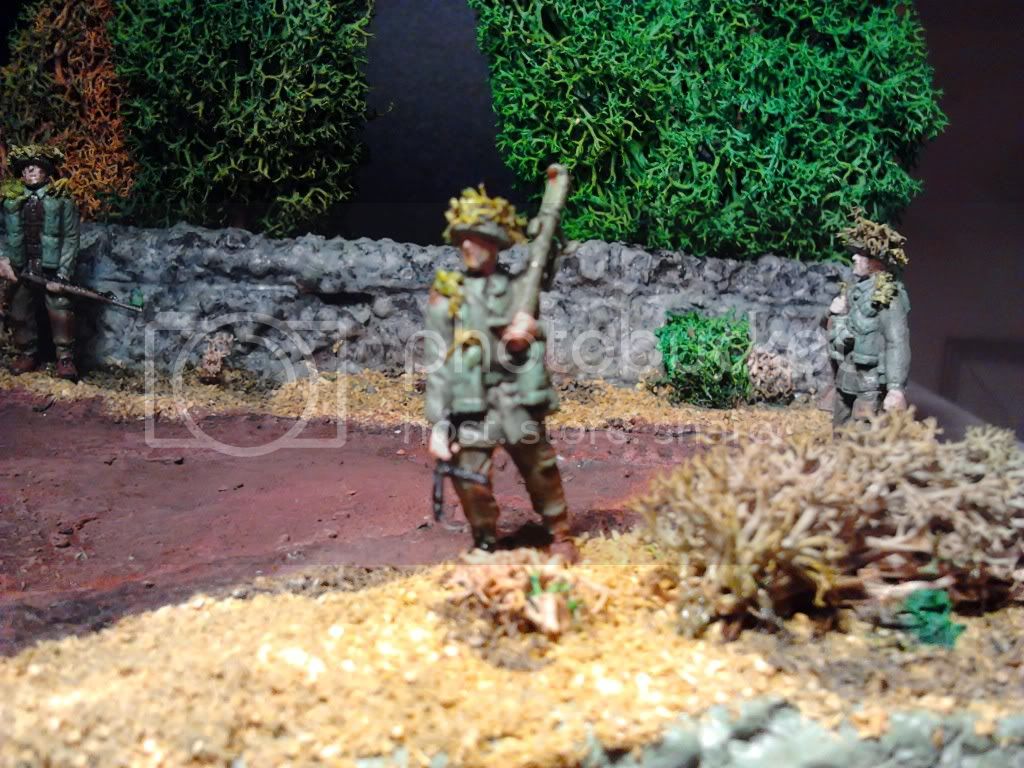
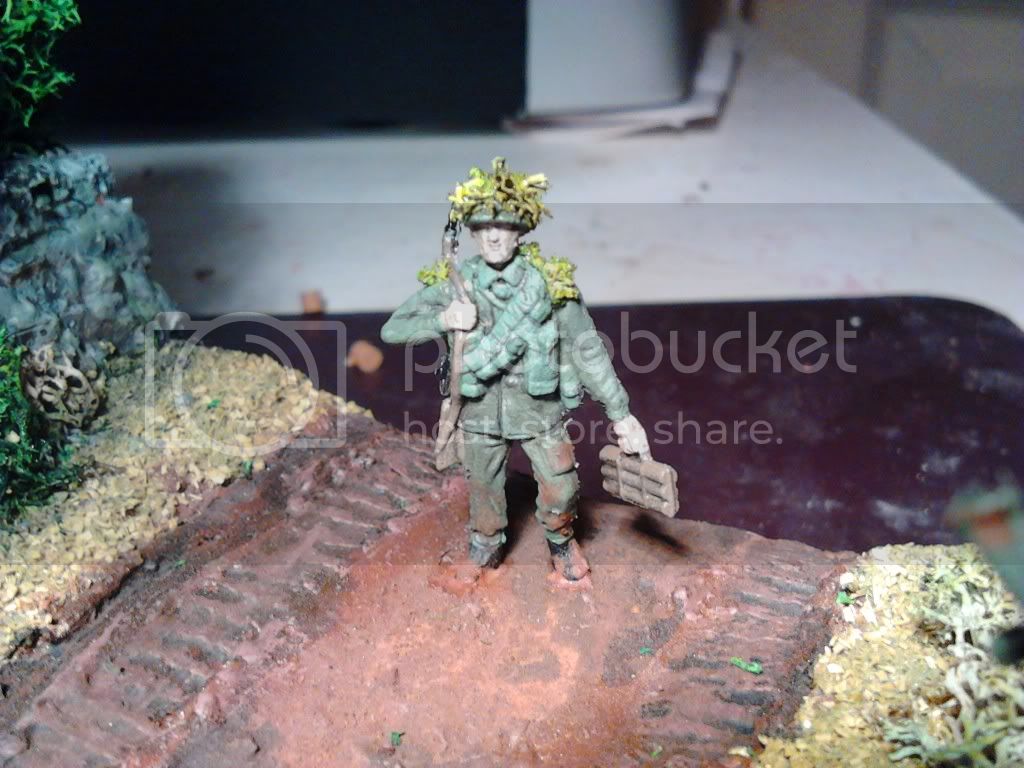
Ps I will be adding soldiers and maybe some barbed wire etc just to make it a bit less plain. does anyone have a good tip for rusty metal? I just seen to come up with dark wood or mud colours. also need some ideas on colours for British paratroops.
my list so far consists of flesh, black for boots, maybe with a slight green or grey tone, brown for belts, a convincing gun metal (recommendations?) and I'm totally stuck on uniform colour. olive drab olive green? same shade as tank look stupid? any help appreciated as I used to use the Humbrol paint scheme on back of box but my resent spitfire has put me right off. the brown is mud coloured almost chocolate not the sandy tan shade shown on the box. looking to convert to Vallejo for future builds.
Sorry about spelling I'm on a mobile, hence it takes me time to get through the forum so I apologise if it appears I'm not searching.

#130
Noord-Holland, Netherlands
Joined: June 07, 2002
KitMaker: 8,797 posts
Armorama: 4,190 posts
Posted: Monday, January 21, 2013 - 10:07 AM UTC
Ola Gavin
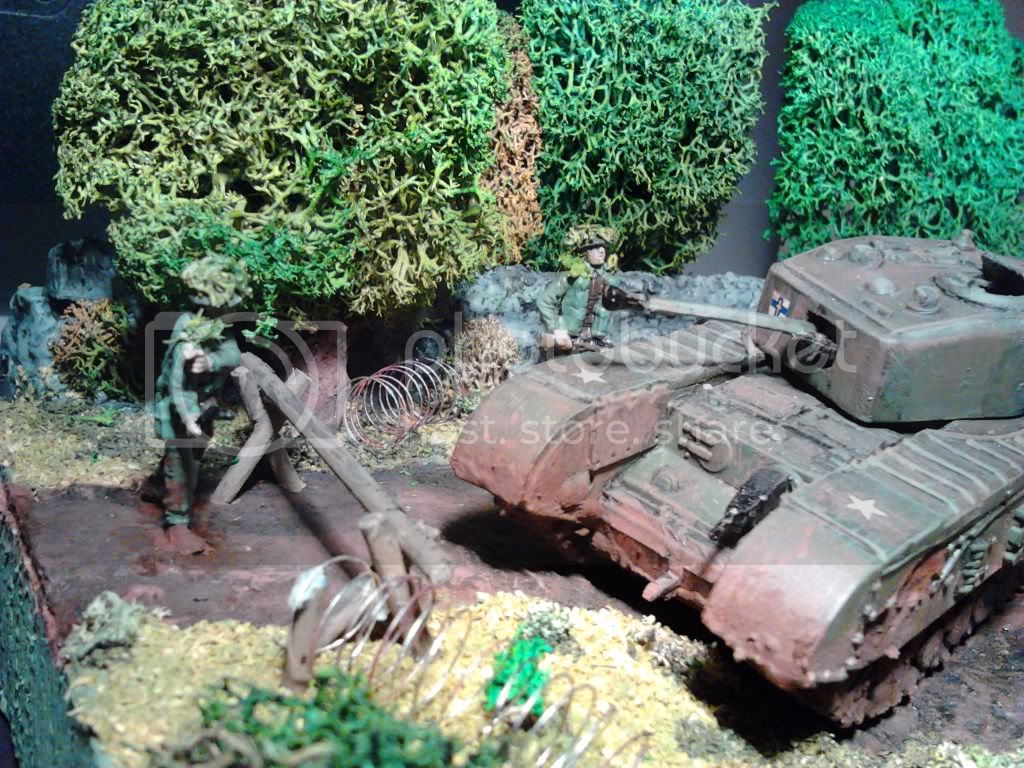
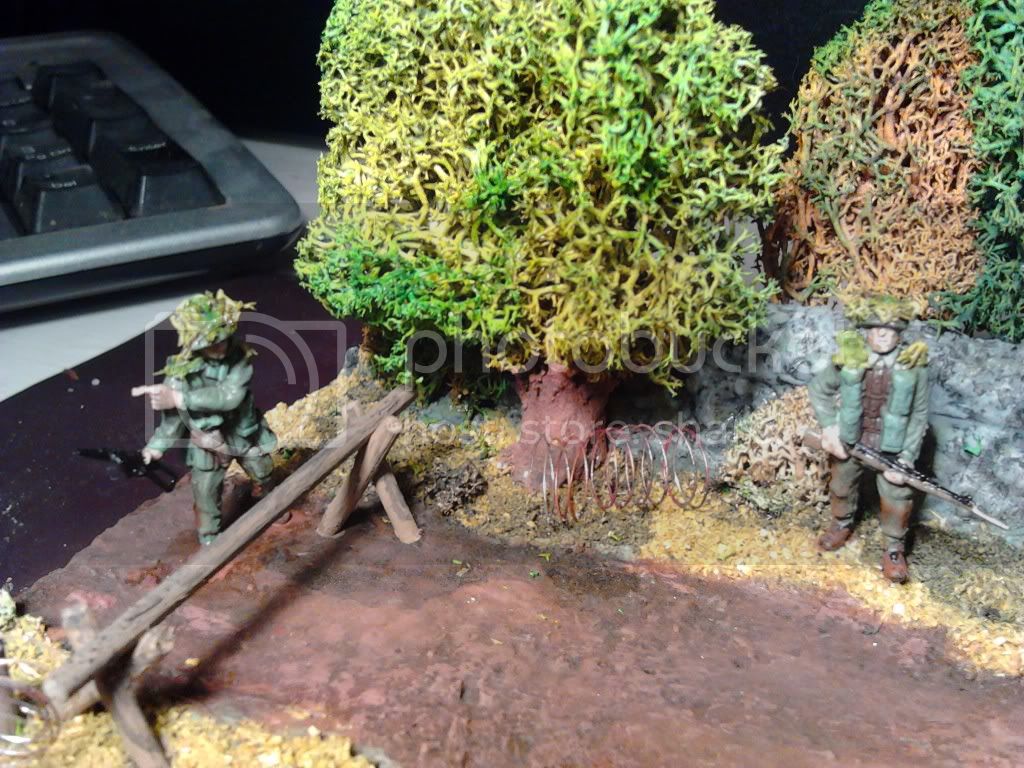
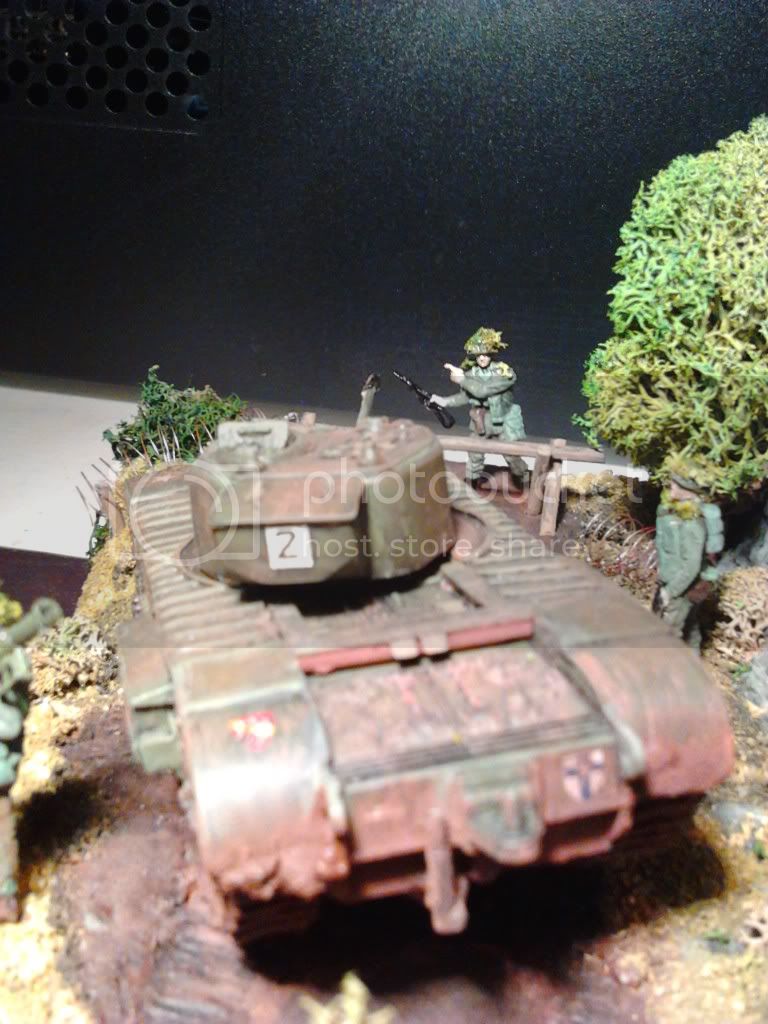
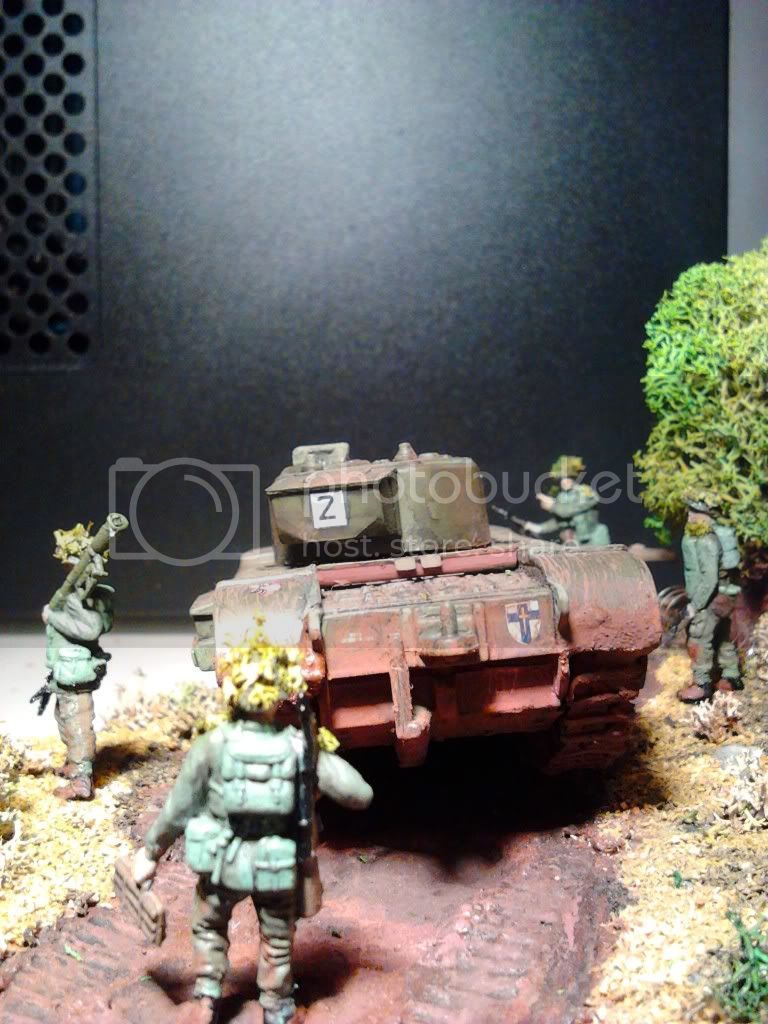
Welcome to the site and welcome in the wonderfull world of Diorama's. I have to say that for your first diorama this is quite a good start. It certainly looks better then my first. You already got some basics right. Like putting the subject not parralel to the baselines. It gives a sense of movement. Neat wall in the back. Scratchbuilt?
Vegetation is good as well. The ruts from the tracks behind the tank. You already show you have an eye for thos details.
Sure there might be points to improve but you can do that in future projects. Even Rembrandt once started with a pencil.
As for color references I'm afraid I can't give much pointers there since I pick colors by eye and when they don't quite match up what I have in mind I mix it myself as well.
You might do a search on Denison Smock to get an idea of what colors you need. From the top of my mind the basecolor was sand or Khaki drill and on top of that there were patches of a dark green and chocolate brown. And they look like they were painted with a broom. Trousers were a light brown Google can be a great help it should deliver you with all the colors you need.
It is a pitty to hear you can't find your way around Humbrol paint. It is pretty much my #1 brand for brushpainting for years now. Colors are pretty accurate too. Problem often lies with the instructions on the back of kits. They do not always match up.
I actually like the idea of the barbed wire. Allthough barbs in that scale are not really visible so you could take a really thin piece of copper wire and you are off to go. You could make it like the Tank is running though a barbed wire fence. again for colors. Try to determine what colors together make up rust. You will find out that mixing reds, browns, oranges and a wash of black already brings up results.
Greetz Robert "FAUST" Blokker
"Wees niet onverstandig, haastig of voortvarend; alles sal regkom, as ons almal ons plig doen".
FUTBOL KAVGADIR!!!!!!!
United Kingdom
Joined: January 21, 2013
KitMaker: 45 posts
Armorama: 43 posts
Posted: Monday, January 21, 2013 - 10:53 AM UTC
Thanks faust I will try those colours for rust as I expand my colour collection. I may just buy some artists acrylics for the small things and buy the model acrylic for the actual models.
yes the wall is scratchbuilt from foam, I used pva to hold it all together. I will need to give it a couple coats of Matt varnish when I get some to help protect it. its very delicate at the minute.
I have Google around a bit but with out a pc where I can instantly flash between a colour chart and a decent photo choosing is difficult.
I do like Humbrol for painting smaller things. I get too many brush lines and variations in larger areas and also I can keep more detail if I use and airbrush. my main snag with Humbrol was the colour of the paints. the brown that came with my spitfire was almost leathery chocolate number 29 if you have some to look at. this is massively too dark for the plane as its depicted on box and on most Google photos as a lot lighter shade. the tank was also a similar story as it was very light and almost a grassy green. I gave the tank two or three washes of Matt black before it stopped lookin like a toy..
other colours where ok, maybe I just had bad pots? I defiantly mixed them enough, and shook and stirred etc- have seen similar posts around the net though even big changes between the same colour from pot to pot.
ps for barbed wire I was thinking of using electrical solder and either squeezing it to try and put tiny flat spots on it that would resemble razor wire or just slicing tiny bits and bending them away to make very tiny barbs. also solder is a lot easier to shape and doesn't twang around..
#130
Noord-Holland, Netherlands
Joined: June 07, 2002
KitMaker: 8,797 posts
Armorama: 4,190 posts
Posted: Monday, January 21, 2013 - 10:57 AM UTC
For barbed wire in that scale you could tie knots every 2mm in a piece of thin copper wire. Keeping it straight is indeed the main problem but you can counter that by attaching it to fencing poles. two on opposite sides of the base and 2 in between where the tank is driving through it. Just a suggestion.
Greetz Robert "FAUST" Blokker
"Wees niet onverstandig, haastig of voortvarend; alles sal regkom, as ons almal ons plig doen".
FUTBOL KAVGADIR!!!!!!!
United Kingdom
Joined: January 21, 2013
KitMaker: 45 posts
Armorama: 43 posts
Posted: Saturday, February 09, 2013 - 08:25 AM UTC