Time for another update.
Back to the Jerry cans. One practical item I forgot to mention about DML is that the handle is connected to the sprue with three (!) attachment points, which makes cleanup unnecessarily complicated and of course I broke the part while cleaning it. Both Bronco and Tamiya were able to make one attachment at the base, so I dont see that it should be so hard?
Keeping with the DML part, be sure to cut off the locating lugs on the main parts, because if you dont the parts wont line up and it will look like this:

The rack is made up of two parts. Its not that easy to fold and align them correctly, I just got them lined up as best I could and then put a load of Mr Surfacer on the edges as well as the folding creases around the round edges. After a quick pass with the file the part looks quite nice. Overall, I think its worth the effort, as then no all Jeeps in the modeling world will have the Jerry can facing the same direction. The strap from PE leaves too much slack if folded as intended, it will then look like this:

I replaced the strap with tape and added the buckle from the PE strap. This is the result:

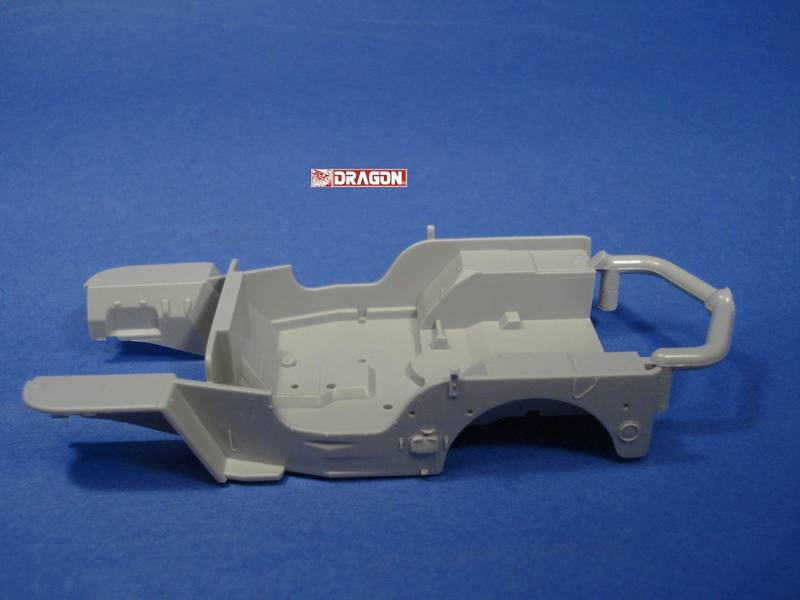
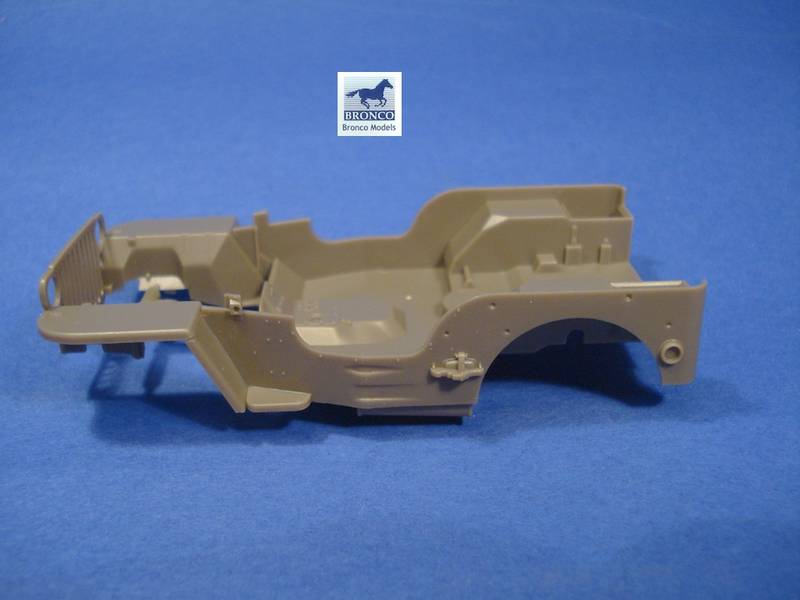
No issues were encountered with the other manufacturers, except for the attachment of the Bronco Jerry can to the Jeep. There seems to be no attachment point which would add any strength to the assembly. Either it was forgotten or not indicated in the instructions. I decided to add a little shim from plastic leftovers:

Spare wheel; no special remarks here, all three are basically made up the same way. DML will require some filler to get a clean tire.

Now to the final touches of the engine compartment:
Tamiyas is certainly the simplest one. All parts not directly part of the engine are included in one part. Bronco has a somewhat similar approach with the battery and one more part separate. However, the molding is so delicate that the part broke. A nice touch of Bronco is to include the attachments for the headlights from PE. These are easily bent to shape. DML has all the parts separately, which makes attachment of the filter a bit unclear.

Windshield!
Tamiya and Bronco have the full windshield, while DML and Bronco have the canvas covered windshield. Clearly one big plus point for Bronco here. Another plus point goes to Bronco for the detail.
Heres Tamiyas parts layout for the full windshield:

And Broncos:

As you can see, Tamiyas is clearly easier to build and paint, with the glass parts separate. Bronco on the other side has finer wipers but require you to mask the glass as its included in the inner frame. Bronco also has the option of modeling the Glass and inner frame open. Some nice PE parts complete the windshield and the attachments include very fine wing nuts.
The M1 Rifle racks are both very fine items, however, Broncos has slightly finer detail.

Here are the parts assembled:

On to the canvas covered parts:

(sorry for the crooked logos, dont know what happened there
)
DML has an amazing one piece molding while Bronco has a separate back. Bronco again has the wing nuts to add. What I dont like on both parts is the missing details on the lower opening of the canvas, but I imagine this would be hard to replicate other than taking an actual windshield and adding a canvas from lead foil, tissue paper or similar?
Last part for today is the hood.

As you can see, Tamiyas part is the simplest and least detailed one. Bronco has some really pesky little PE parts here and I can understand that some people call Broncos kits over engineered
DMLs PE is a bit simpler with what are several parts for Bronco included into one. I have not yet attached any of these but I must admit, I am not looking forward to it
A note on dimensions:

As you can see, DML and Tamiya have almost exactly the same width, while Bronco is small enough to fit exactly in between. On the other hand, Bronco and Tamiya are the same length while DML is about 1mm longer. Maybe someone can provide me with the dimensions of an actual Jeep hood so I can take some measurements and see which one is most accurate.
Thats all for now. Mainly tools left and then on to armament and other more specific details.
Cheers!
Stefan


 )
)