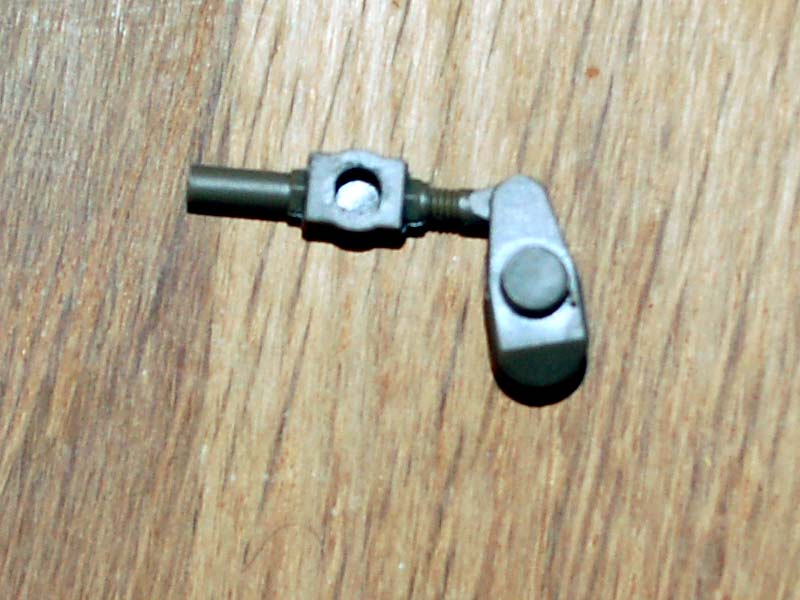
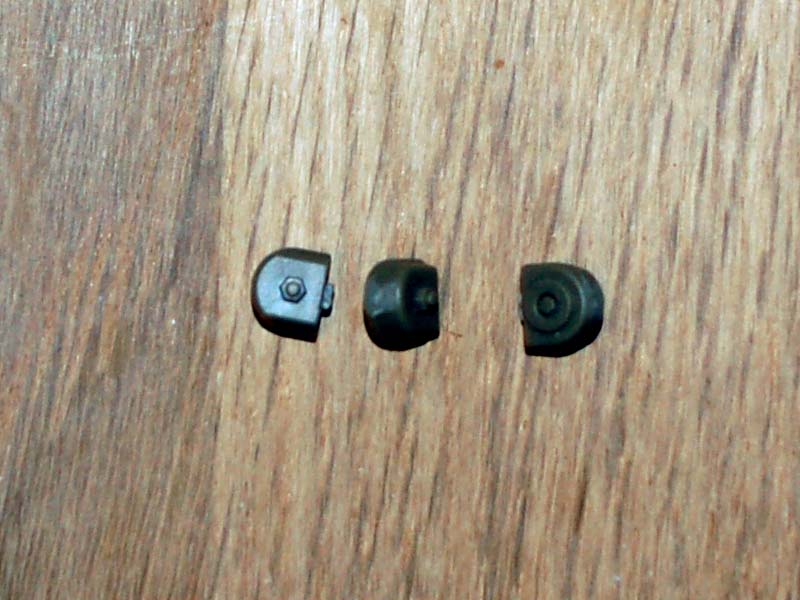
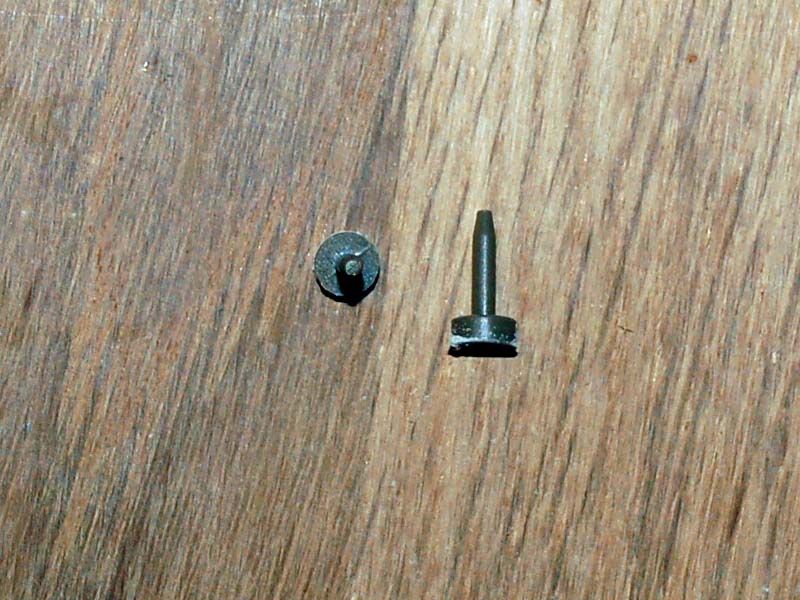
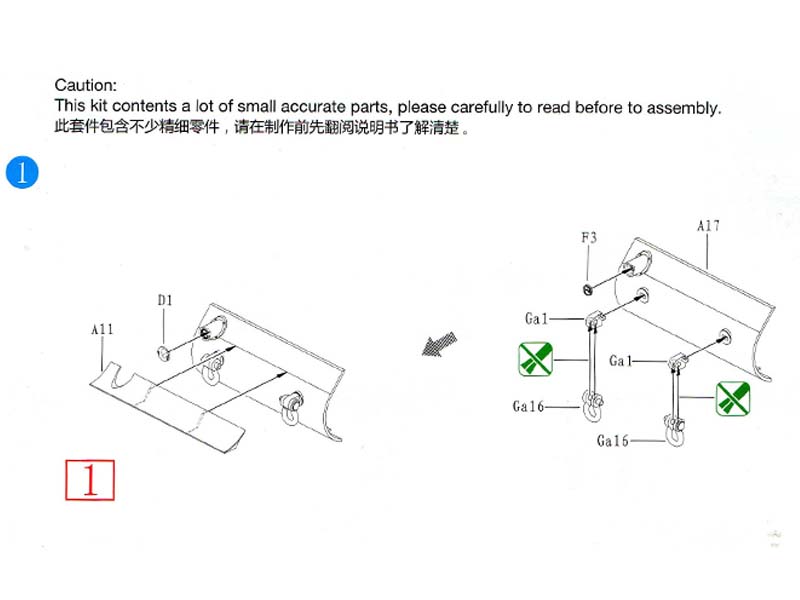
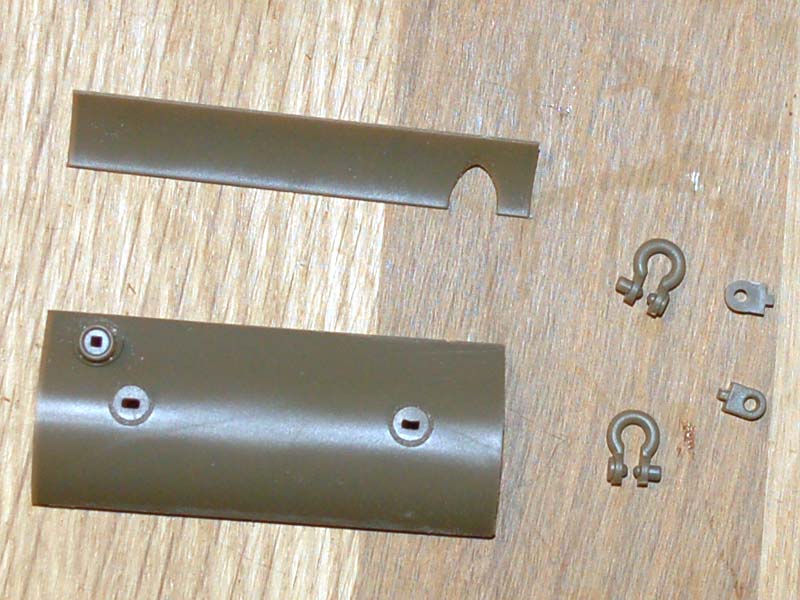
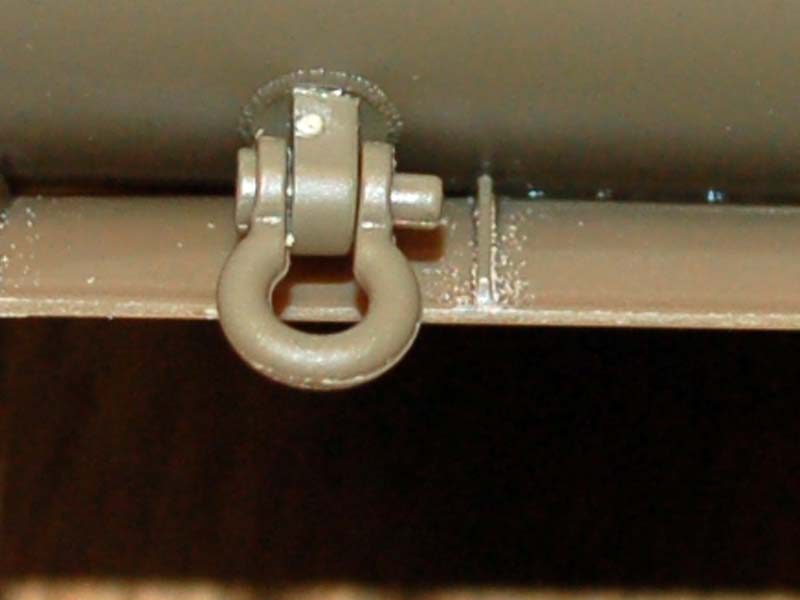
Stage 1 puts the rear of the hull together and is a very basic skill level task only really needing some clean up and the slight problem of lining up part A11 as there is no guide on the plastic parts or locations for it. I have not added the lights at the moment as I prefer to add them at a later stage of the build, however it is worth noting that if you choose to add the metal cover then this is not relevant.
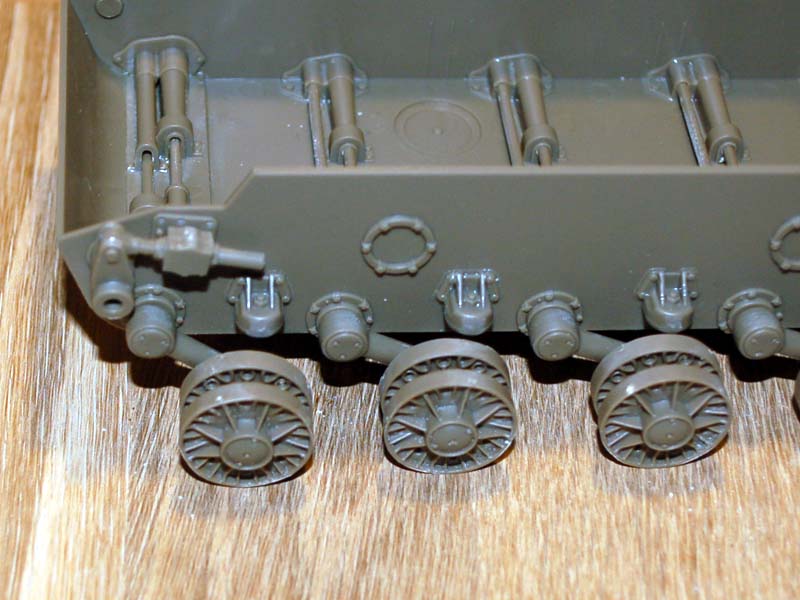
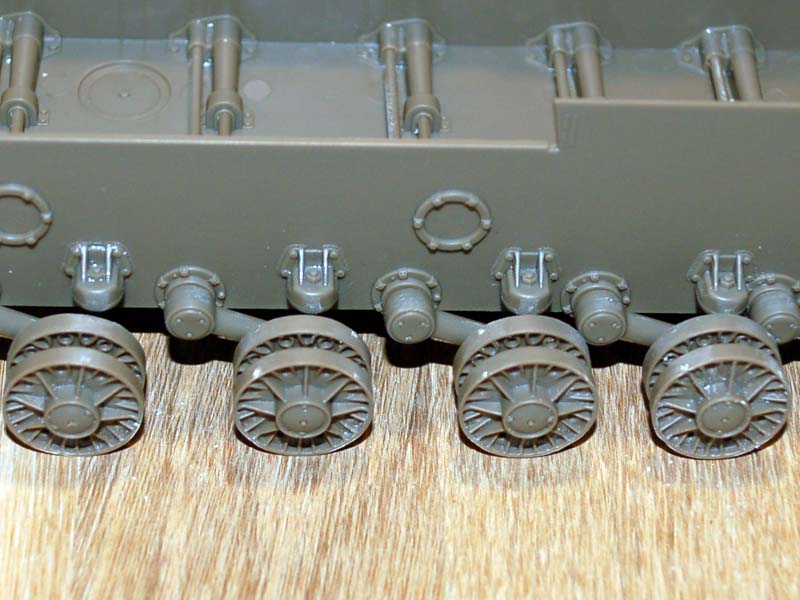
Stage 2 covers the addition of the rear hull to the lower hull and it is a very good fit with no difficulties to overcome. The five suspension retainers down one side of the hull are also easy to add but it is worth noting that a thorough clean-up of the sprue connection point is a must or they will not sit fully home on the hull, also I had to clean a small amount if flash I missed in my review from the holes that the torsion bars locate into. The front suspension parts have to be carefully placed as they are ended and the is a front and a rear to the part, if you look at the part in the instructions there is a slot on the rear left hand side and if you use that as a guide you will not have an issue.
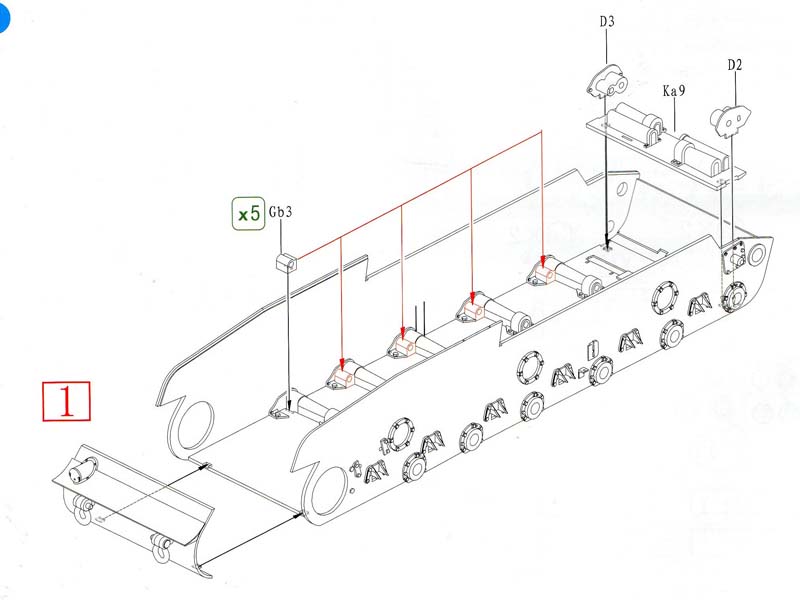
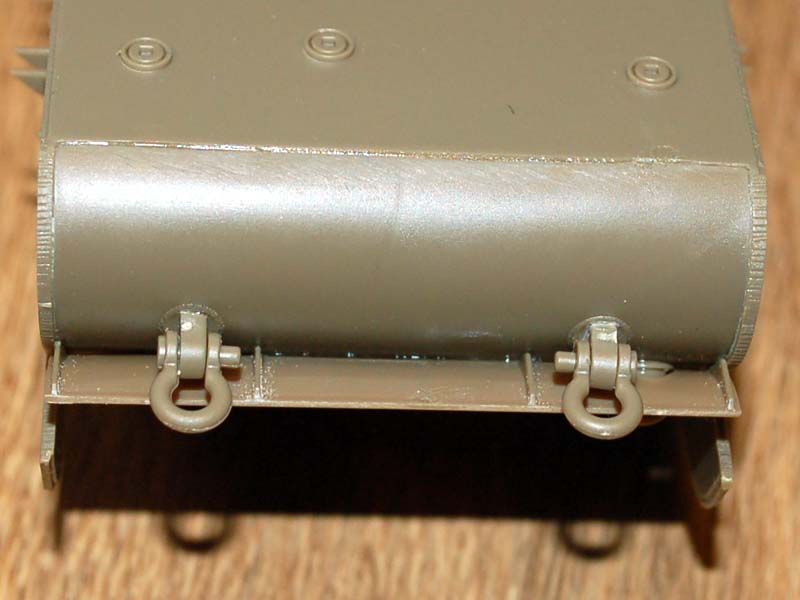
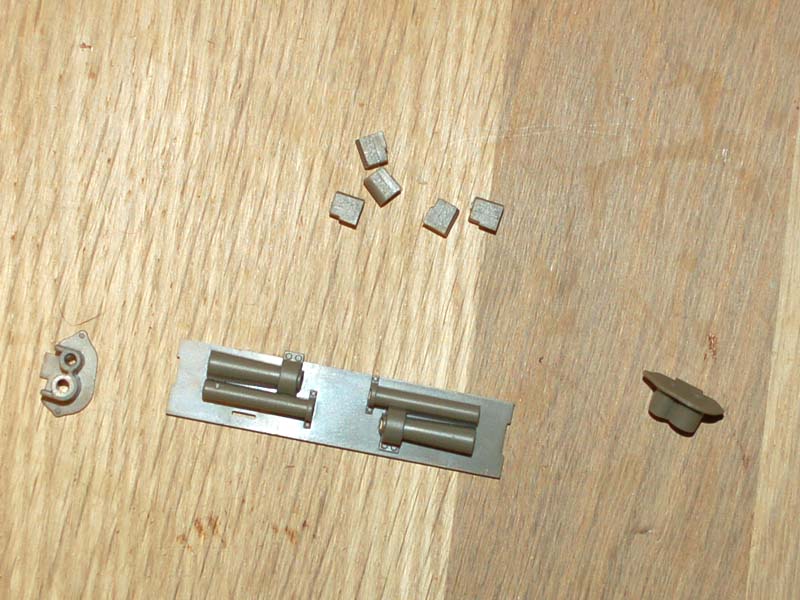
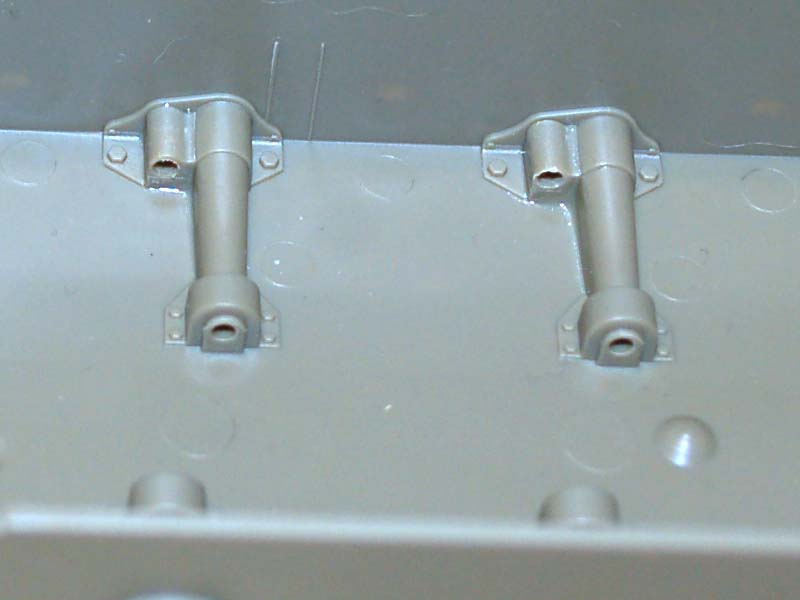
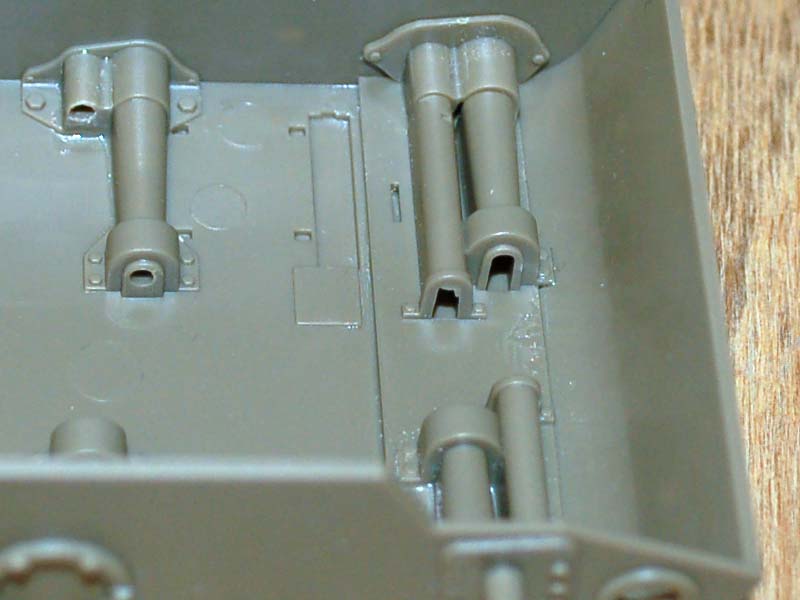
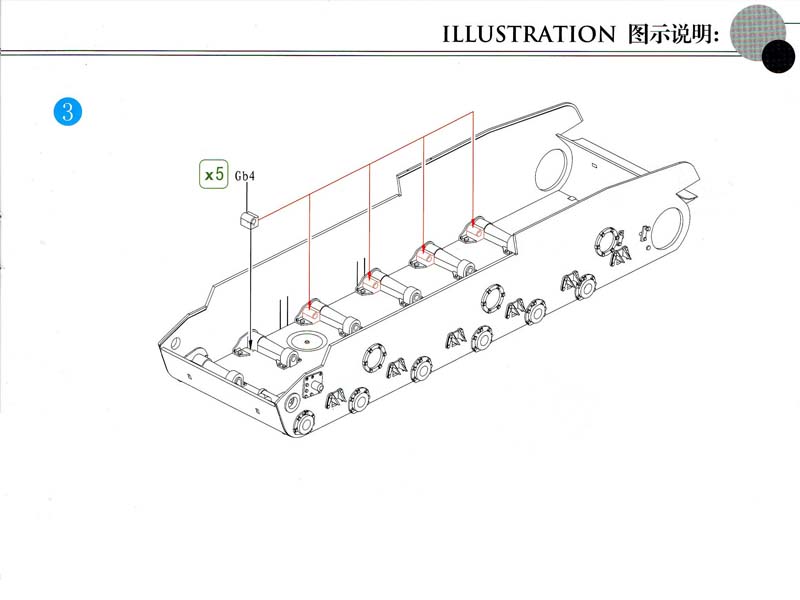
Stage 3 consists of adding the torsion bar retainers to the other side of the hull, and as long as you do the same as the previous side no problems should present themselves.
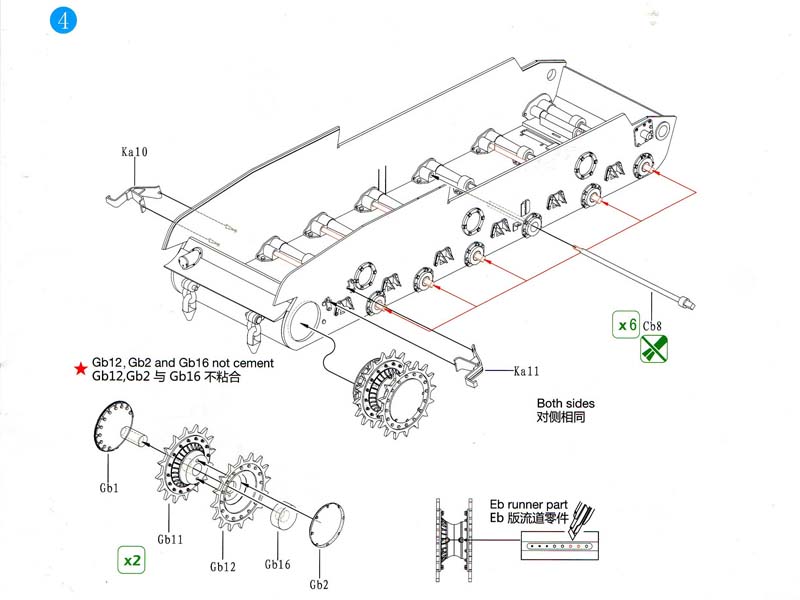
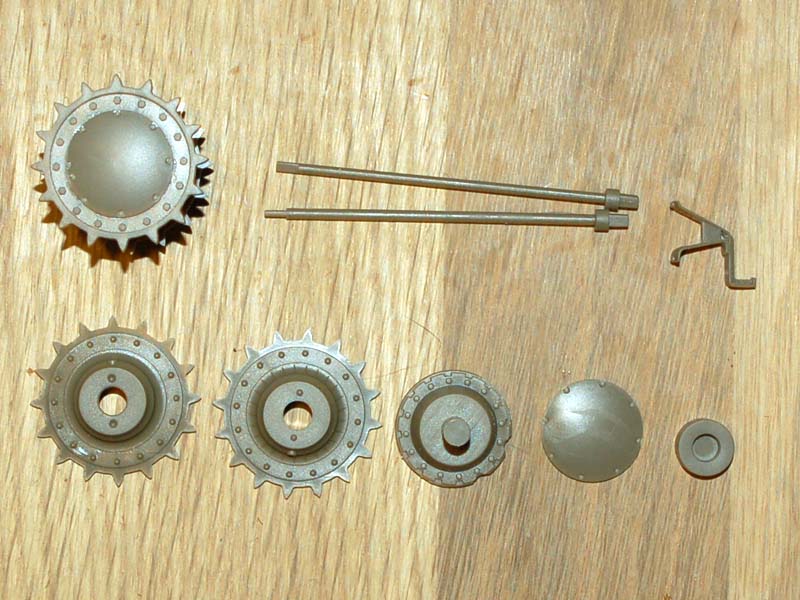
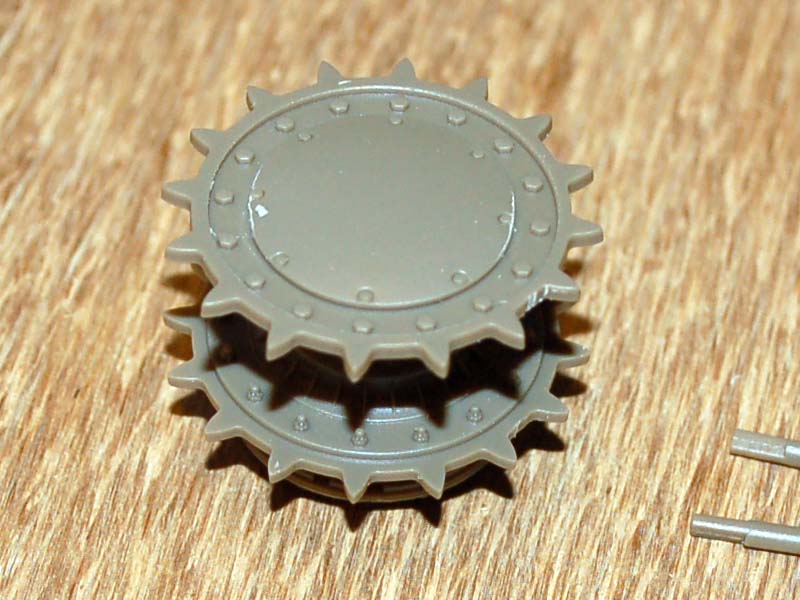
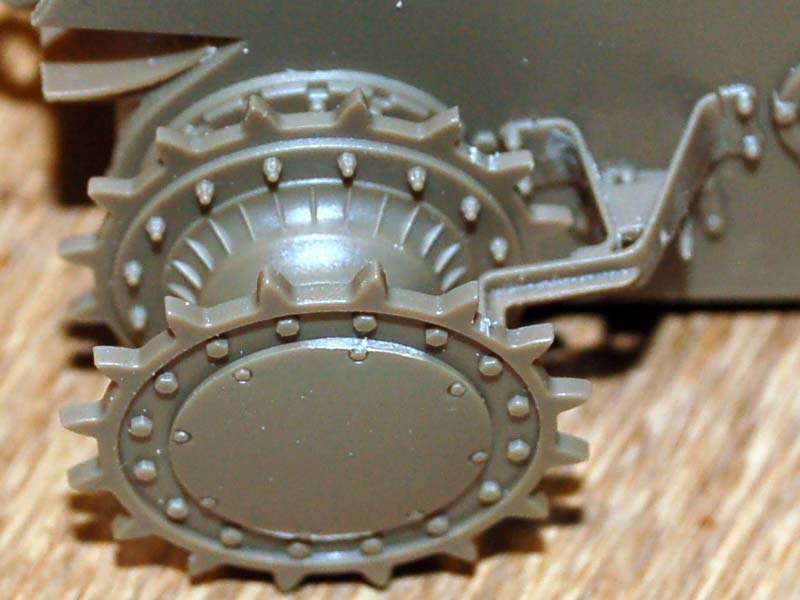
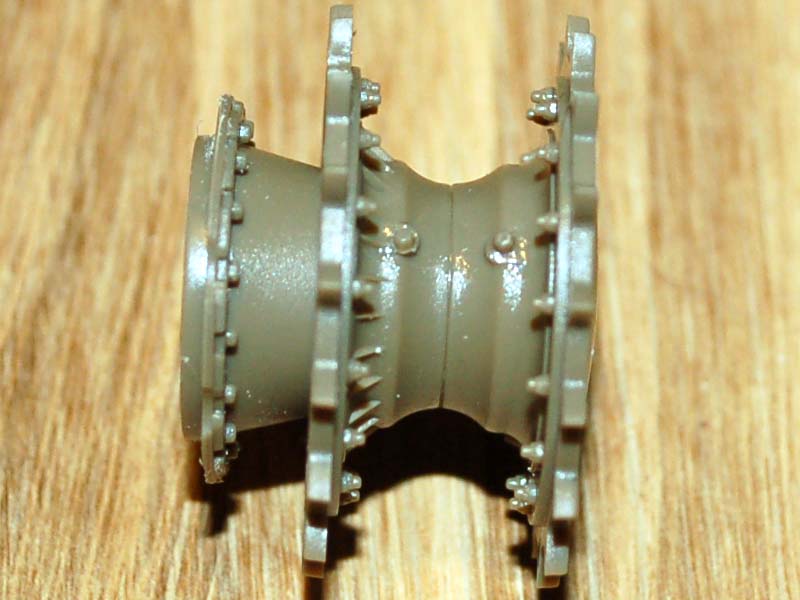
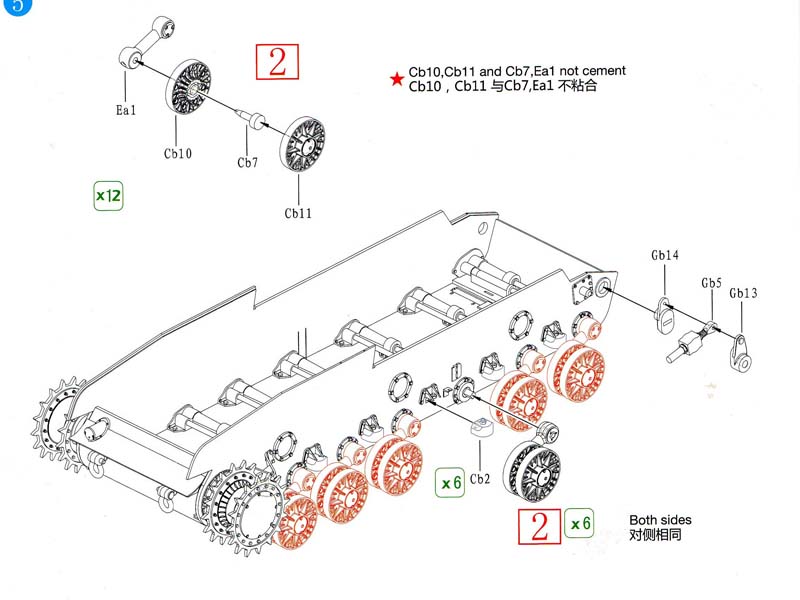
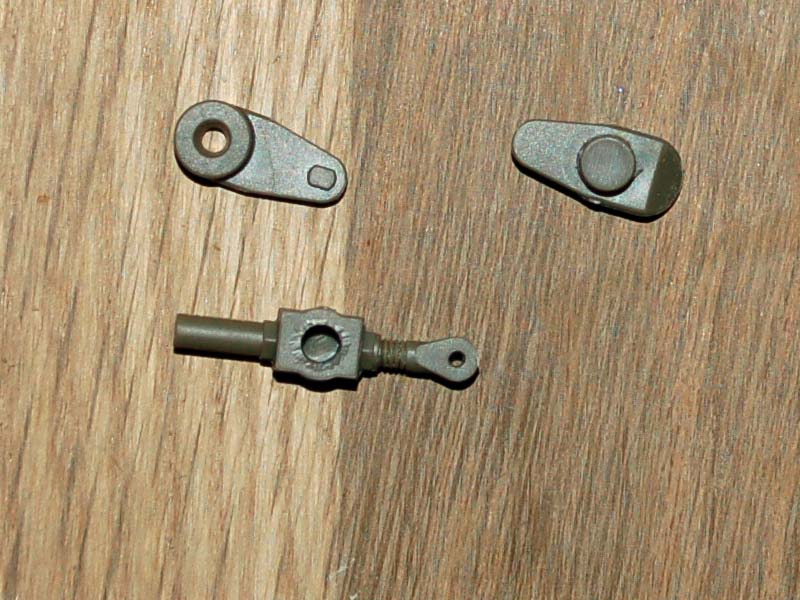
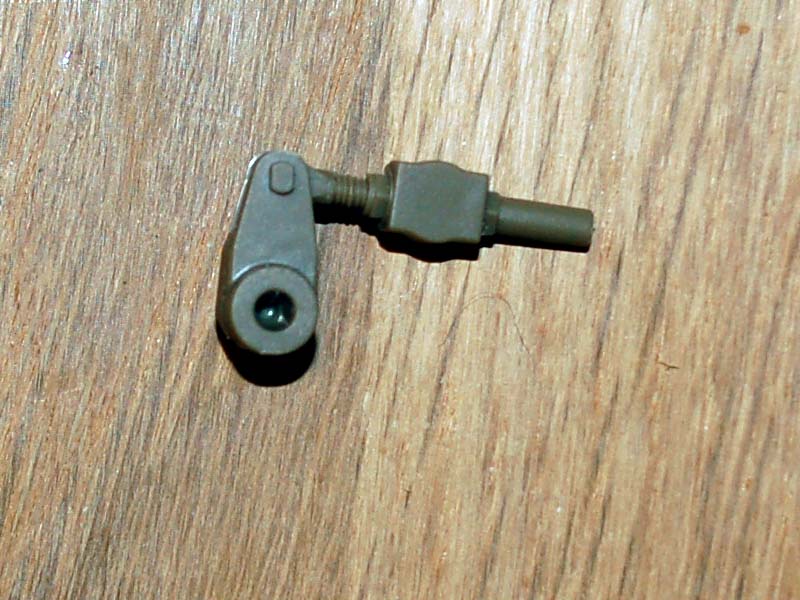
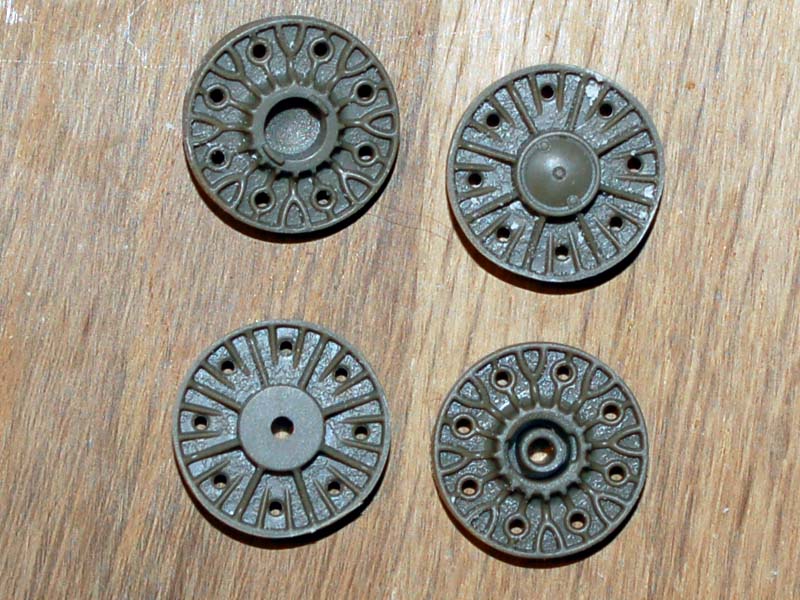
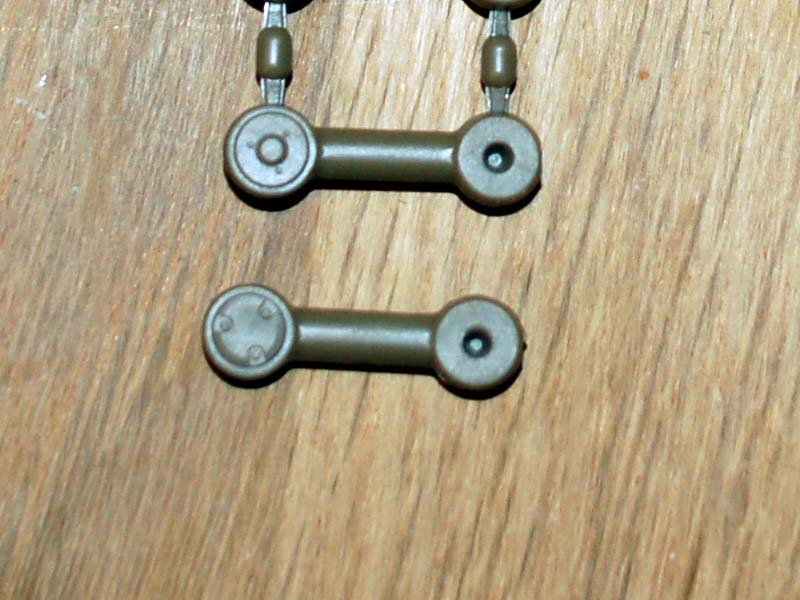
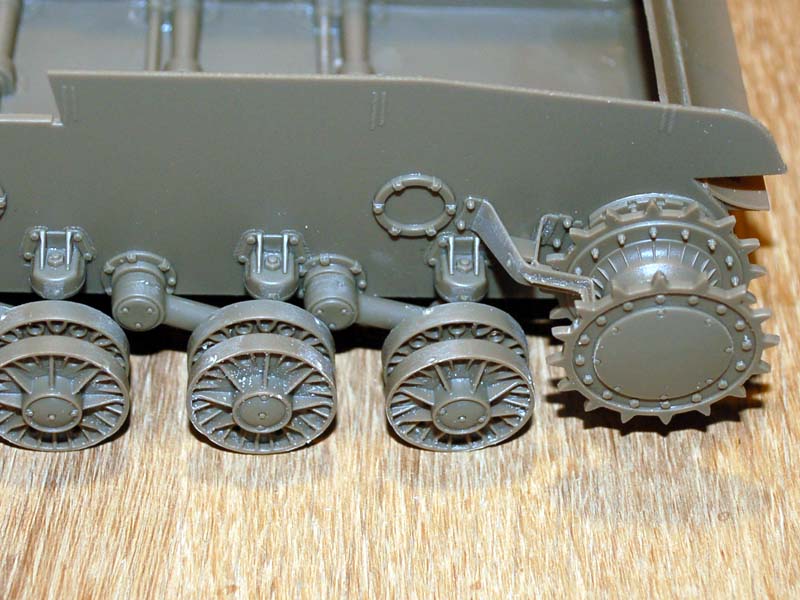
Stage 4 covers the addition of the torsion bars on one side of the vehicle, and the assembly and addition of the drive wheels and mud scrapers. The torsion bars are a very tight fit and so I have opted not to apply any glue as it seems a pointless task to me, to give you an example I found one difficult to locate and only managed to pull it out using pliers. The drive wheels on the model have exceptional detail on them most of which is covered up though. Firstly I glued the two halves of the wheels together making sure the raised area where the grease nipples (I believe) are added, it is possible to have this on polar opposite sides so you have been warned. I did not encounter any other areas to warn you about on the wheels. The mud scrappers on the other hand did not want to locate in the small holes provided as a location, and so I sanded of the locaters on the sand scraper itself and the used on bracket detail on the hull for a location which solved the issue.
